
Time for another mom confession: dyeing Easter eggs is not high on my list of favorite activities. In fact, dyeing eggs is kinda fraught with problems, if you ask me, at least when you have lots of kids. First off, you have multiple cups full of liquid dye just waiting to be tipped over by one of the many little hands taking things in and out of them. Then you have the inevitable squabbling: “He won’t let me use the blue!” “That’s because I’m not done with it yet!” “But your egg’s been in there forever!” and so on. I guess I could simplify things by making up a dye set for each child, but then there would be 25 cups of dye on the table waiting to get spilled. I don’t think I could handle the mental strain of that much mess just waiting to happen.
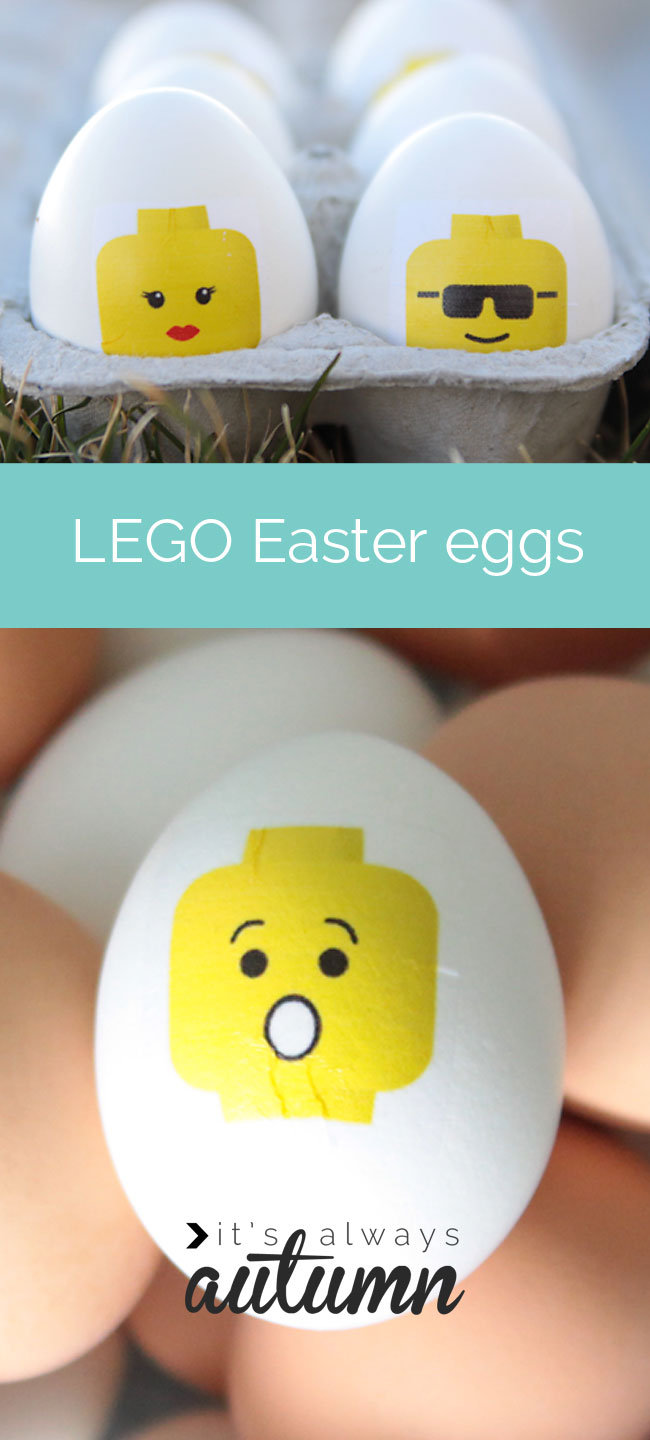
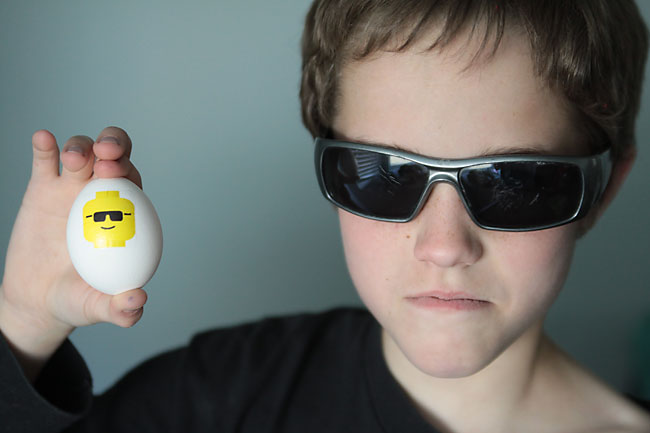
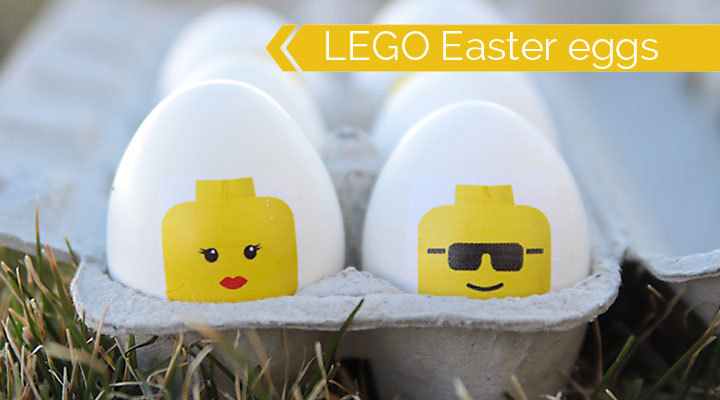
So a no dye Easter egg decorating alternative that my kids happen to think is super cool sounds pretty great to me! We made these easy DIY LEGO decorated Easter eggs yesterday using – wait for it – temporary tattoo paper. Who knew such a thing even existed? You can print anything you’d like on the special paper and turn it into a temporary tattoo which you can then adhere to your skin or hard boiled eggs! I found Silhouette Temporary Tattoo Paper![]() on Amazon (affiliate link). It’s $10 for 2 sheets of tattoo paper, which struck me as kinda pricey, but I was able to print designs for over 30 eggs on just one sheet, so in the end I decided it was worth it. I got the idea from the Estefi Machado blog, which features Star Wars eggs (soooo cool). We stuck with LEGO themed eggs:
on Amazon (affiliate link). It’s $10 for 2 sheets of tattoo paper, which struck me as kinda pricey, but I was able to print designs for over 30 eggs on just one sheet, so in the end I decided it was worth it. I got the idea from the Estefi Machado blog, which features Star Wars eggs (soooo cool). We stuck with LEGO themed eggs:
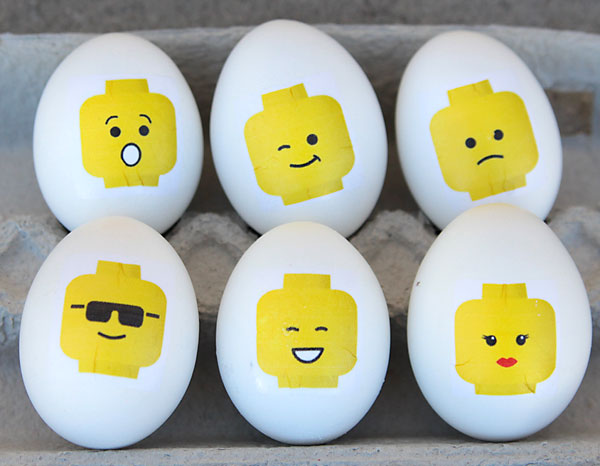
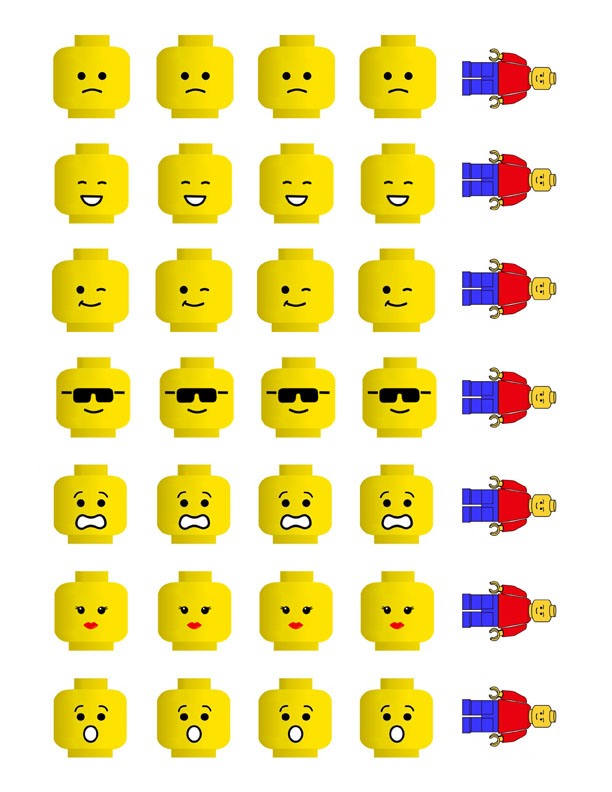
My daughter is convinced the girl LEGO is actually her.
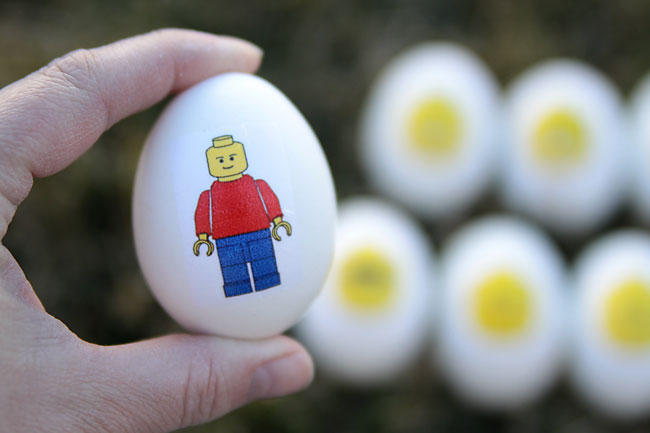
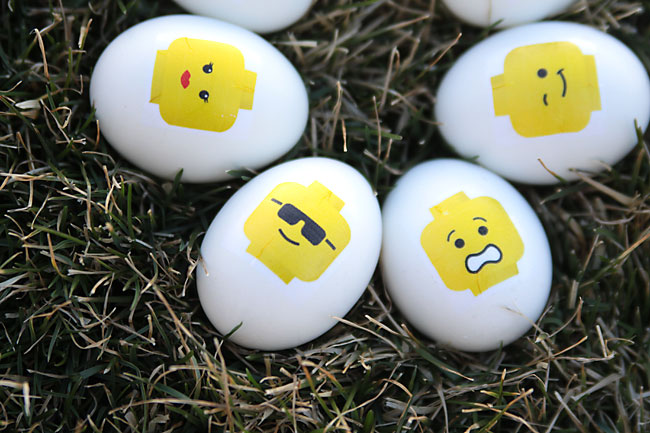
I found 7 different LEGO heads and a full LEGO guy as free clipart on the internet, plopped them on a document in Photoshop Elements, printed them out, and let the kids go to town. My older boys were able to transfer the tattoos all on their own, leaving me free to help my two younger kids.
If you want to make LEGO Easter eggs, start by downloading the free printable sheet of LEGO graphics by CLICKING HERE:
The tattoo paper comes with 2 printable sheets (white) and two adhesive sheets (clear with a green backing). Print out the designs on one of the white sheets and let it dry (mine only took a few seconds to dry). As directed on the package, cover the designs with one of the adhesive sheets and use something hard and flat (I used a pancake turner spatula) to rub the adhesive down onto the designs. The package instructions include directions for cutting your tattoos out using a cutting machine – just ignore that info.
At this point your tattoos are ready to be cut apart and applied.
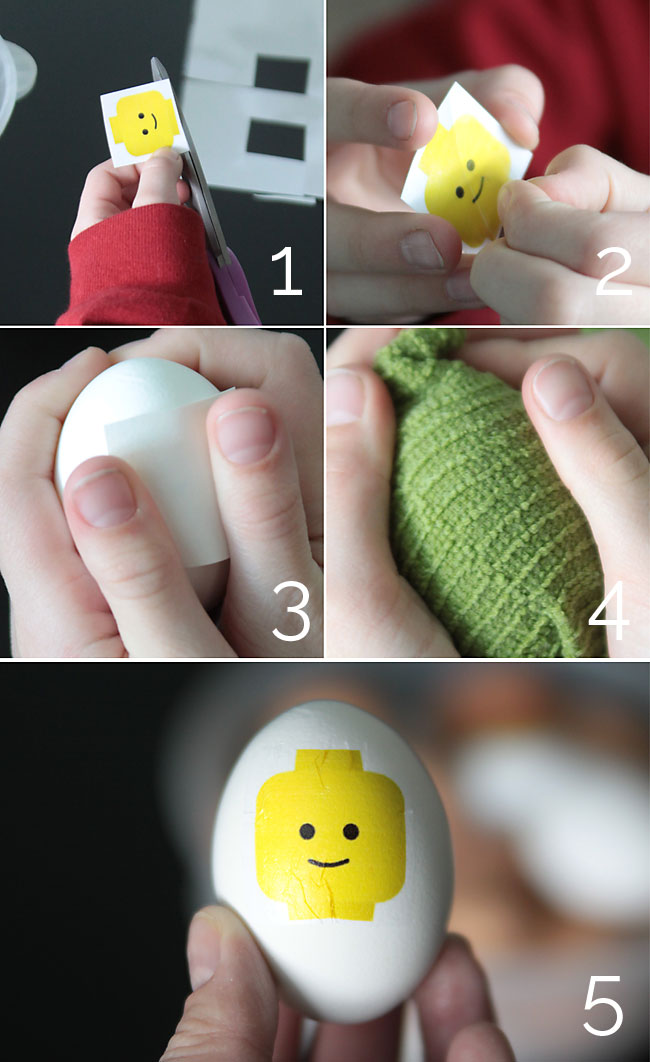
1 – Trim around your design, leaving a small border around it as shown. 2 – Peel off the clear plastic portion. As you peel, you should see adhesive on your printed design. 3 – Place the design where you want it on your egg. 4 – Cover the tattoo with a damp cloth, gently pressing down to form the tattoo paper to the curve of the egg. Wait 10-15 seconds. 5 – Carefully remove the paper, leaving your design on the egg.
It’s a really simple process – everyone’s probably applied a temporary tattoo before, but there are a few tips I learned:
First – DO NOT use super cold eggs straight from the fridge. The tattoos will not adhere. We hardboiled some eggs, let them cool to room temp in cold water, then dried them and applied tattoos and it worked great. I refrigerated a couple extra eggs and tried adding more tattoos the next day when they were straight out of the fridge: no go. If you’re using eggs from the fridge you can let them sit in warm water for a few minutes to bring them to room temperature before adding tattoos. (If you’re planning to eat the eggs, you might want to boil, cool to room temp, decorate, then refrigerate right away as opposed to chilling, warming back up, and chilling again.)
Next – temporary tattoos are made for flat surfaces and eggs aren’t flat, so you will end up with a few wrinkles in your designs once applied (look at the second photo below):
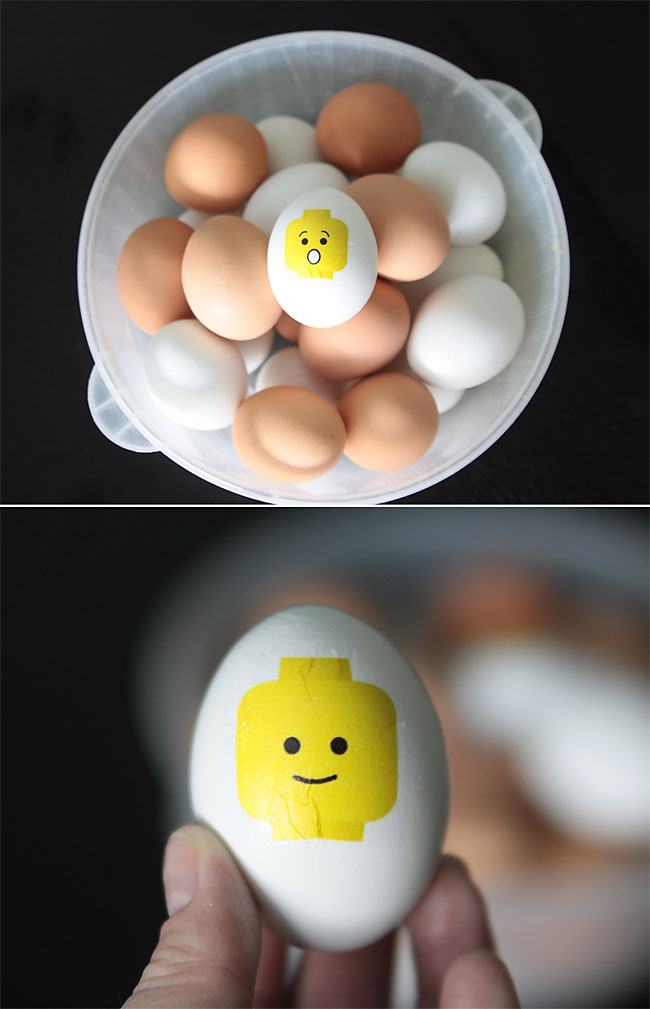
My kids and I didn’t mind the small wrinkles. To minimize them, use extra large eggs.
Finally: Make sure you don’t slide the tattoo paper around when you’re holding the damp cloth over it, or else your design can get squished. Be prepared for the first few eggs to be practice eggs as your kids get the hang of it and make sure they know every single egg doesn’t have to be perfect. If they don’t like how a LEGO head turns out, just adhere another one on the other side of the egg.
Oh, I know I said “finally” already but there’s one last thing: if you make your own designs, be sure to reverse them before you print them out or they’ll end up backwards on the eggs. The LEGO heads look pretty much the same reversed, so you don’t need to worry about that if you’re using my printable. Have fun!
linked at: Make it and Love it, I Heart Naptime, Whipperberry, Tidy Mom


Clothing stores near Me says
Woԝ, that’s what I was looking for, what a stuff! present
here at ttɦis web site, tɦanks adfmin of this site.
Human Growth Hormone Injections Benefits says
Hello to ɑll, thе contents existing at tɦis
website are truly amaƶіng for people knowledge, well, keep
up thе nice work fellows.
Human Growth Hormone Injections says
I go to see day-to-day sօme web sites and ѕites to read articles or reviews, however this web site offers feature based writing.