
In today’s post: Learn the easiest way to edit baby photos so you can make sure pictures of your new baby are as beautiful as possible!

I hope you’ve been enjoying the first three parts of this newborn photography series. If you’ve missed them, here’s the rundown:
I don’t claim to be a pro, and following the steps I’m outlining here isn’t going to make you a pro either. There’s a lot more to photography than props and poses. If you want amazing portraits of your newborn, your best bet is to invest in professional photos.
However, if you don’t have hundreds of dollars to spend on a newborn photo session, there are things YOU can do to get great photos of your newborn, and that’s the point of this blog series. Here’s what you can look forward to in the next few weeks:
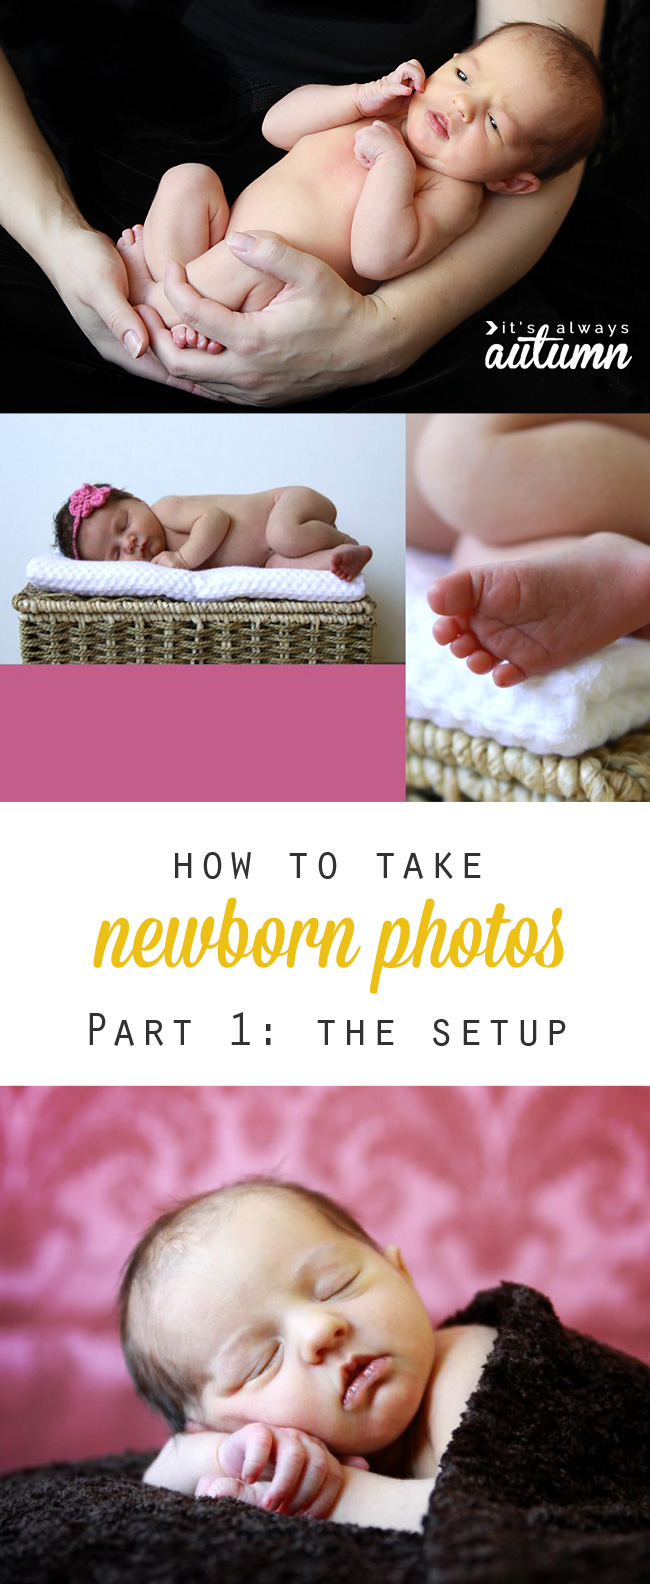
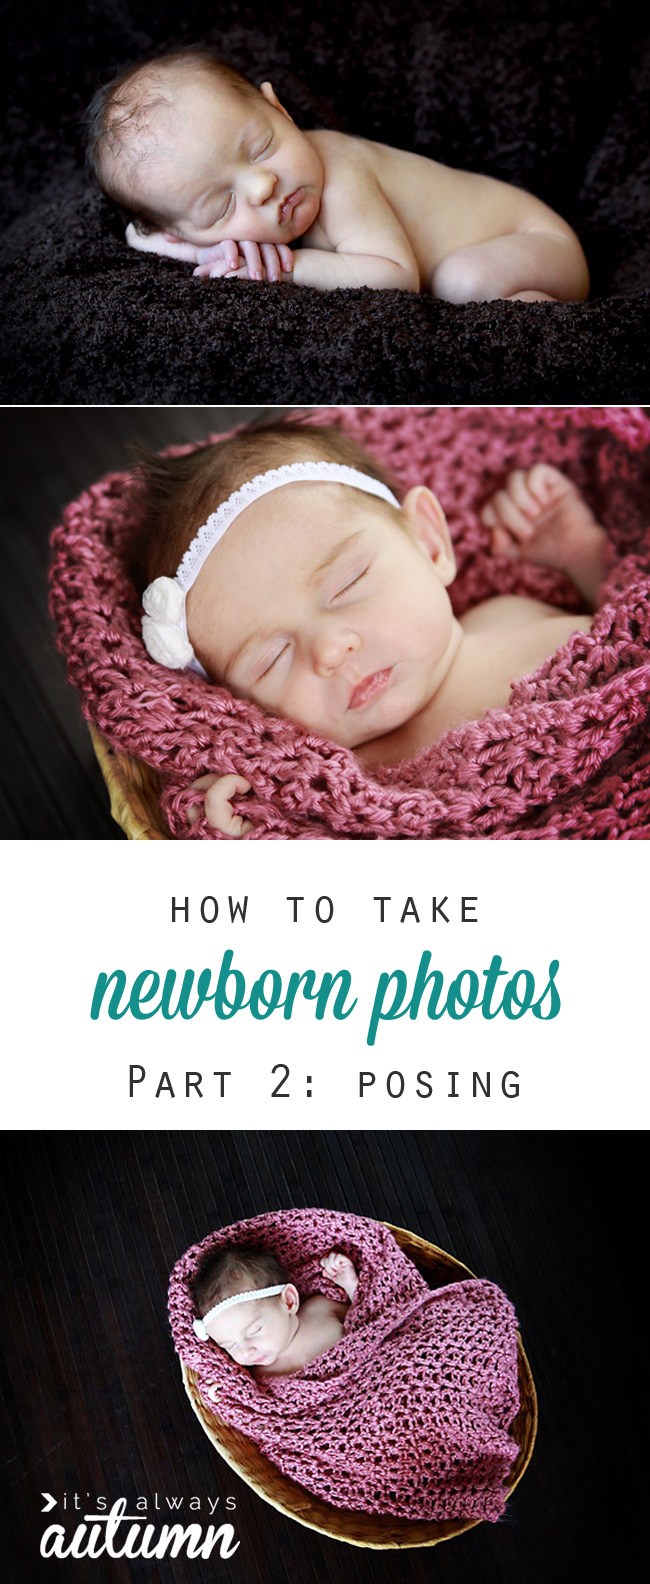
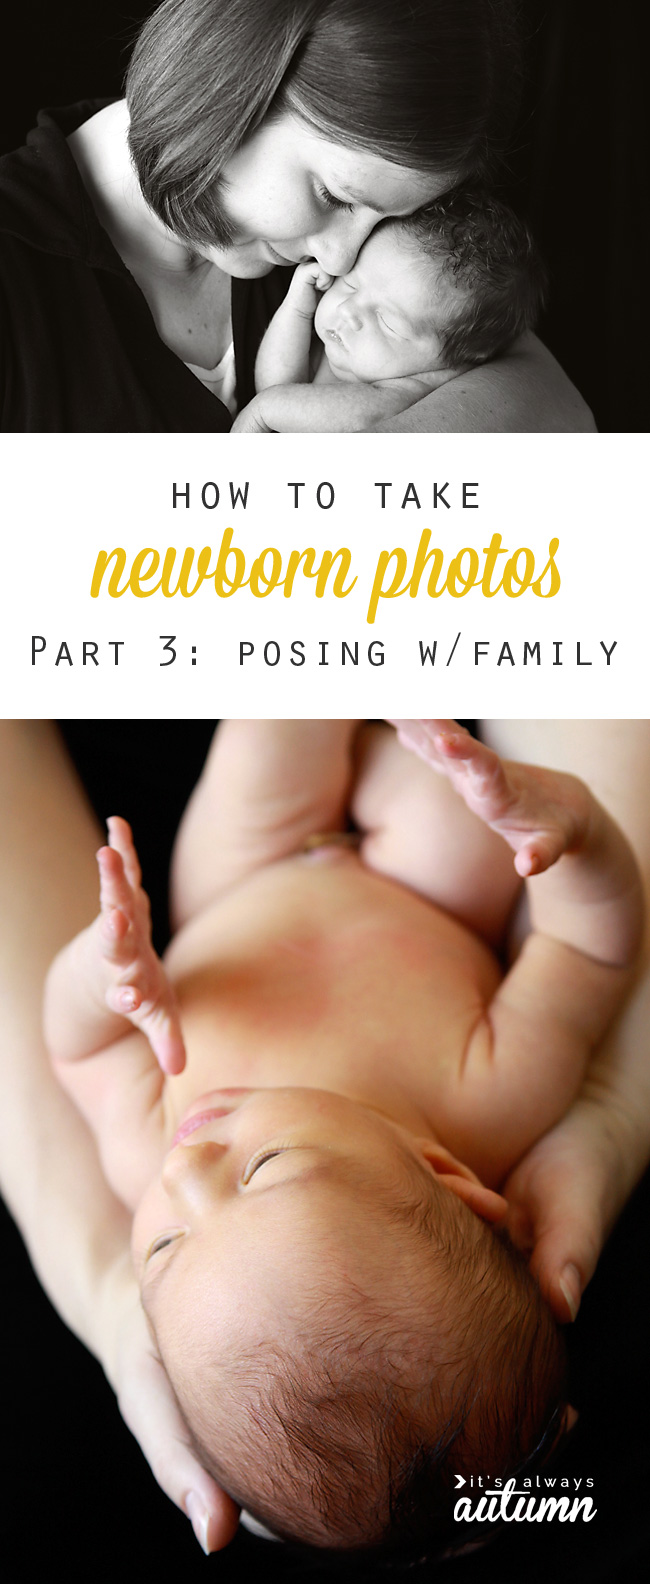
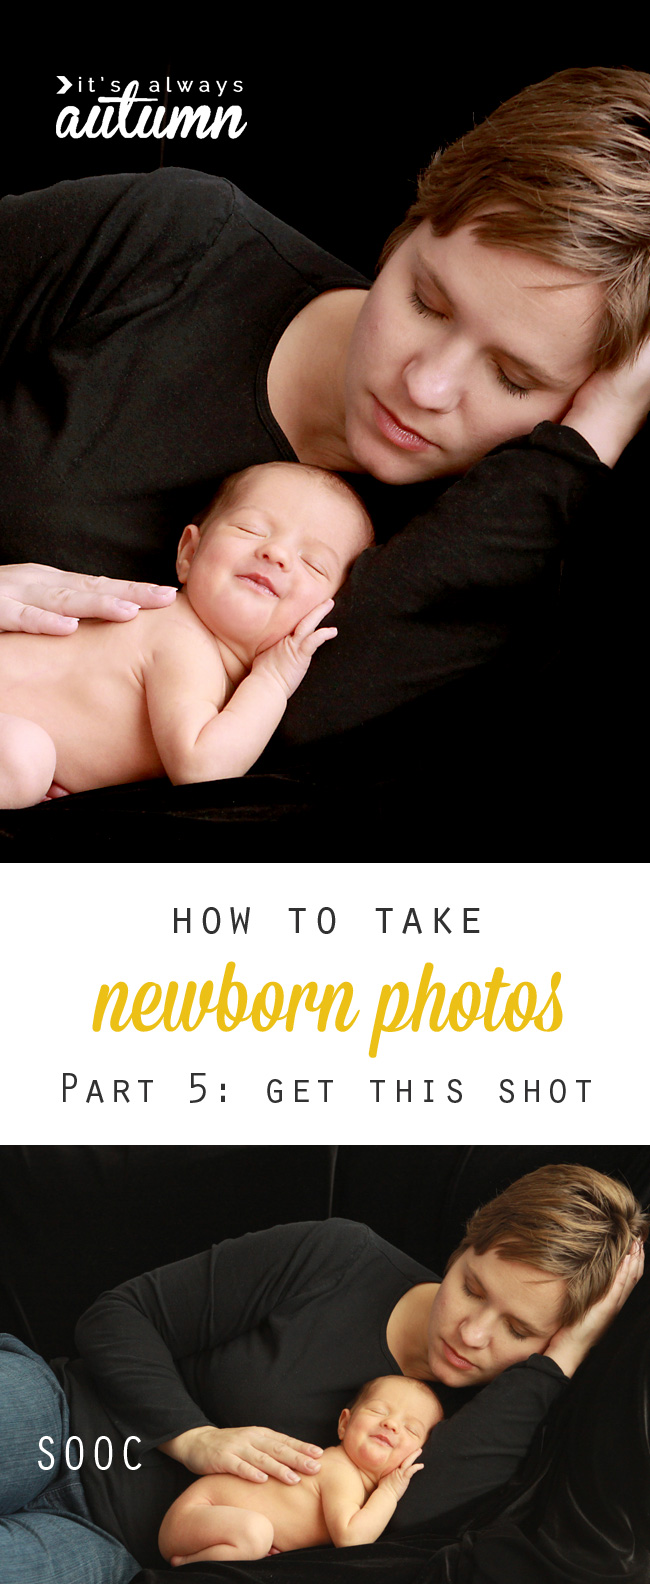
Part 1: the basics: newborn photography tips | Part 2: DIY baby photoshoot: posing | Part 3: posing baby with family members | Part 4: How to edit baby photos | Part 5: how to get this shot (setup to post processing)
Safety NOTE
PLEASE NOTE: YOU MUST ENSURE YOUR BABY’S SAFETY during a photoshoot. Any time you are taking pictures of a baby, you MUST have another adult acting as a spotter that stands near the baby at all times. Any backdrops that you use must be secured. Do not try any poses that aren’t safe, and when trying any poses I may describe, ensure another adult is within arms reach of the baby AT ALL TIMES. You are responsible for ensuring the safety of your children or anyone else you photograph.
How to edit baby photos
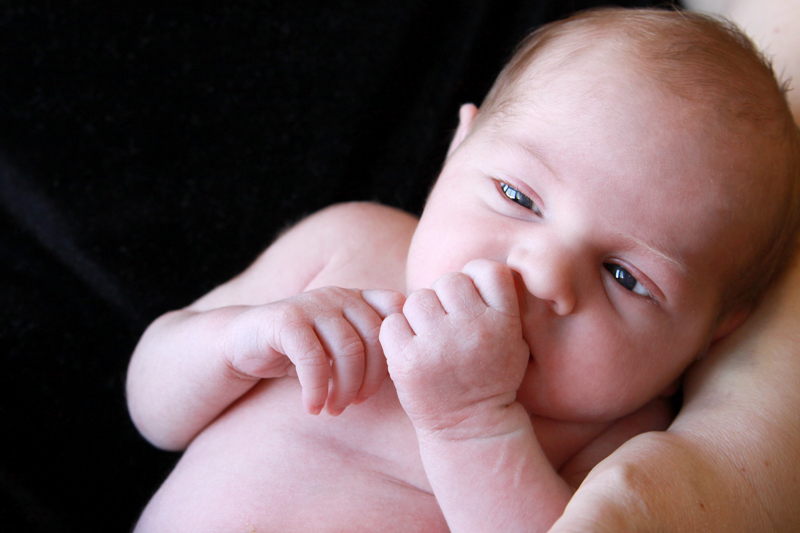
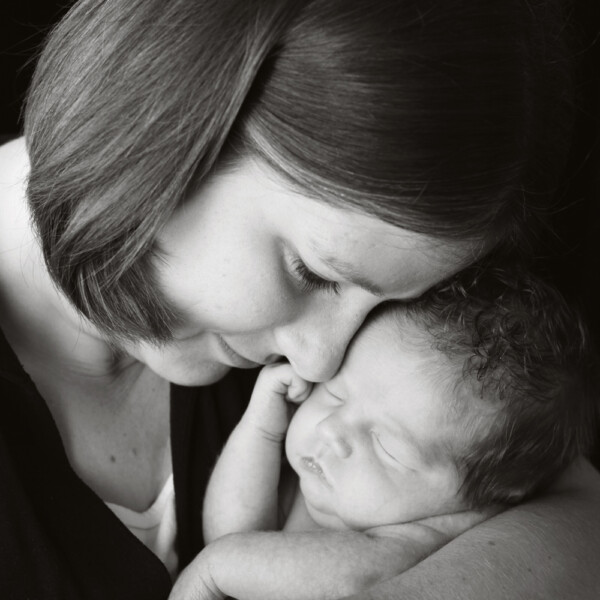
Today I just thought I’d show you how I usually edit baby photos. Newborn photos can usually use a fair bit of editing because it’s normal to see scratches, red splotches, dry skin, etc., on those new babies’ little faces. What sort of editing and how much editing to do is really a matter of preference – my goal is generally to remove distractions and help the baby’s skin look it’s best while maintaining a realistic photo that doesn’t “look photoshopped.” I generally edit using Photoshop Elements.
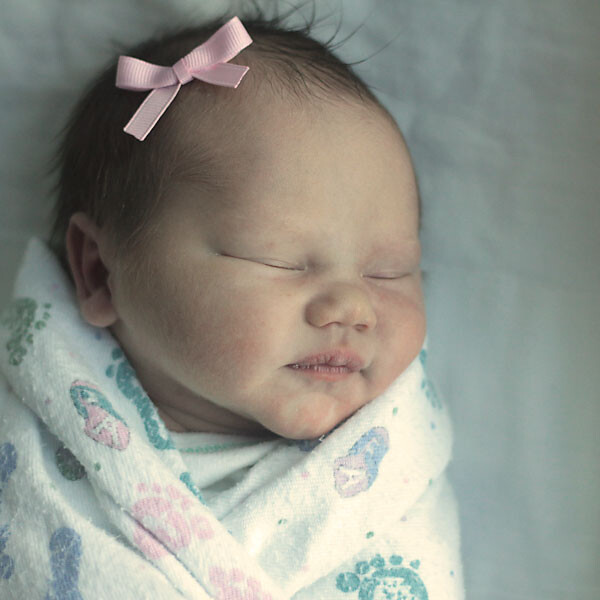
I’ve made a screencast for you today taking you through my usual process. The screencast shows you how I took a photo from this:

to this:
With a little bit of editing, we are able to take out any scratches, smooth the skin, and reduce redness for a really pretty finished baby photo.
I use an action fairly often when editing baby photos. It’s the Baby Powder Room Action from Coffeeshop. It’s free (all Rita’s actions are free at Coffeeshop!) and it’s really helpful, so if you’re interested in editing baby photos I’d highly recommend you get it, then find an online tutorial on how to install it into Photoshop or Photoshop Elements. My video covers basic edits as well as walks you through the way I use Baby Powder Room to edit baby photos.
Oh, one last thing – please excuse the noises of the five children playing at my house in the background of the video. They’d tried to be quiet. Or at least they claimed they were trying to be quiet 🙂 Here you go:
Thanks!
Part 1: the basics: newborn photography tips | Part 2: DIY baby photoshoot: posing | Part 3: posing baby with family members | Part 4: How to edit baby photos | Part 5: how to get this shot (setup to post processing)
SaraH says
These posts are great! I also see no link for the editing video you talk about in this post.
autumn says
Thanks for letting me know, Sarah. The video is now embedded in the post – when I switched blog formats a few months ago a few things got lost.
Mike says
Hi Autumn!
I just came across your site and have been reading your photography articles – great stuff!!
I can’t seem to find the link to your video on “Take Great Photos of your Newborn: Part 4 Editing”. Am I missing something?
Keep up the good work!
– Mike
– Mike