
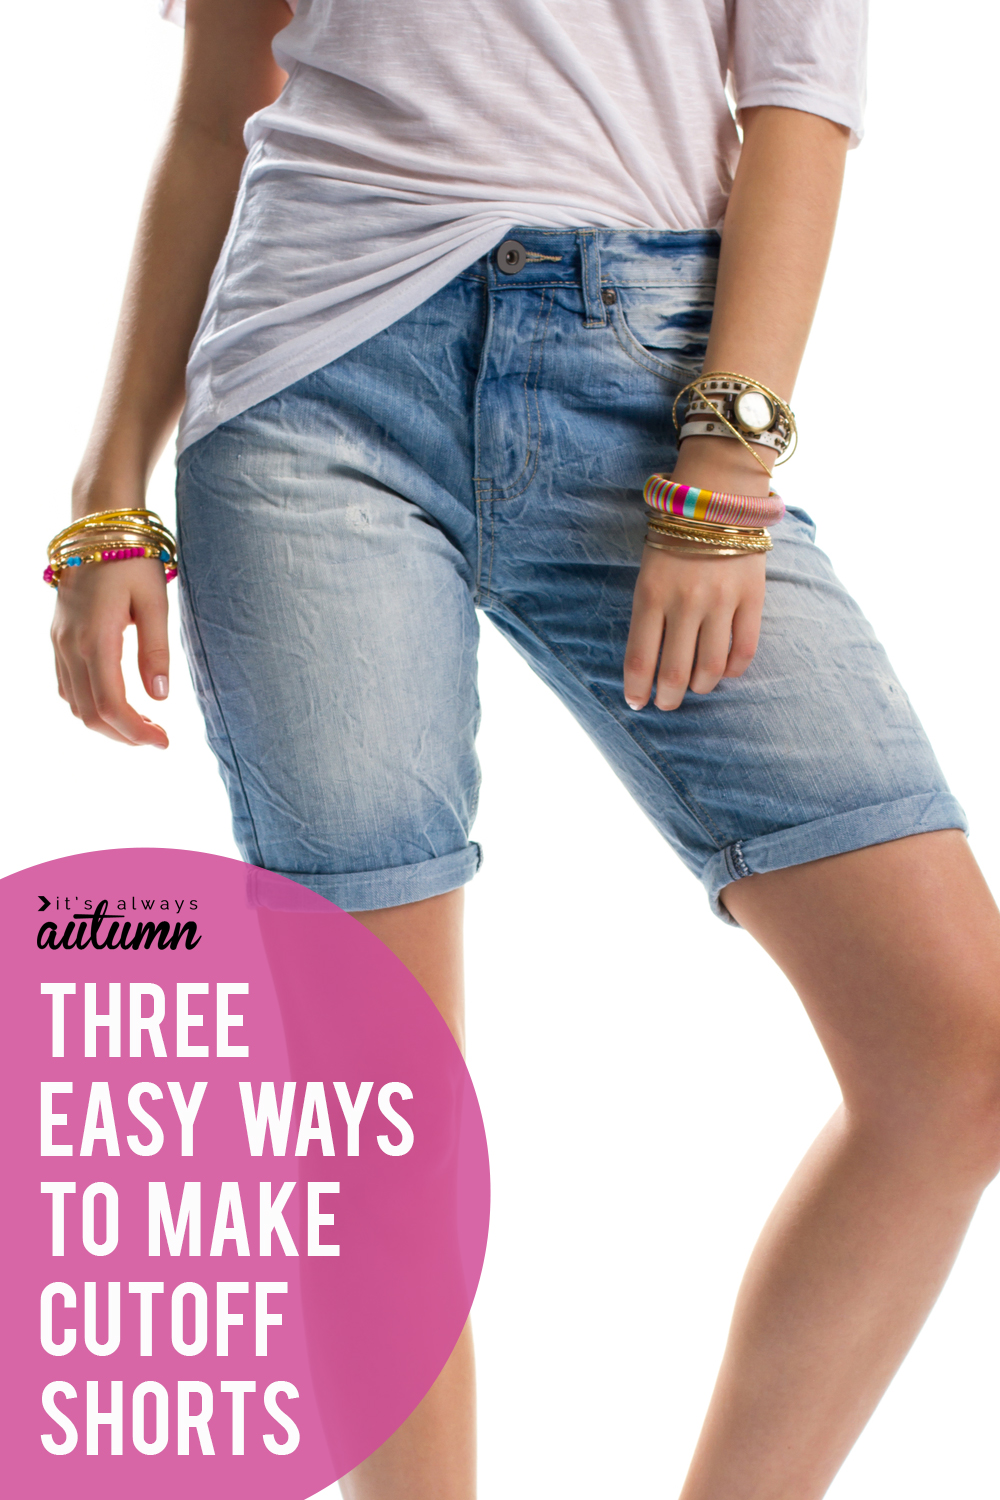
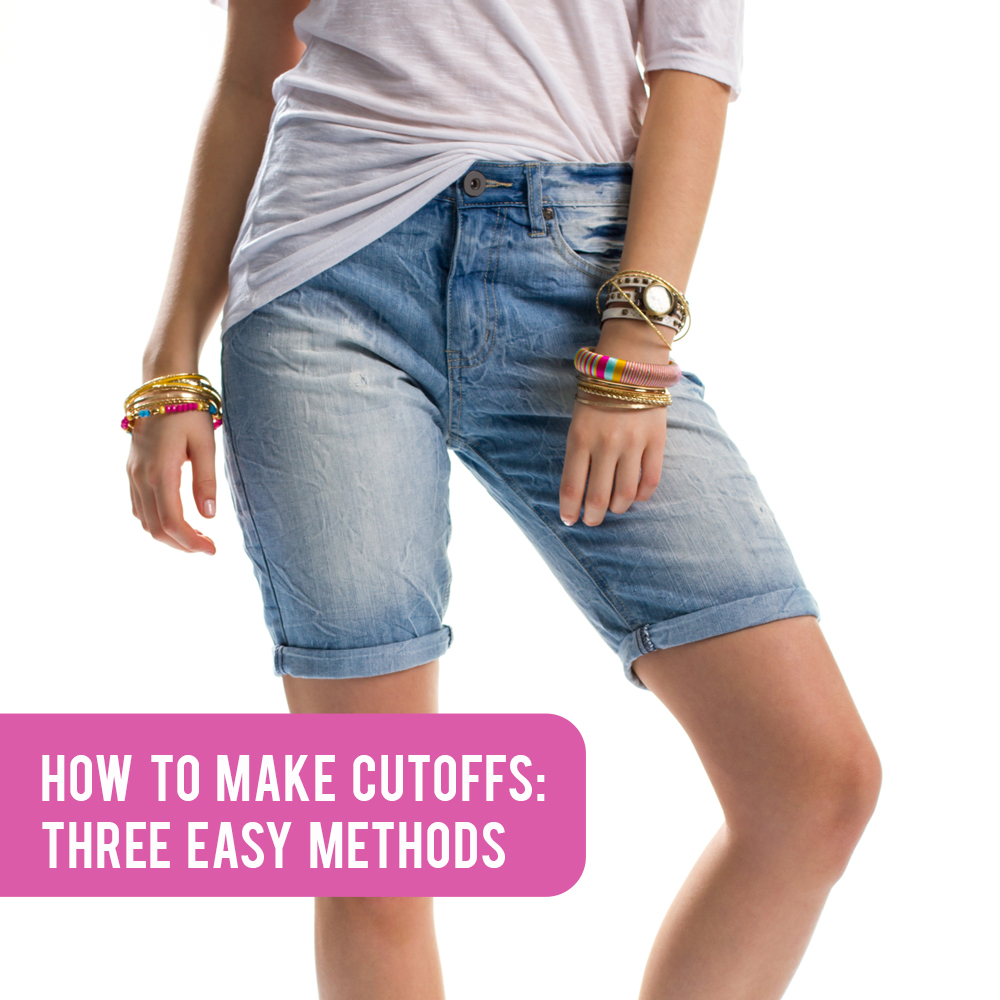
In today’s post: Get the perfect pair of cut off jeans shorts in about 15 minutes with one of these three easy methods for turning jeans into shorts. Choose from a cuffed edge, a hemmed edge, or a frayed edge.
Well, I don’t know what it’s like where you live, but here shorts season has officially begun! I like wearing longer shorts, which can be hard to find in stores, so when I want new denim shorts I head to the thrift store to buy an old pair of jeans and turn them into cute shorts. That way I can decide exactly how long I want them to be AND how I want the edges to look. Today I’m going to show you three different ways to DIY your jeans cutoffs: with a cuffed edge, a hemmed edge, or a frayed edge. This way you can choose any inseam you like, from shorty shorts to knee length.
Prep Your Jeans
Before you turn a pair of jeans into cutoffs, make sure you have washed them in a washer and dried them in the dryer, if that’s how you’ll plan to care for the finished shorts. This is because the denim fabric of jeans usually shrinks a bit in the wash. The jeans you are using may be preshrunk, but unless you are using a pair of old jeans that you know have been washed before, run them through a load to make sure – you don’t want to end up with shorts higher on your thighs than you planned!
Working with Denim
Making cutoffs is easy, but having two things will make it even easier: sewing scissors and a denim needle for your sewing machine. Denim can be hard to cut through without sharp scissors, and it’s tough enough to break regular needles, so be sure you have both of these before you begin.
How to make cuffed cut off jeans
The first method gives you the standard rolled up cuff look for your shorts. This method looks best if the outside of your jeans are darker than the inside, because the cuff will be more noticeable.
A few things to note before you begin: In the first two methods below I finished the cut edges by serging. If you don’t have a serger, use a zigzag stitch on your regular machine to finish the raw edge. Also, please be aware that a cuffed hem is easier to do at a spot on the jeans where there is NOT a lot of taper. If the width of the place you cut is much smaller than the width of the place you’re trying to roll it up to, you’ll end up with bunching. Finally, this is a good method for turning jeans into capris too!
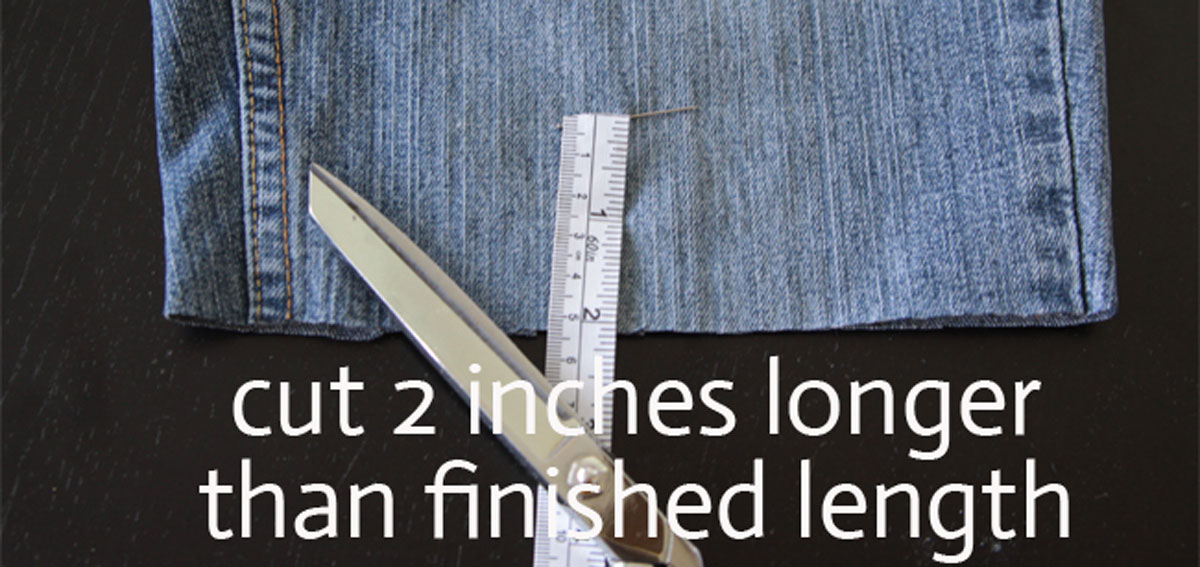
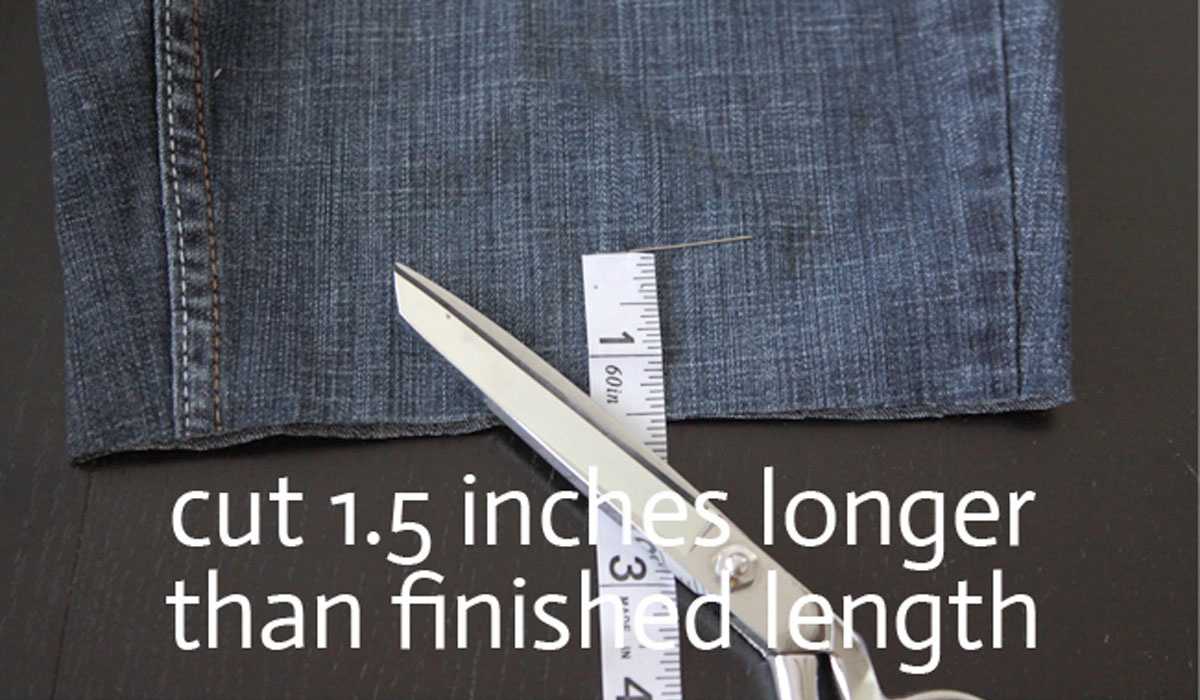
1. Cut the Jeans
Try on the jeans and decide how long you’d like your shorts to be. Mark the shorts’ length on each leg of the jeans with a pin. Cut the jeans legs off 2 inches beneath the pin. Cut straight across and discard the excess fabric or save it for another project. Remove the pin.
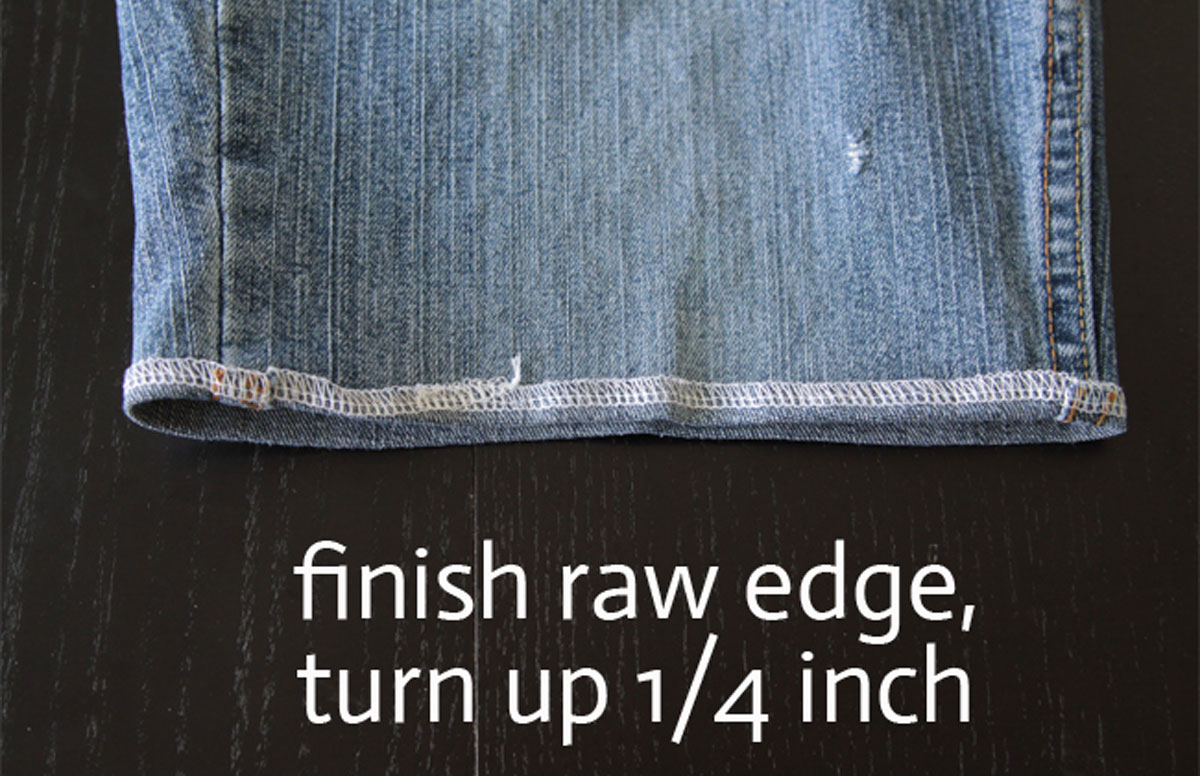
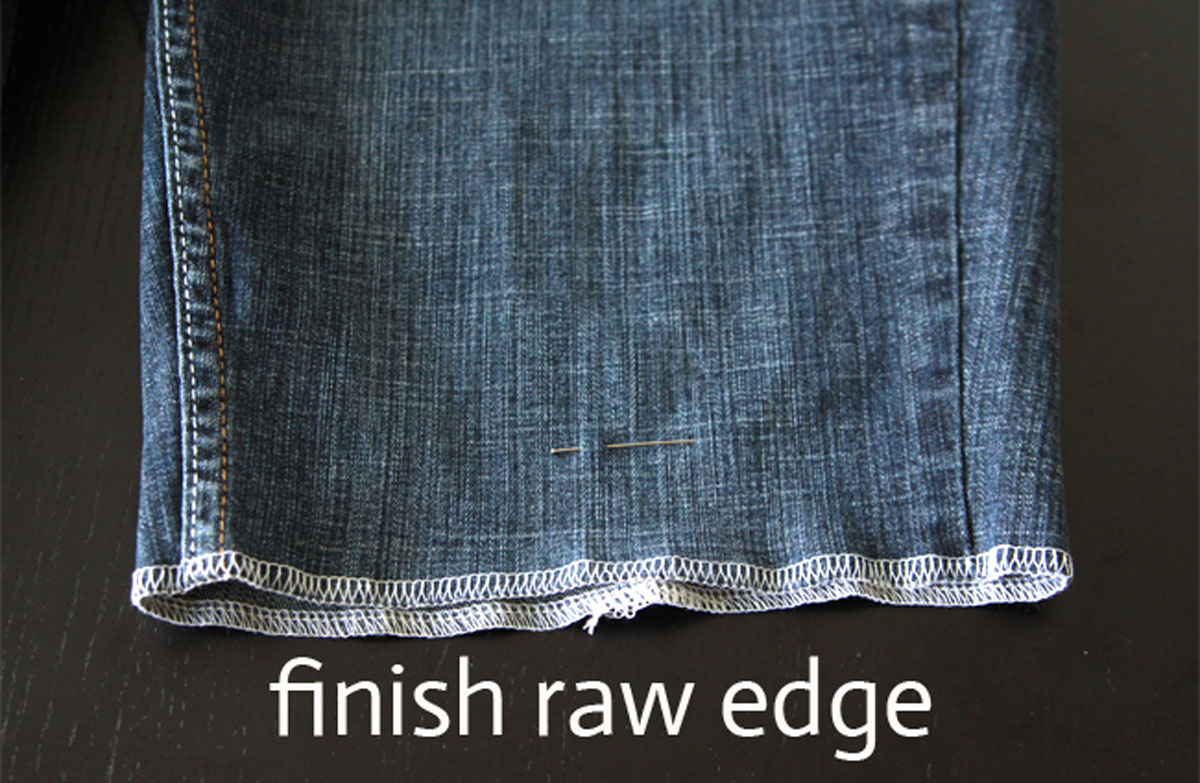
2. Finish Raw Edge
Finish the raw edge of the jeans by sewing all the way around it with a zig zag stitch on a regular machine, or a serged stitch on a serger. Then fold the finished edge up 1/4 inch, folding it toward the outside of the pant leg.
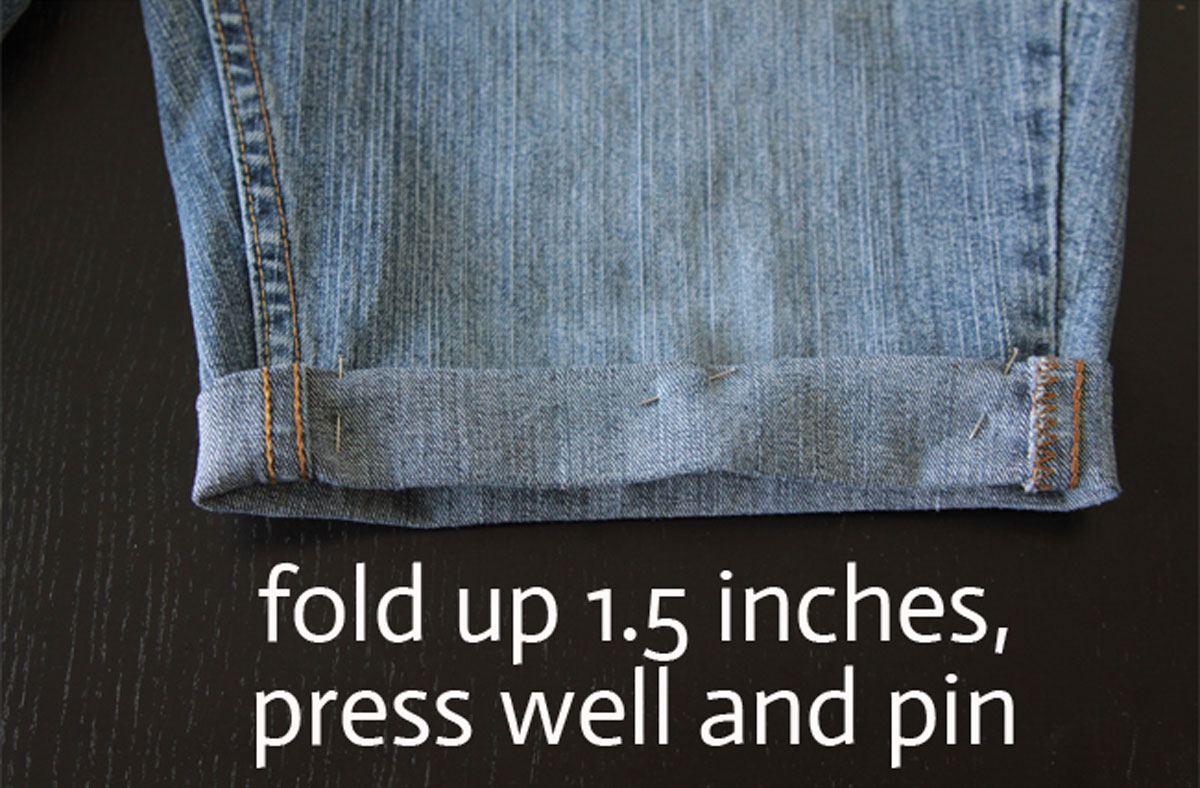
3. Fold Up to Create Cuff
Fold up the pant leg again, this time 1.5 inches, to create a cuff. This second fold will be on the original mark so your shorts will end up the right length.
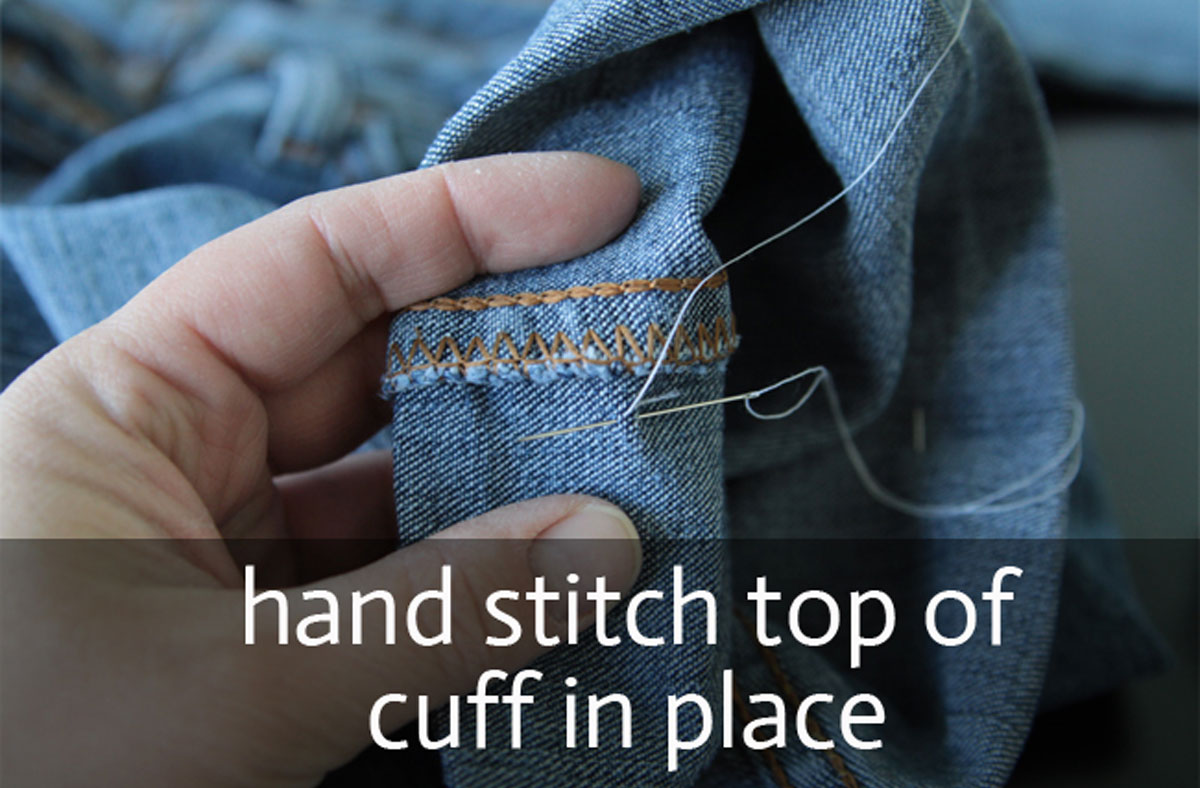
4. Hand Stitch the Cuff in Place
Hand stitch the cuff in place with needle and thread. It’s easiest to turn the shorts inside out as you do this and sew from the inside of the leg, catching the top of the cuff as you sew. This isn’t required, but it helps the cuff stay in place through the wash. You don’t have to sew all the way around the cuff; just a few stitched at the inner and outer seam of each leg should do it.
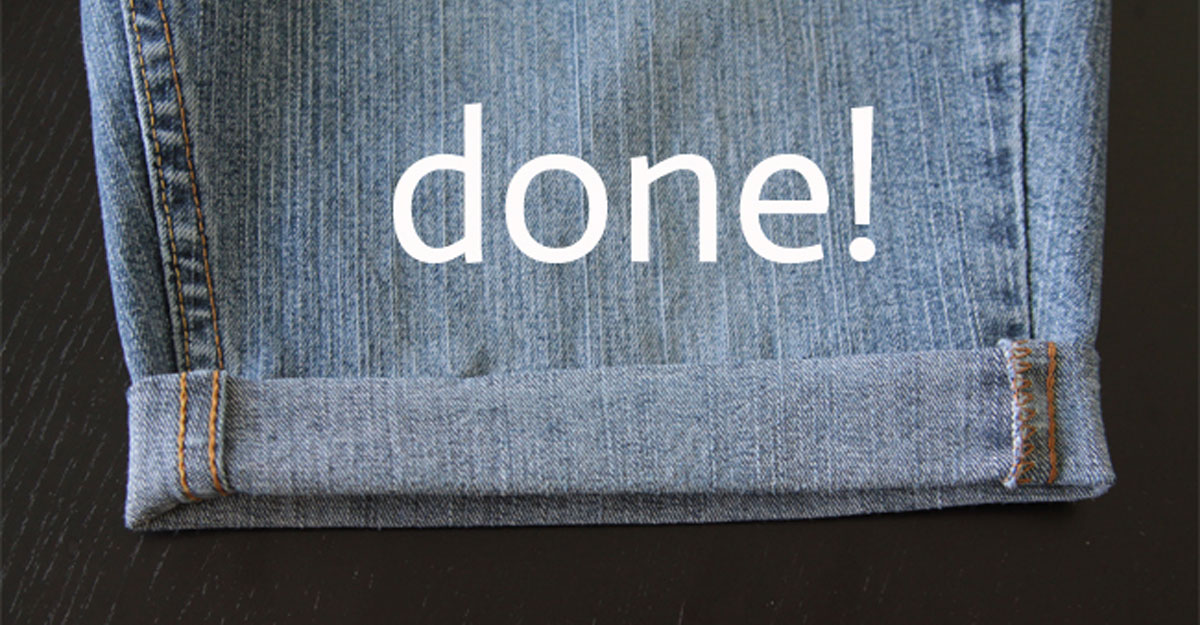
This is what your finished DIY denim cut offs look like:
hemmed cut off jeans shorts
I think this hemmed finish looks really nice on darkwash jeans – they feel just a little bit dressier than the other two options. Photo instructions are below, but one thing to note is that when you are actually sewing the hem, you need to stretch the shorts leg as you sew. Otherwise, if you’ve started with tight jeans and the shorts are at all tight around your leg, you’ll pop the stitches of the hem as soon as you put them on. Stretching while you sew adds a little give to the hem so it can stretch around your body.
1. Cut the Jeans
Try on the jeans and decide how long you’d like your cutoff shorts to be. Mark that length with a pin. Cut the jeans legs off 1.5 inches below the pin. Remove the pin and discard the extra fabric or save it for another project.
2. Finish the Raw Edge
Finish the raw edge of the jeans by sewing all the way around it with a zig zag stitch on a regular machine, or a serged stitch on a serger.
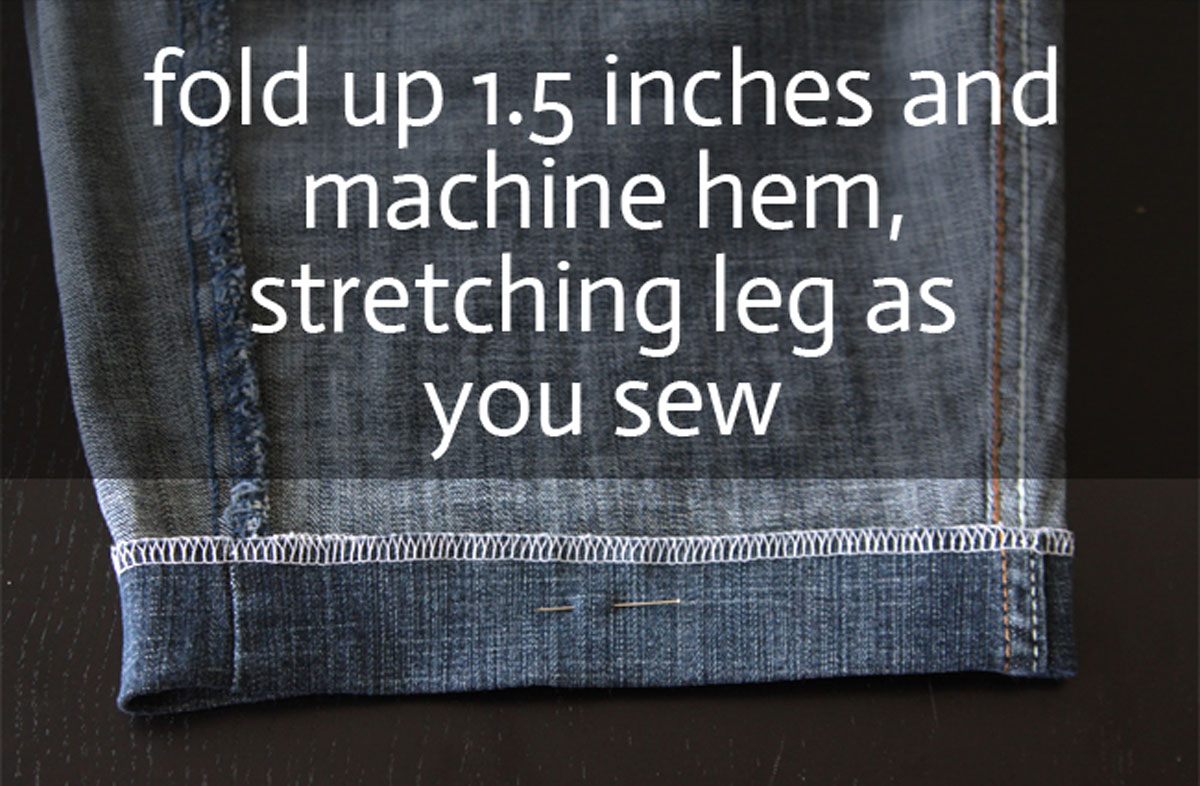
3. Hem the Shorts
Fold the finished edge up 1.5 inched toward the inside of the jeans. Press it, and then pin it. Sew all the way around at the top of the finished edge to create a hem. If you are using a straight stitch, stretch the jeans leg slightly as you sew to create some “give” in the same. If you do not stretch the pants leg, the seam will pop when you put the shorts on and move around.
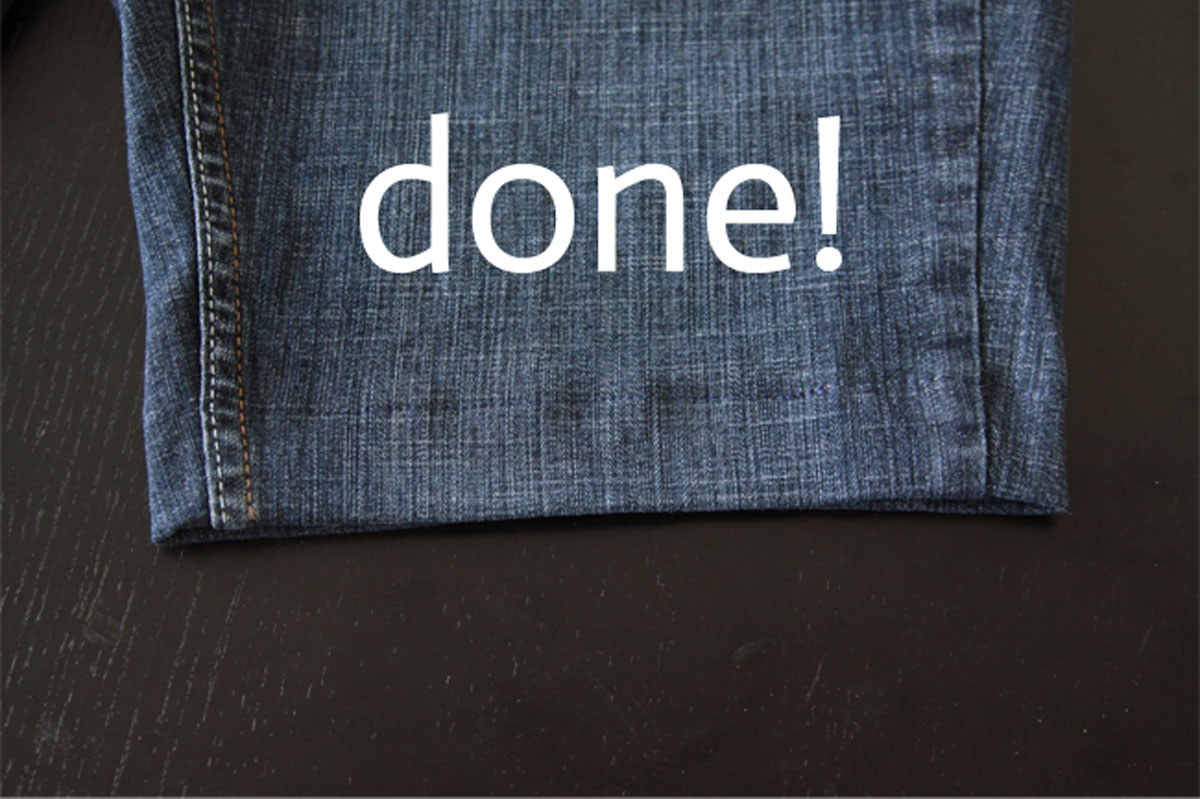
If you use matching thread and a straight stitch, the hem will hardly be noticeable:
frayed jeans shorts
So everyone knows how to just cut off their jeans and let them fray, right? Why am I even showing a photo tutorial for this? The answer is that if you simply cut off your jeans they’ll fray forever, leaving you with obnoxious white threads every. single. time you wash them for the rest of your life. Lame. But if you sew around the bottom of the cutoffs, as shown below, you’ll only get new frayed threads for the first couple of time you wash them. Once the fray hits the area you’ve sewn it will stop and you can stop getting annoyed every time you wash them. Photo instructions below.
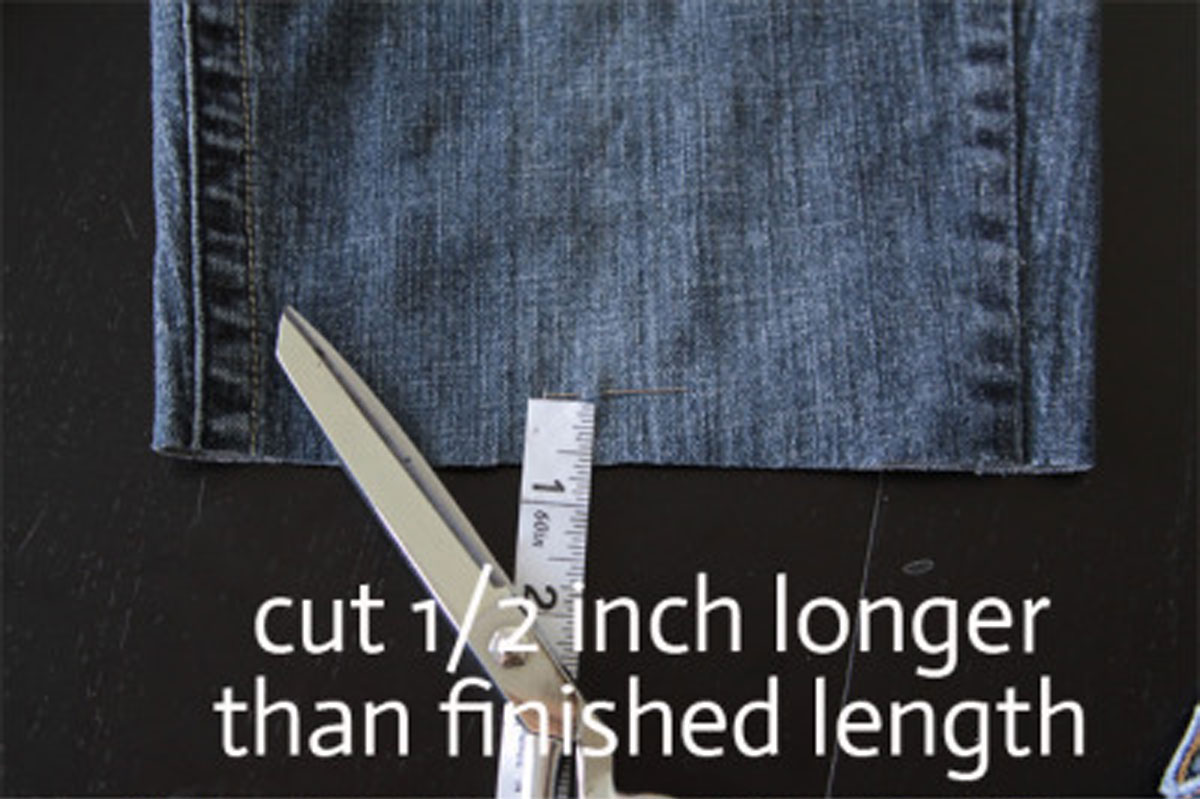
1. Cut the Jeans
Try on the jeans and decide how long you’d like your shorts to be. Mark that length with a pin. Then cut off the legs of the pants 1/2 an inch below the pin.
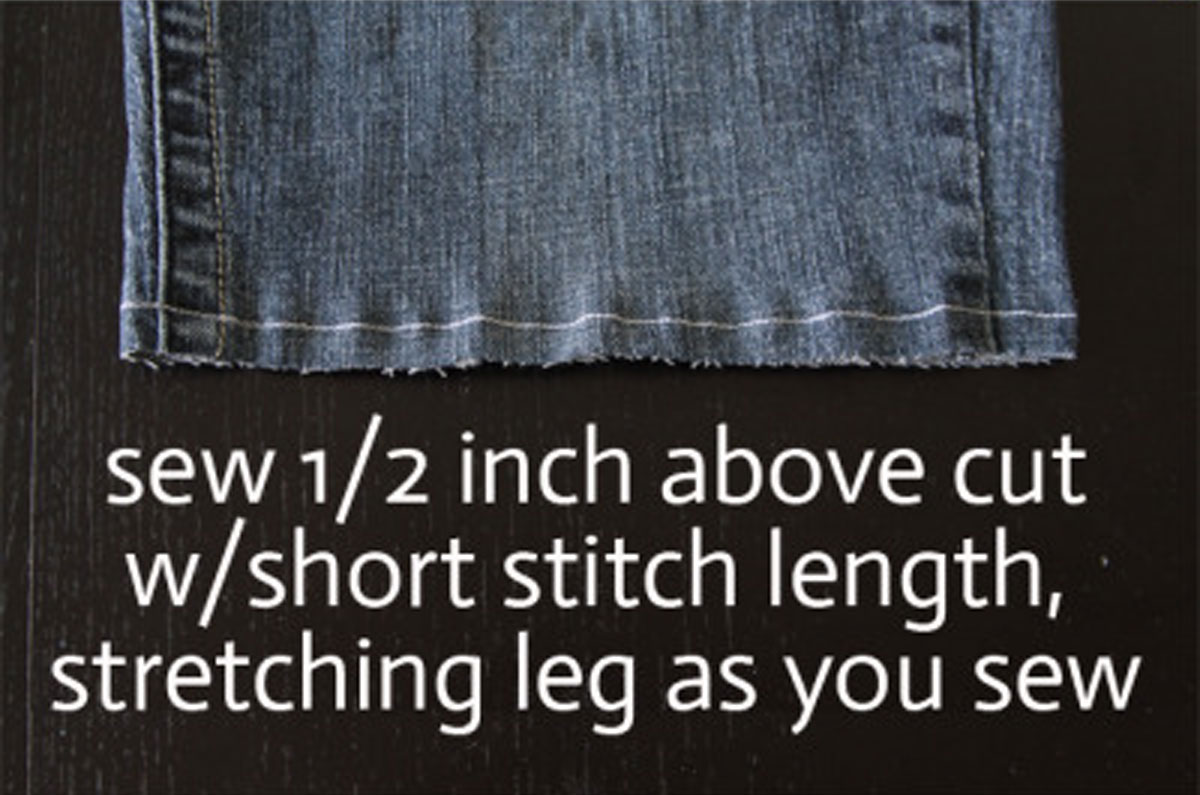
2. Sew around Edge
Half an inch above the cut edge, sew a straight stitch all the way around the pant leg. Be sure to stretch the pant leg slightly as you sew. This line of stitching creates a barrier for the fraying.
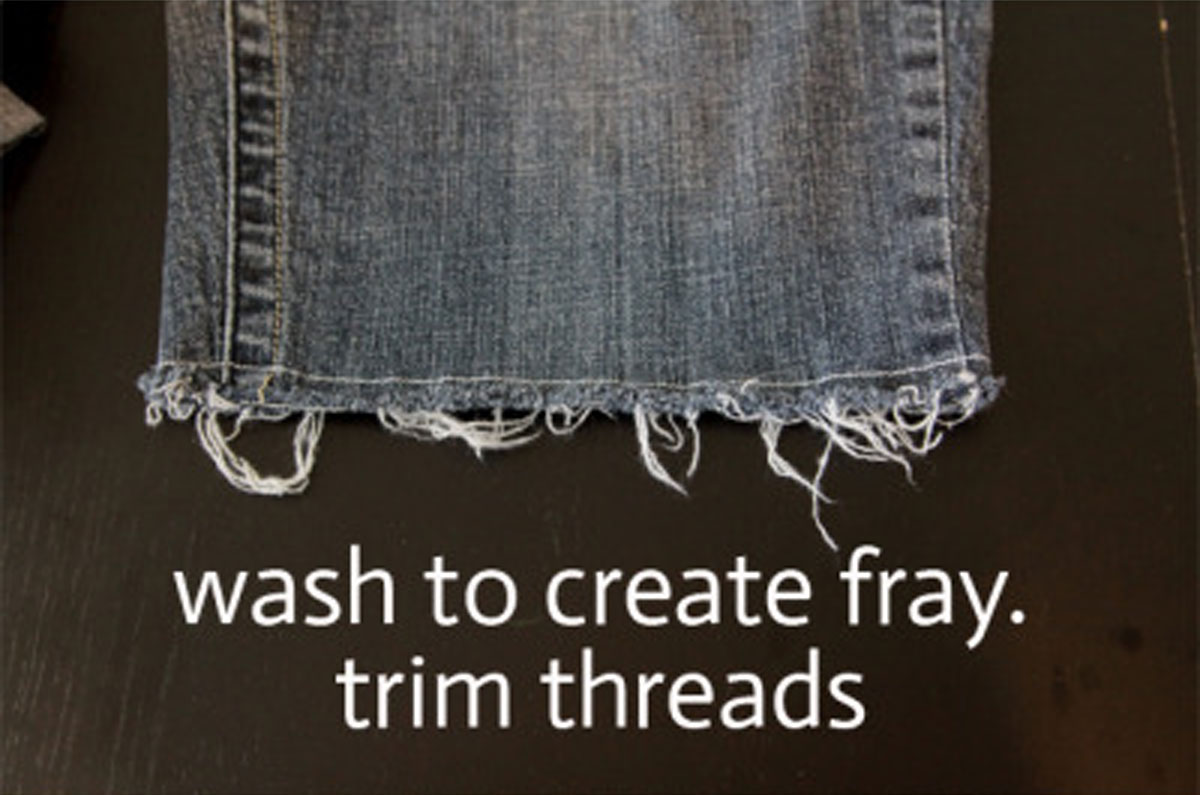
3. Wash to Create Fray
Wash and dry your shorts a couple of times to create a fray around the bottom edge. The photo below is after one washing. Trim any long threads or use a pair of tweezers to pull them and encourage more fraying.
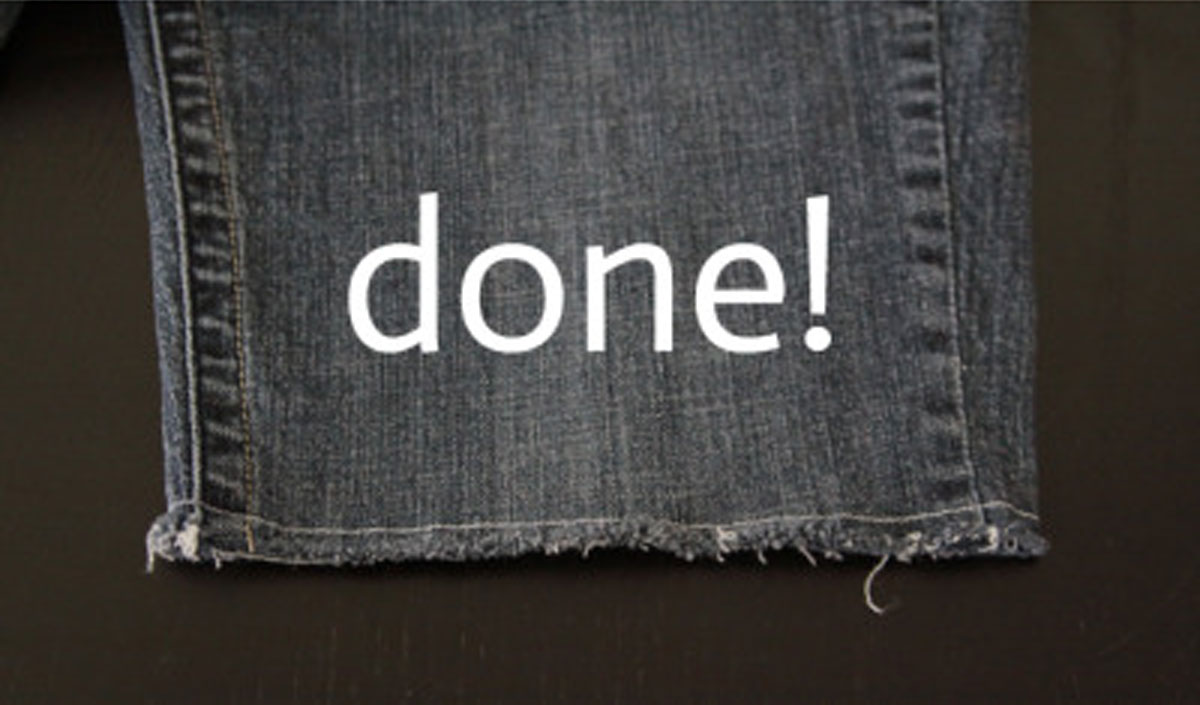
The shorts will continue to fray when you wash them, until the fraying hits the sewn barrier. After a number of washes the frayed area will turn into a cute fringe.
Optional: Distressing
Once you’ve finished creating your DIY cutoffs, you can distress them if you’d like. You can do this by cutting a couple of horizontal slits right next to each other in a small area to create a hole, or using sandpaper to soften up areas and make them look more worn in. Finally, you can also use bleach to lighten the color and create some cool effects. Learn more about distressing jeans here.
Want more easy sewing tutorials? Try these:
The perfect gathered skirt for summer
Easy swing dress pattern and tutorial
How to make a girls’ swim coverup


Kristie says
Love this. I just bought some cuffed ones from the thrift store and love how they are but am way too lazy to figure out how to do it. 🙂 So thanks for the info.
Also, someone asked if you made something awesome with the left over legs for your daughter? We used the left over legs to make little bags that hold water bottles and snacks for a hike. You just need to add a webbing strip or ribbon for the handle, and sew up the cut end, so you end up with a all finished edges.
Gina Guzzo says
If you wanted, you can add a bit of lace to the bottom of these to add a little style. Ihad some cut off shorts for my daughter and bought some lace at Walmart and sewed iron the bottom of the shorts. She loves them and gets tons of compliments!