
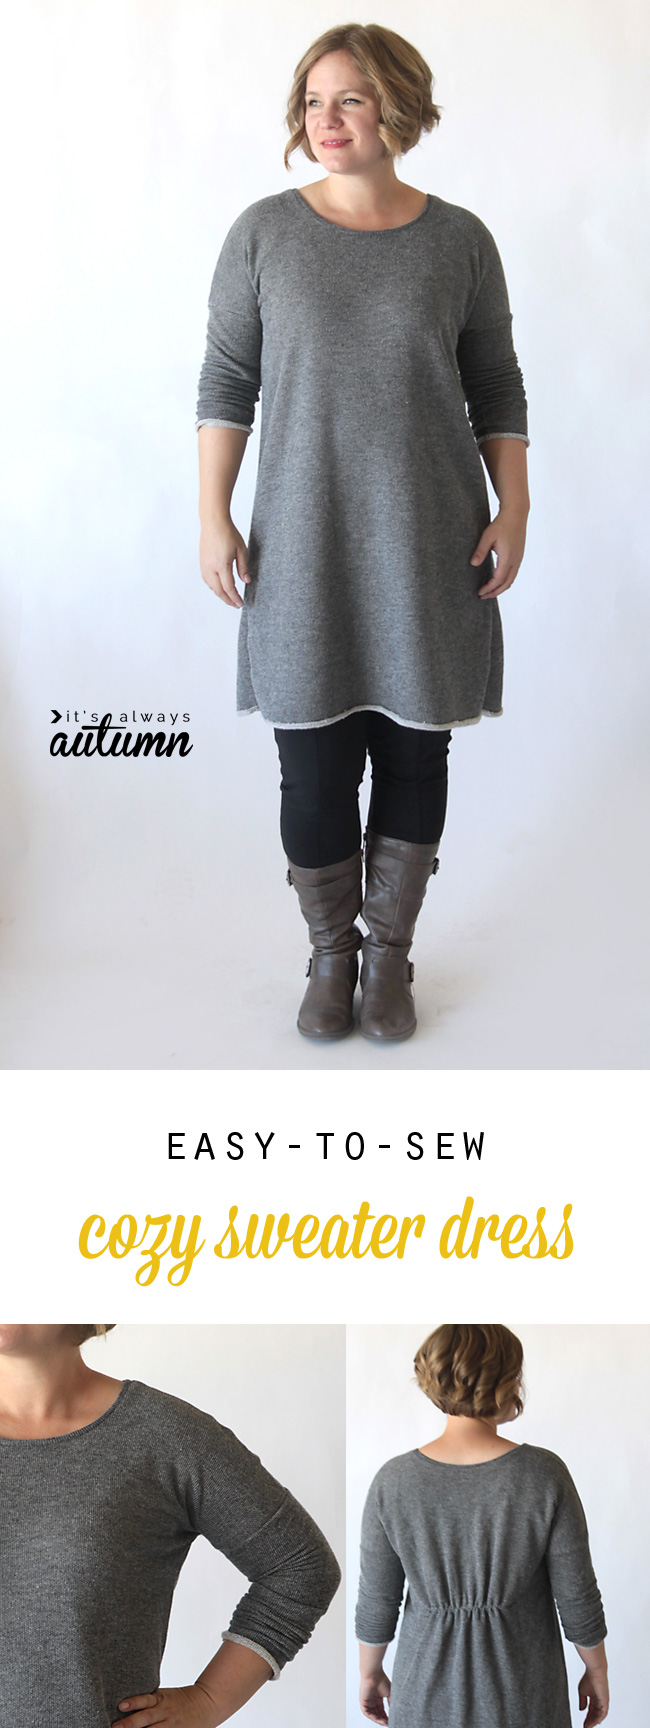
Breezy fall days always make me want to curl up with a book and a blanket on a cozy corner of my couch, and occasionally, thanks to the fact that most of my kids are in school, I actually get to do it! If there’s any chance of curling up, my jeans are not going to be involved. Honestly, anything with a button and zipper isn’t going to be involved. Sweats or leggings are definitely the way to go when comfiness is calling. Since I don’t like to wear leggings unless I have a really long shirt on (and no, I’m not joining the leggings aren’t pants debate, I’m just not a fan of my thighs on display…) the cooler weather called for a few new tunic or dress length tops. And since I’m lazy and I basically like to sew variations of the same thing over and over, I turned to my breezy tee pattern and long sleeve add-on to make this cozy sweater dress.
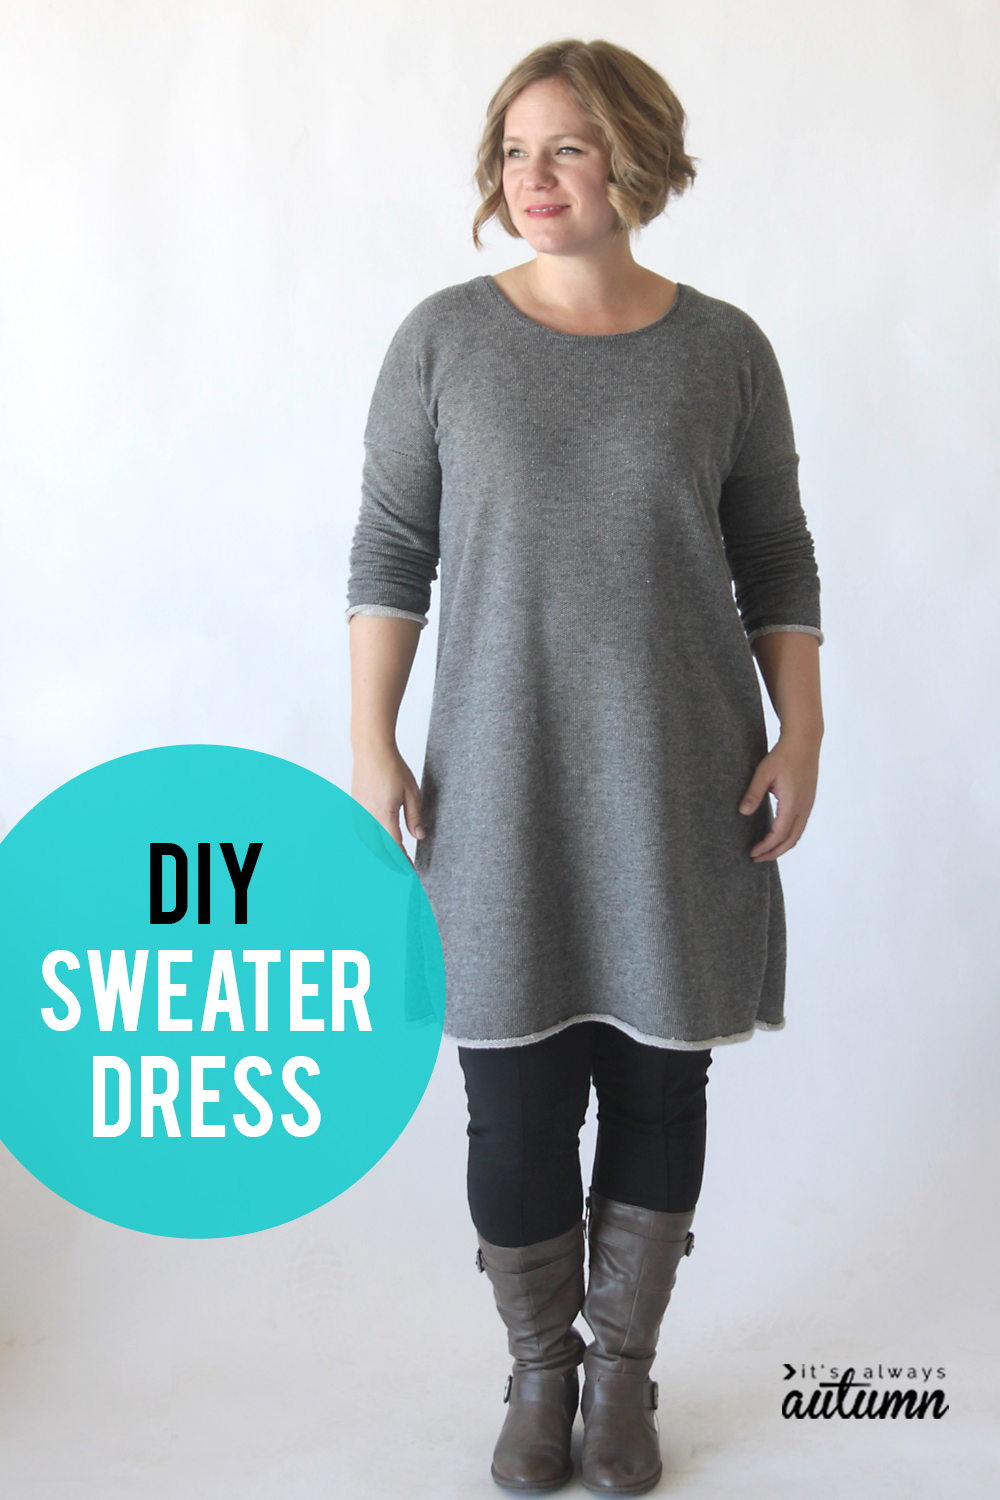
The breezy tee is a super simple top pattern available here for free in size L. I’ve already sewed in up as a blouse, turned it into a kimono, and added a 3/4 or long sleeve length. And now I’m turning it into a comfy cozy dress.
To make a long sleeve sweater dress, you’ll need the breezy tee pattern (found in this post) and the long sleeve add-on (found in this post). You’ll want to read through those posts to get familiar with the construction and learn how to put all the pieces together.
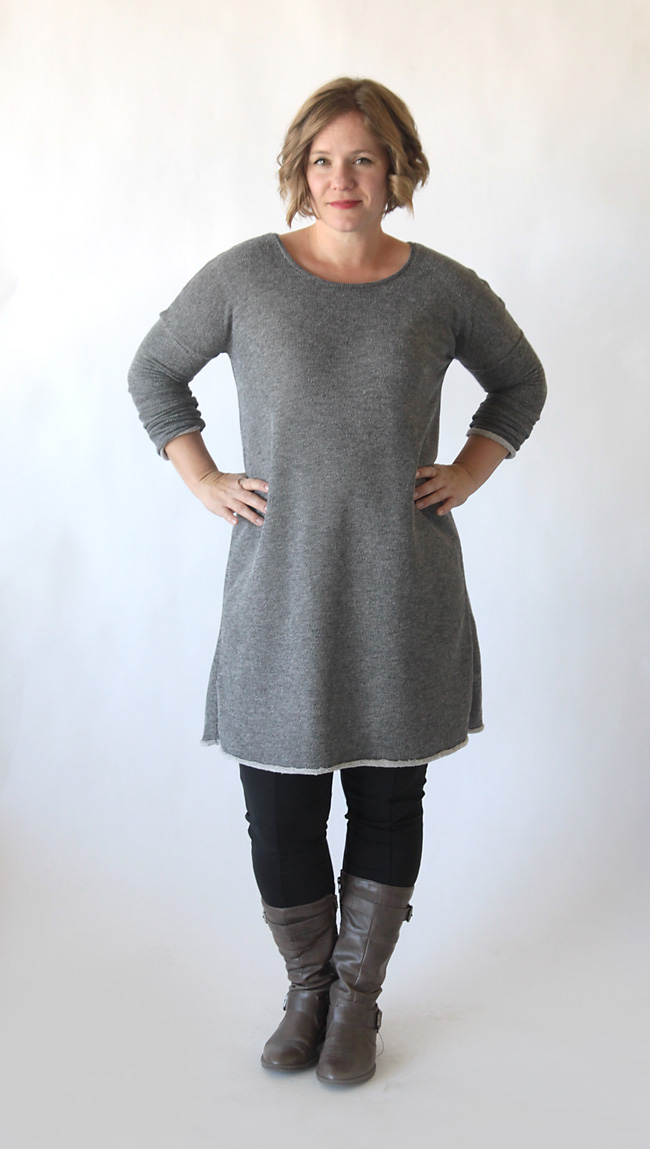
Making the breezy tee into a dress is simple: when you cut the main pieces, just extend them 12-18 inches depending on how long you want the dress to be and square off the bottom hemline instead of cutting it in a curve.
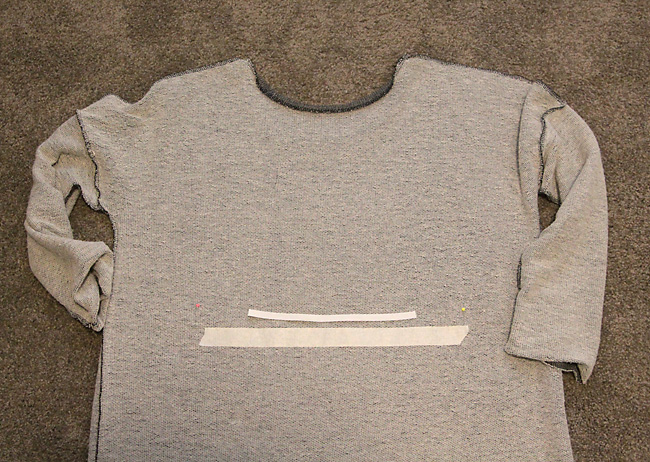
Sew everything up the exact same way, including adding a long sleeve, and you have a loose fitting dress. Now when I say loose, I mean it–it’s quite roomy and drapey. I wanted to give mine just a little shape, so I added a line of elastic across the back. To do so, use tape to mark a horizontal line across the center back on the inside of the dress. Cut a piece of elastic a couple of inches shorter than the line you’ve marked (the shorter the elastic, the more gathers you’ll end up with).
Pin the elastic just above the tape, matching the center of the elastic to the center of the tape and each end.
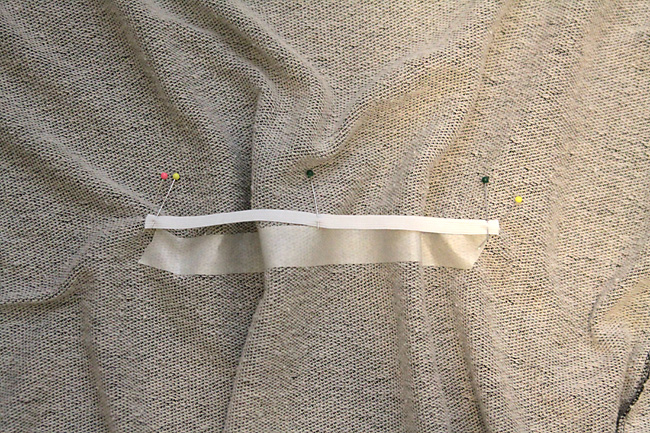
Stretch the elastic until the fabric lays flat as you sew it to the dress, using a zigzag stitch. Once it’s sewn on, it will gather up the back of the dress like this:
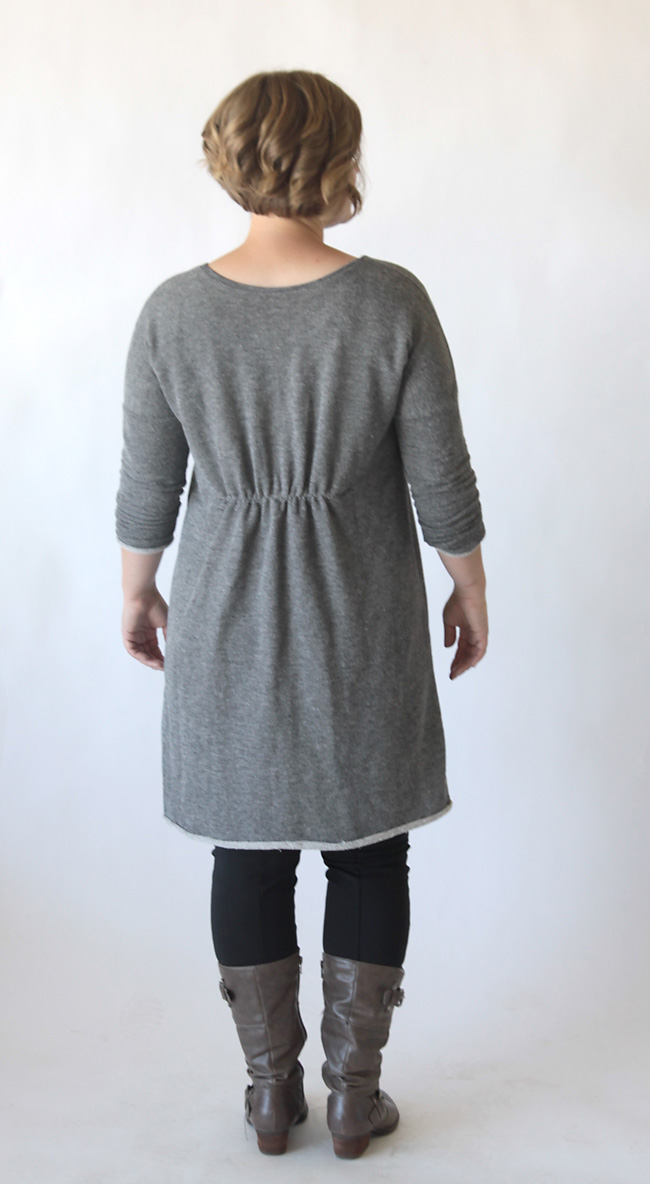
Alternately, you could take in the sides of the dress to give it a little more shape. I just have a rather round derriere, so I figured gathers in the back would be the way to go for me.
To finish off the dress, you’ll want to bind the neckline, add sleeve cuffs, and hem the dress as directed in the long sleeve add-on tutorial. I like the way the french terry fabric I was using curled up at the edges, so instead of adding sleeve cuffs and a hem, I just added a few stitches along the sleeve ends and hem to keep the fabric curled up…

…but I’m considering cutting it a little shorter and added a hem band instead, so it looks more like a really long sweatshirt. We’ll see. Either way, it’s comfy and doesn’t look quite as sloppy as sweats on those days I really can’t handle wearing jeans.

Robin Flatt-Homa says
I have a suggestion… Are you stay-stitching the neckline before assembling the pieces? If you sew two rows of fairly small length stitches along the edge of the neckline before you hem it it will keep the fabric where it belongs a lot better than not doing so. Just a suggestion from a 50 year seamstress 😉