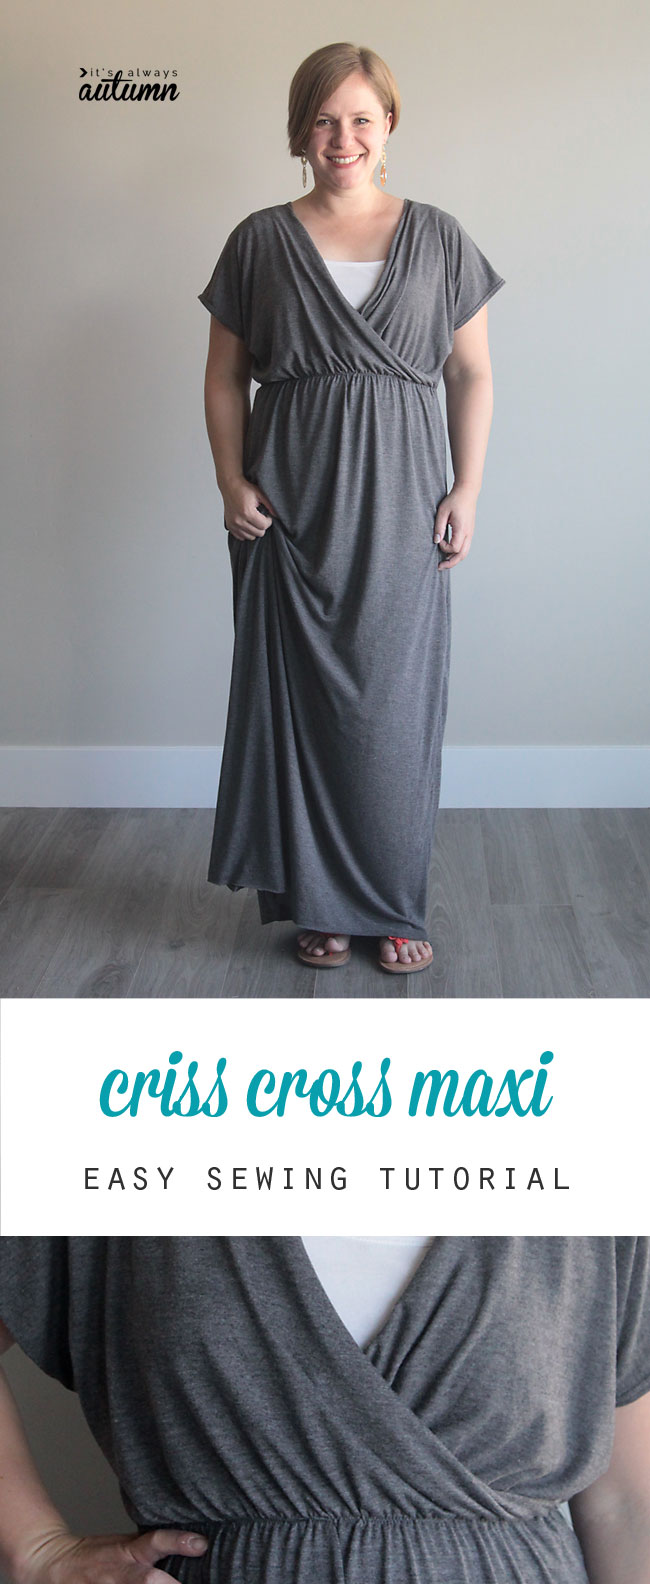
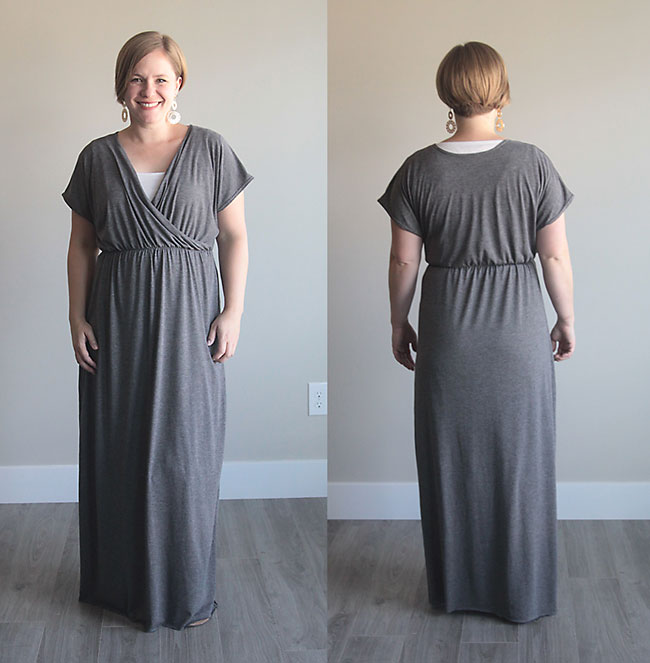
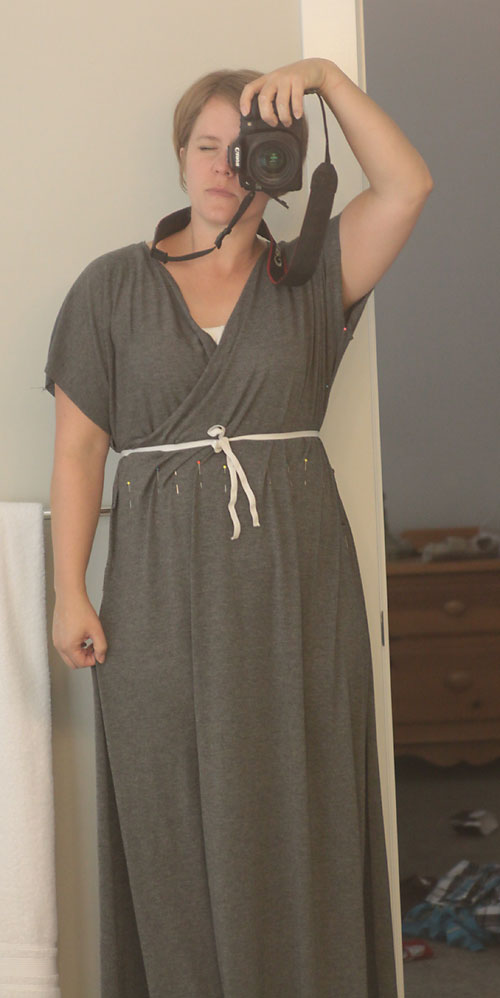
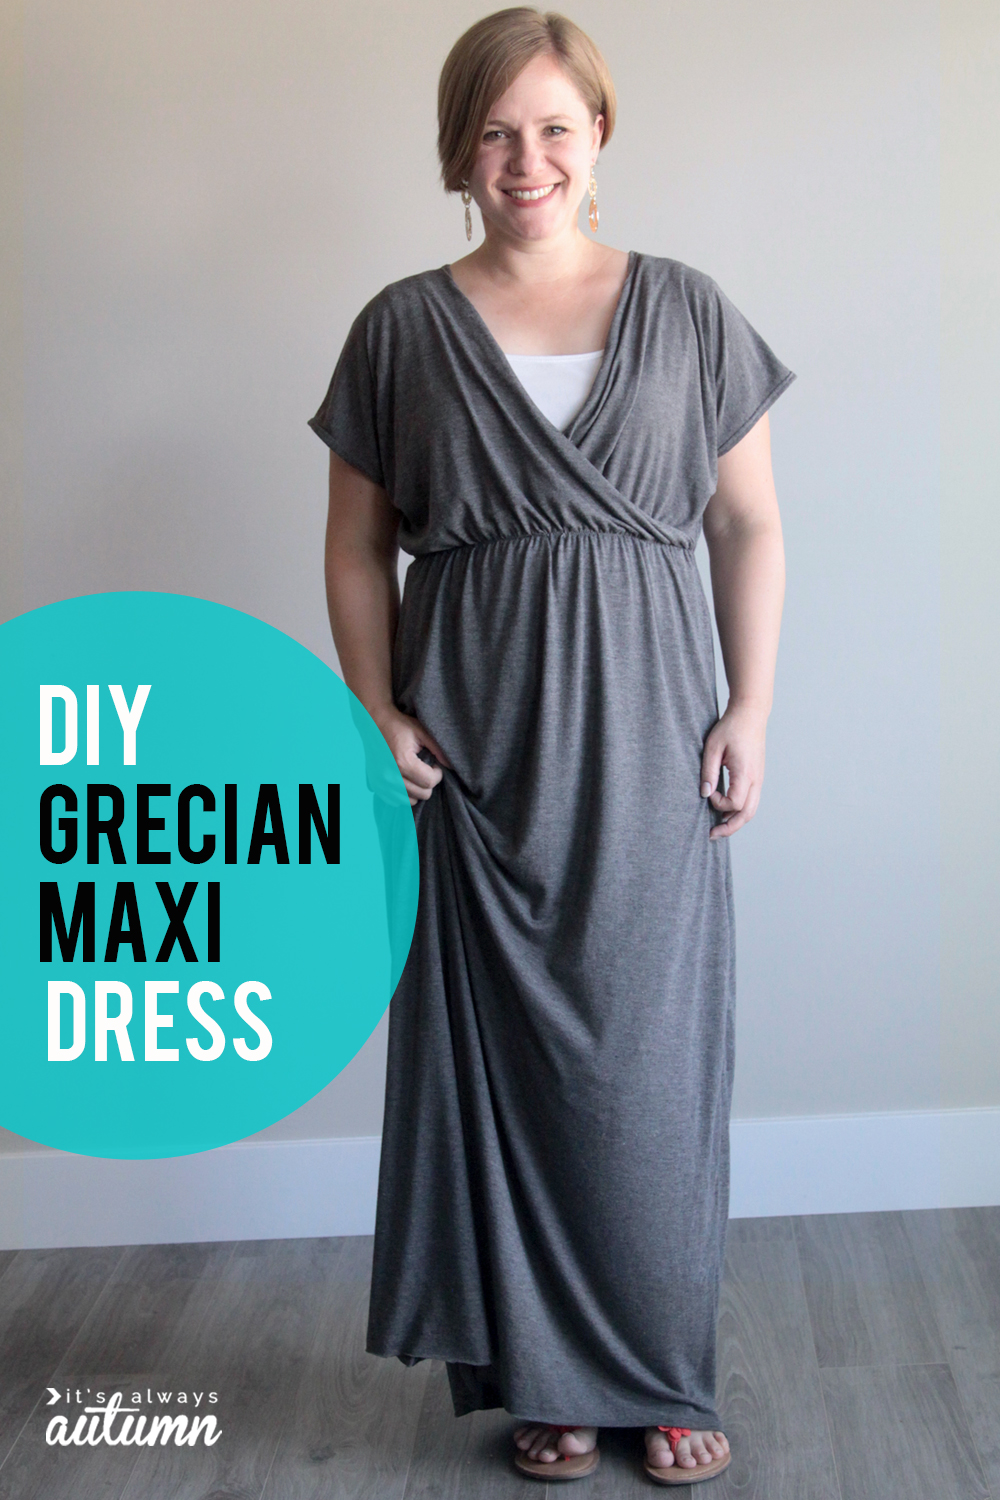
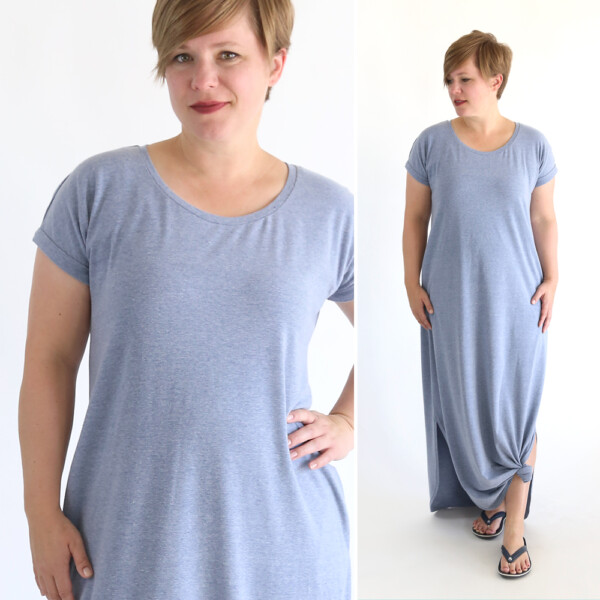
Last summer I made a maxi dress using my free easy tee pattern as a base, and I love it because it’s comfy, roomy, and it has sleeves! This summer I wanted another maxi, so I started with my easy tee pattern again, and made a few adjustments to make this criss cross maxi dress. I was going for the grecian goddess look. Unfortunately, the dress was unable to make me nine inches taller and forty pounds lighter (bummer). But it does hide both my muffin top and my jiggly arms, so grecian goddess or not–I’m calling it a win.
I used a grey spandex knit that’s soft and fairly lightweight, so it drapes really nicely.
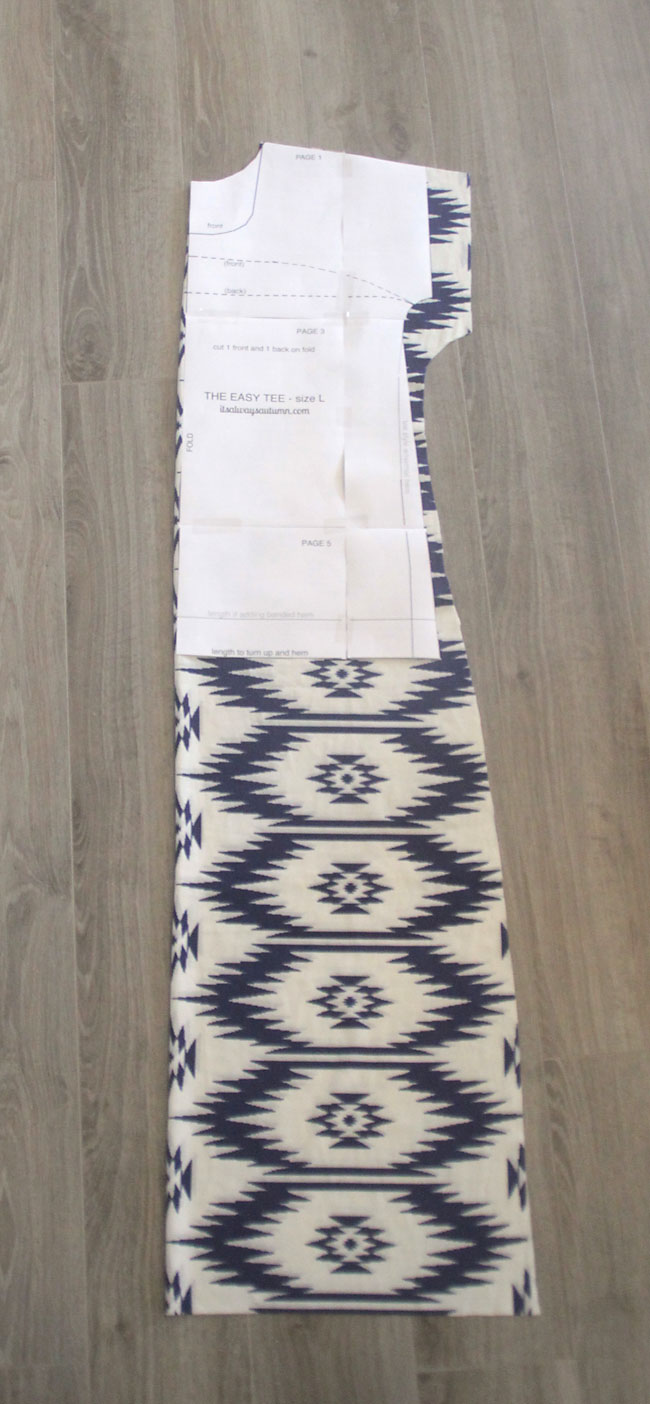
Here’s how I made it. If you want to make one, you’ll need about 2.5 yards of knit fabric. I started by extending my free easy tee pattern to cut a front piece and back piece for the maxi dress. The pattern is available in size L only, but you could trace a loose tee if you’re a different size. I cut the sleeve portion longer and lower than shown on the pattern, as you can see in the photo below (I started with a different fabric, then changed my mind and used the knit instead, which is why the photo below shows a print).
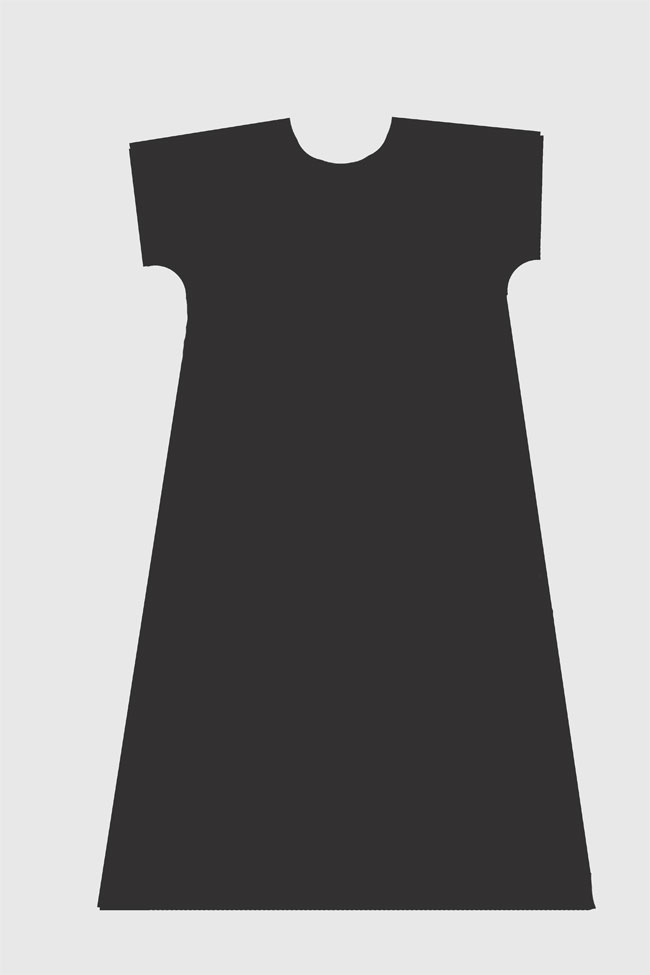
I ended up with two pieces that looked like this:
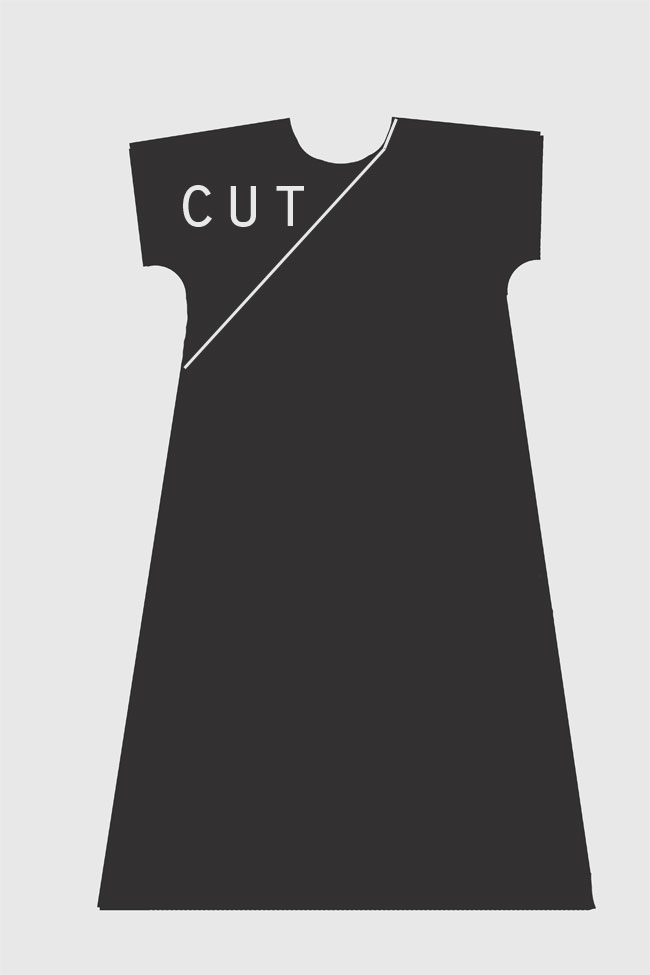
One on piece (the front) I cut from the neckline across the body to just under the sleeve.
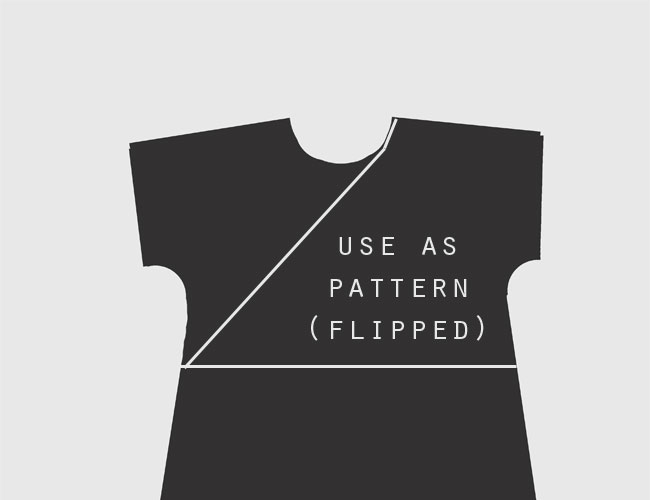
Then I used the top of that piece as a template to cut another front piece – be sure to flip this piece since it will come across from the other side to create the “criss cross” look.
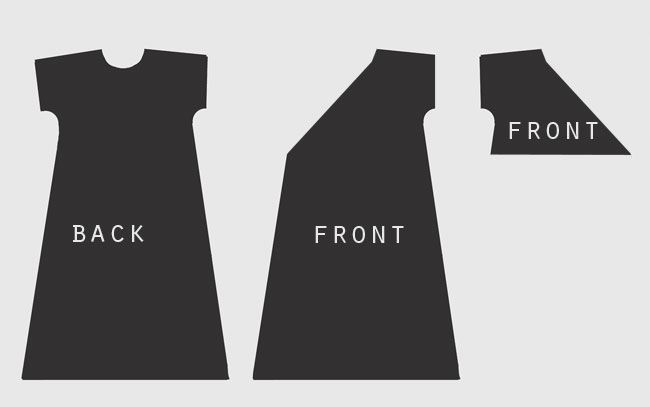
And I ended up with three pieces that looked like this:
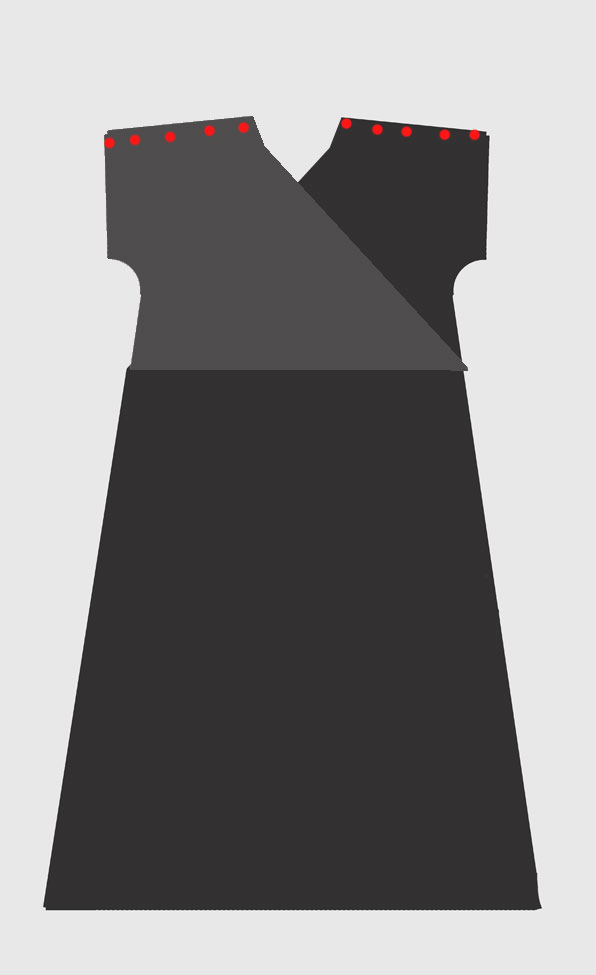
I laid down the back piece, then laid both front pieces on top of it, right sides together, and sewed the shoulder seams:
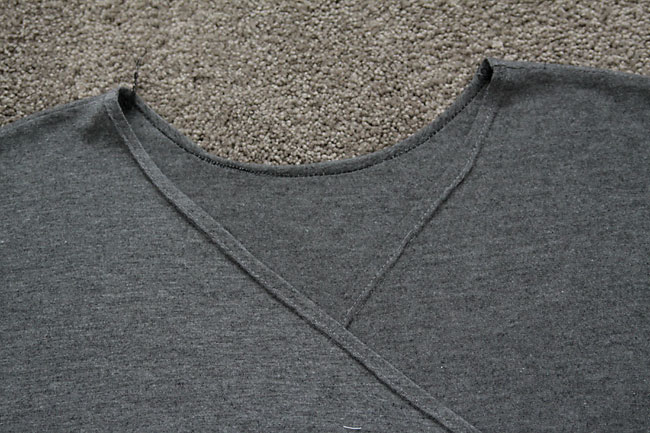
Next I finished the entire neckline, up one front piece, around the back piece, and back down the other front piece. I turned it under 1/4 inch twice and sewed with a double needle. You could use a zig zag instead if you want.
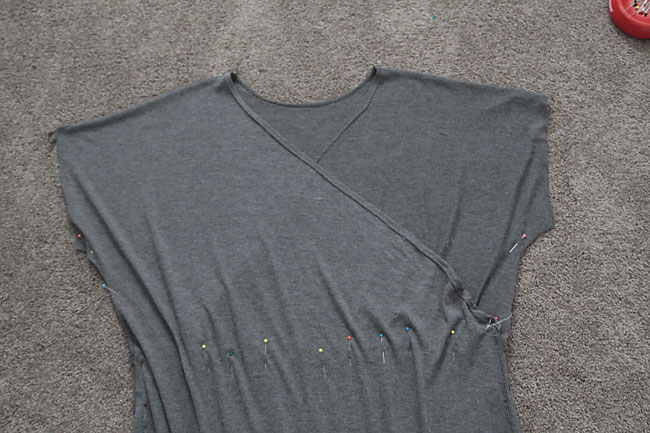
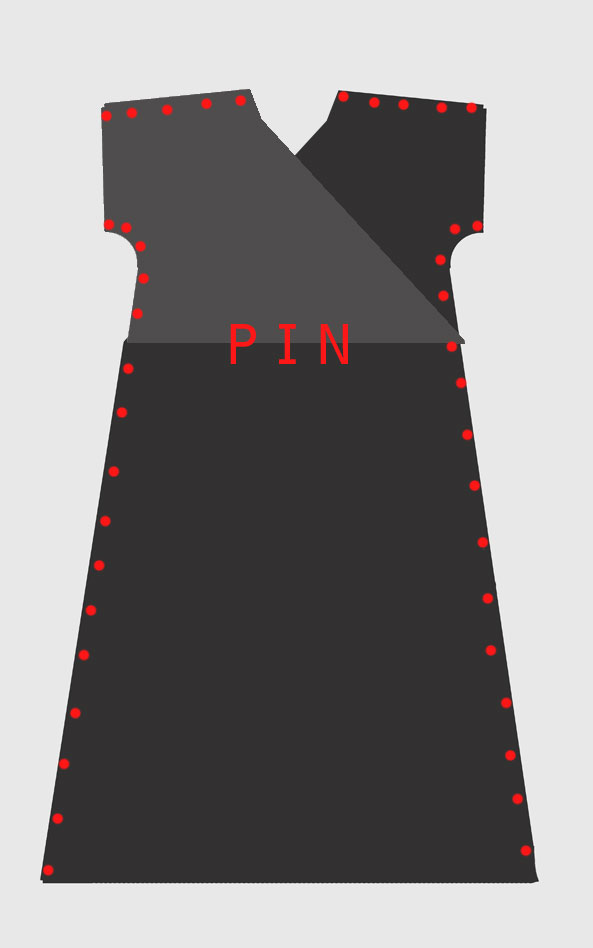
At this point I flipped the dress right side out, and laid the short front piece down first, then the full front piece on top of it. I made sure everything was nice and smooth, then pinned the two front pieces together so they’d stay in the right place when sewing the side seams.
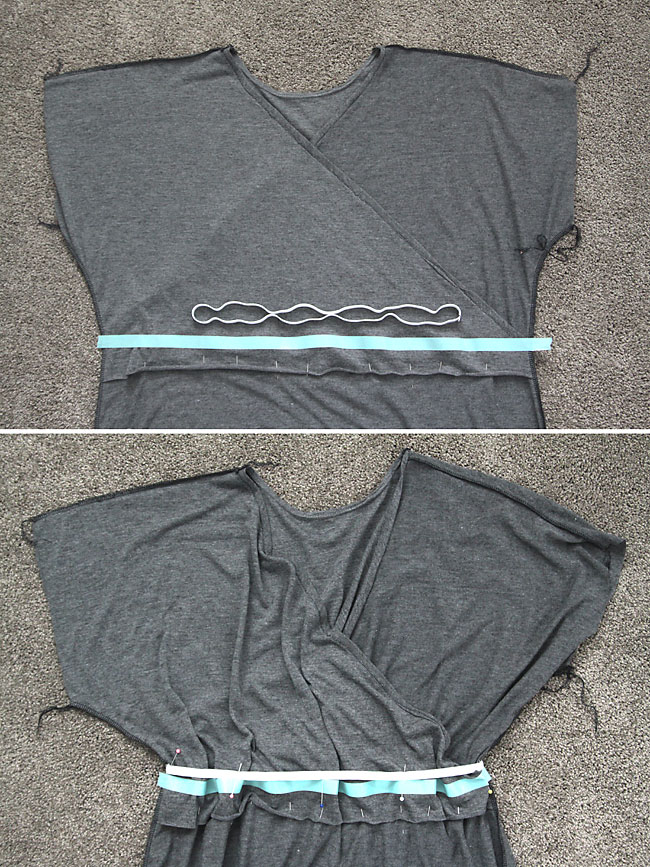
I also tried it on and tied elastic around it to decide where I wanted the “waistline” of the dress to be.
Then I sewed the sides together, making sure to catch both front layers in each side seam:
Next, it was time to sew elastic inside the dress to cinch in the waist and keep the two front pieces connected. I cut a piece of 3/8 inch elastic just shorter than my waist (rib) measurement and sewed it together in a loop. I used masking tape to mark where I wanted the elastic to go.
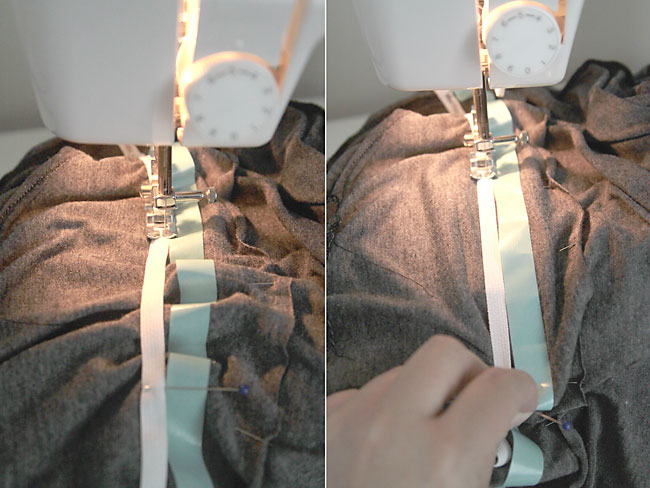
Then I divided the elastic into eight equal sections and marked each one with a pin. I also marked the dress at eight points as well. Then I put the elastic around the dress and pinned it right next to the masking tape, matching up the pins to make sure it would gather the dress evenly.
I sewed the elastic onto the inside of the dress, pulling each section as I sewed so the elastic laid flat against the fabric. The masking tape acts as a guide so it’s easy to be sure you’re sewing the elastic in straight.
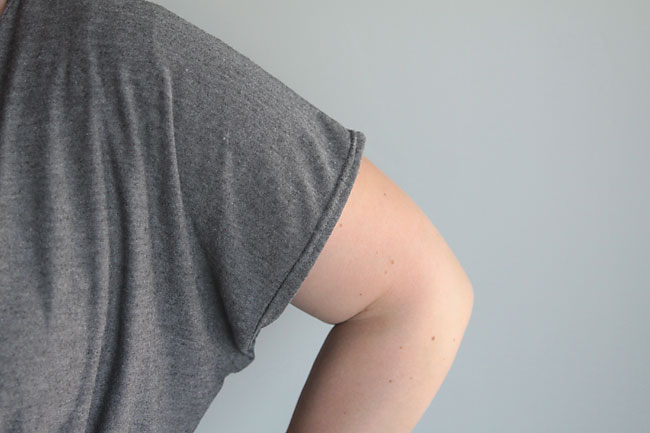
At this point all that was left was to hem the sleeves. I turned them under 1/4 inch twice and hemmed with the double needle again:
And since this spandex knit rolls up along the raw edge, I just cut it to the length I wanted and didn’t even worry about a hem.
Want more maxi dress sewing tutorials? Check out the half hour maxi, the one seam maxi, and the original easy tee maxi.


Ali says
Great tutorial. The use of masking tape is brilliant!
Agnes says
A great tutorial! Your dress is beautiful on you. I’ll try this. Thank you.
Cathy Denson says
I think you did a great job I’d like to see it in a floral for you. And you really don’t have to worry about a muffin top you look great.
Linda says
Hi! I just recently discovered your blog and I love it! I think I’m about the same size as you, so that’s perfect!! Your photo’s and explanations are wonderful and easy to understand.
I was wondering about this pattern, what type of stitch do you use to sew in the elastic at the waist?
I can’t wait to try this out!
Ali says
Hi! A wide zig zag stitch is the best. It will allow the elaztic to stretch without tearing the stitches.