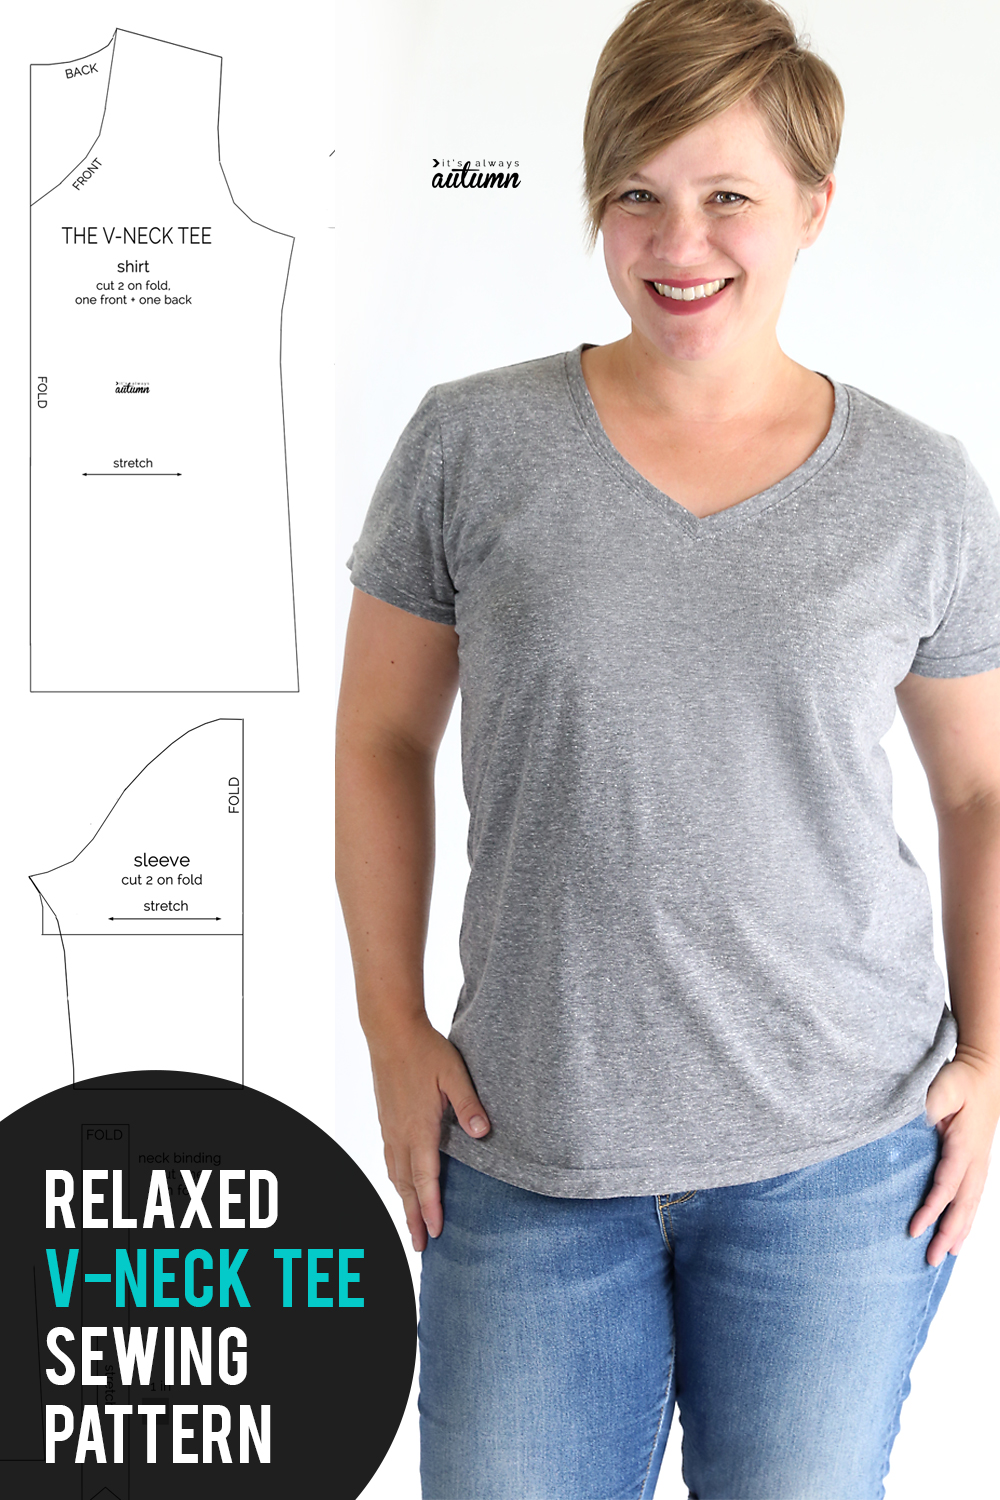
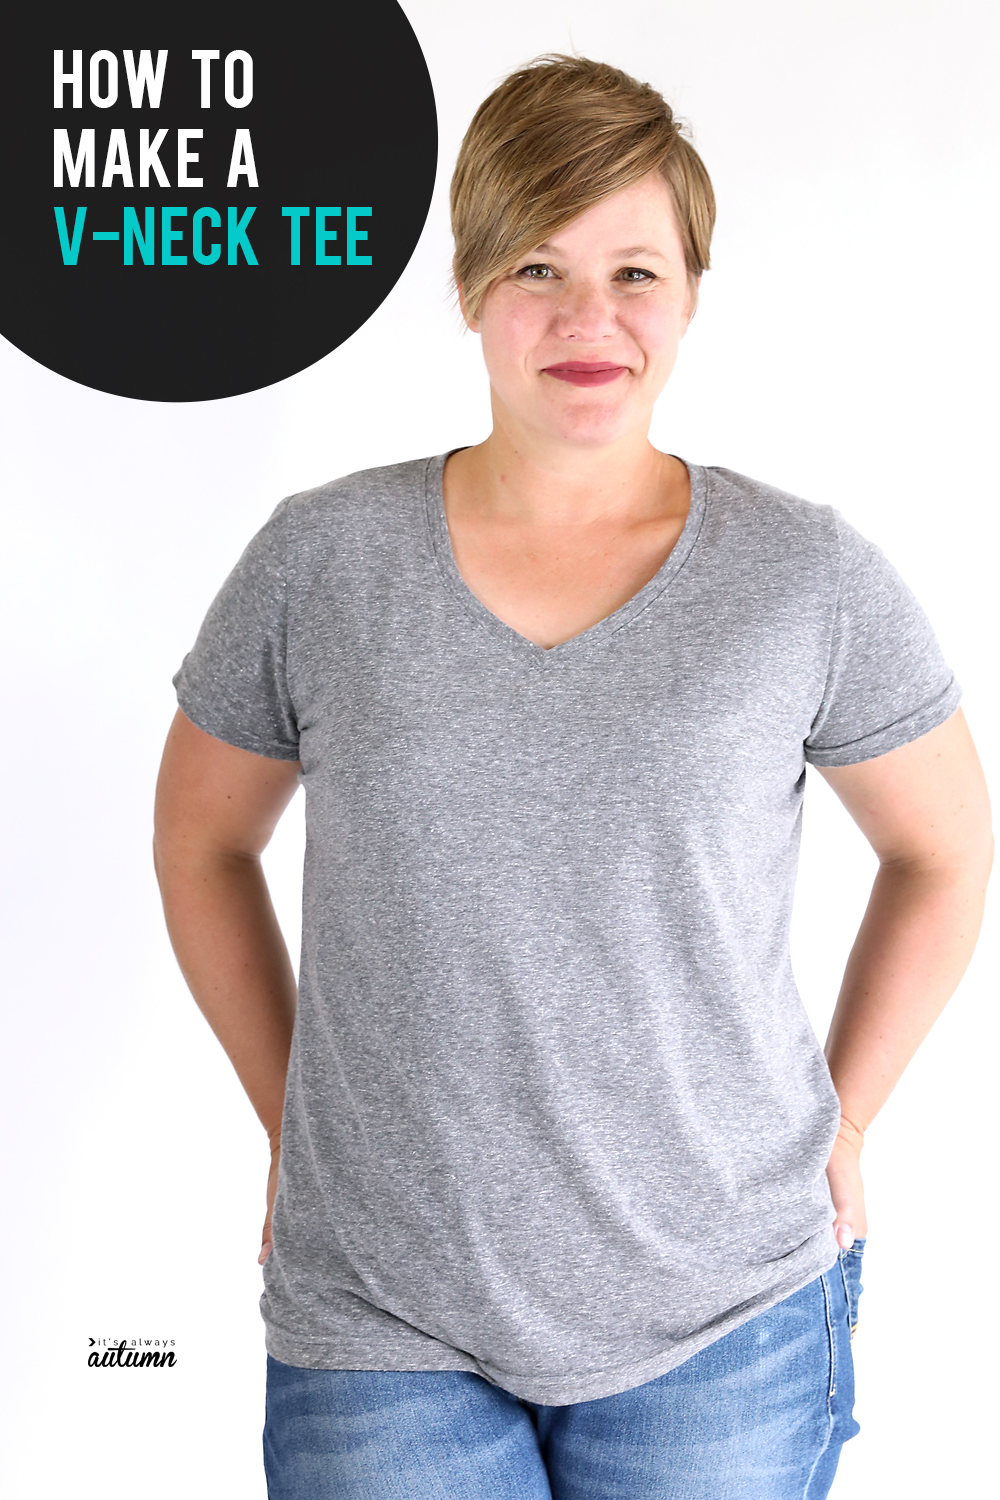
In today’s post: Learn how to make a v-neck t-shirt with this easy sewing tutorial and free pattern in women’s size large.
Every couple of years I make an effort to amp up my wardrobe with tops that are a little fancier than my usual t-shirts: blouses and button downs and the like. But no matter how many “nice” tops I buy, I end up putting on a t-shirt almost every single day. I guess I’ve reached a point in my life where I just can’t be bothered to wear that’s not super comfortable on a daily basis. And so t-shirts it is, which might be why most of the patterns I share here are for a tee of one variation of another. But several readers have emailed me this summer pointing out that I’ve been missing a pattern for a v-neck tee! Considering v-necks are my favorite, I decided I needed to rectify that oversight.
Of course, to do so I had to learn how to make a v-neck t-shirt! It’s really not hard, and once you’ve done one you’ll be churning them out in no time.
The hardest part is getting the neckbinding the right length, but I’ve done that work for you! And you should be able to use this neckline on any of my other t-shirt patterns, so you can make a v-neck breezy tee or a v-neck knotted hem tee if you’d like!
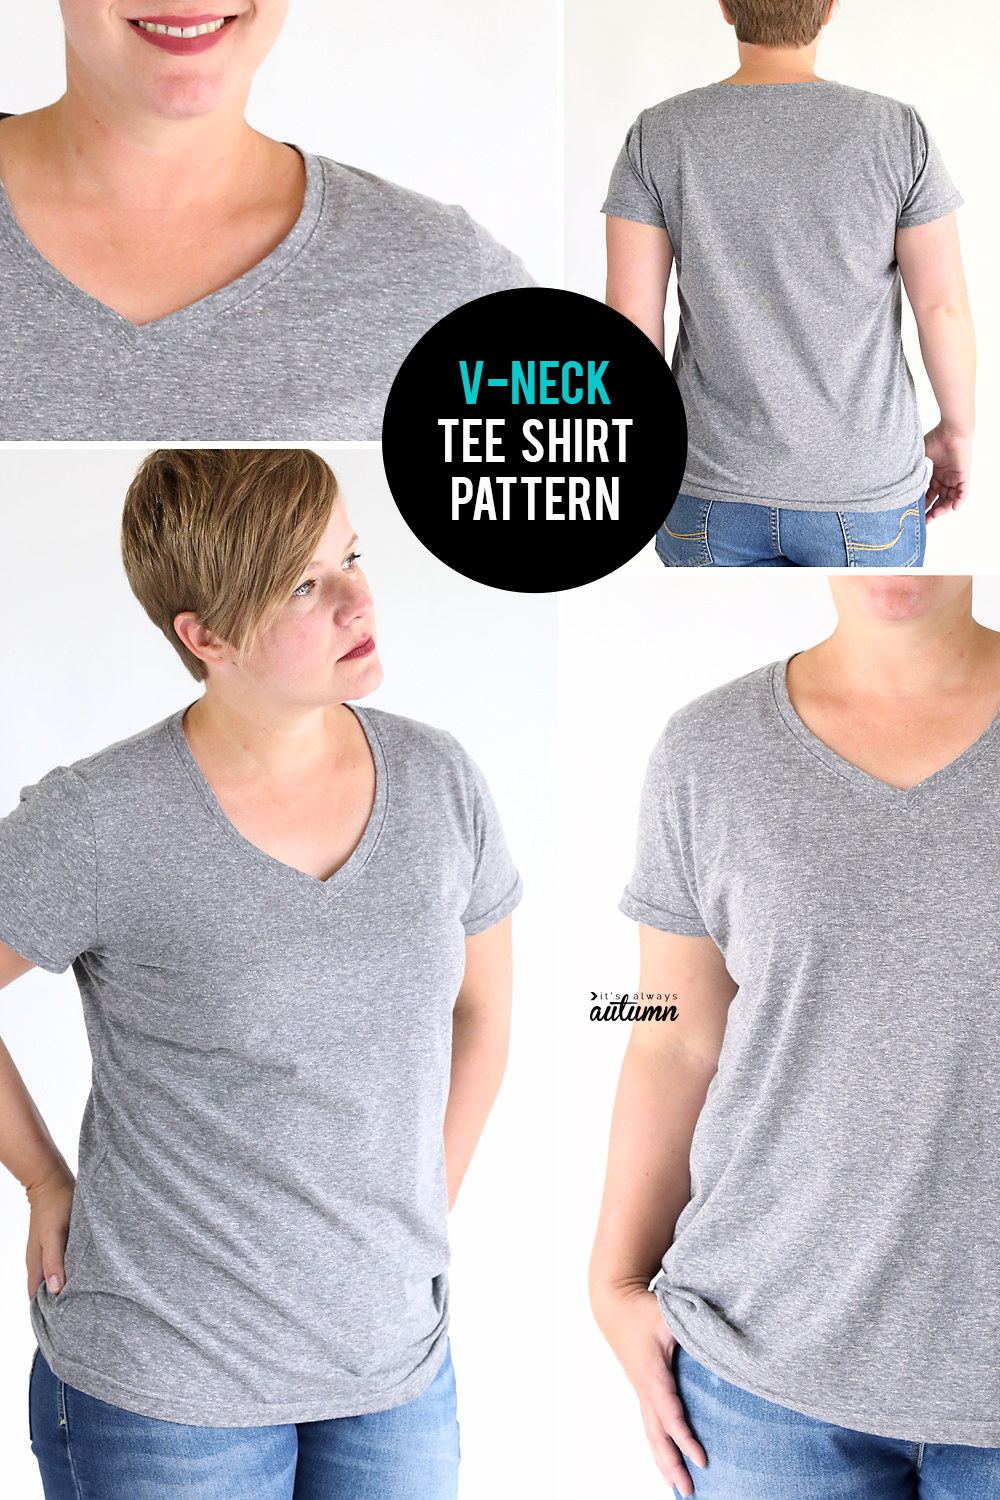
V-neck t-shirt pattern
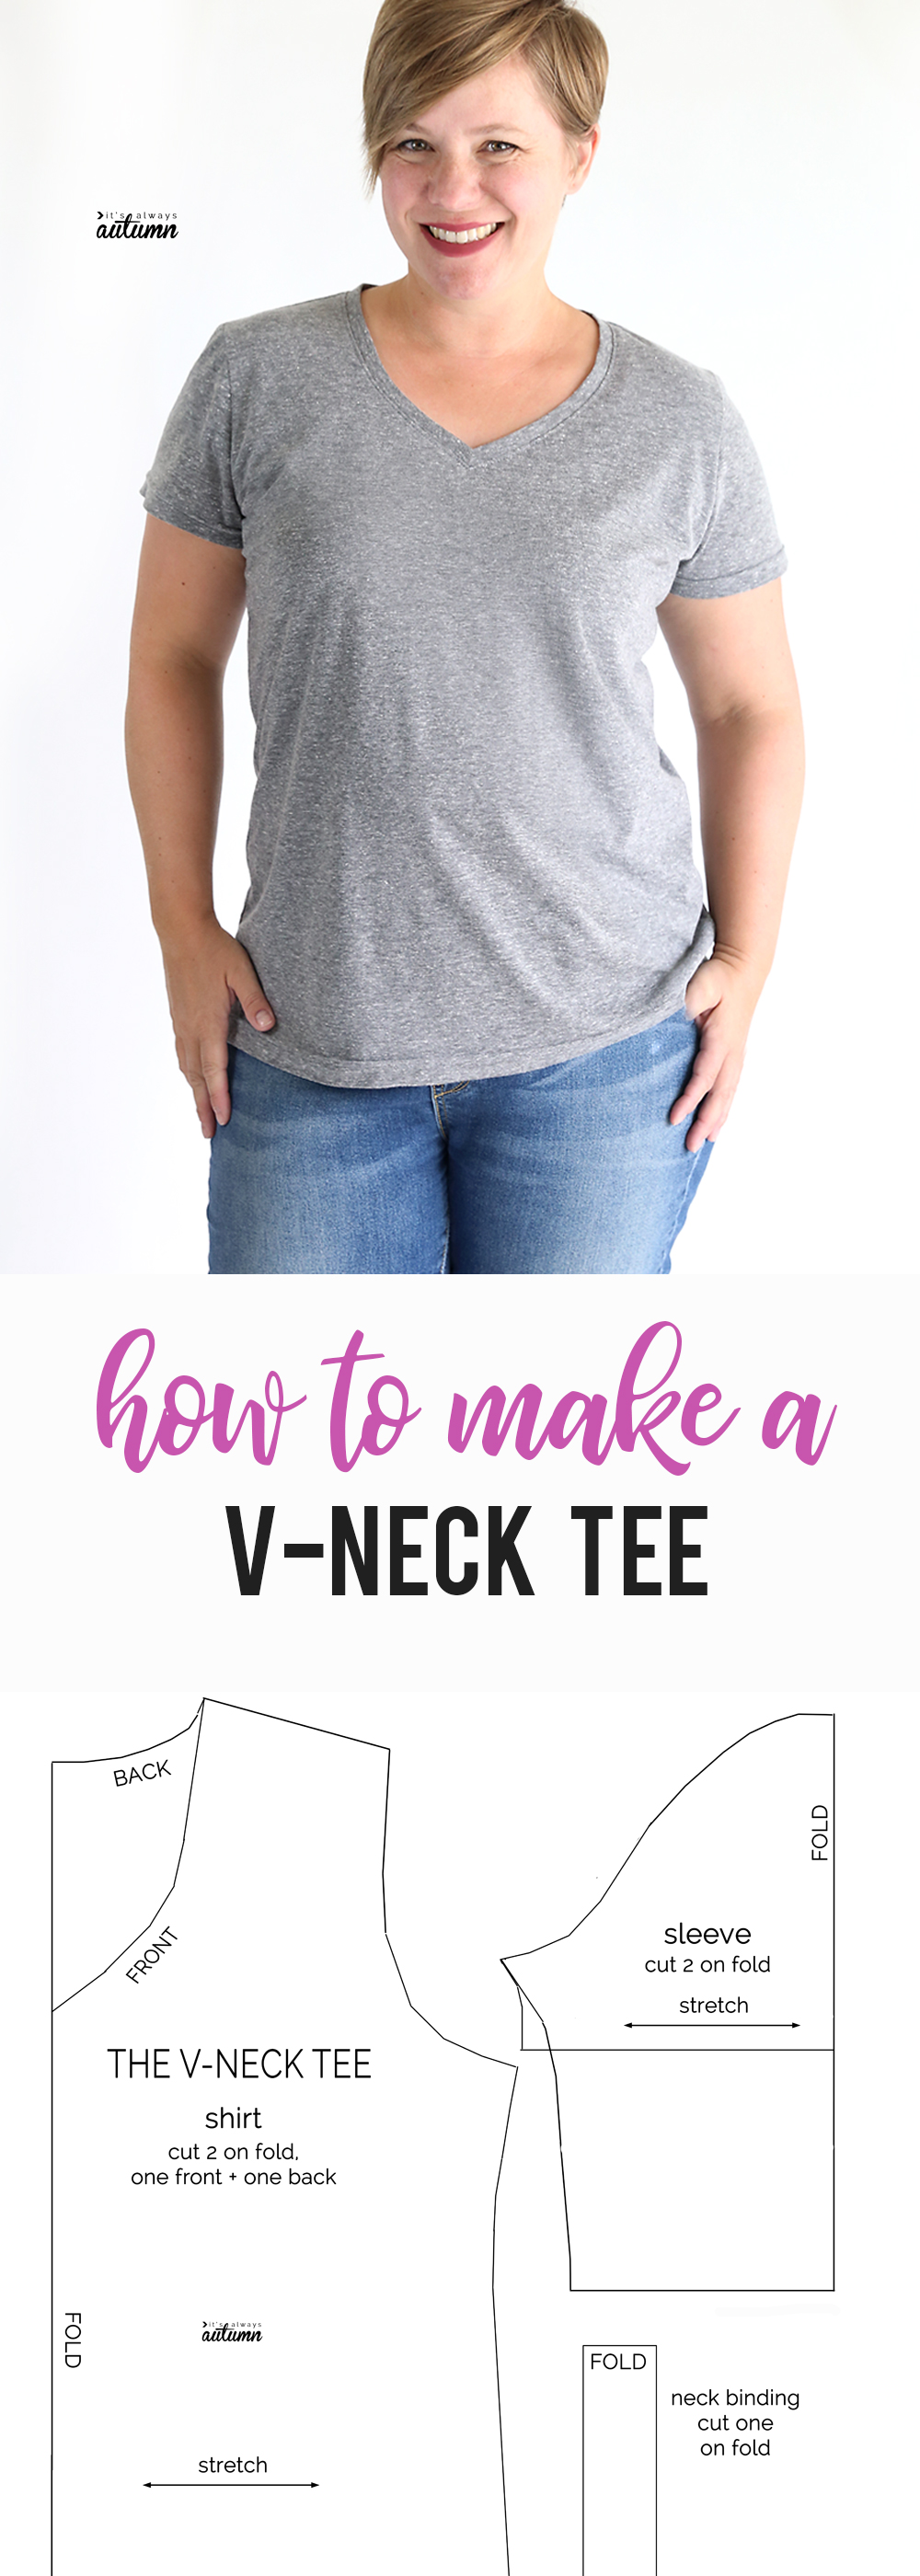
Download the free pattern by clicking here. This pattern is a women’s size large, sized for a 38 inch bust, with a relaxed fit. Half an inch seam allowance is included in the pattern.
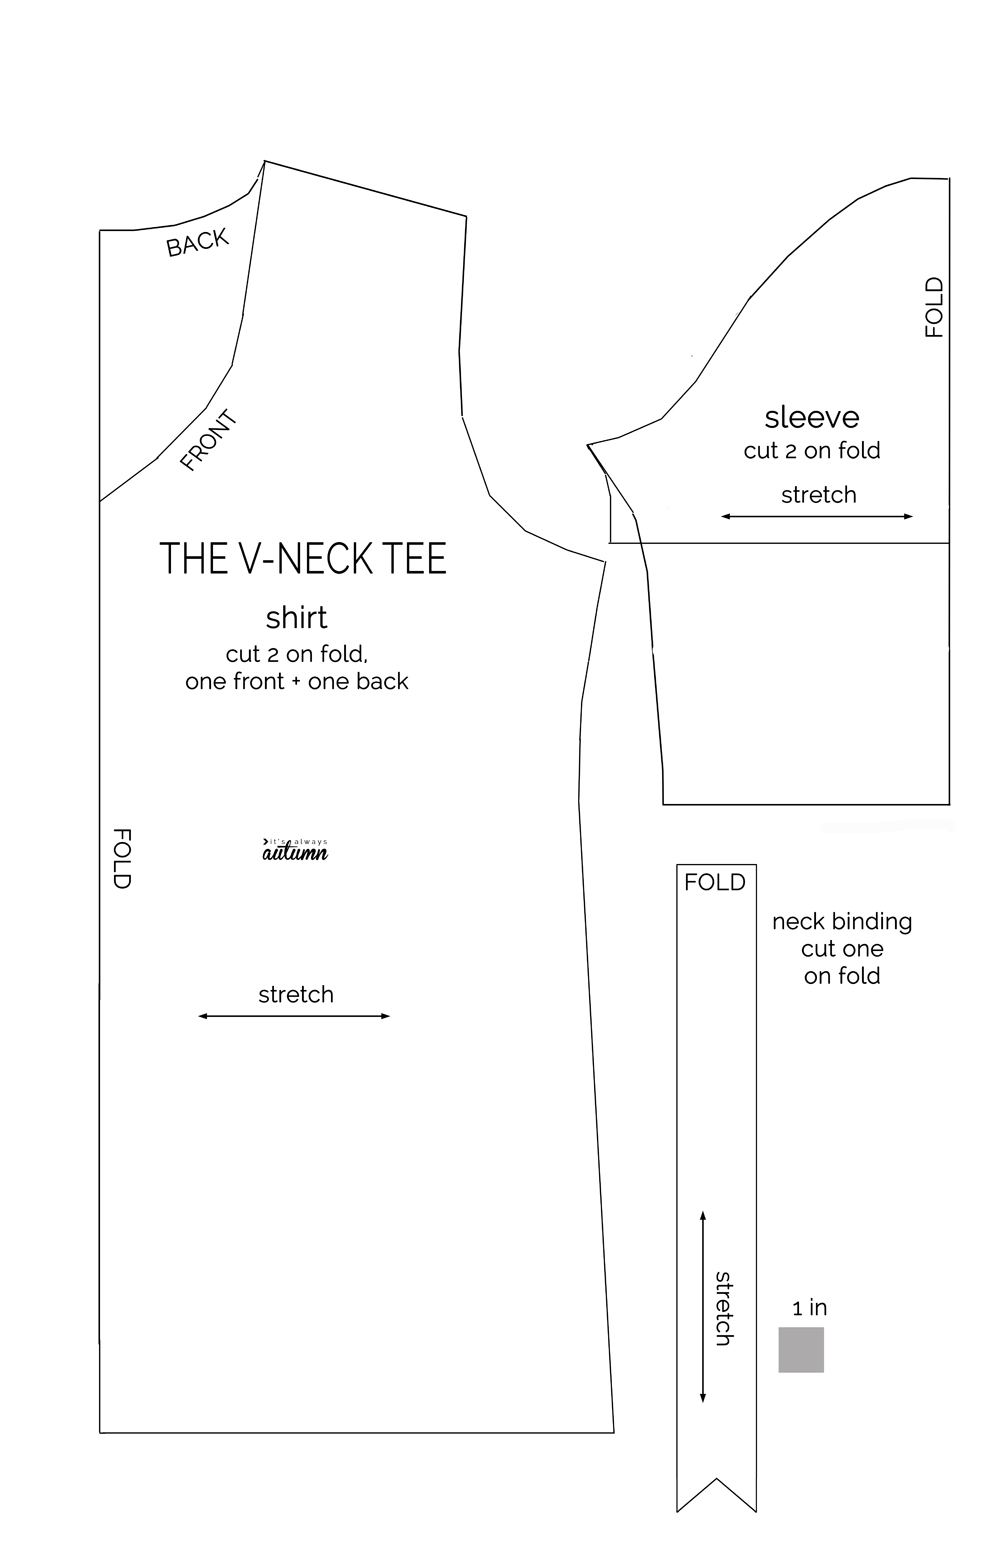
Print the pattern out at 100% or full size. The test square on page 8 should print at exactly 1 inch square. This pattern prints on 8 pieces of 8.5×11 paper in landscape orientation. Butt the pages together and tape them together without trimming anything. The pattern looks like this:
There is a short sleeve option and a 3/4 sleeve option. If you are using the short sleeve option, you should be able to cut all the pieces from one yard of 55-60 inch wide knit (stretchy) fabric. Wash and dry your fabric before you begin. When cutting the pieces, be sure the fabric stretches along the stretch arrows noted on the pattern pieces.
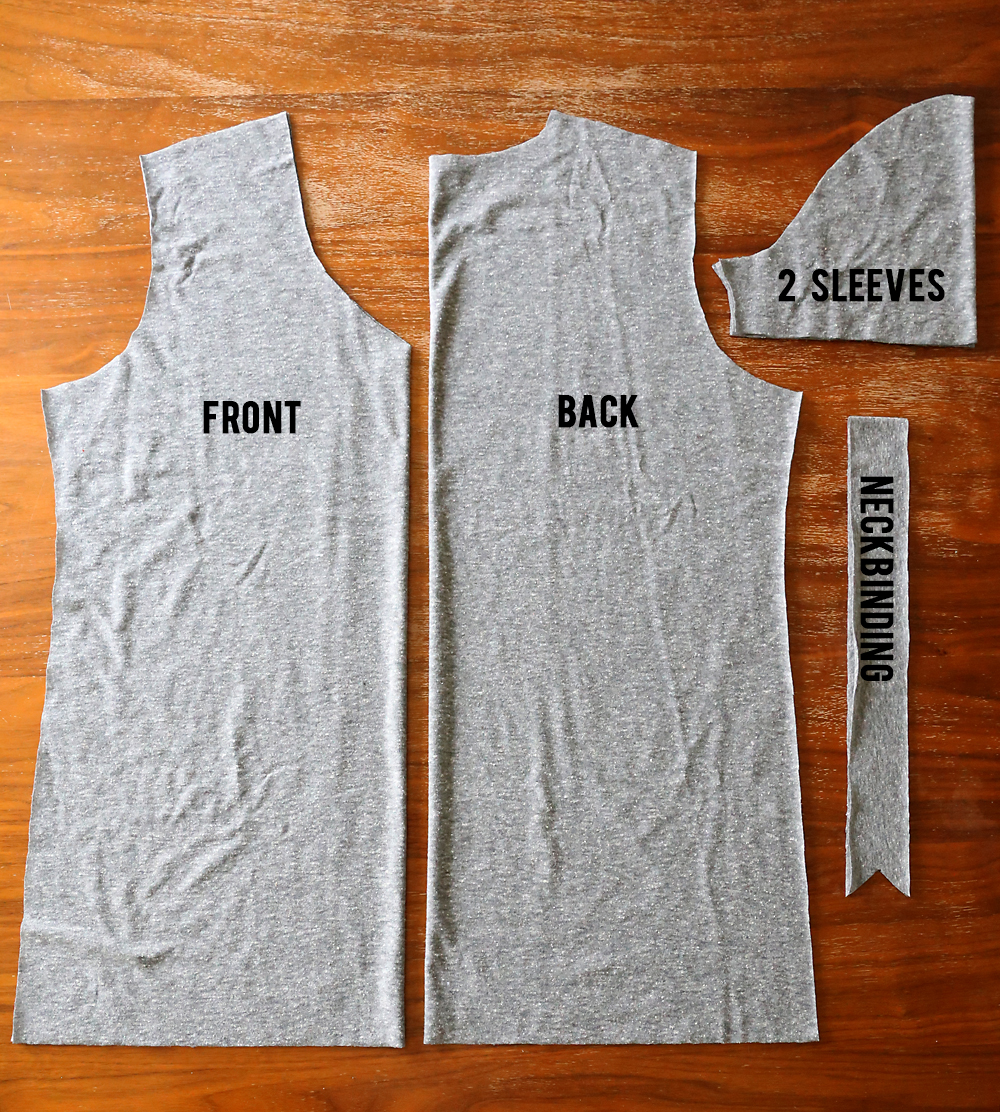
Cut two shirt pieces, one using the front neckline and one using the back neckline. Cut two sleeve pieces. Cut one neckbinding piece. All pattern pieces will be cut on the fold. Half an inch seam allowance is included in the pattern so you do not need to add seam allowance.
How to make a v-neck t-shirt
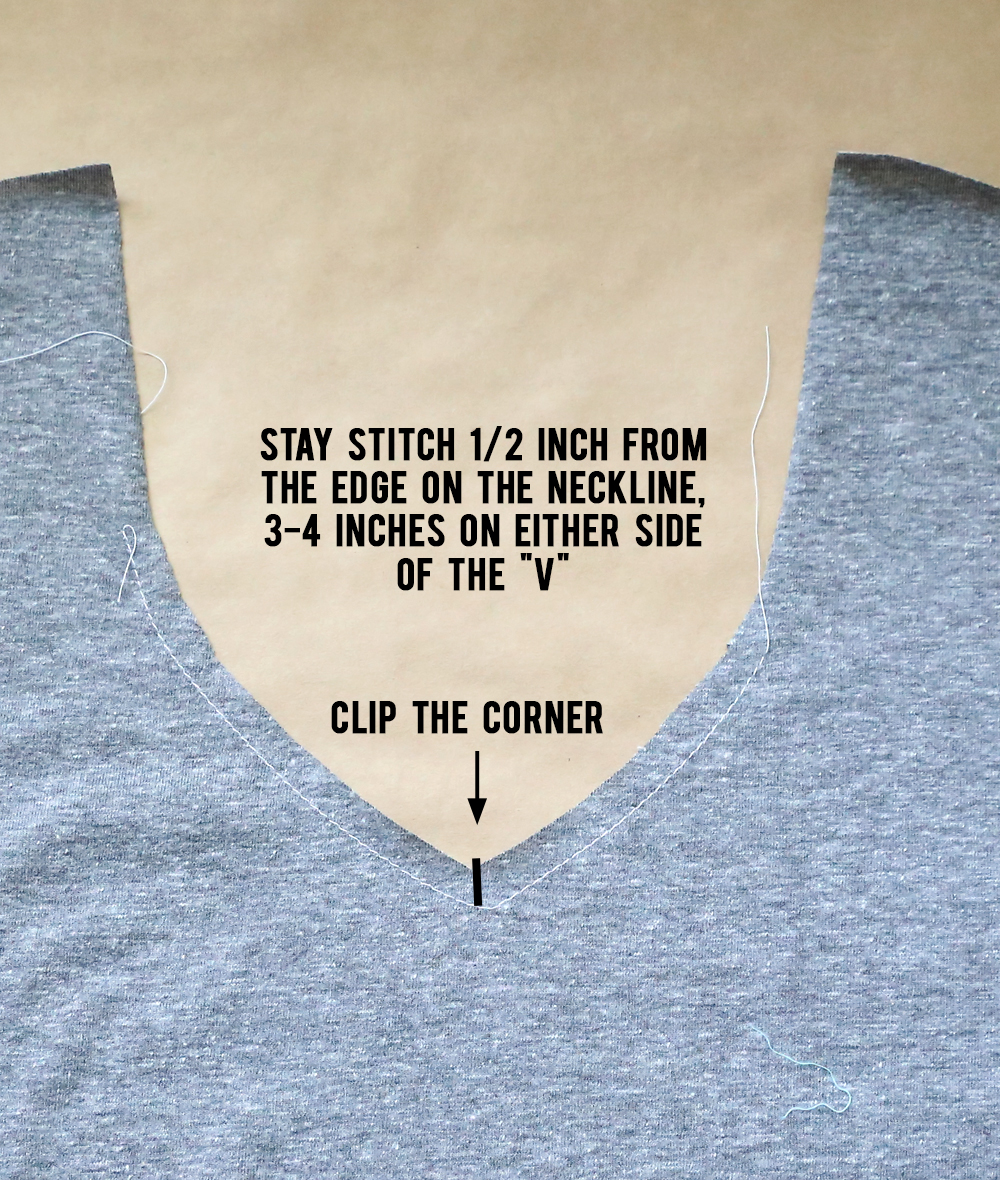
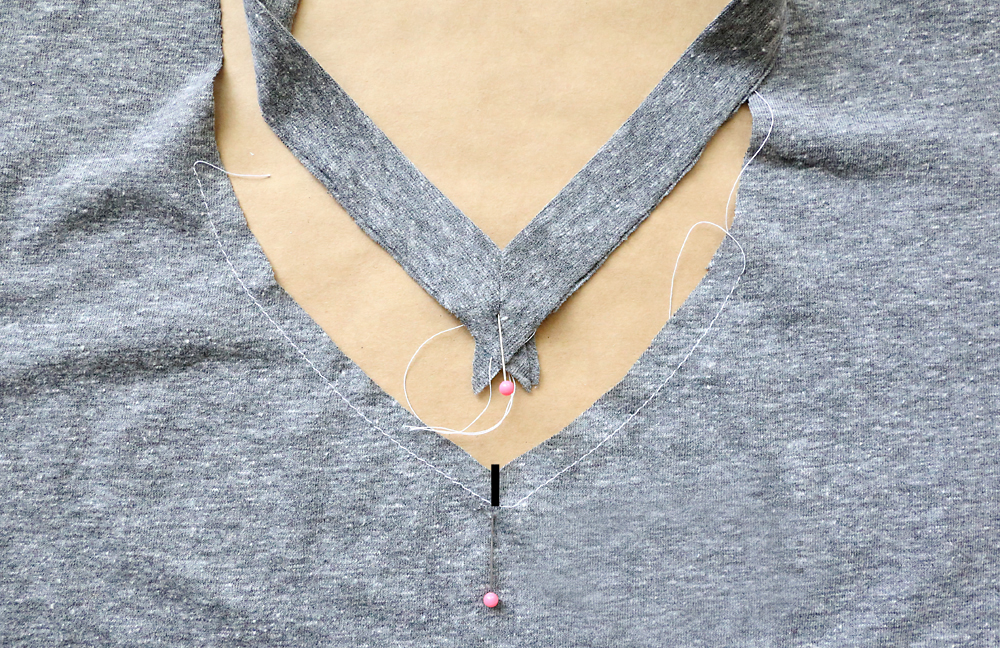
You’ll start by prepping the V neckline on the front shirt piece. Using a straight stitch, sew exactly 1/2 an inch from the edge about 4-5 inches on either side of the V, as shown below. This will ensure that the neckline won’t stretch out of shape. Also, cut straight from the inside corner of the V almost all the way to your stitching, but don’t cut through it.
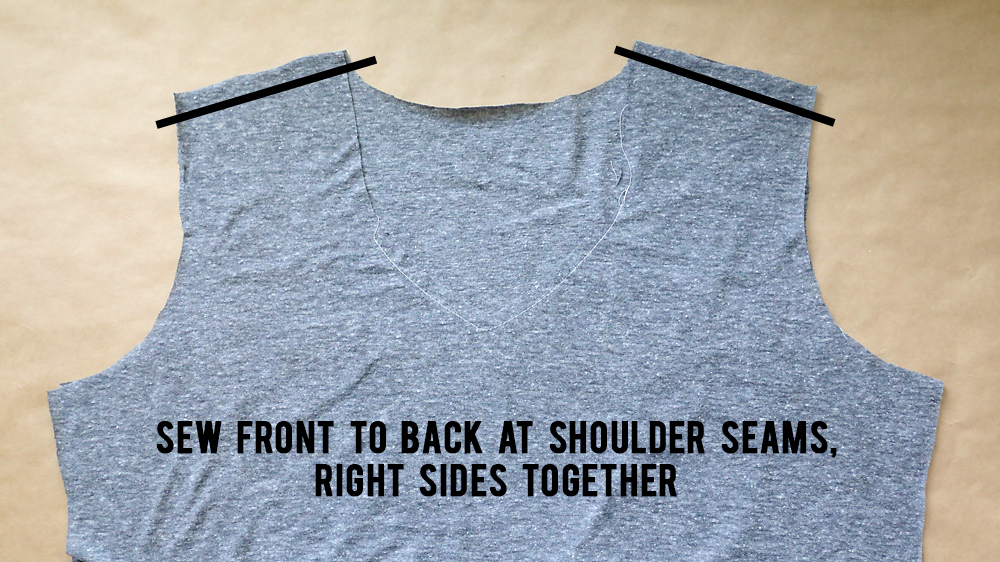
Next, lay the front shirt piece on top of the back shirt piece, right sides together, and sew across the shoulders as shown.
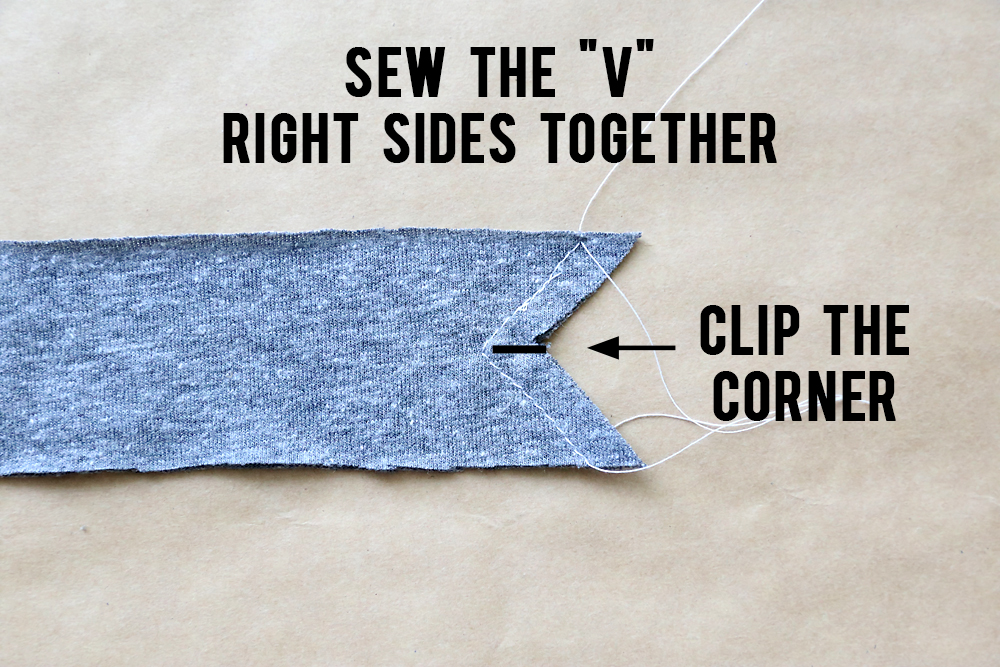
Set the shirt pieces aside for a moment and pick up your neckbinding. Fold it right sides together, matching up the “V”s on each short end. Sew the V together, using a half inch seam allowance. When you get to the corner, leave the needle down and lift the presser foot, then pivot the fabric. Put the presser foot back down and continue to sew, making a sharp corner.
Trim the seam allowance to 1/4 inch if desired, and then cut from the corner almost all the way to your stitches, as shown above.
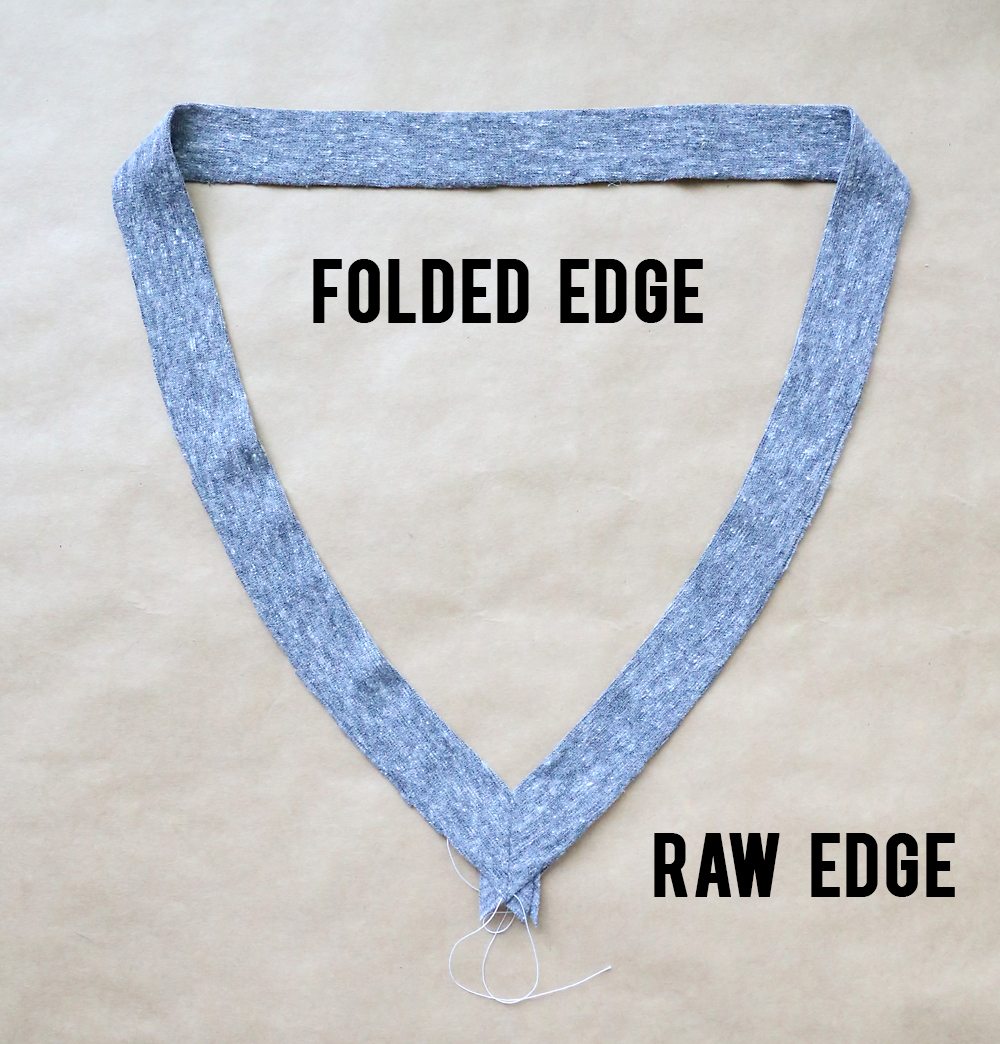
Press the seam allowance open, folding the neckbinding in half lengthwise as you do so. Once pressed, you’ll have a V-neck binding that looks like this:
The next photo shows the neckbinding and the front of the shirt. On the binding, measure 1/2 an inch up from the lower point of the V and mark with a pin. On the shirt, measure half an inch down from the point of the V and mark with a pin (this pin should go in just below the cut you have made, on the stay stitching from the first step).
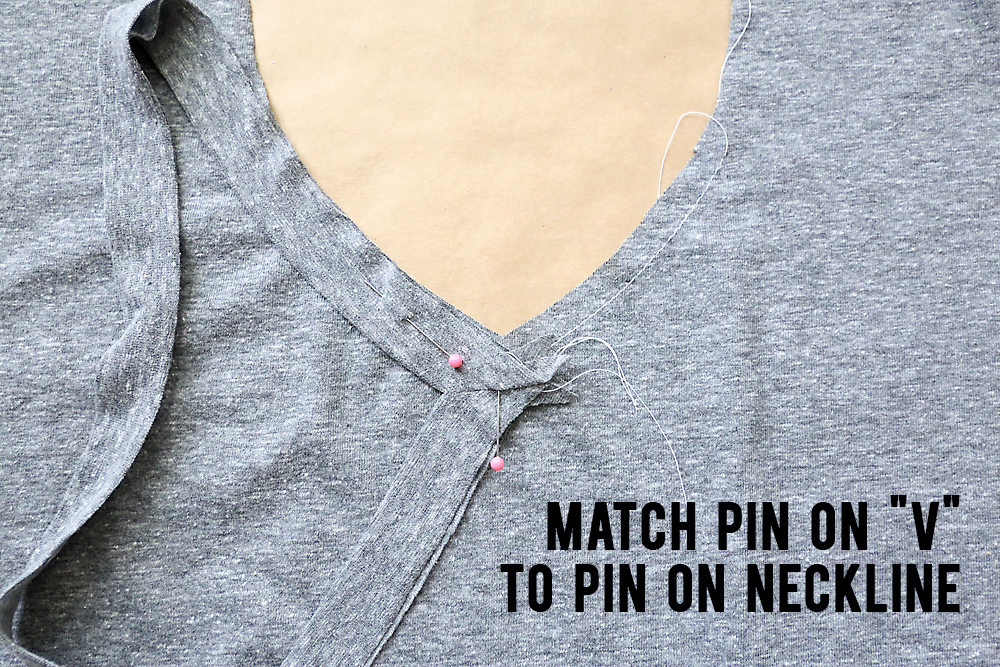
Next, flip the binding upsidedown and match the two pins. Put one pin in at this point (through both the binding and the shirt) to mark the exact center of your V. Pin the neckbinding to the neckline about 3 inches to the left of the pin as shown below. Sew that portion together using a half inch seam allowance, stopping exactly at the pin that marks the center of the V. Backstitch.
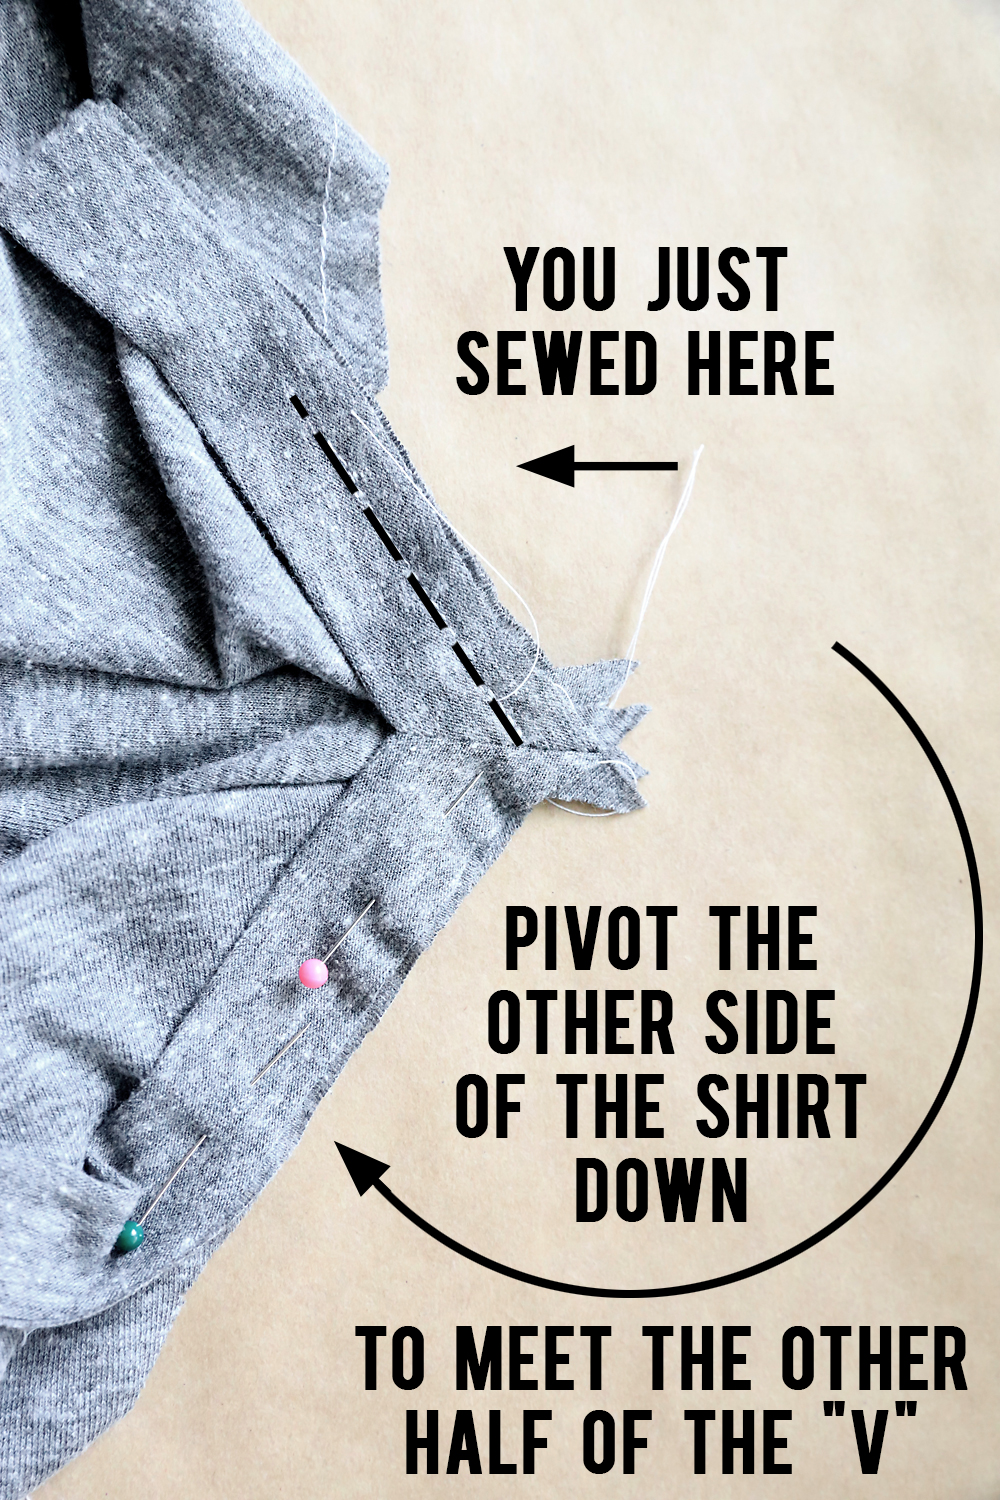
Next, you are going to pivot the right side of the shirt down so you can match it up with neckbinding on the other side of the V.
Tip: Imagine your shirt is like a clock; in the photo above the left side of the shirt points to 10 and the right side of the shirt points to 2. In the photo below the left side of the shirt is still pointing to 10, but we have opened up the shirt at the V and pivoted the right side of the shirt down to 7, so you can match it up to the other half of the neckbinding.
Note: You aren’t flipping any parts of the shirt over, just pivoting the edge. That means you will have lots of the shirt material bunched up, which you can see in the photo above.
Now you are going to start sewing exactly where you stopped in the last step, and sew on the other side of the V for about three inches.
Tip: Do not use a serger for the step above. It’s too hard to get the sewing precise.
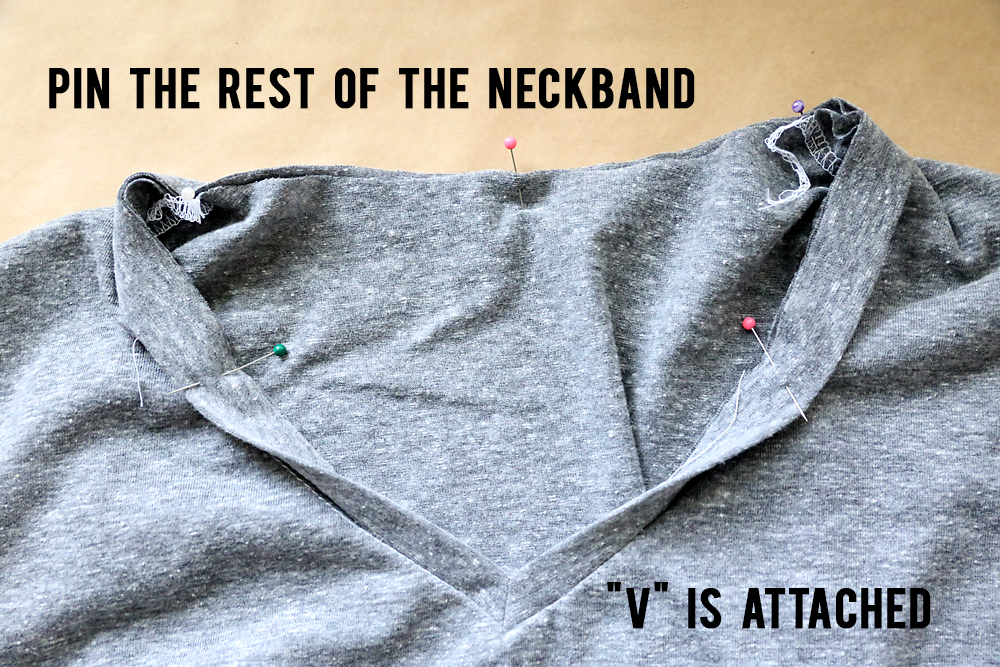
At this point you have finished the V portion of the neckline. Pin the rest of the neckbinding to the rest of the neckline. You’ll have to stretch the binding just slightly as you pin.
Sew the rest of the binding to the shirt. You can use a serger for this step. If you don’t use a serger, trim the seam allowance to 1/4 inch after sewing.
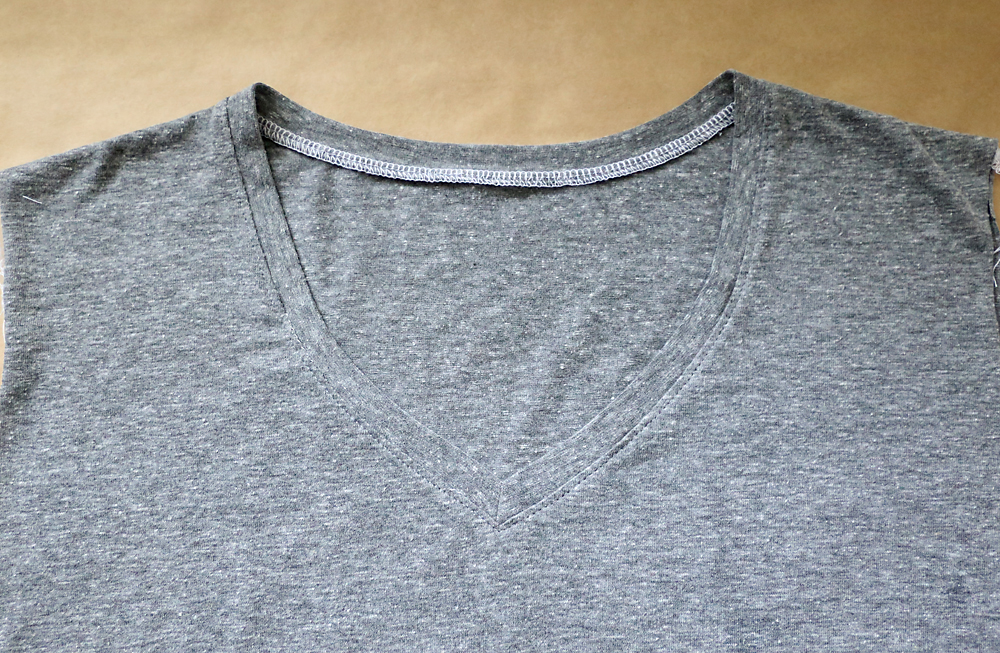
Press the binding up and the seam allowance down toward the shirt. Use a straight stitch to sew the seam allowance to the shirt about 1/8 inch away from the seam, as you see below.
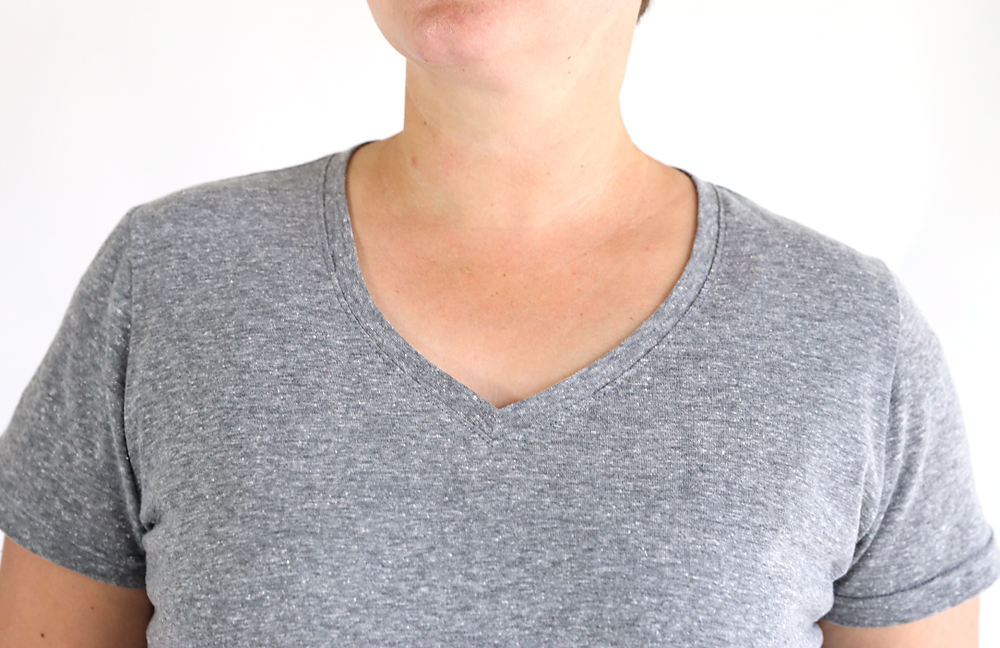
At this point the V-neck portion of the shirt is done!
If you had trouble following any of these steps, try glancing through this post from Craftsy which has very helpful photos for attaching the neckbinding.
Now it’s pretty easy to finish up your shirt: just attach the sleeves, sew down the side seams, and hem the shirt and sleeves. You can find instructions for these steps in the classic t-shirt sewing tutorial.
There you go! Like I mentioned before, you should be able use this neckline on any of my other t-shirt patterns – just be sure to use both the front and back necklines from this pattern when cutting out your pieces.
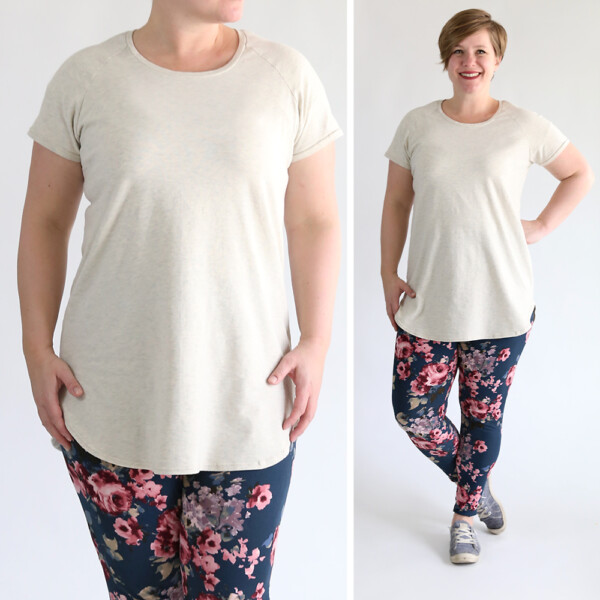
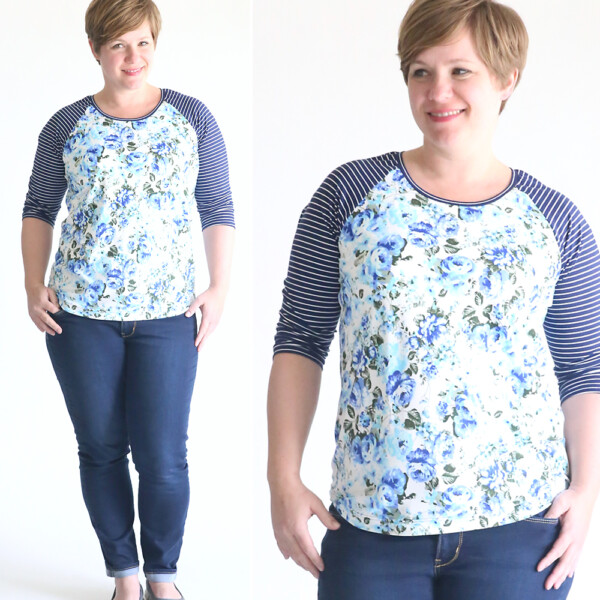
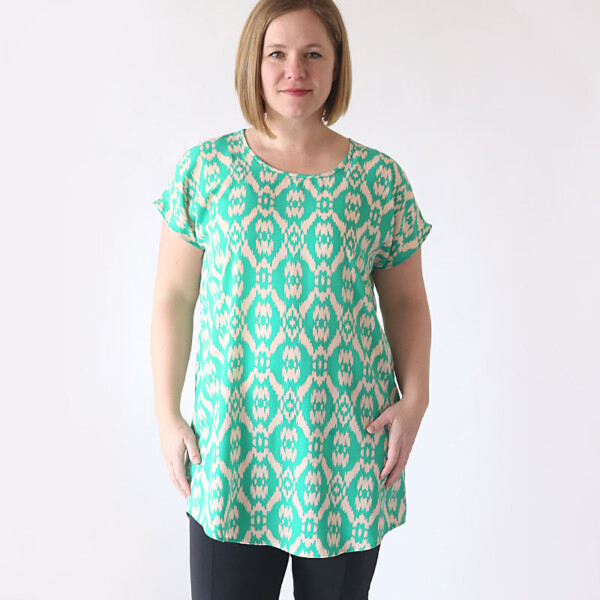
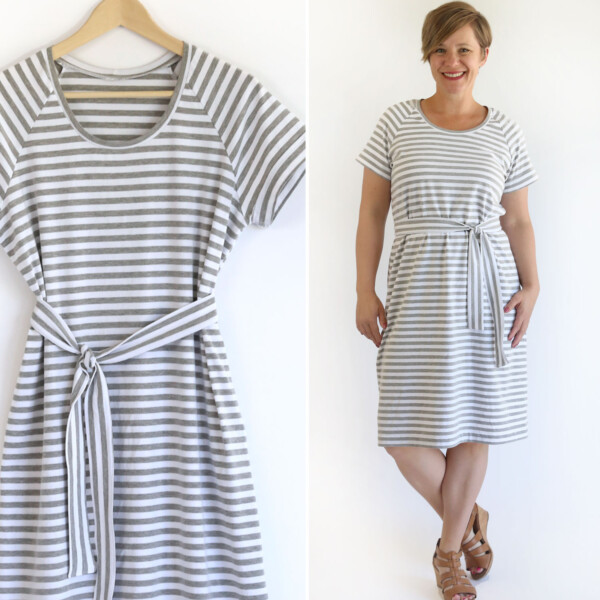
Want to see my other t-shirt patterns? Check out the posts below:
The long sleeve breezy t-shirt



Cindy Rugotska says
I don’t have a serger, can I use regular stitch?
Autumn says
You can use a regular machine, but you’ll want to use a stitch that will stretch (like a stretch stitch or narrow zigzag).
Krystal says
Is there any advice on how to make other sizes?
jason rany says
GREAT INFORMATION ABOUT V-NECK T-SHIRT SEWING
Gerson says
Genial llevo buscando esto hace mucho tiempo graciad por todo Bendiciones
LYNDA BRADFORD says
Hi Autumn! Thank you for this pattern and your instructions. I’m trying my hand at this with a Merino Wool blend material as you probably know wool is so expensive retail.
I’ll post a picture when it’s complete.
Thanks again,
Lynda