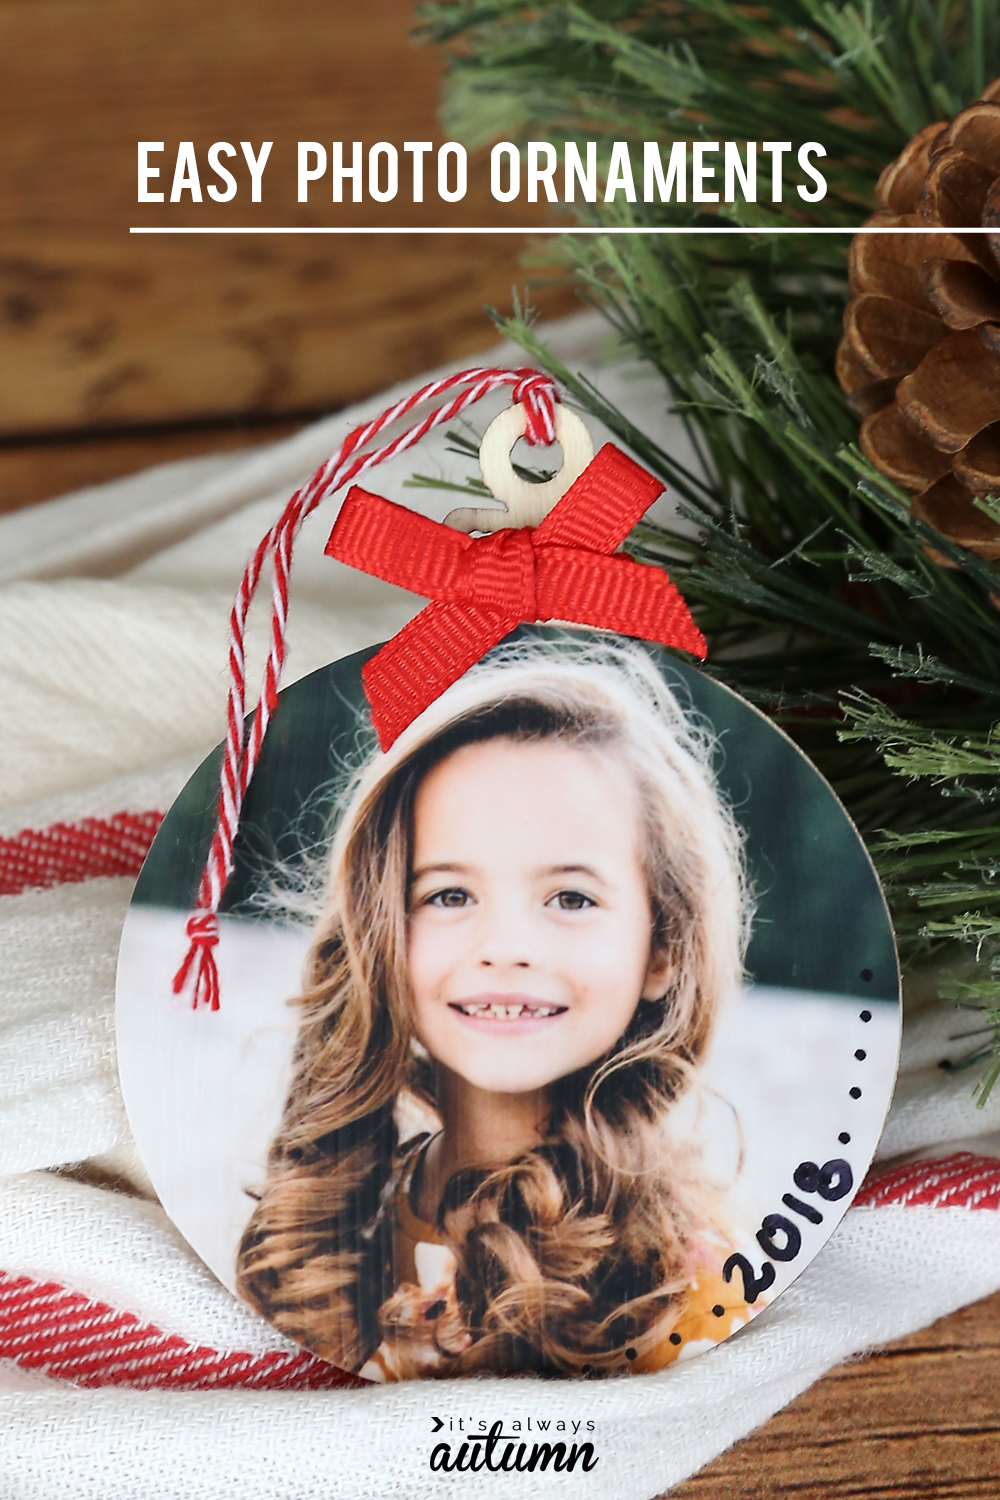
In today’s post: Make adorable keepsake photo ornaments for your Christmas tree!
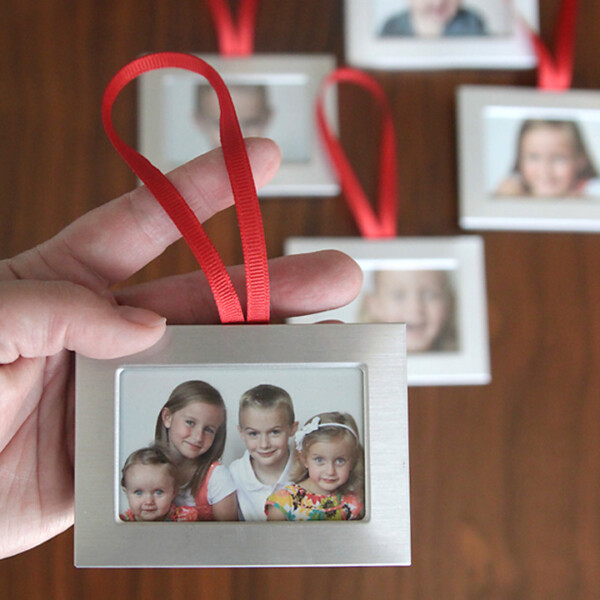
As we head into the Christmas season I keep seeing adorable keepsake Christmas ornaments made with little baby handprints or tied with strings that show how tall a child was at a certain year of life. Well, I never took the time to make cute handprint ornaments when my kids were tiny but I still love the idea of keepsake ornaments, so this year I’m making photo ornaments instead.
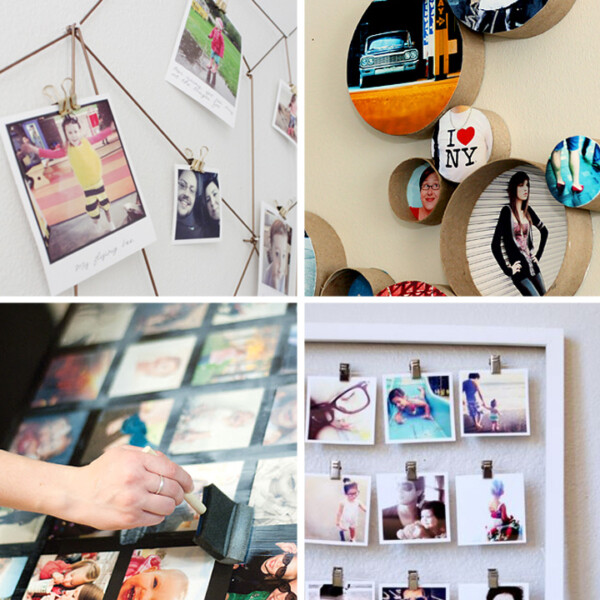
Click here for 40 amazing photo craft ideas
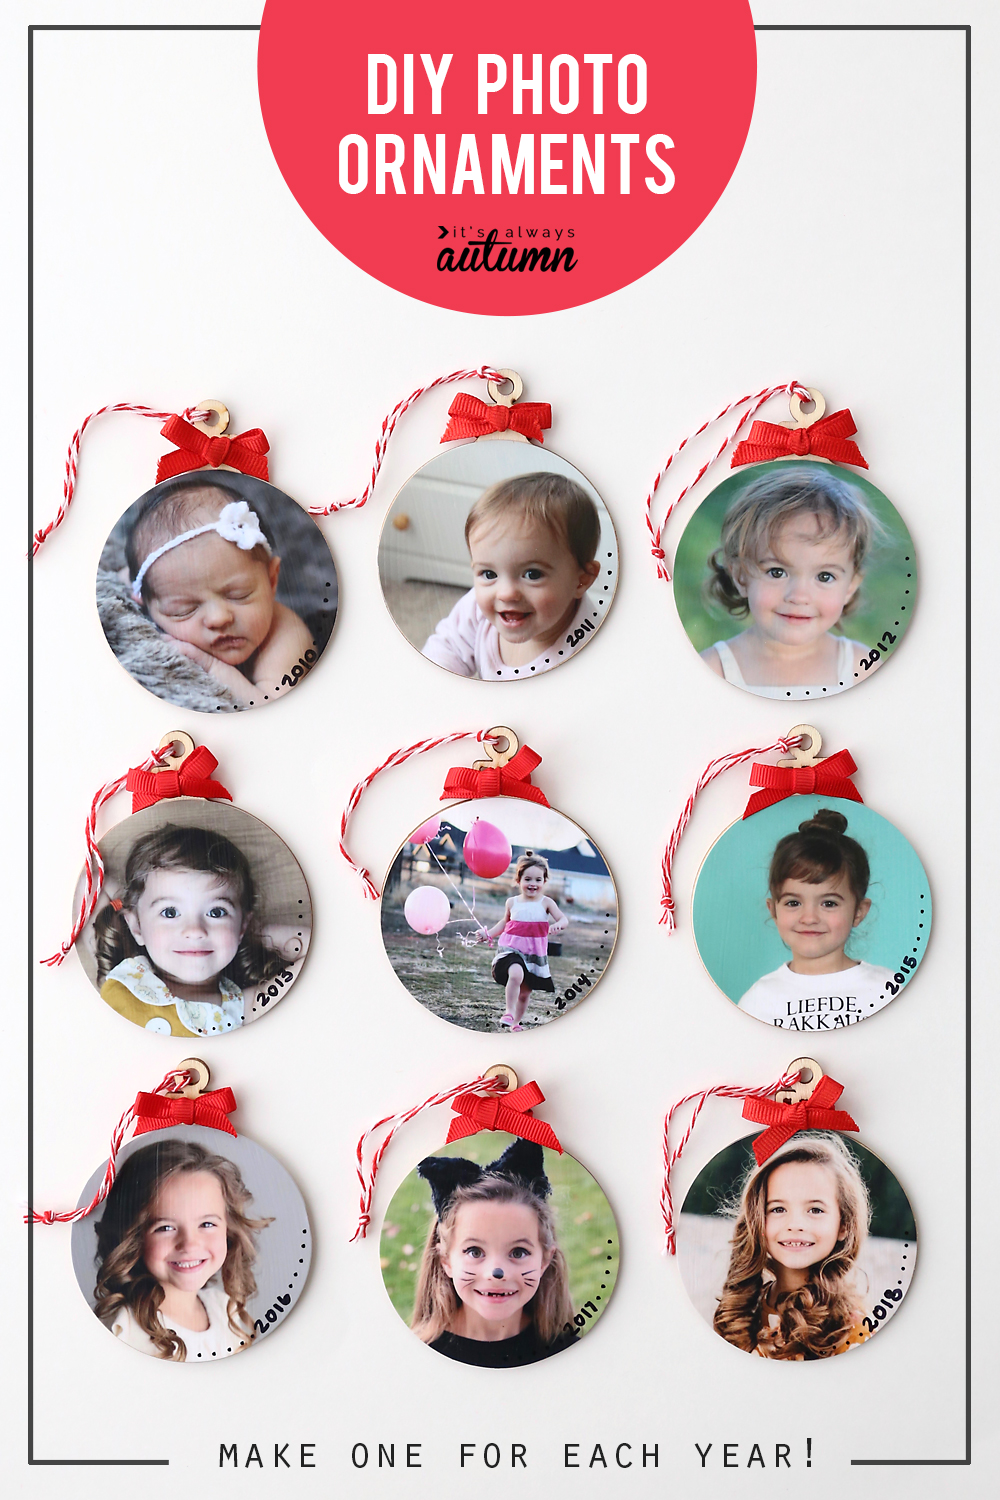
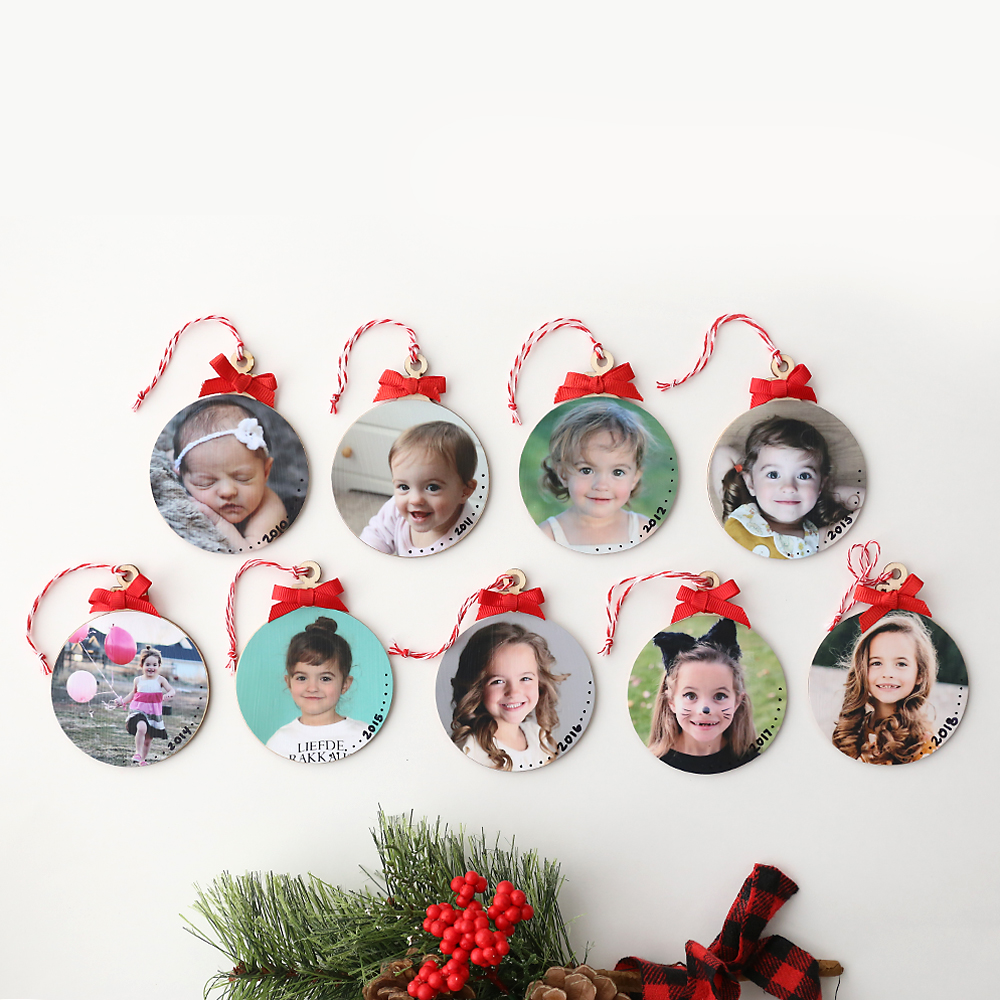
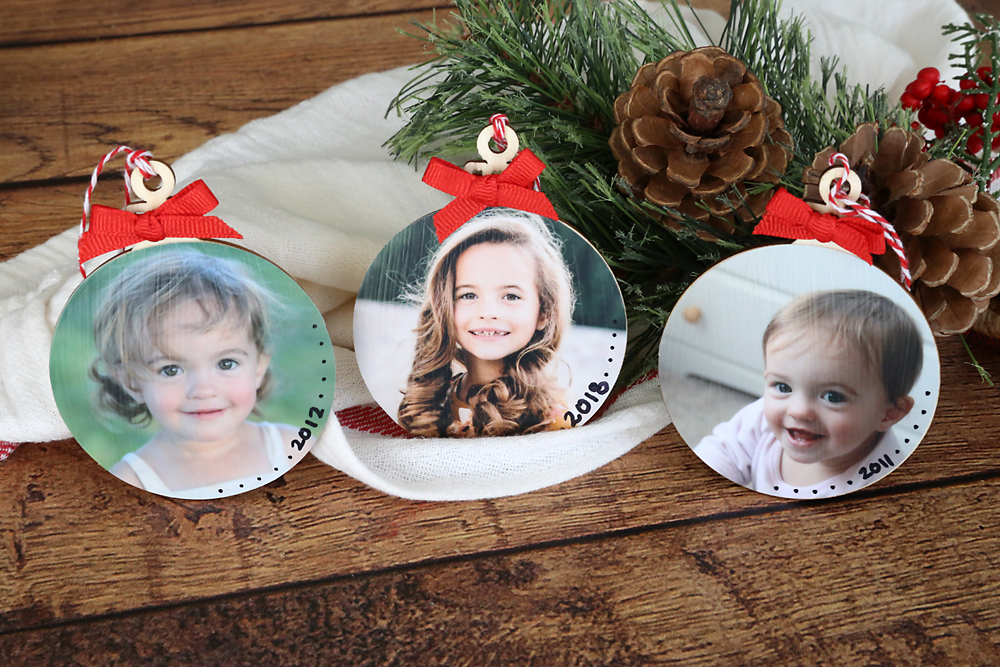
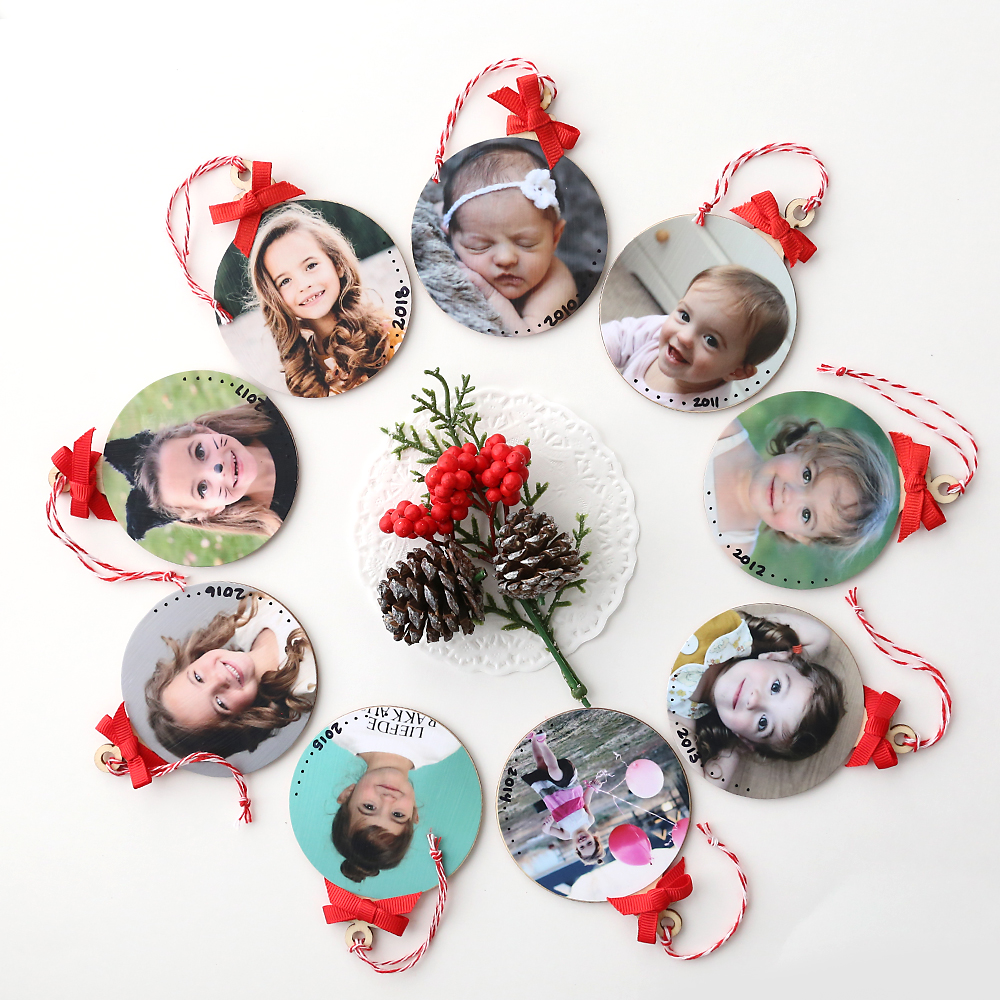
My goal is to make one with a photo of each child from each year. I started with my daughter, since she’s the youngest and all her baby pictures are digital, so it was easy to find them. It was so much fun to look back through old pictures and choose one from each year.
I’m actually thinking I’ll make two sets – one for me to keep, and one to give her when she moves away. It’s pretty fun to look back and see how she’s changed:
I’m also making a set of ornaments using pictures from our most recent family photos. It’s going to be so much fun to decorate my Christmas tree with pictures of the people I love most.
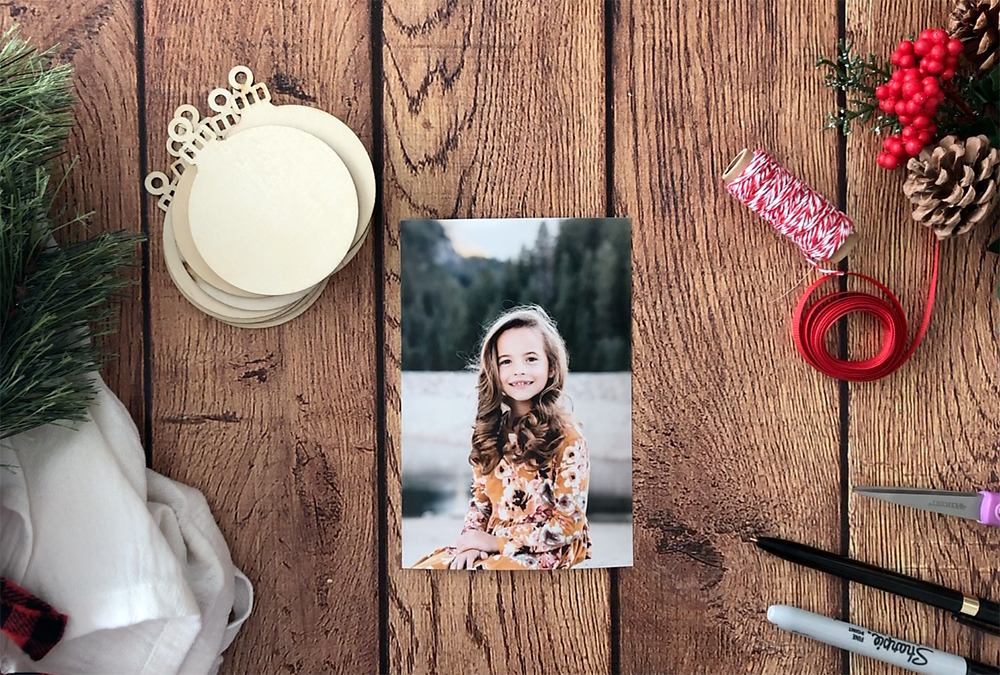
Photo ornament supplies
- ornament blanks – I used these unfinished wood ornaments from Amazon (affiliate link)
- printed 4×6 photos
- Mod Podge matte – available at most craft or big box stores
- ribbon + twine (optional)
- permanent marker (optional)
You can watch this video to see how I made the ornaments, or read through the written instructions that follow:
How to make keepsake photo ornaments
Step 1: Print out the photos you’d like to use as 4×6 prints. It’s best to get them printed as pictures; you can print them at home on regular paper, but the ink from an inkjet printer may bleed just a little when you use the Mod Podge. Be aware that the ornaments are about 2.75 inches in diameter, so you need to use photos that are not super close up or they won’t fit on the ornament.
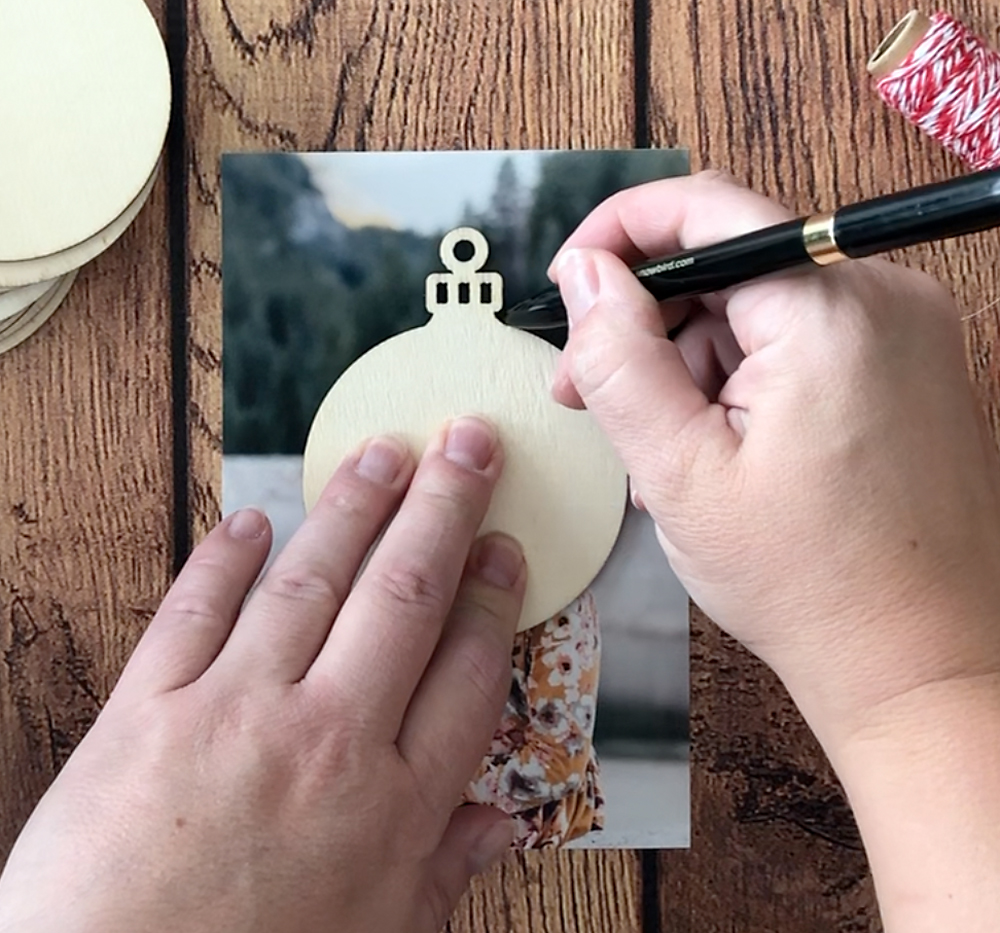
Step 2: Lay the ornament down on your photos and trace around it. Use scissors or a circle cutter to carefully cut out the circle.
Step 3: Use a permanent marker to write the date on your photo, if desired.
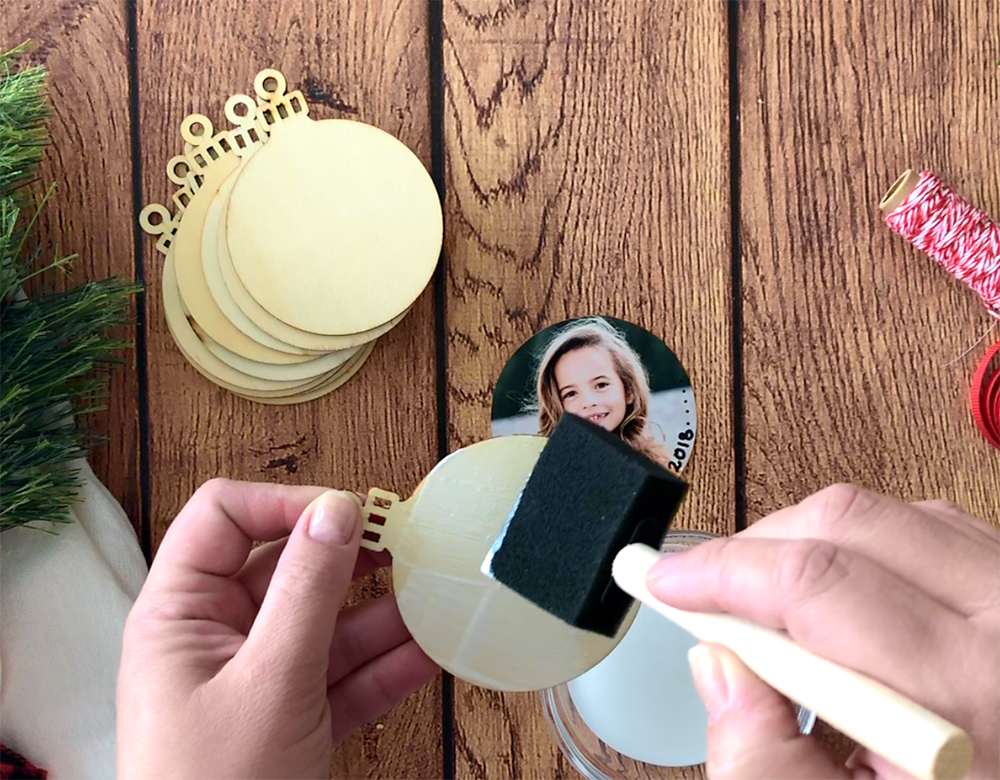
Step 4: Paint the ornament with a thin layer of Mod Podge, then place the photo on top and smooth it down. Allow it to dry about 10 minutes.
Step 5: Paint a thin layer of Mod Podge over the photo to seal it. The Mod Podge will go on white, but it will dry clear.
Step 6: Add any other decorations as desired. I tied a bow with 1/4 inch ribbon. The ornaments come with natural colored twine for hanging the ornaments, but I swapped that out for baker’s twine that matched my ribbon.
Note: It can be hard to find 1/4 inch ribbon. Check the “value ribbon” section of JoAnn’s or Walmart for the 1/4 inch size.
Love photo projects? Check out some of these posts:
Photo pallet (photo to wood transfer)
40 fantastic photo craft ideas


Tiffany says
Simply love ❤️ this idea!