
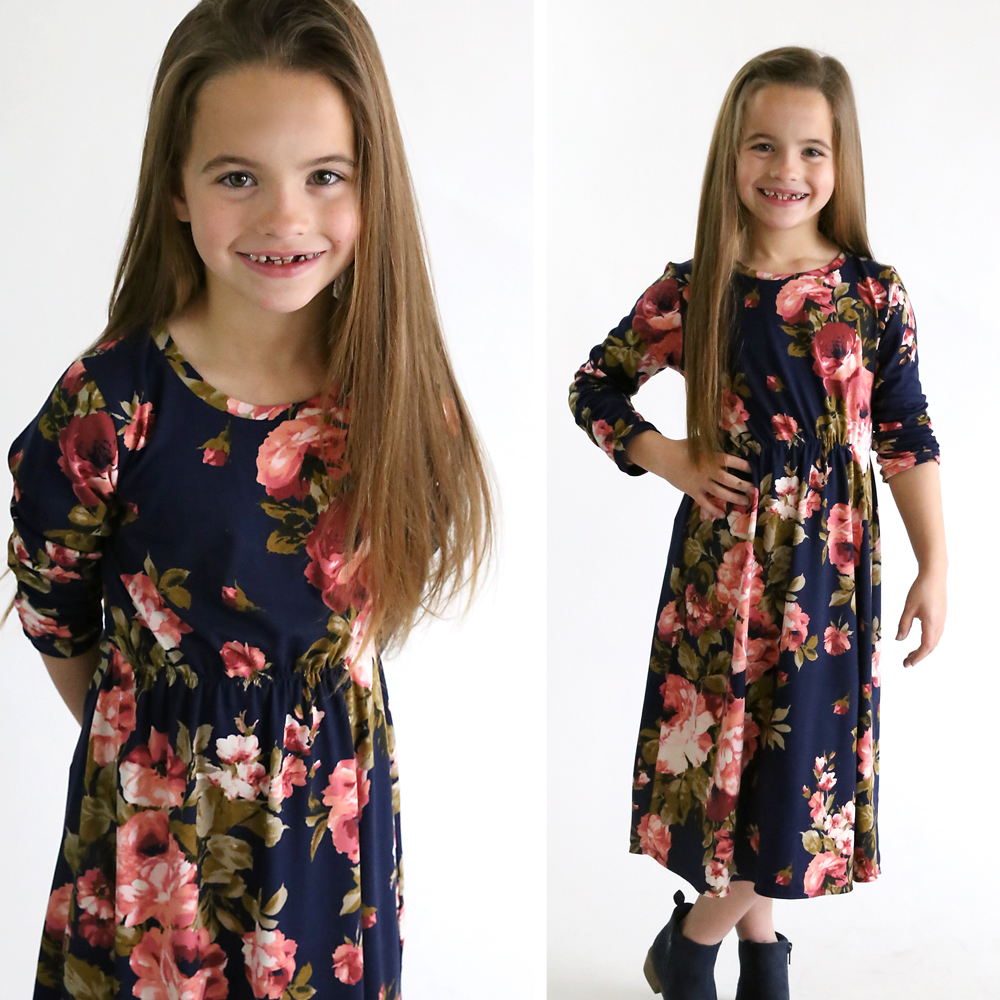
In today’s post: Learn how to use a t-shirt to create your own pattern for a girl’s midi length dress.
My baby is getting old, people. She’s seven! The youngest is seven! After all those years of diapers and toddlers and tantrums and playing legos until I thought my head might explode I cannot believe that my youngest child is quite so grown up (and don’t get my started on the fact that my oldest is almost seventeen!). She’s always loved clothes, so for her birthday a few weeks ago I decided to make her a new dress, one that looked a little more grown up. In fact, this dress is a mini version of one I made for myself last year.
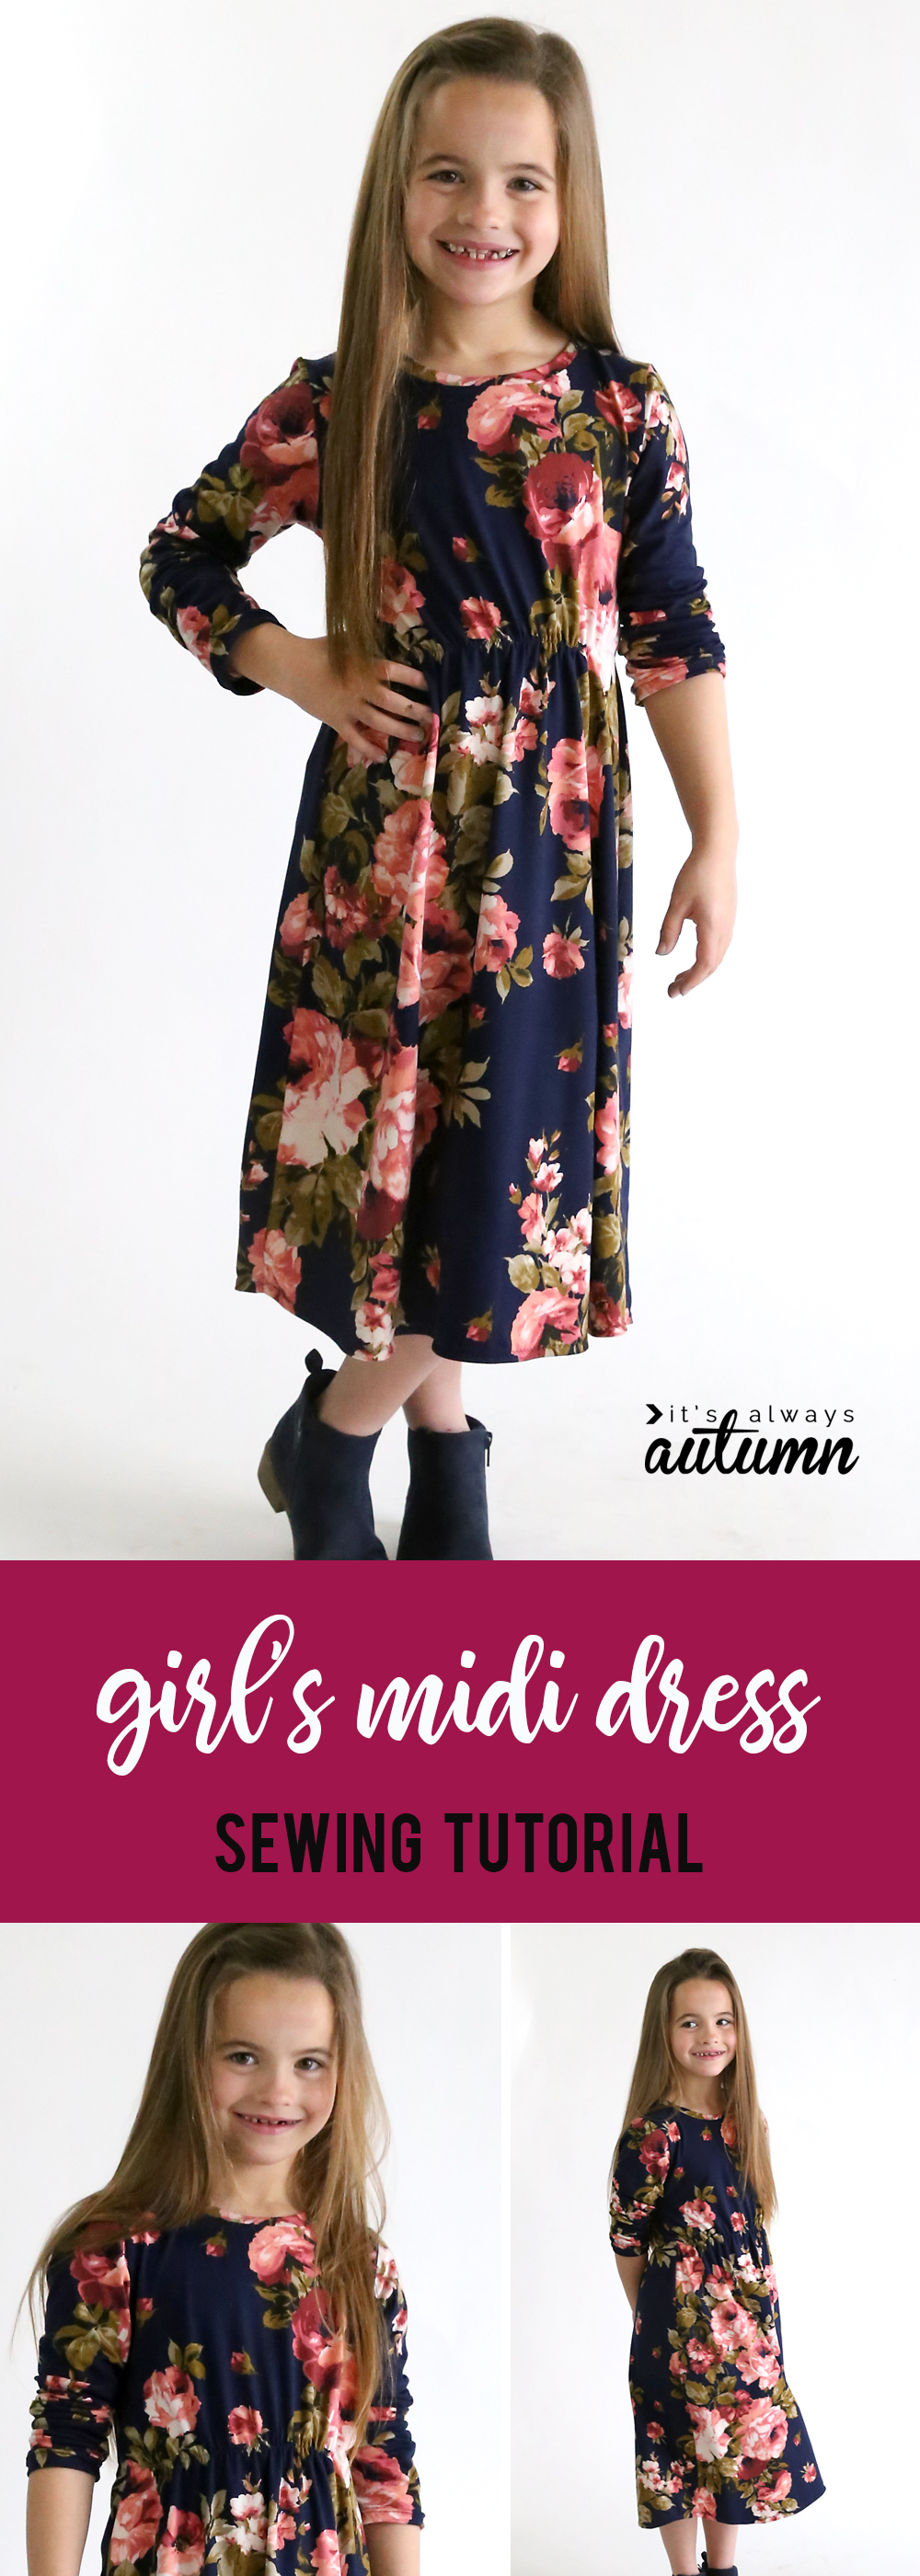
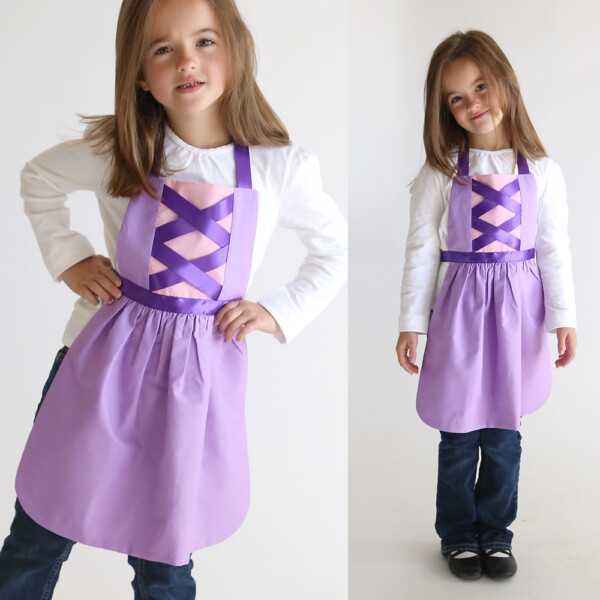
Today I’m going to show you how to make this simple midi dress for your girl in any size by using a tee shirt to create your own pattern.

Love that pretty floral fabric? It’s a brushed poly spandex knit (the same fabric they make the Lula leggings out of!) and it is sooooo soft and quite easy to sew with. I’ve had the best luck finding brushed poly knits on etsy.
How to make a girl’s midi dress
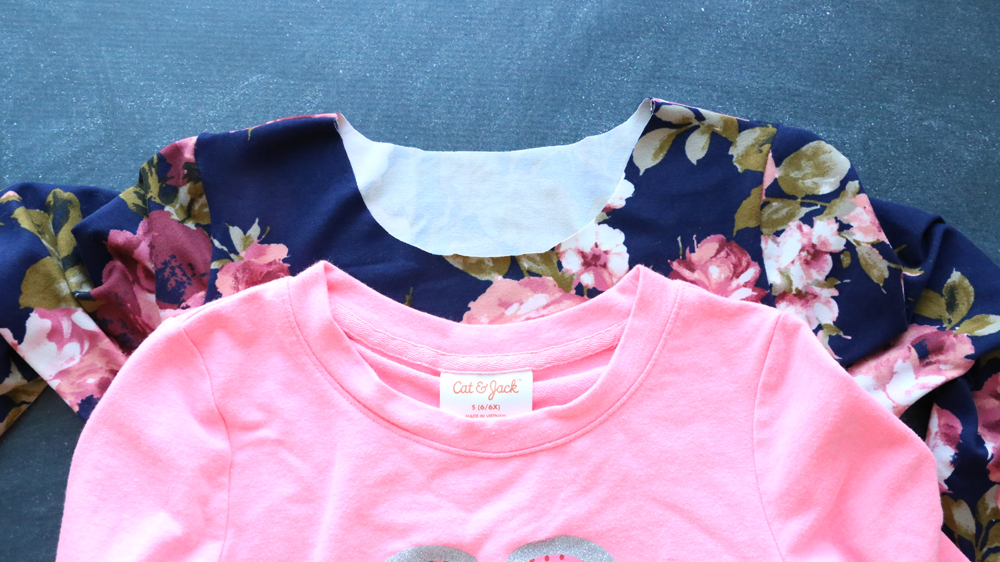
We are going to start by creating a pattern from a long sleeve tee that’s a good fit for your girl (remember, if the shirt is tight, the dress will be tight, so find something that fits with a little ease).
I use freezer paper for tracing patterns because it’s convenient, but you can use any paper you have on hand.
Start by laying the shirt flat on the paper, inside out. Tuck one sleeve inside the shirt, then smooth the shirt down so there are as few wrinkles as possible. Trace a bodice pattern as shown below. You will go straight down the middle of the shirt and then across at the natural waist. Then trace up the side of the shirt, curve in along the arm hole, trace around the shoulder, and then around the back neckline. Be sure to add seam allowance everywhere except the center line (remember: add seam allowance anywhere there is a seam, but not at a fold).
NOTE: if you want to use this pattern to also make new shirts for your daughter, go ahead and trace all the way down to the bottom of the shirt instead of across at the natural waist.
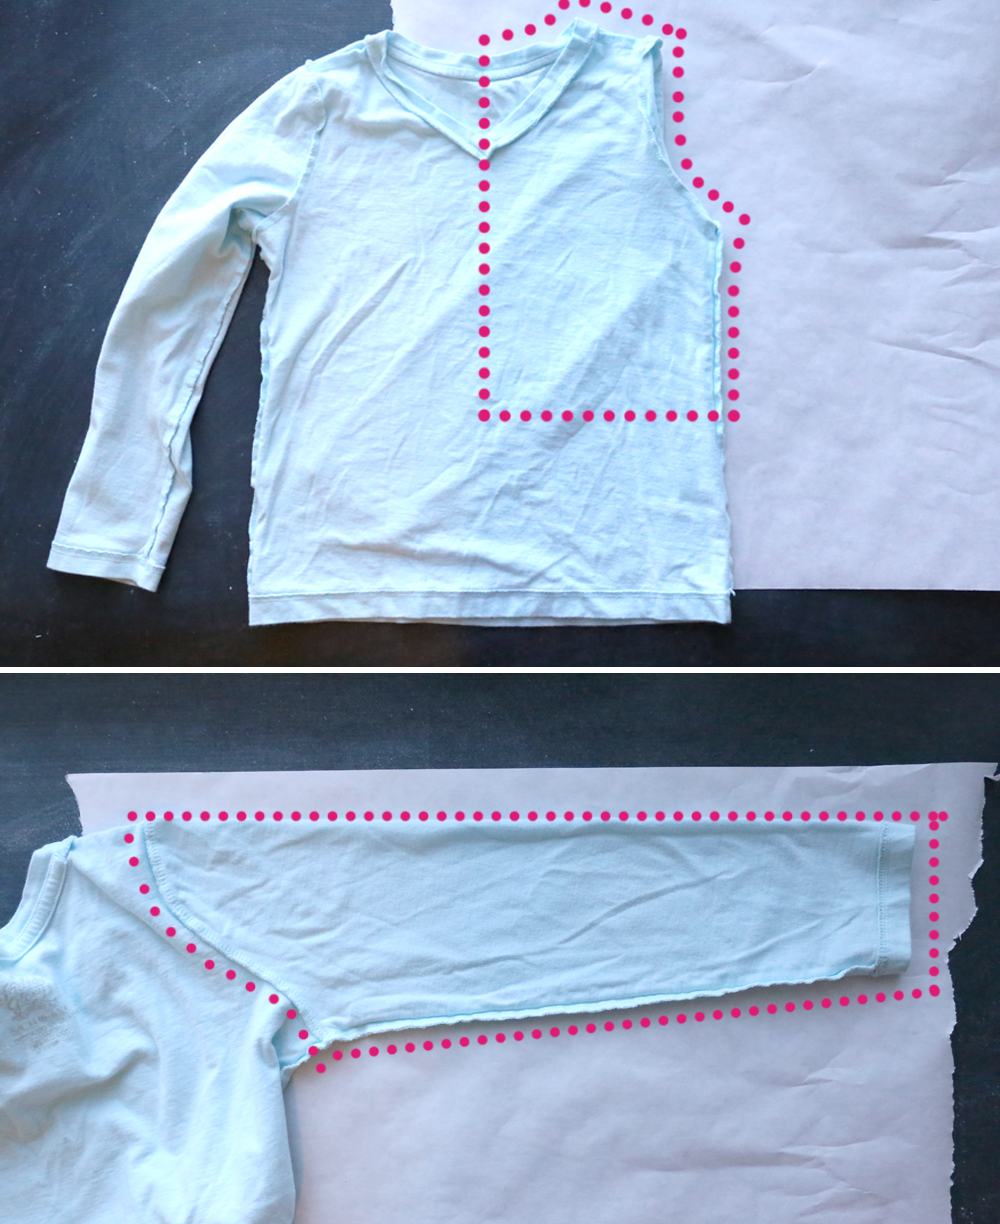
Next, you’ll need a sleeve pattern as well. This time, lay the sleeve down flat and smooth it out. Trace around the top of the sleeve (no seam allowance needed since this is a fold). Then trace down the gentle “S-curve” where the sleeve is attached to the shirt, across the underside of the sleeve, and across the hem of the sleeve (add seam allowance to all these lines).
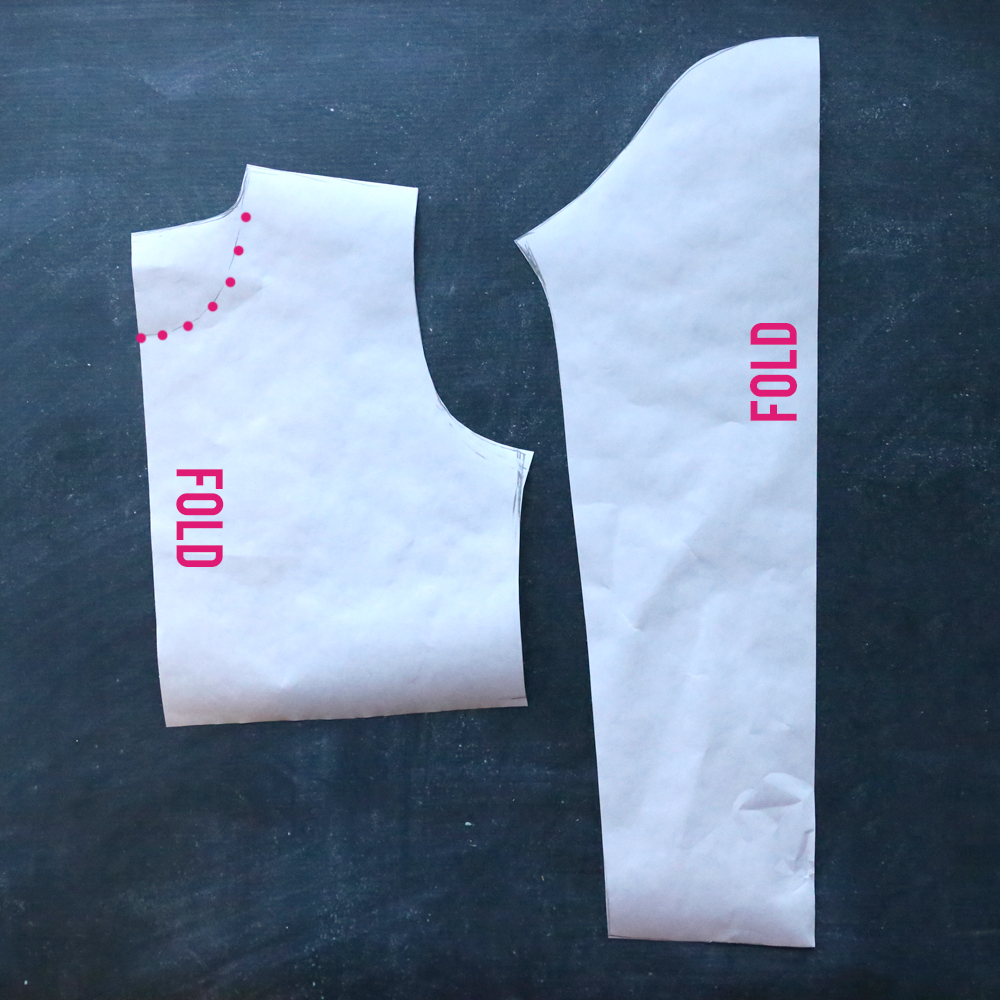
Now you have your two pattern pieces:
Now you can start cutting out your fabric. This dress must be made out of a knit (stretchy) fabric. I was able to make my daughter’s dress (size 6-7) out of one yard of fabric, but larger sizes will require more fabric. Wash and dry your fabric before you begin.
We’ll start by cutting out the dress pieces. You are going to use your bodice pattern to get the right shape for the top of the dress, and then angle down and out making the dress however long you’d like it to be (remember to add an inch for a hem). You’ll cut two dress pieces, both on the fold. One should have the higher back neckline that you traced, and on the second one you can cut a slightly lower front neckline.
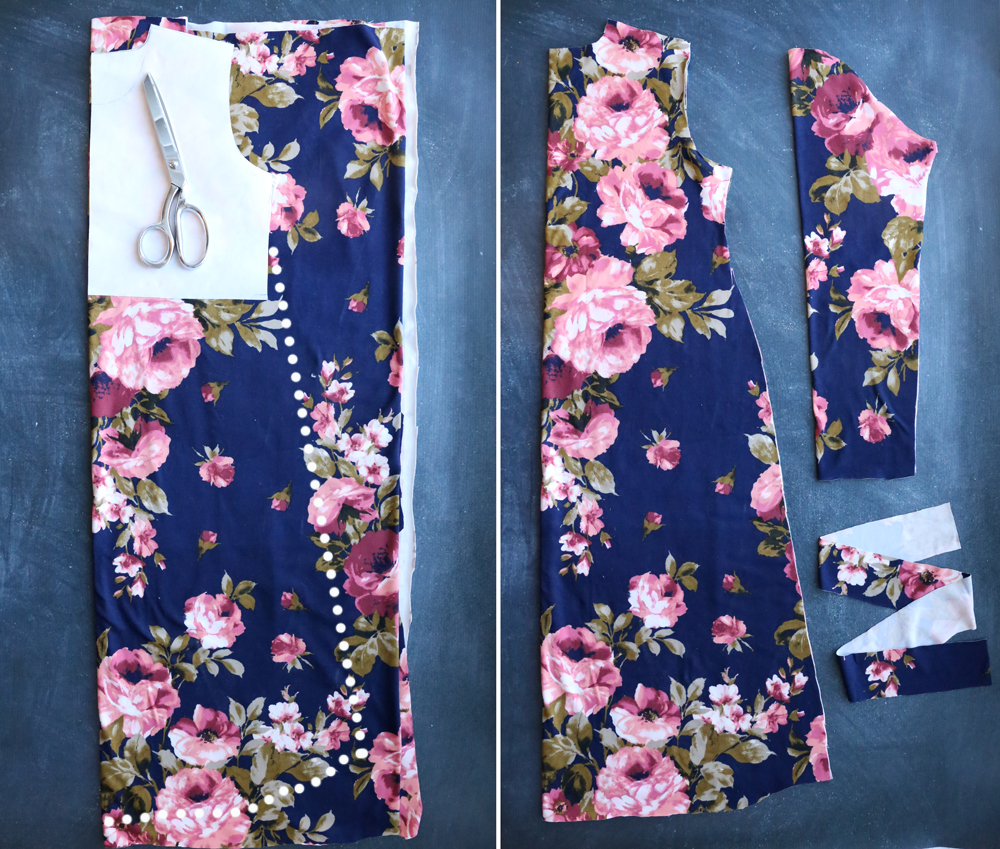
You also need to cut two sleeve pieces, both on the fold, and one long neckbinding piece. That should be about 1.5 inches high and around 20 inches long, with the stretch going along the length of the piece. (Make sure the stretch goes side to side on both your dress pieces and sleeves).
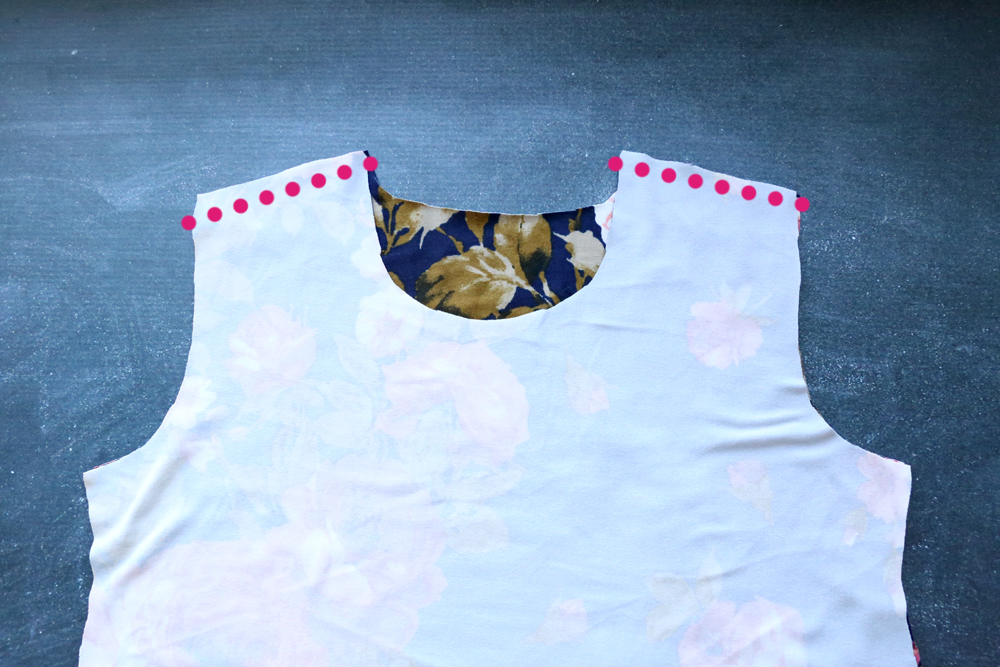
Begin sewing by laying the front dress piece on top of the back dress piece, right sides together, and sew across the shoulder seams.
Next you’ll add sleeves. Open up the dress at the shoulder seams and lay it down flat, as shown in the first photo below. Grab one of your sleeve pieces and center it on the shoulder seam, matching up the middle of the “rise” on the sleeve with the seam. Pin.
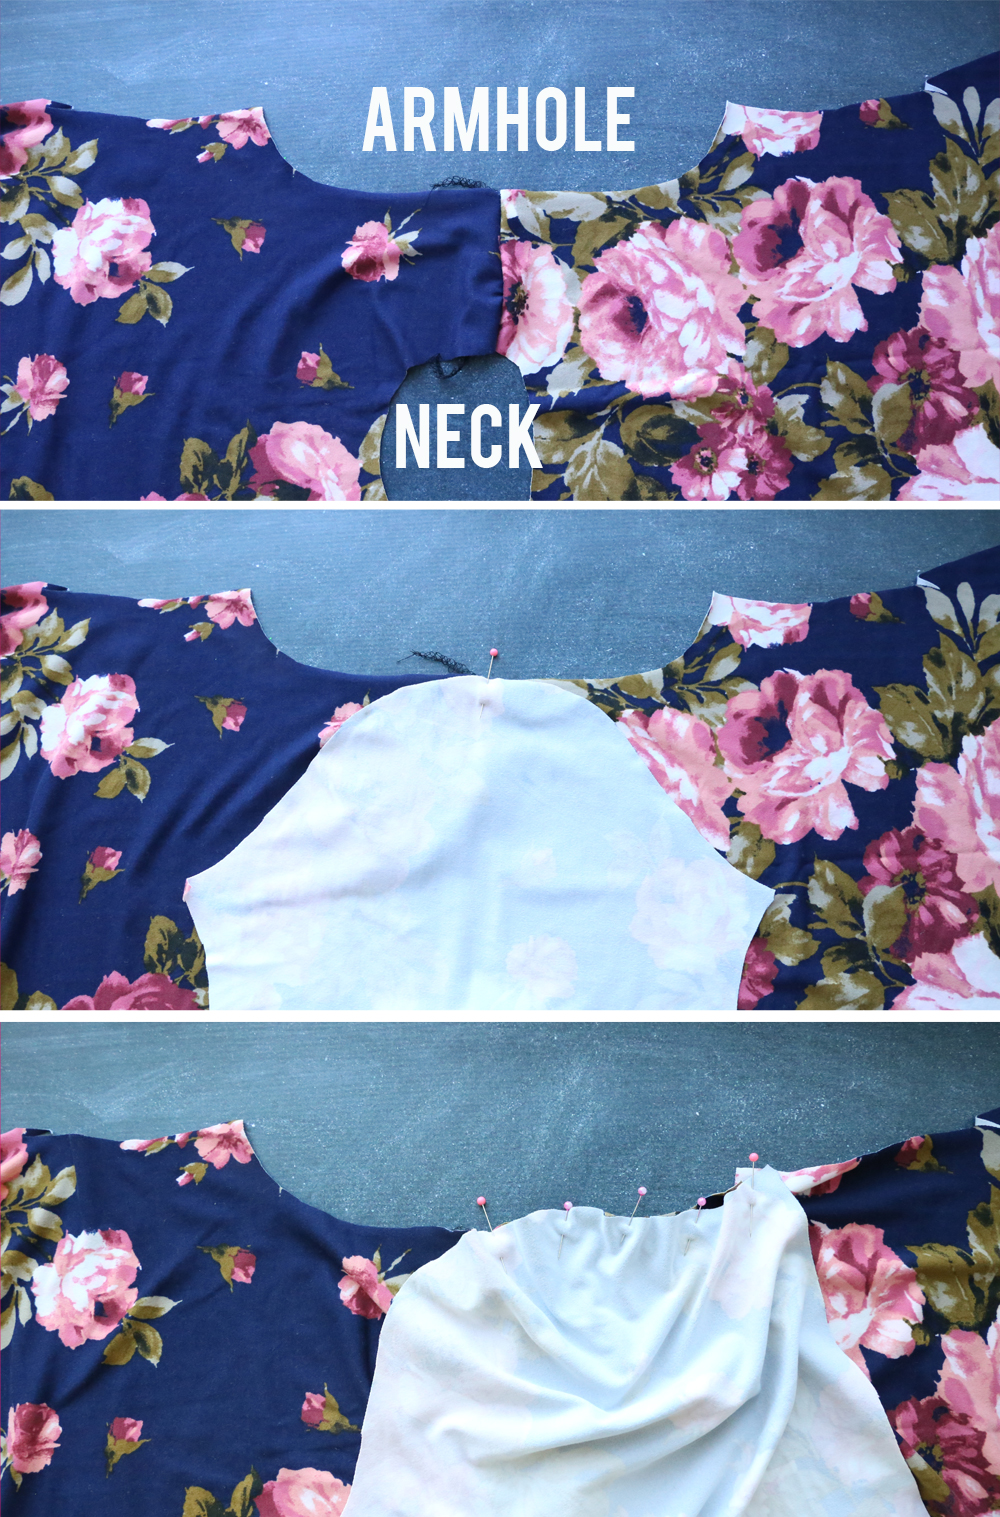
Continue to pin the top edge of the sleeve to the armhole, as shown above. The sleeve curves the opposite way the armhole does, so it will look wrinkly and awkward as you pin, and you may have to stretch the armhole a bit to fit, but it’s all going to work out. Continue pinning until the entire top of the sleeve in pinned into the armhole, then sew, stretching a little to match up the two pieces if needed. Repeat with the other sleeve.
Now you can place the dress front and back right sides together again. Pin and sew up each arm, around the curve at the underarm, and down the side of the dress. I like to give the fabric a stretch as I’m sewing the underarm to make sure that seam won’t pop once the dress is worn.
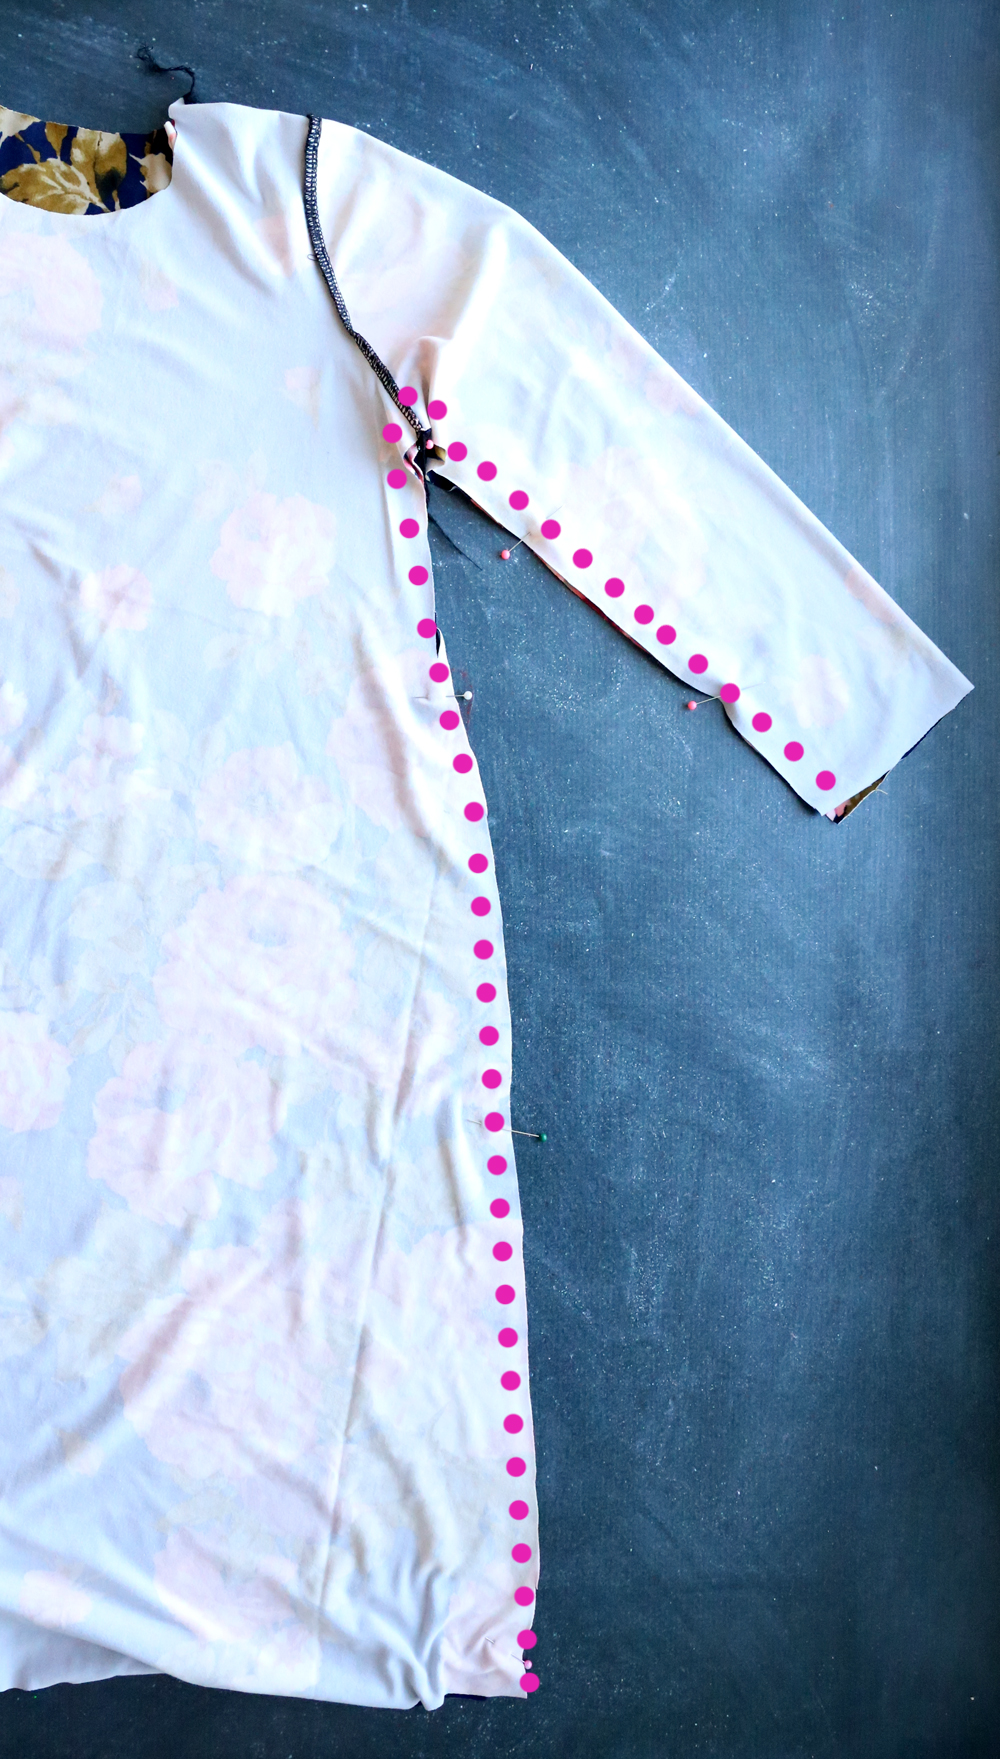
Ok, turn it right side out and you’ll have something that’s looking like a dress (or maybe a nightgown at this point).
The next step is to bind the neckline. Since kids have larger heads in proportion to their bodies, you need to make sure the neckline is large enough. It’s a good idea to compare the neckline to a dress or shirt that fits over your child’s head with no trouble and make your neckline bigger if needed (if you need to enlarge it try cutting a bit wider, not lower, to make sure you don’t end up with too low of a neckline).
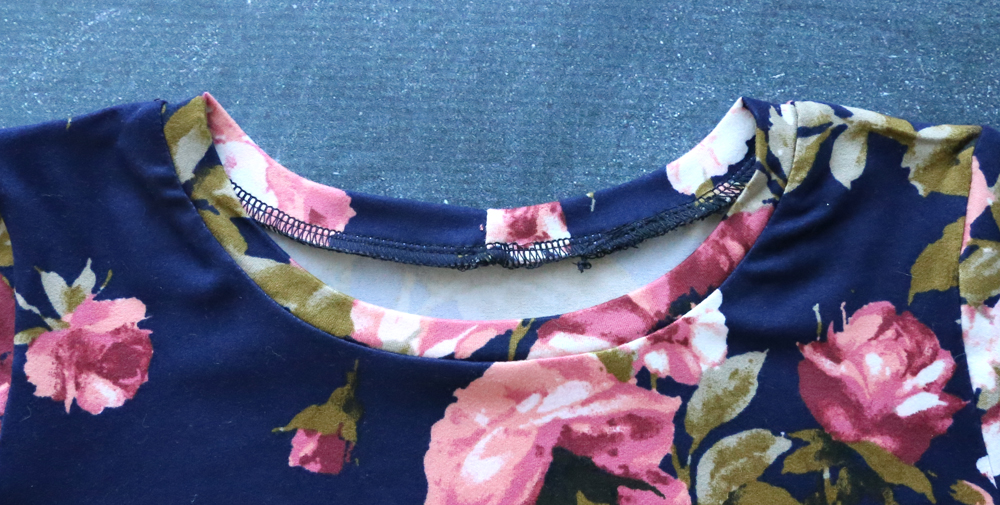
Now you’ll use your long neckbinding piece to finish of the neckline. If you’ve never done that before, I have more detailed instructions in this post: classic tee pattern.
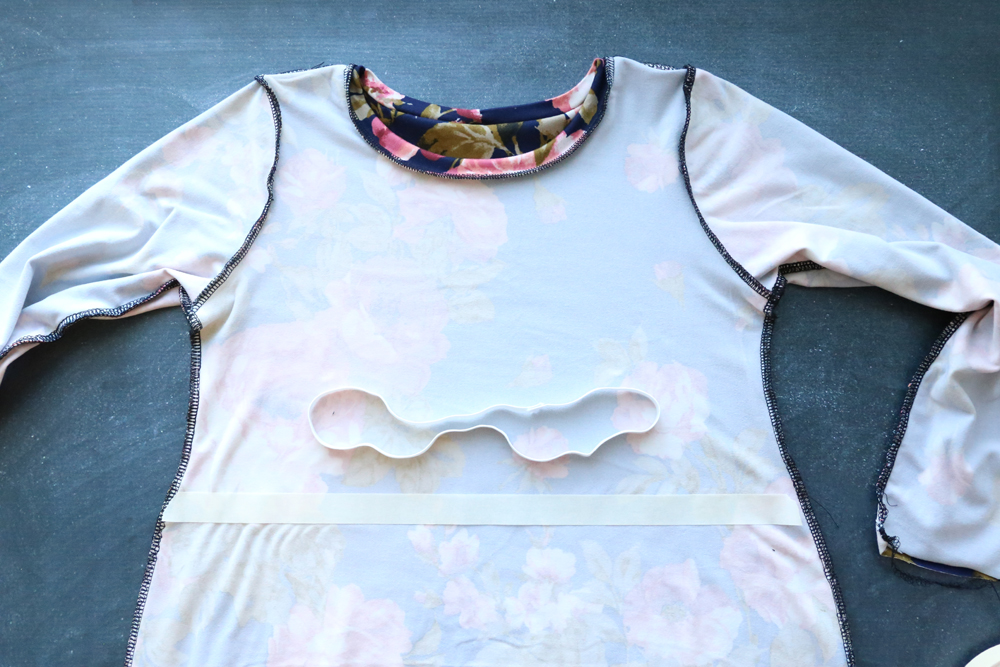
Next we add elastic at the waist to give the dress a little shape. Cut a piece of 3/8 or half inch elastic that is 2 inches shorter than your girl’s waist measurement. Overlap the ends and zigzag them together.
Turn the dress inside out and mark where you want the elastic to go with masking tape. I placed the elastic right at my daughter’s natural waist, which is a few inches above her belly button.
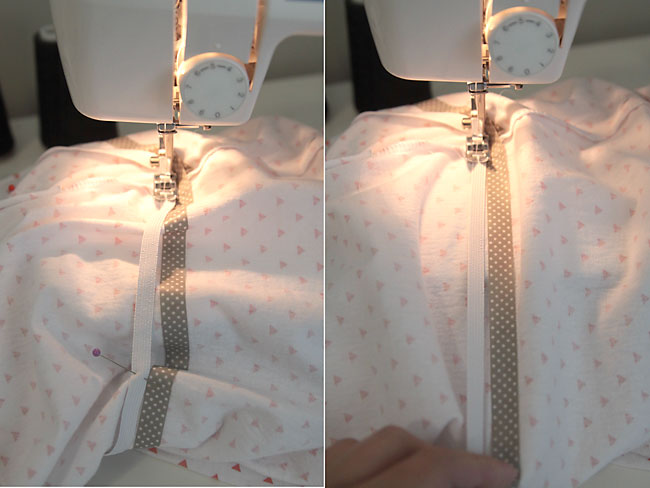
Divide the elastic into fourths and place pins to mark those spots. Slide the elastic over the dress as shown below. Pin it to the center front of the dress, right above the masking tape, then to each side seam and to the center back of the dress.
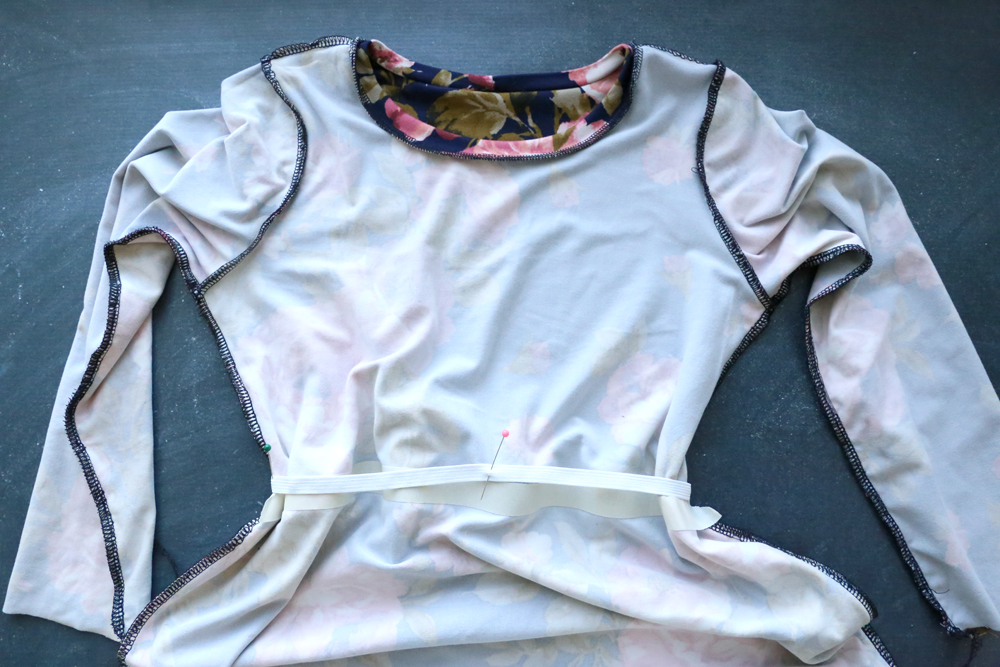
Now you’re going to use a zigzag to sew the elastic onto the dress. The elastic is smaller than the dress, making it bunch up. You’ll need to use one hand behind the presser foot and one hand in front of it to pull the elastic as you sew so that it lays flat against the dress, right next to your tape. Sew all the way around with a zigzag (photo below from the play-all-day-dress).
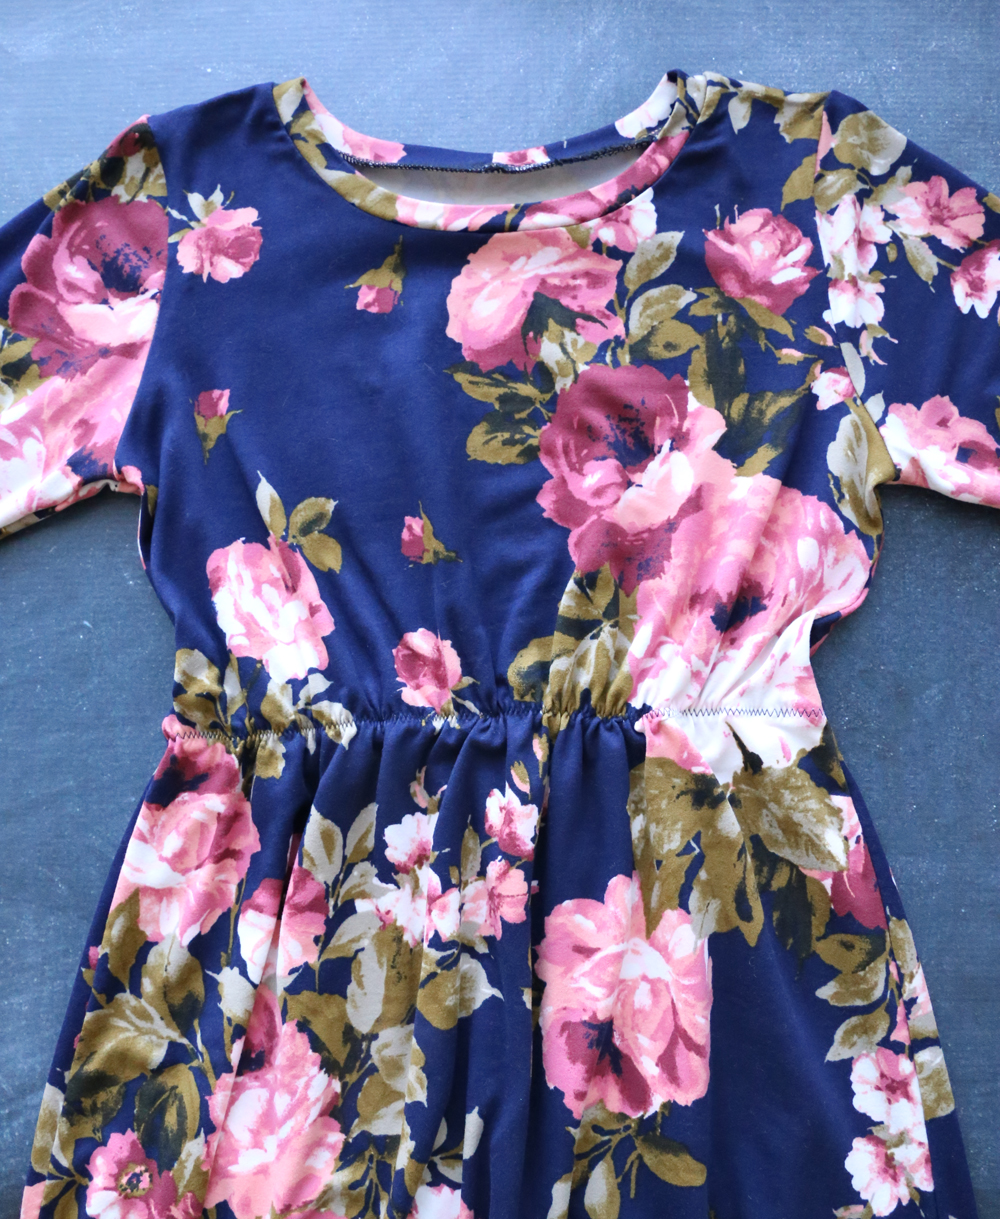
Once the elastic is attached, it will gather up the dress at the waistline.
The last step is to hem the sleeves and bottom edge of the dress. When hemming knits I turn them up once, about 3/4 of an inch, and sew the hem with a double needle, which finishes the hem nicely on the underside and allows it to stretch. You can also use a zigzag stitch to hem.
Want to sew more for girls? Visit these posts:
The “flutter sleeve” dress pattern for girls
The “hello spring” dress pattern for girls


Violet says
She looks so lovely in this dress! I will definitely make some for my girls. Very good explanations, thanks for sharing!
Amanda says
Wow! I cannot believe she is getting so big! I have been following your blog for a couple of years now, my oldest daughter is also 7. It’s amazing, suddenly one day, you see they are so big, sigh! This dress is beautiful! I cannot wait to make it for my 7 year old! Thanks for sharing your talent, it’s helped me develop my skills!
Melanie Ryerse says
Just found your website…where have you been all my life? Love your sewing projects! Going to sew some of your dresses up in jersey knit for Easter for my 11-year-old (who wears women’s size M – ahh!), my 7 year old, and my 6 mo. baby girl. You are beautiful and thanks for sharing your talents!
Terri says
Thank you for all these great patterns you make. Your instructions are so precise and makes it easy to follow. Your daughter is adorable and looks really sweet in that dress.
Sara says
She can not be 7 already!!? I can’t believe it. She’s so adorable!