
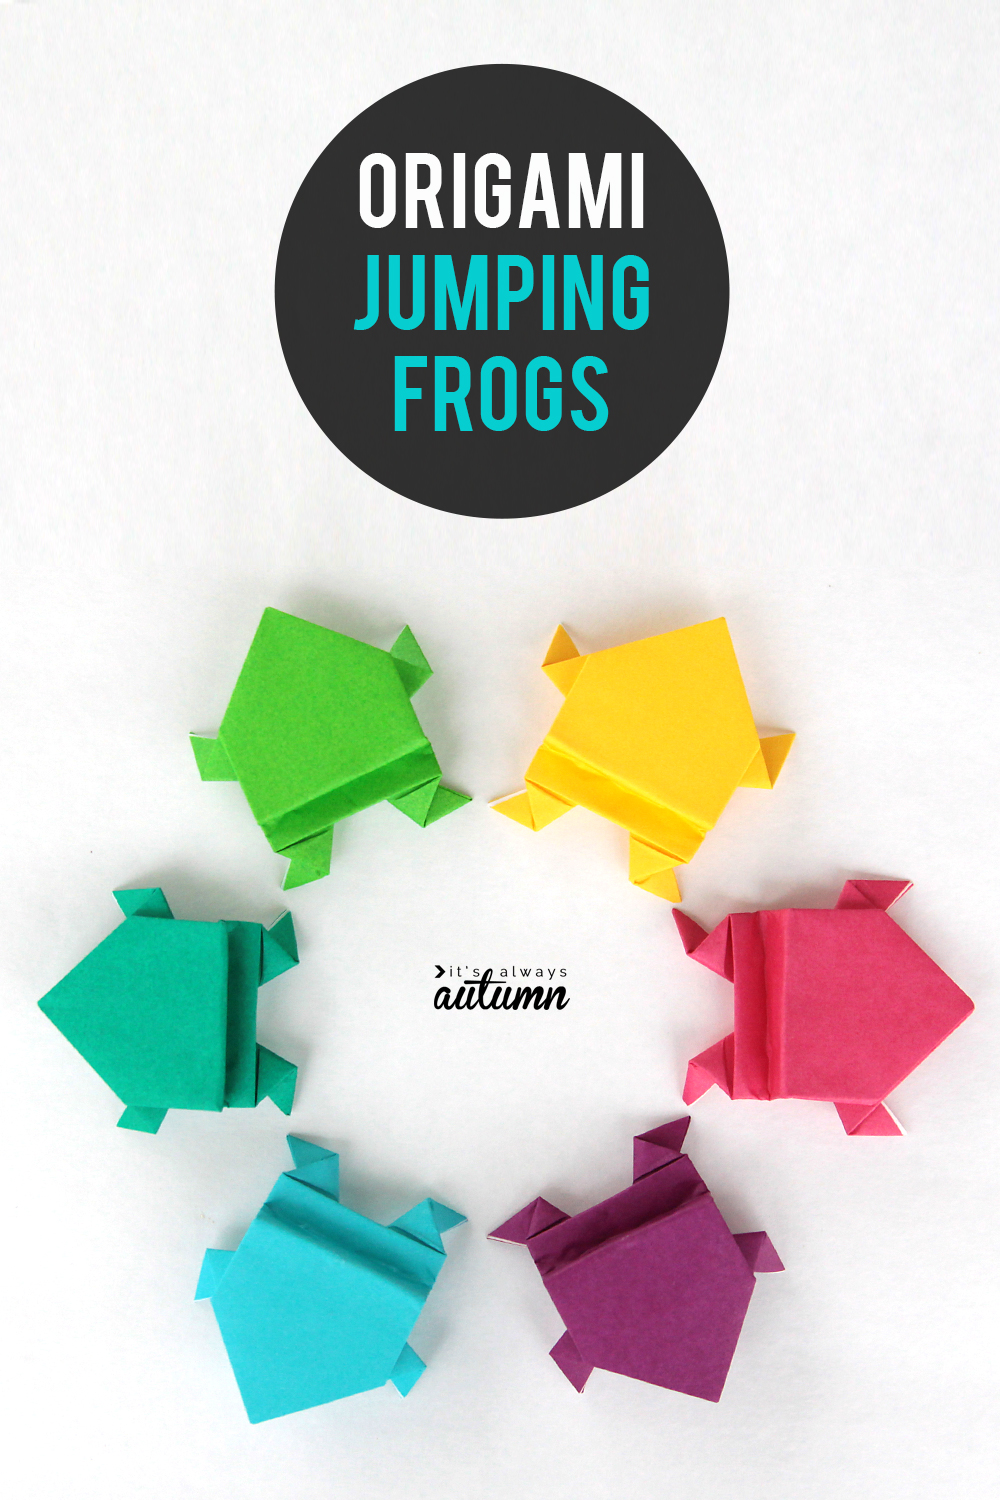
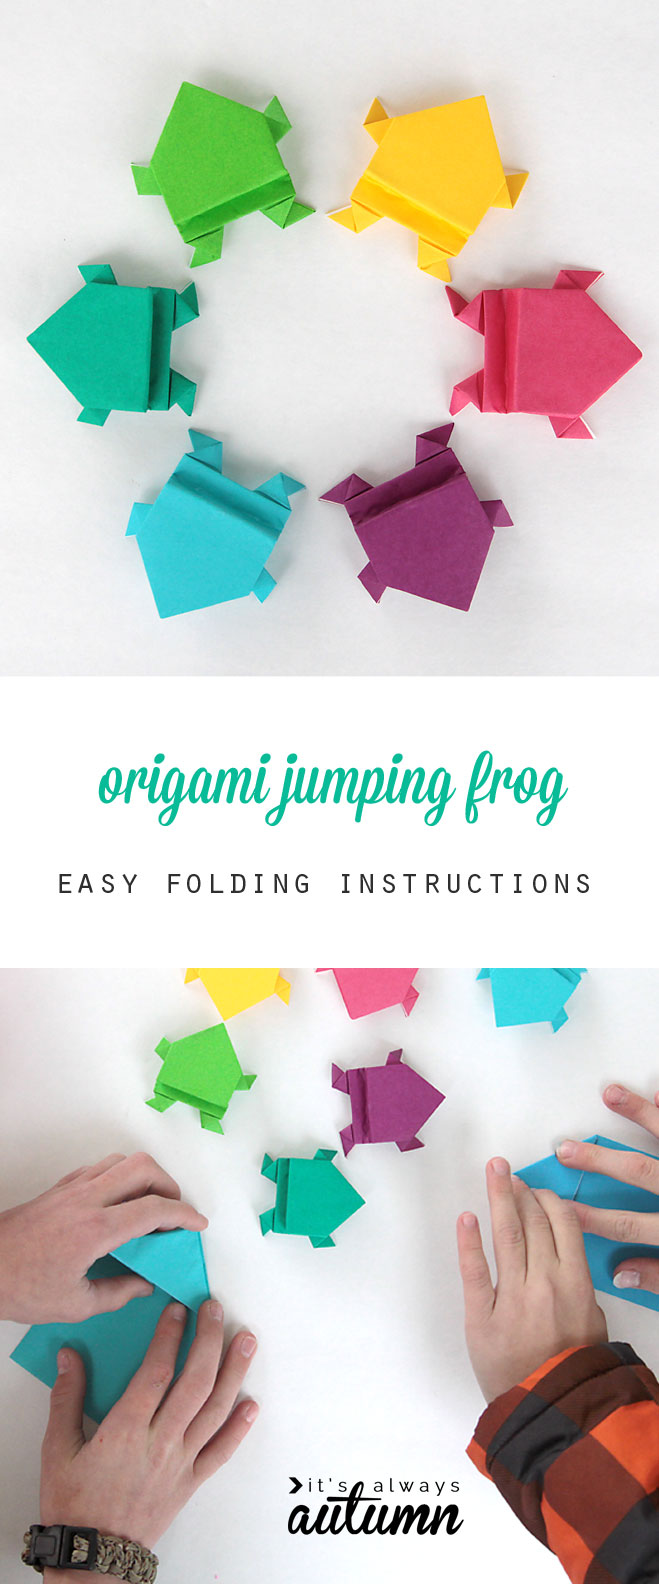
In today’s post: Teach your kids how to make an origami frog that actually jumps! Origami jumping frogs are easy to fold and fun to play with.
I couldn’t believe it when I realized last week that I had never taught my kids to make origami jumping frogs. I learned how to fold these in sixth grade from a friend, and we had a blast making frogs of all sizes and colors, then seeing whose frog could jump the furthest and who could get her frog to land on it’s feet most often. These cute little origami frogs are pretty easy to fold, so most upper elementary age kids will have no trouble with them. My six year old was even able to make one with a little help. Keep reading for full instructions on how to fold your own jumping origami frog.
Origami frog: supplies
As with most origami, these frogs are a little easier to fold if you have actual origami paper, since it’s nice and thin, but you can really use any square piece of paper. Find origami paper here:
- reasonably priced 120 sheet pack on Amazon
- Origami paper options at Target, including cool patterned paper
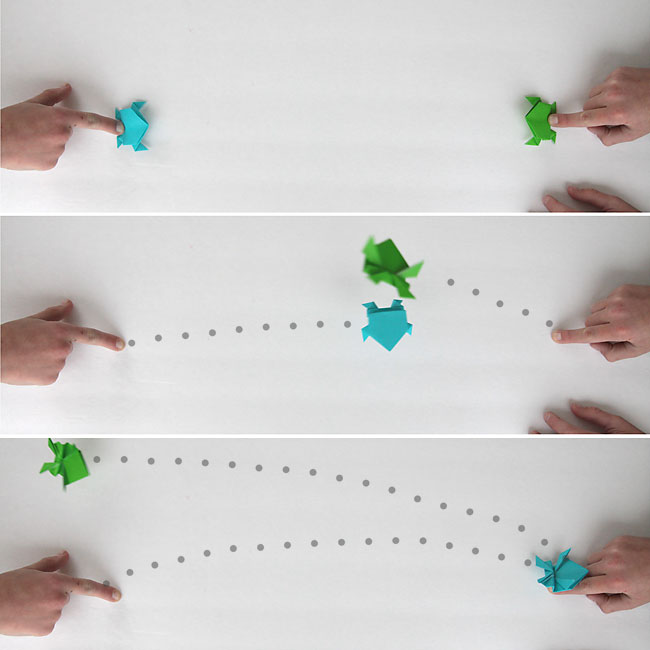
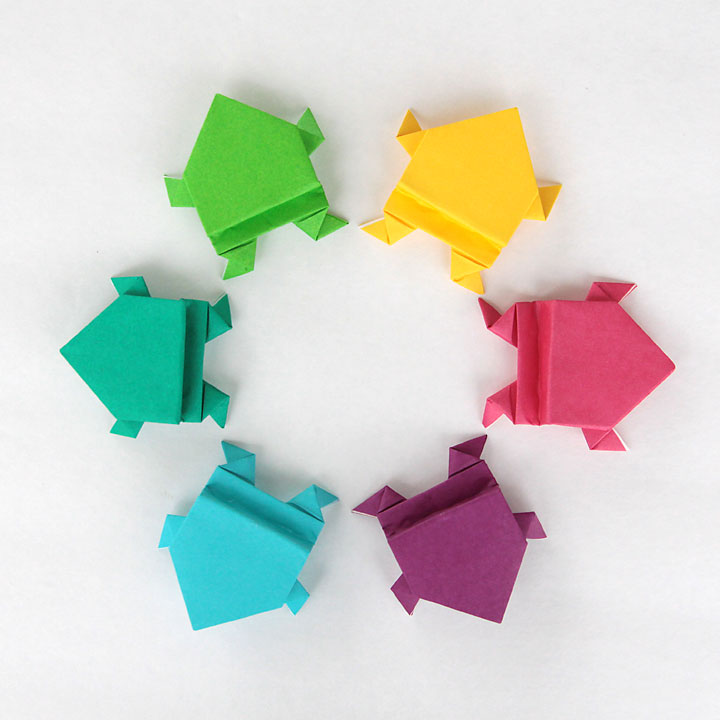
Once your frog is folded, press down on the folded “legs” with the tip of your finger, then quickly slide your finger off to make the frog jump.
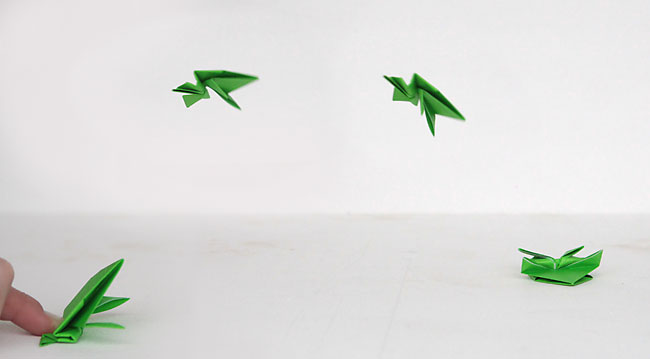
Depending on how hard you push the legs down, you might be able to get the origami frog to make one perfect flip in the air and land on its feet again. It’s fun to try to jump the frogs into targets, or just see whose frog jumps the furthest.
How to fold a jumping origami frog
I’ve made photo diagrams as clear as possible so I don’t have to try to explain each step. When you see arrows, those are showing you which direction you should fold the paper, and the dotted lines show you the line the fold will make. Remember, you are not folding to match the paper up with the dotted line, you are folding ON the dotted line.
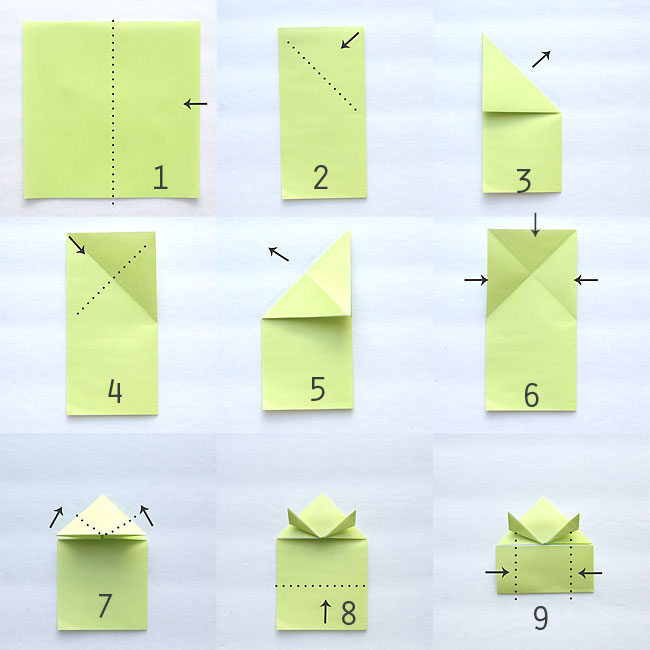
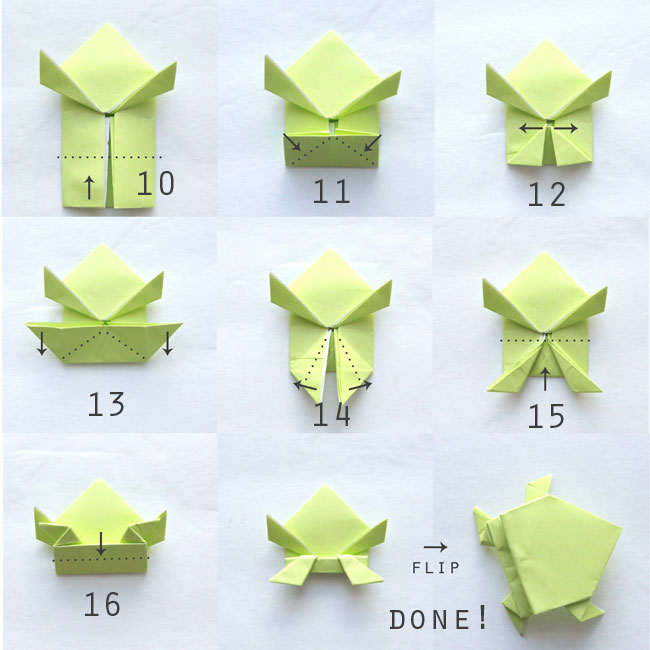
For these frogs, we used 6 inch square origami paper![]() , and the frogs ended up about 2×2 inches.
, and the frogs ended up about 2×2 inches.
If you love origami, visit these posts:
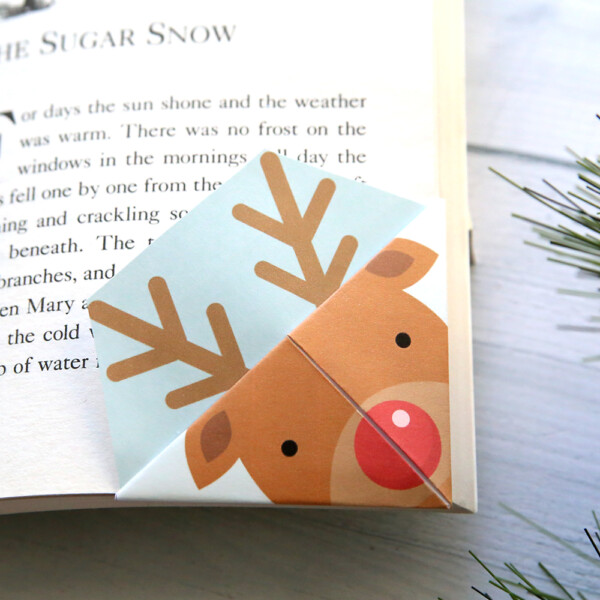
Print + fold origami bookmarks
Origami bowtie (for Father’s Day)
And for more kid fun, check out these posts:
101 summer fun ideas kids can do at home
20 kid art projects that turn out pretty enough to frame


Michael says
I am planning on doing this with a kids camp and I wanted a visual instruction for the kids, but didn’t want to show a youtube video since everyone goes at their own pace. The images you made of the steps are perfect to put up on the wall or on the table for them!
Mary-Jo says
Such a cute craft. I’m on my way to meet with the grandkids – and I have a stack of amazing origami paper I picked up.
I got to step 12 on my practice drift. But I can’t seem to transition to 13 and in to 14! Eeek! Help?
Amanda says
What am I doing wrong? In step 8, you’re showing the legs flipping up off of either side of the triangle. But on mine, either way I fold my triangle down in step 6, I can only flip up one side of it up. Do you see what I mean? Can you help me?
Btw, even though I’m confused, I love the way it’s laid out like this 🙂
Catherine says
After some initial confusion in the same spot and then fiddling around with it – you need to pinch the edges of the two side triangles in so that you can fold the top triangle down. Then you can move no to step 7 without glitches.
Daniela Cruz says
i liked the craft
Bailey says
This is the easiest frog fold I’ve found for me and the kids! It is awesome.