
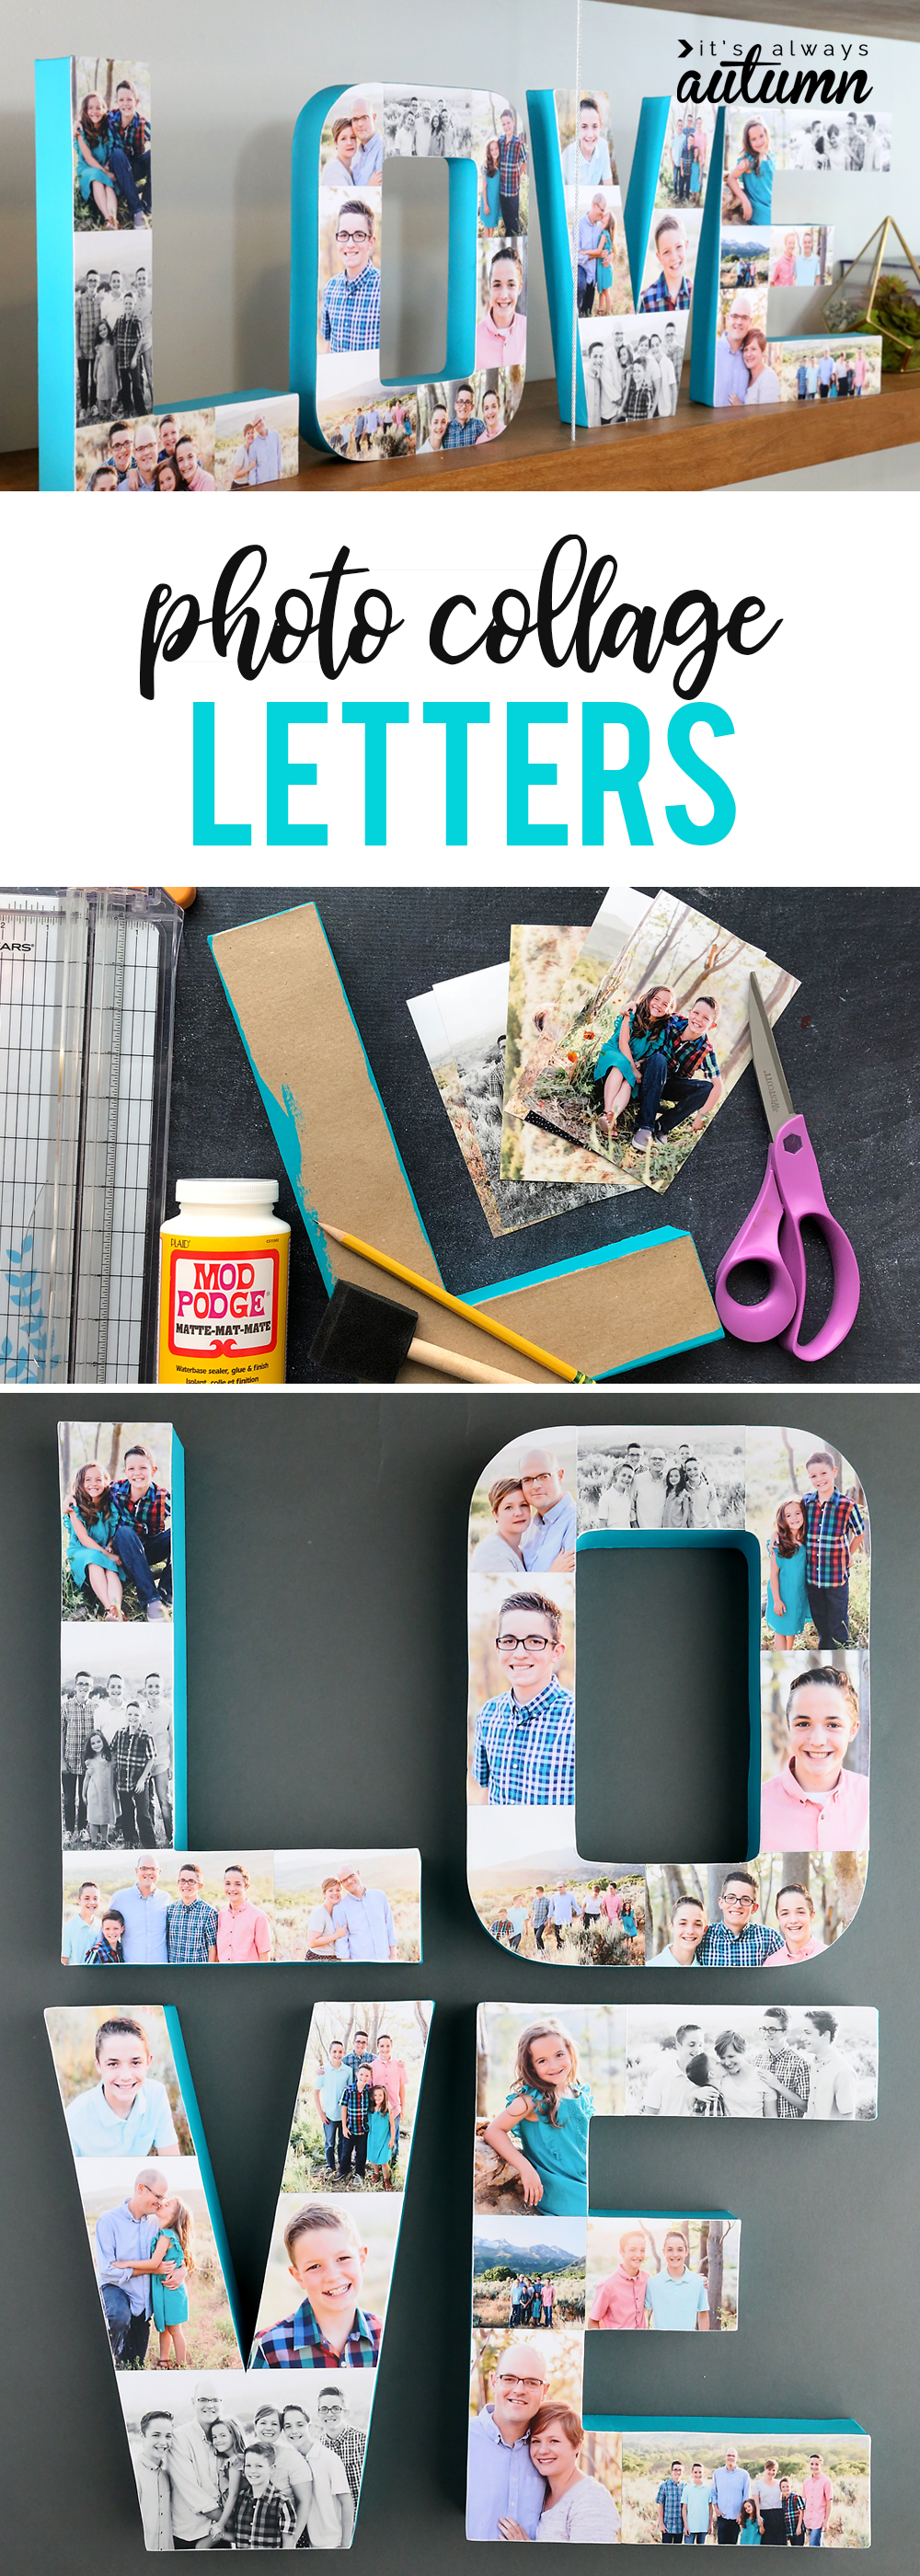
In today’s post: Learn how to create photo letters: a photo collage on large paper mache letters. This easy craft is a great way to display your favorite pictures.
I’ve said it before, but boy, if I could freeze time right now I would! Our five kids range in age from 7 to 16 and I seriously don’t want any of them to get a day older. Anyone else feeling the same way?
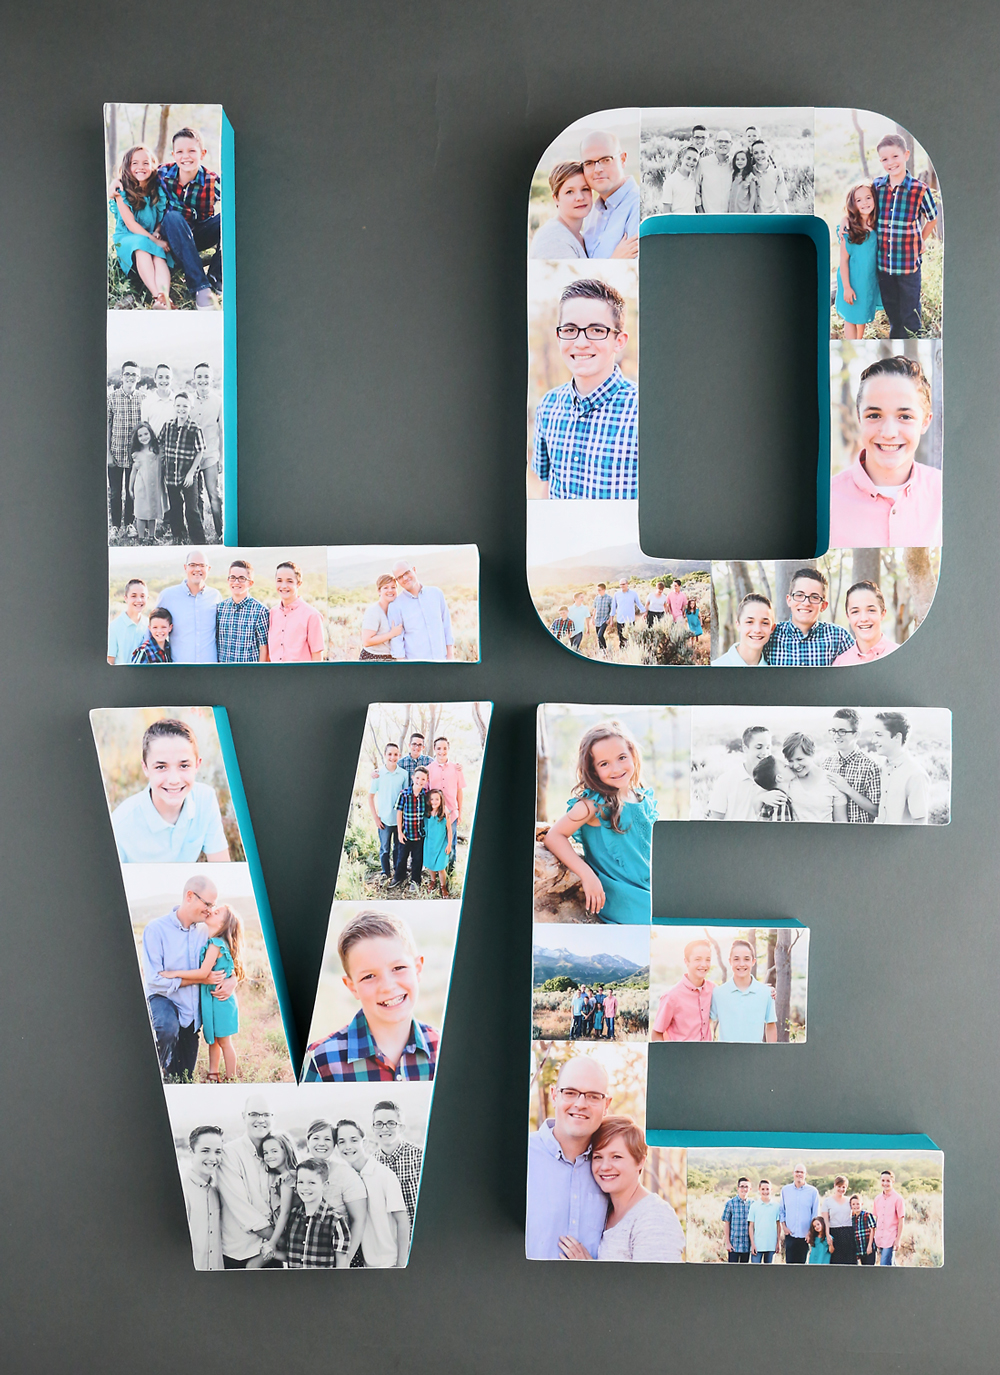
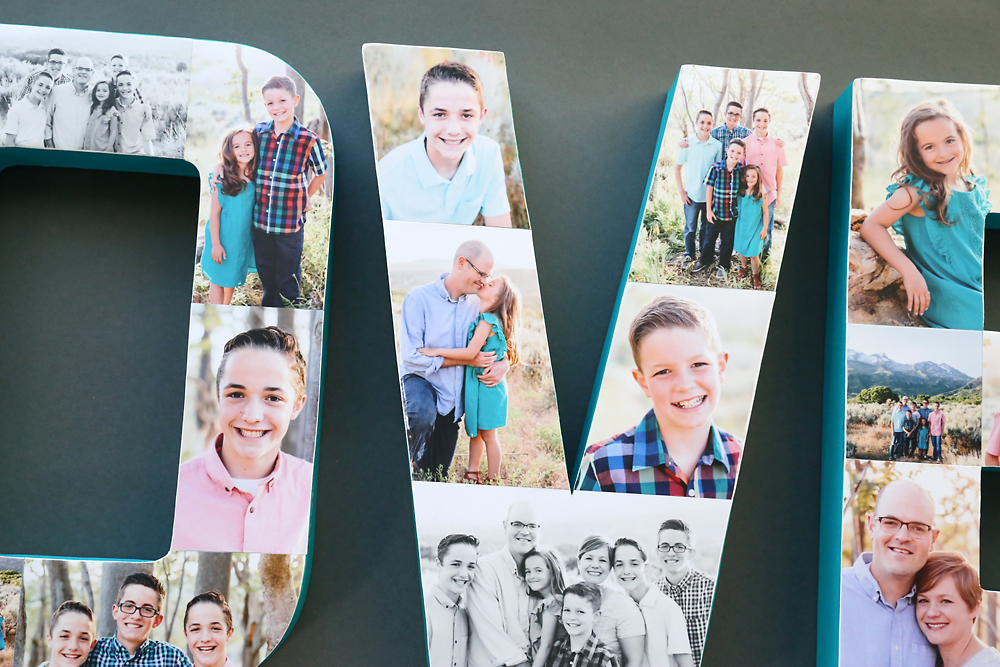
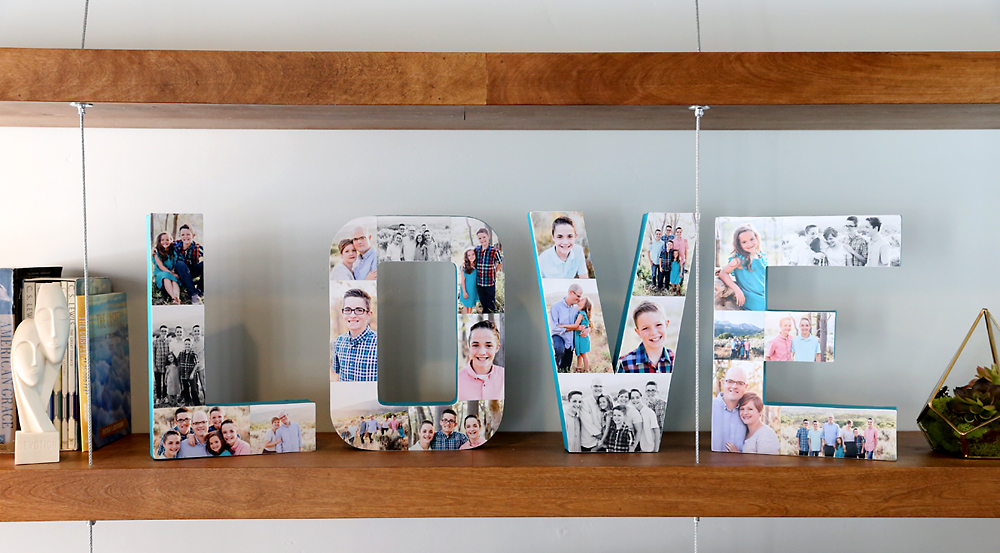
We had a great family photo shoot done last summer and ended up with way too many fabulous photos to frame (yay!), so I knew I needed a way to display lots of favorite pictures all together.
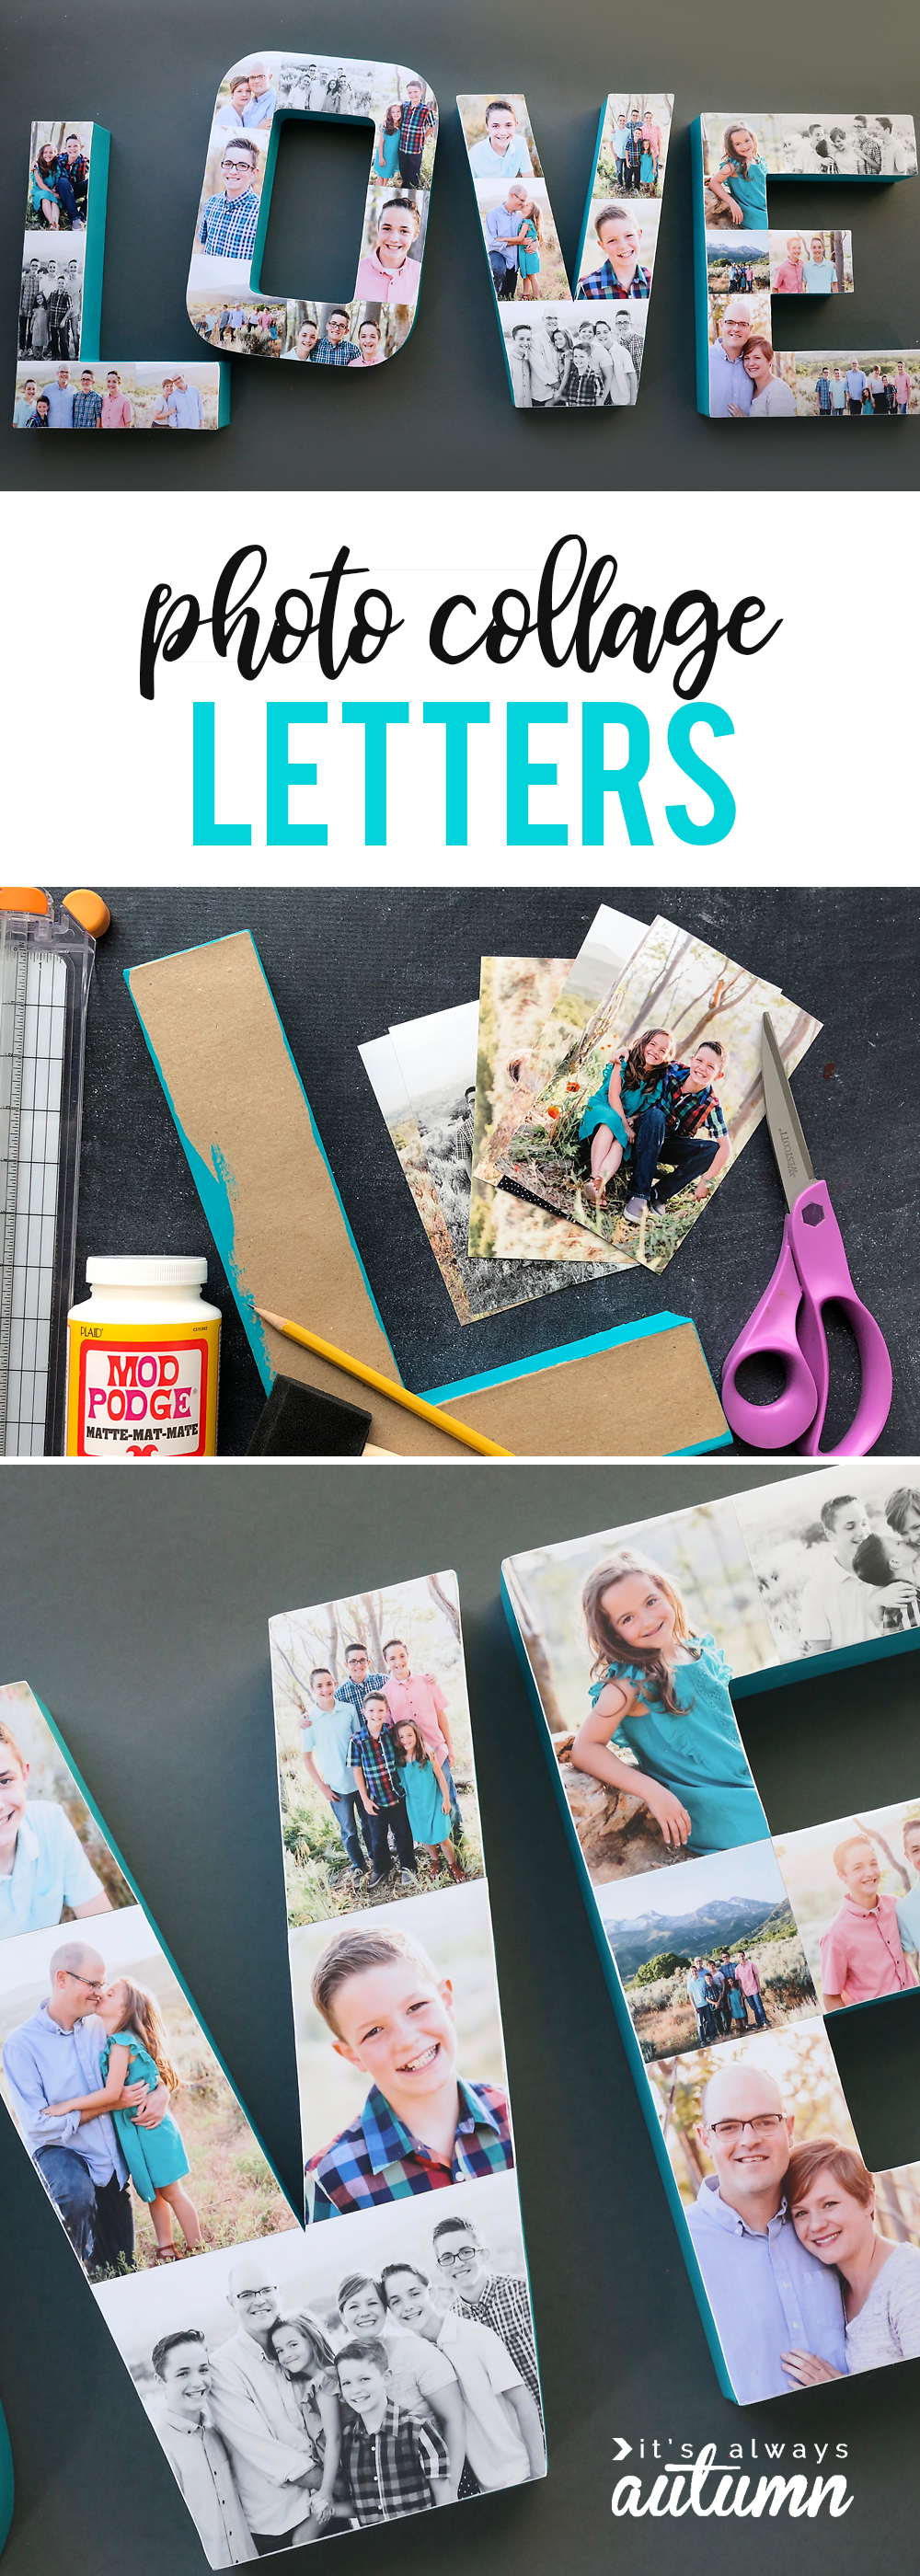
So I made photo collage letters and I love how they look up on the new shelves in my family room!
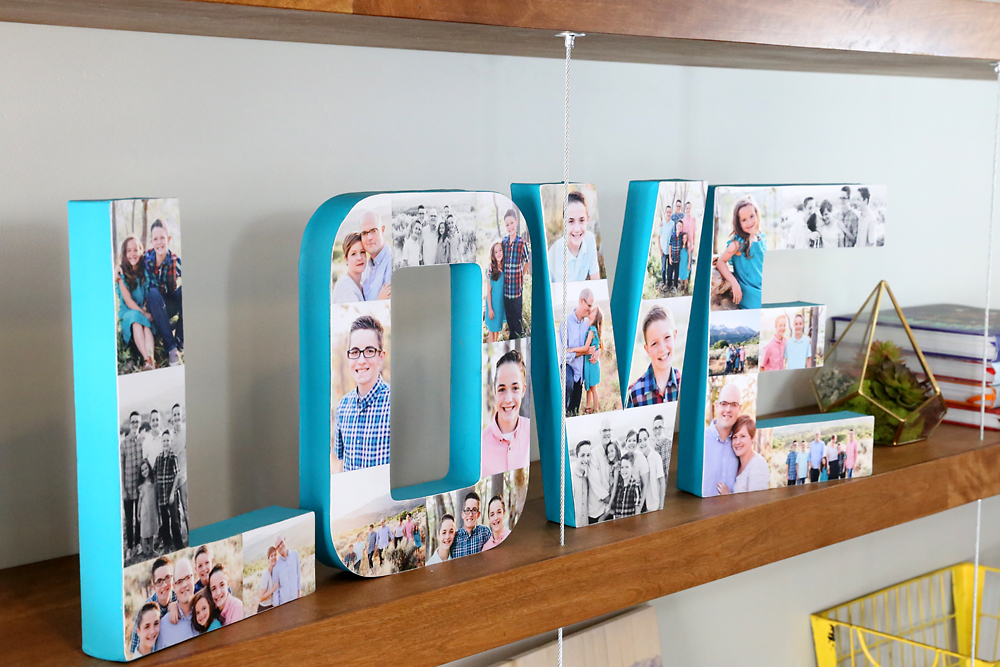
Seriously, love them! The best part is that making these photo letters is super easy! It would be a great craft night project.
How to make photo letters
Watch this video for a quick overview of the process, and then find written instructions for photo collage letters below.
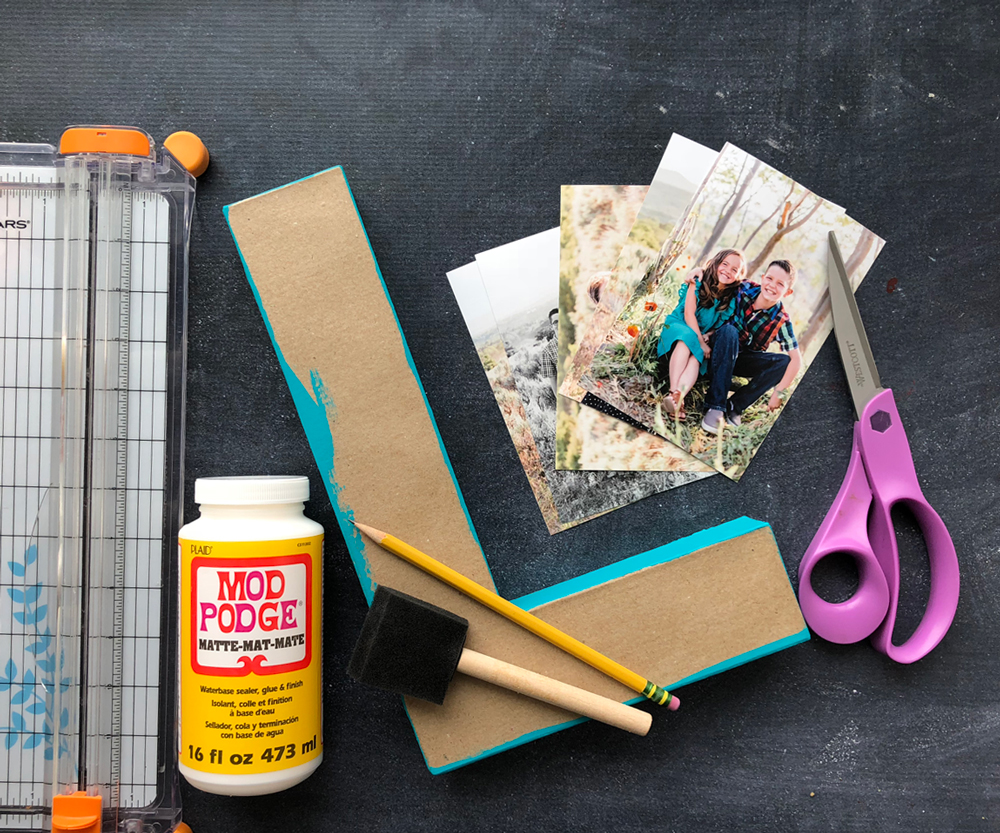
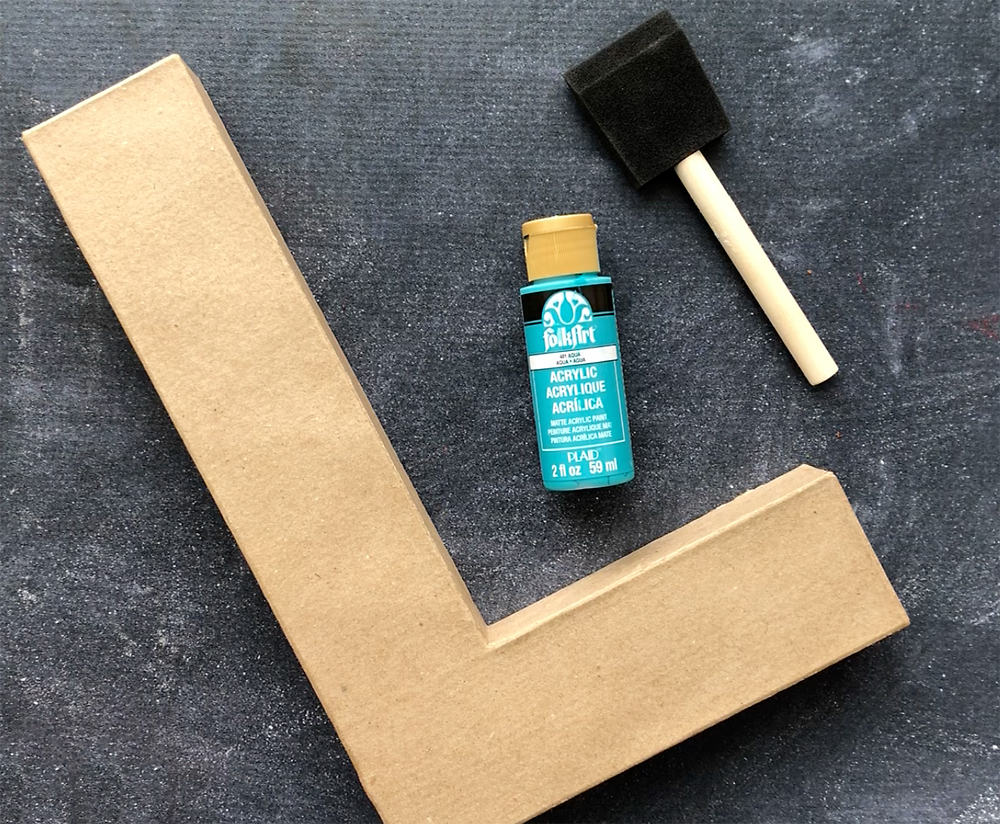
Photo collage letter supplies
You will need:
- Paper mache letters: I used 12 inch letters found at JoAnn’s
- Mod Podge
- Craft paint + foam paintbrushes
- Sandpaper if desired
- Poly Spray Sealant if desired
- 4×6 photos: most letters will take 5-7 photos but print extras to have options
The first step is to paint the sides and backs of your paper mache letters. I used inexpensive acrylic craft paint. You could also use spray paint if you wish. Allow paint to dry.
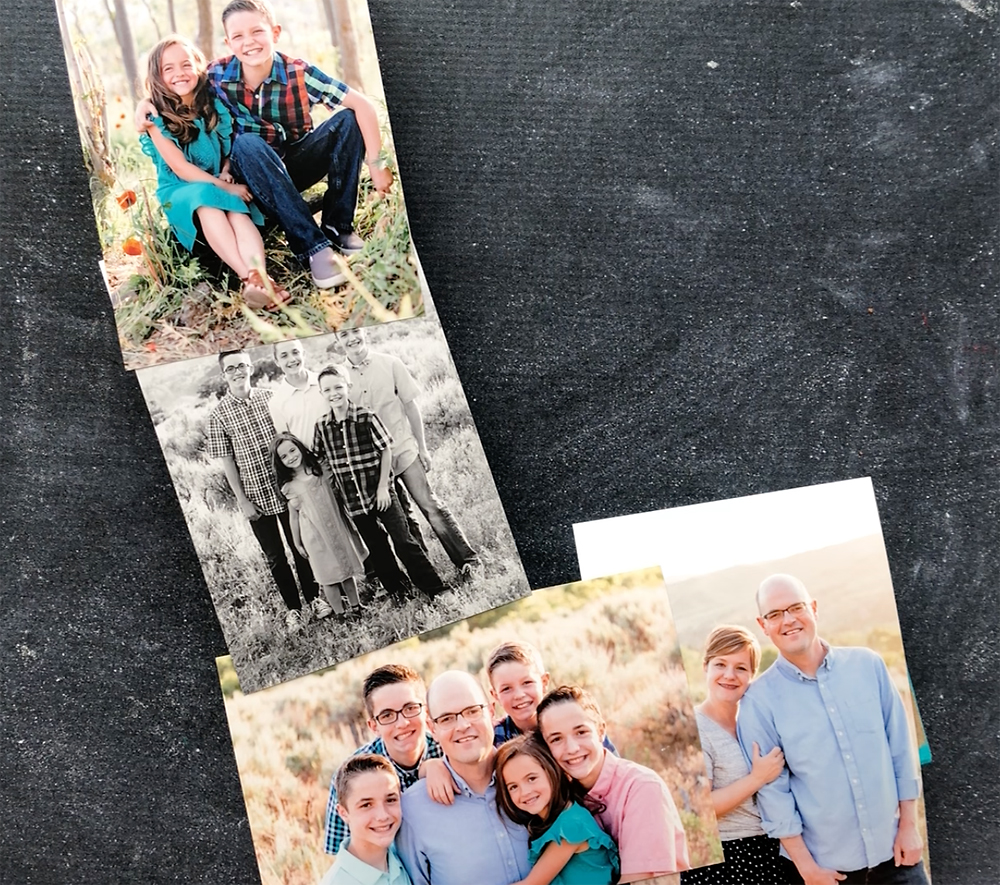
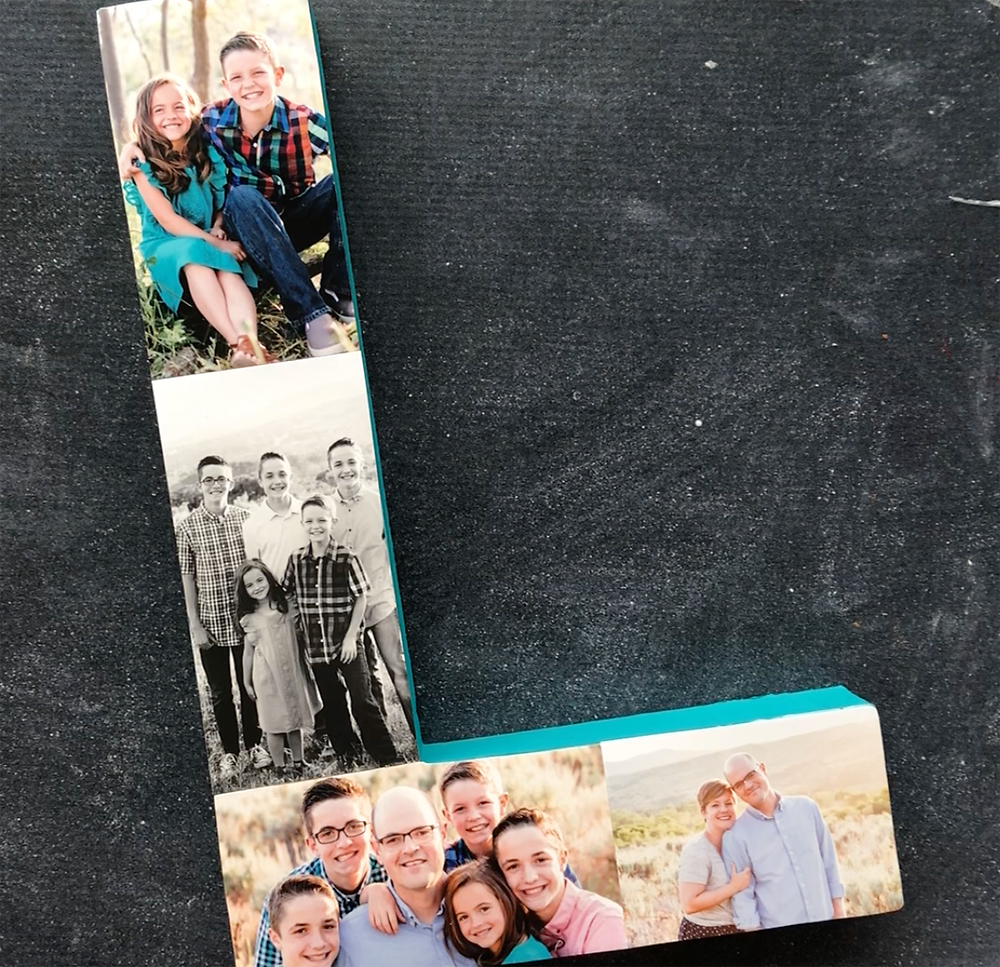
Next, lay out photos on top of each letter and determine which photos you want to go where. Snap a picture with your phone that you can refer to as you start adhering photos.
Start with the first photo and place it where you’d like it to go. You can use a paintbrush to dab a bit of mod podge on the photo and stick it to the letter. Then flip the letter over and trace around it on the back of the picture.
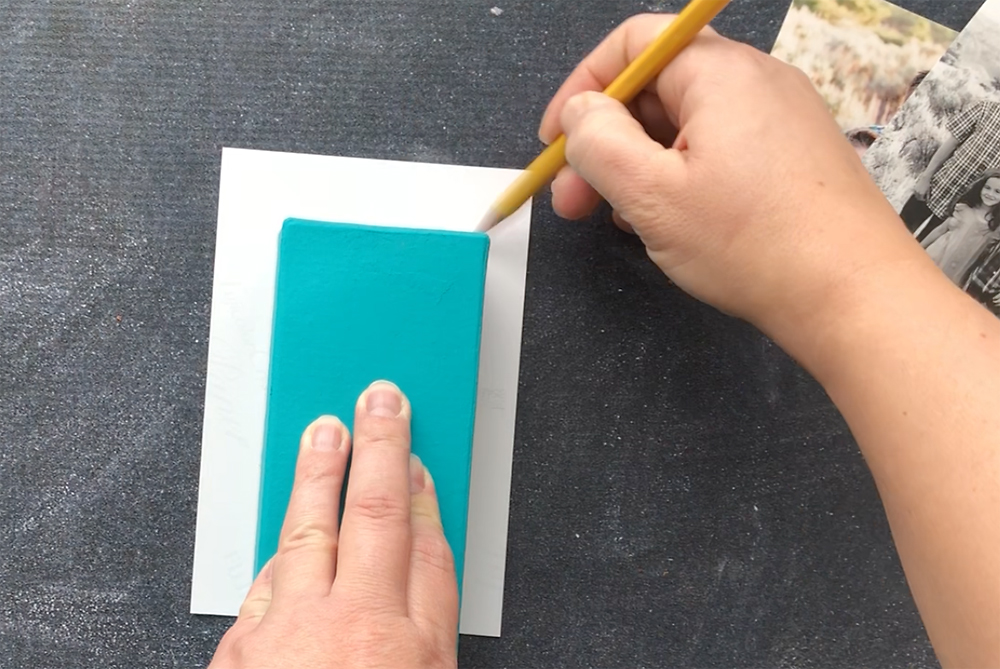
Turn the letter back over and remove the photo. Cut along the traced lines.
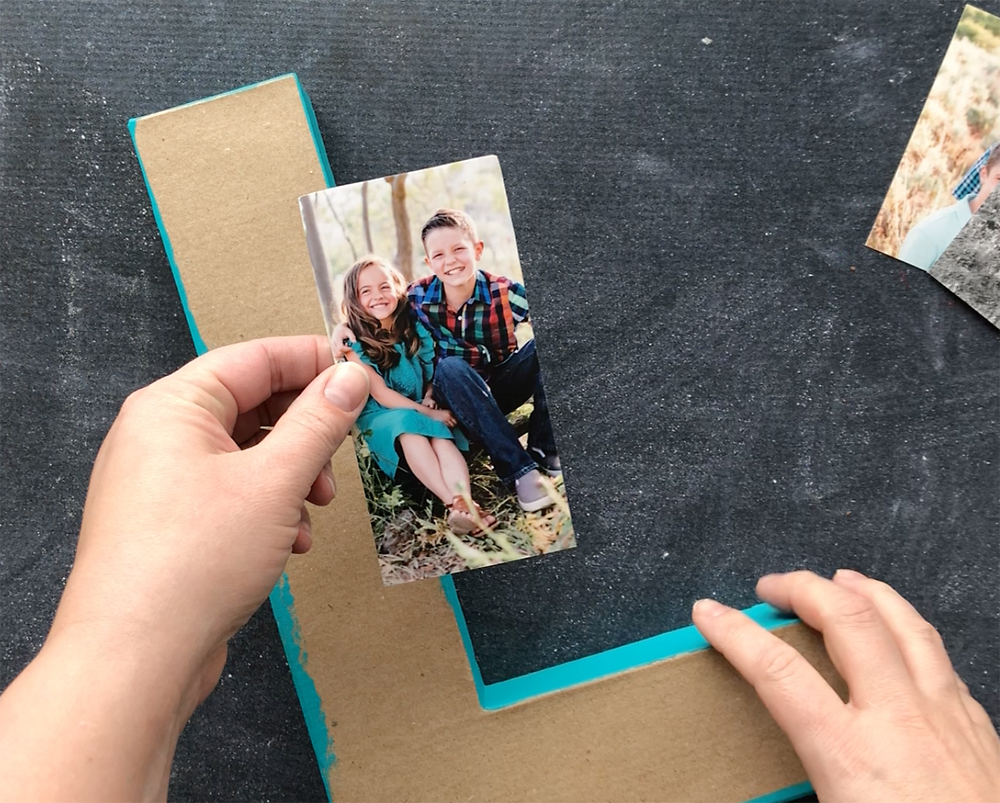
Place the picture back down on your letter and grab your next photo. Determine if you need to trim any portion of the first photo to make room for the second picture (I cut about an inch off the bottom of the picture I’m holding above).
NOTE: I trimmed each photo so none of the pictures on my letter would overlap. That made the project take a little bit longer. If you aren’t quite so picky you can just overlap your photos to save time.
Paint a thin layer of Mod Podge over the letter where the picture is going to go.
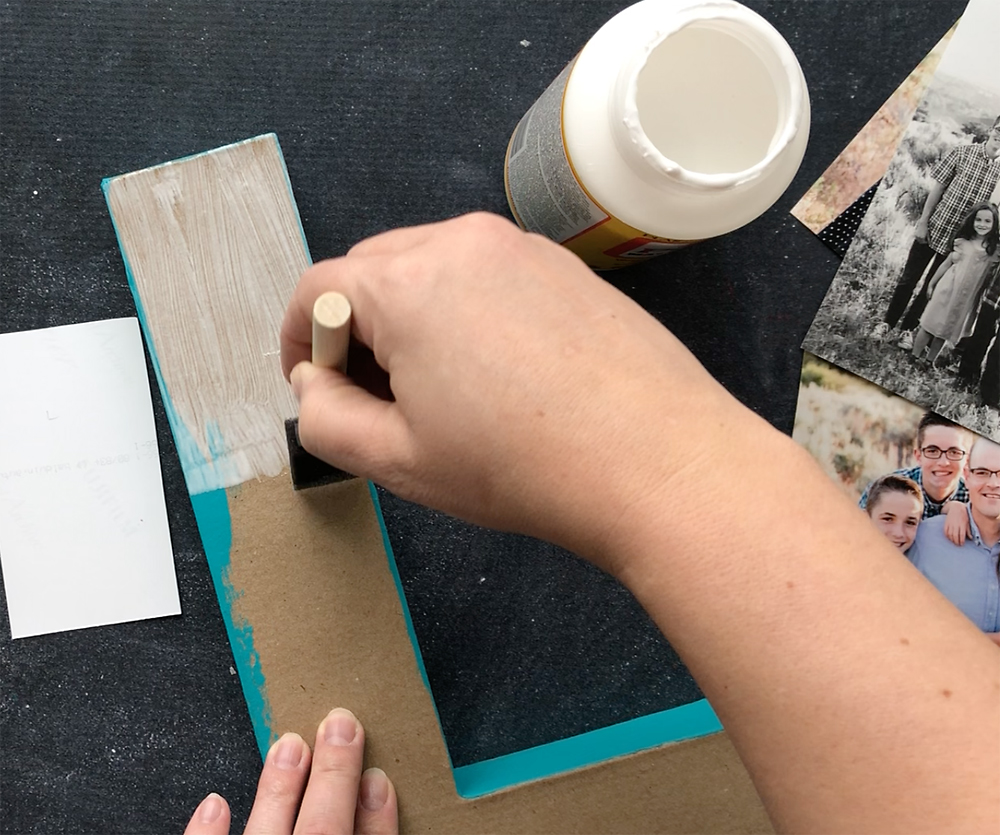
Place the photo down on the Mod Podge and gently press it down. Keep a paper towel handy to wipe off any excess Mod Podge.
Repeat with more photos until your letter is completely covered. Keep your fingers clean as you work and try not to smear Mod Podge over the photos.
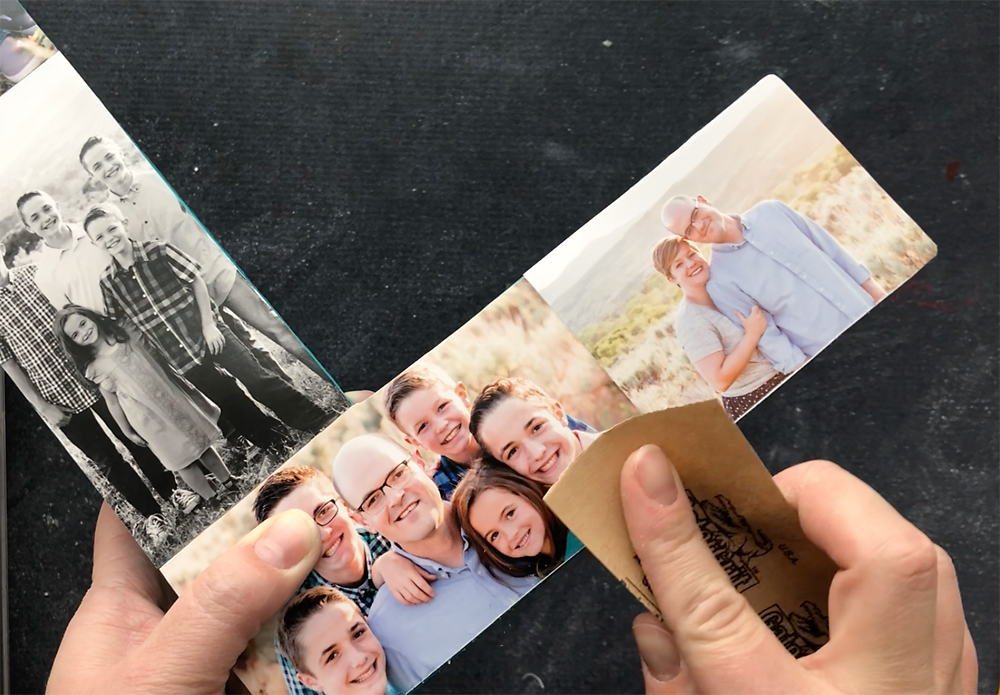
Optional: Use fine grit sandpaper to gently sand the edges of your photo letter to even up the places where two photos meet.
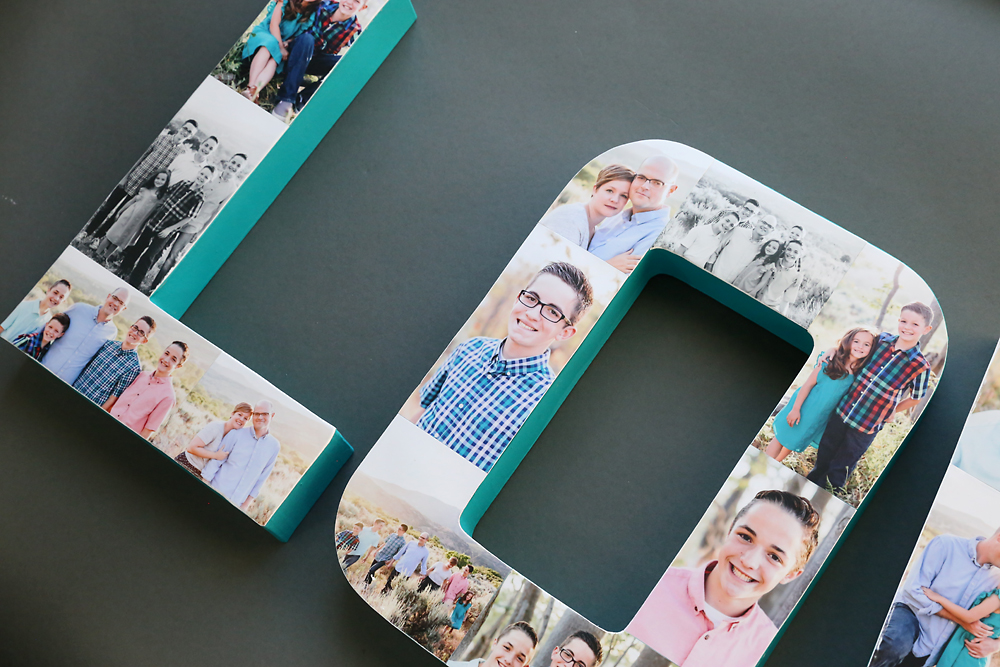
Finally, seal your photo collage letter with another layer of Mod Podge or Poly Sealant Spray. If using Mod Podge, just brush a thin layer of Mod Podge over the entire surface. It will go on white and dry clear. However, it will show brushstrokes. If this bothers you, use a matte Sealant Spray instead (this is what I did).
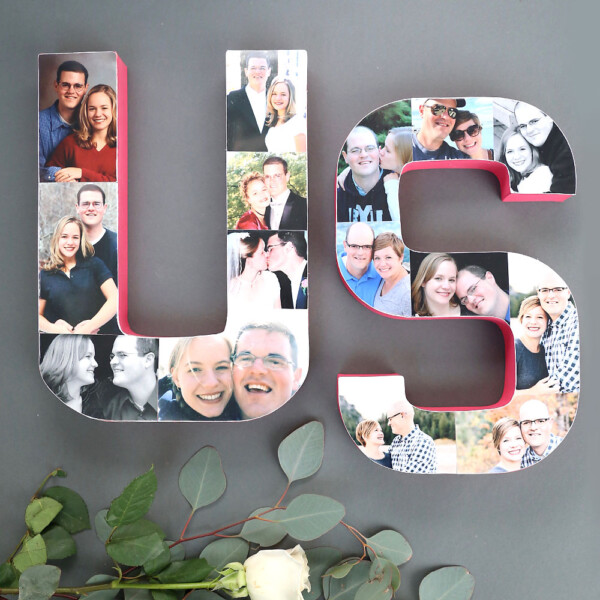
If you make any photo letters, I’d love to see a picture of them!
Like photo projects? Check out these posts:
How to make a glass photo block
DIY photo pallet – how to transfer a photo to wood using mod podge
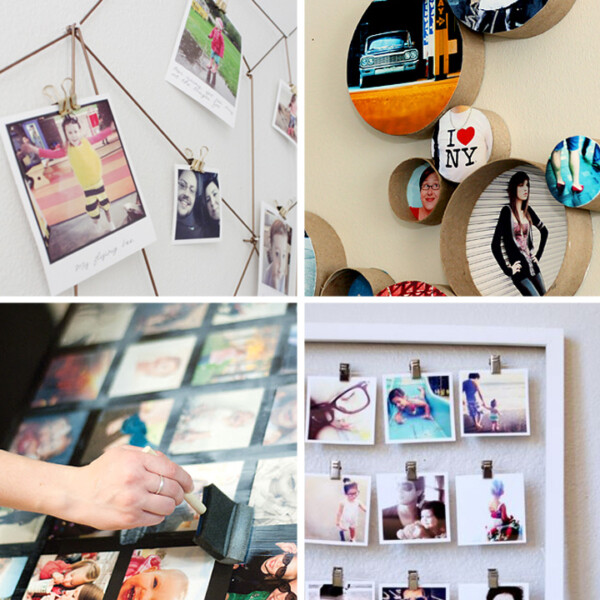
The biggest list of DIY photo crafts
How to transfer a photo to wood using tattoo paper
Darlene says
Great ideas. I’m making the photo letters for my great granddaughter’s first birthday on 9/1. I’ve already started collecting photos from family. Thank you for your great ideas.
Jannis Fennell says
I’m super excited to display this in my home. The kids and I are making one for grandma too.
John says
Awesome! This gives me lots of ideas for gifts & decor.
Judy says
I see a birthday present for my grandson for his 3rd Birthday. He can recognize his name, and adding pictures of him just adds the fun.
sandy says
super très bonne idée, merci