
If you haven’t entered the giveaway for the Creating Keepsakes Simple Scrapbooks Special Issue, scroll down and enter today! I’ll choose a winner at noon Saturday and post the name Saturday afternoon, so check back!
Here’s today’s project:
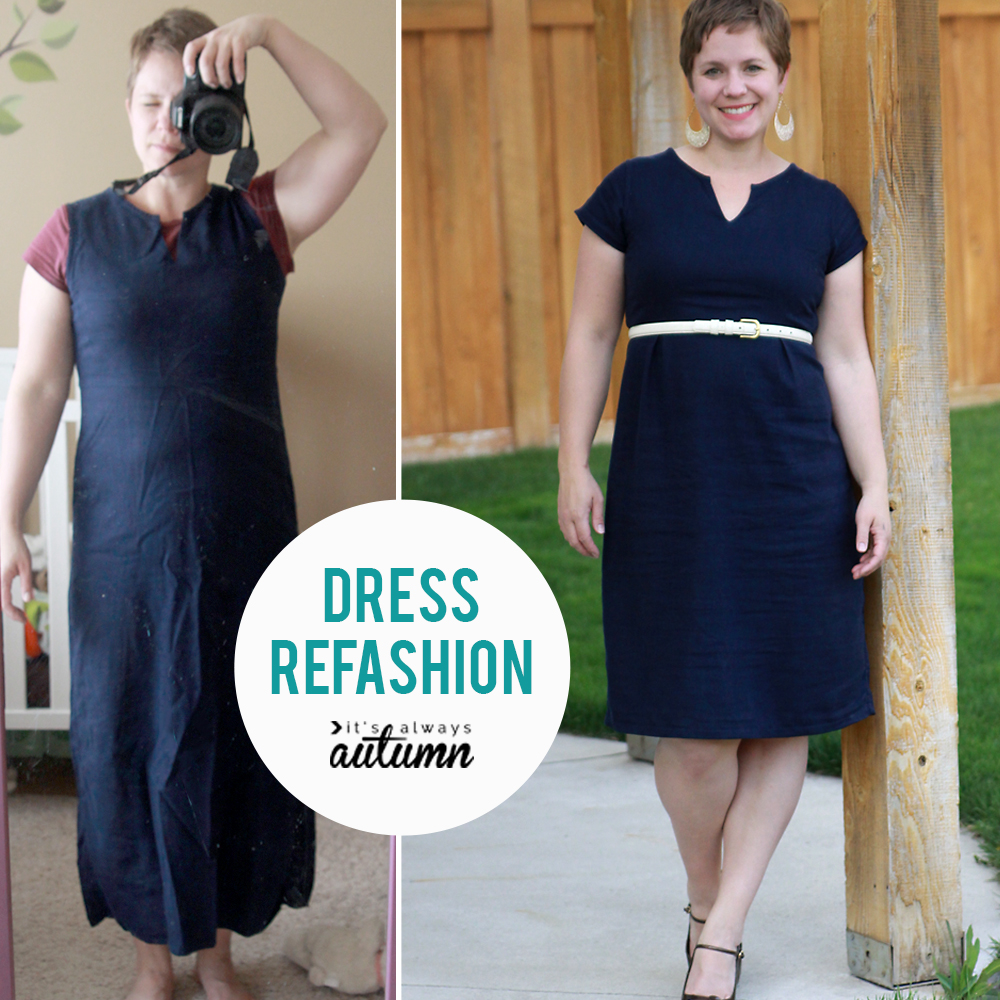
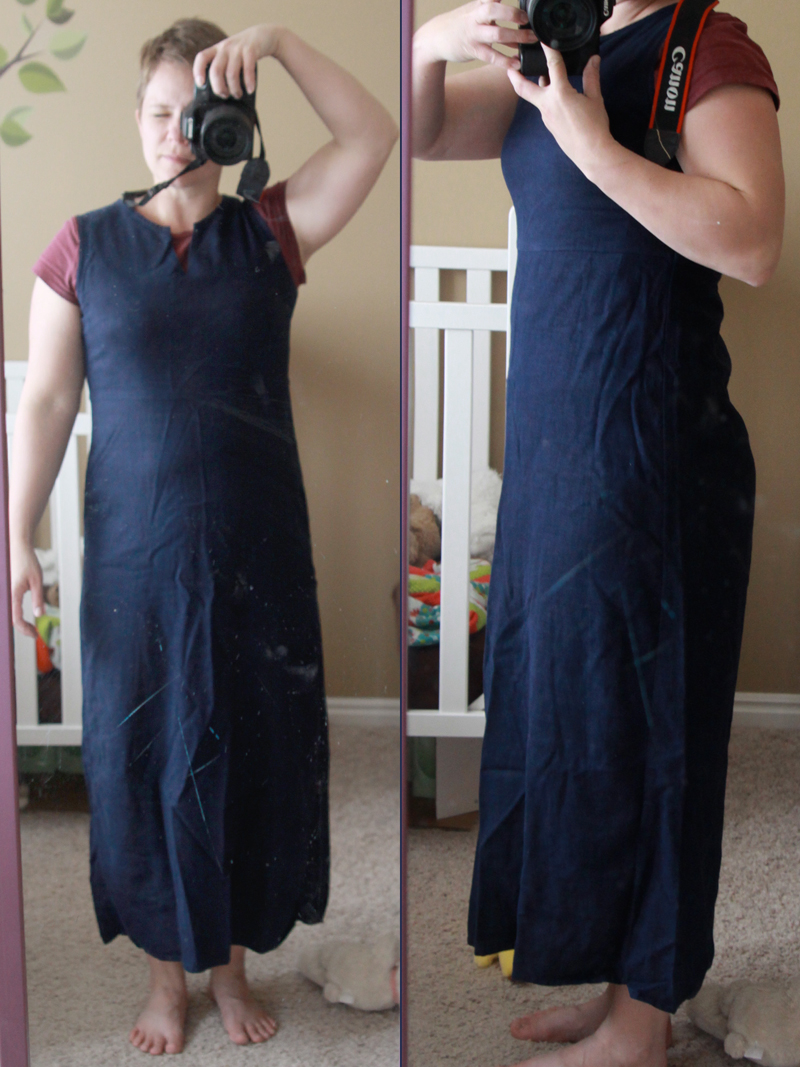
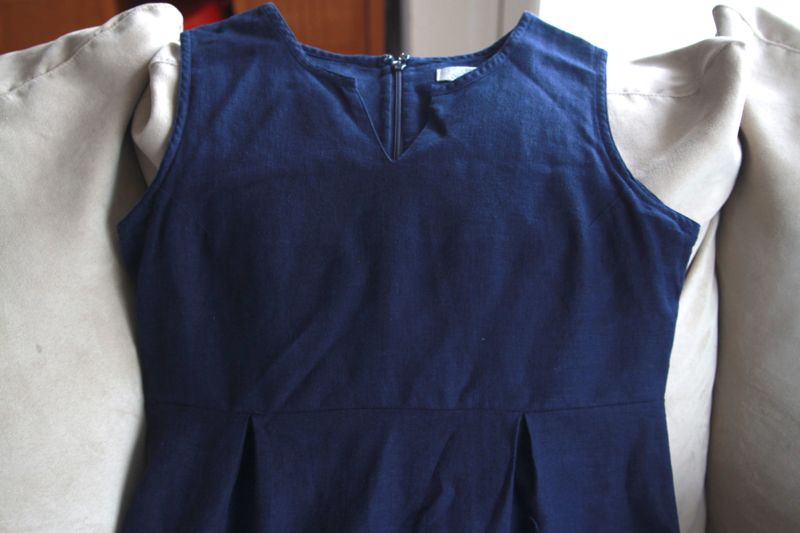
A few years ago (well, more than a few–probably 10) my mother in law bought me this dress for my birthday. It looked really nice back then with a cute white blouse under it. But 10 years (and four more kids) did me nofavors when it came to this dress. I pulled it out a few months ago, thinking I’d shorten it and cuten it up somehow, and found it was snug through the both the waist and the chest. Here’s me sucking my stomach in as much as possible so it doesn’t look quite so lumpy through the middle:
So my plans to just shorten it were dashed, but I wasn’t ready to give up on it. I decided more drastic measures were in order, so I took the bodice and skirt apart, unpicked the zipper, shortened the skirt, added pleats in the front and new darts in the back, reattached the skirt and zipper, and added sleeves. Read on for the details!
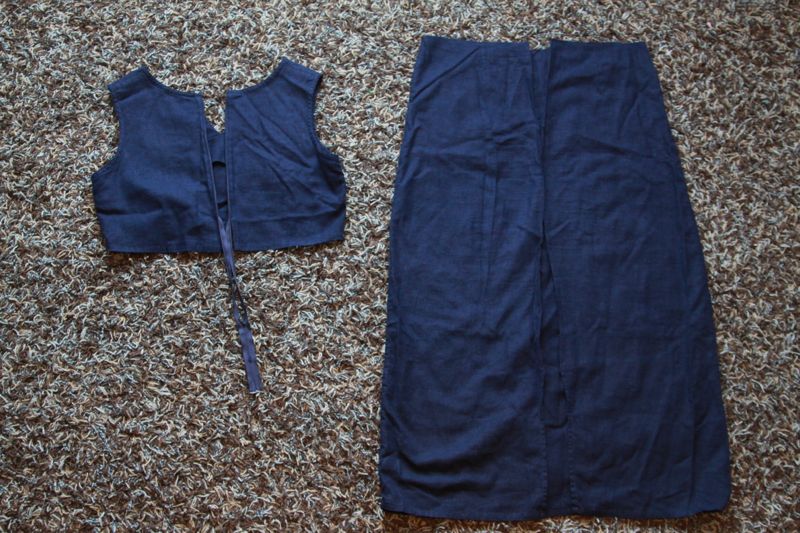
I began by unpicking the seam that attached the top (bodice) to the skirt. I had to unpick the zipper from the back of the skirt as well.
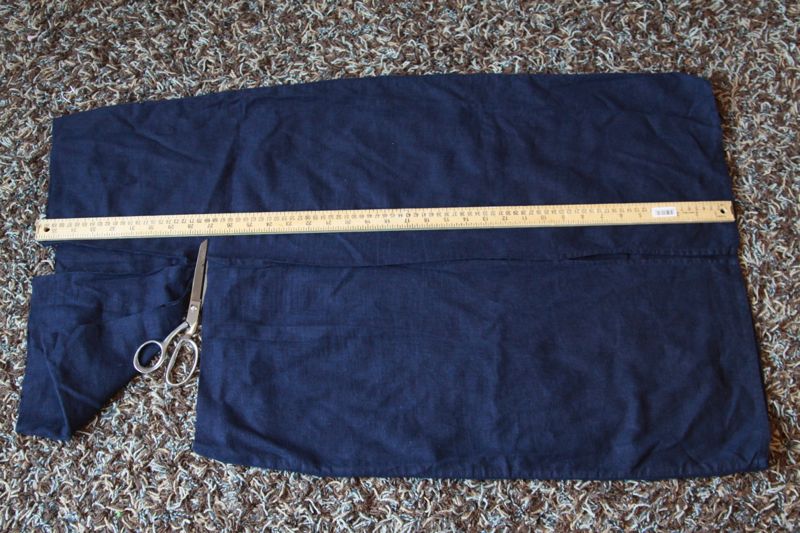
Since I needed to add room around the waist, I decided to shorten the skirt by cutting length off the TOP of it, instead of the bottom. You can see in the picture below that the skirt flared out from the top, so cutting the top off meant I’d have a lot more width to work with when I reattached the skirt.
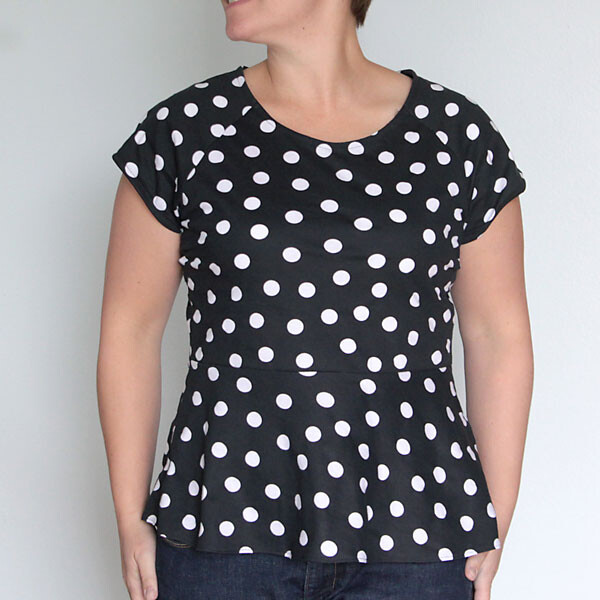
The next step was lots of trial and error, so I don’t have good pictures of it. The top of the skirt needed to end up the same width around as the bottom of the bodice, but I needed to add some extra room for my muffin top just below the spot they connected. So I put two inverted pleats into the front of the skirt:
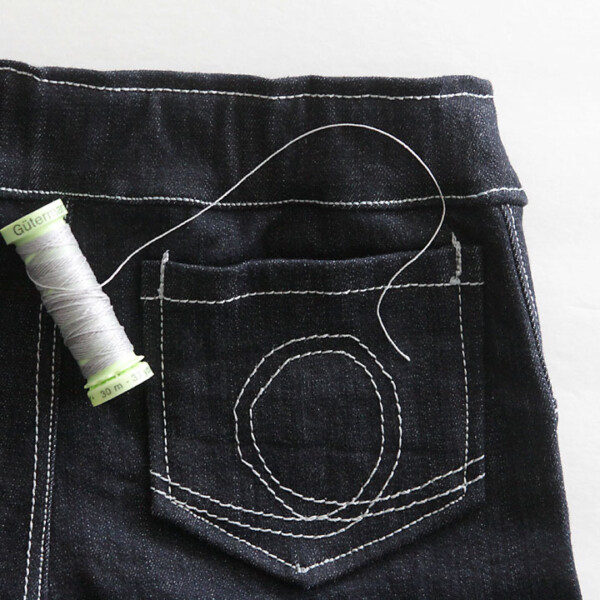
And darts into the back of the skirt:
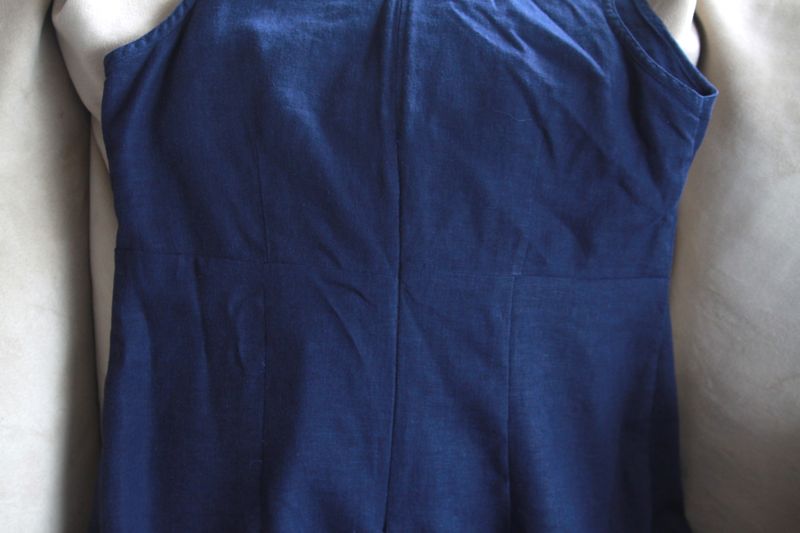
I created the pleats, sewed down the darts, made sure the top of the skirt was now the same width as the bottom of the bodice, then sewed the skirt back onto the bodice. Next I reattached the zipper to the skirt. Perfect, right?
Well, not quite. I found that it’s REALLY hard to fit darts that go down the back of your skirt by yourself. Once I had the skirt reattached I had some ugly puckering in the back, which meant I had to unpick the darts and resew them (seems I am in denial about how much my behind sticks out). I think it took six tries to get the darts right! But I finally got there. Maybe it’s time to buy a dress form?
My final step was to use the fabric I’d cut from the top of the skirt to make sleeves, thereby eliminating the need to wear a shirt under it and creating a little more room in the chest (I don’t wear sleeveless shirts/dresses). I started by cutting a sleeve from another pattern I had:
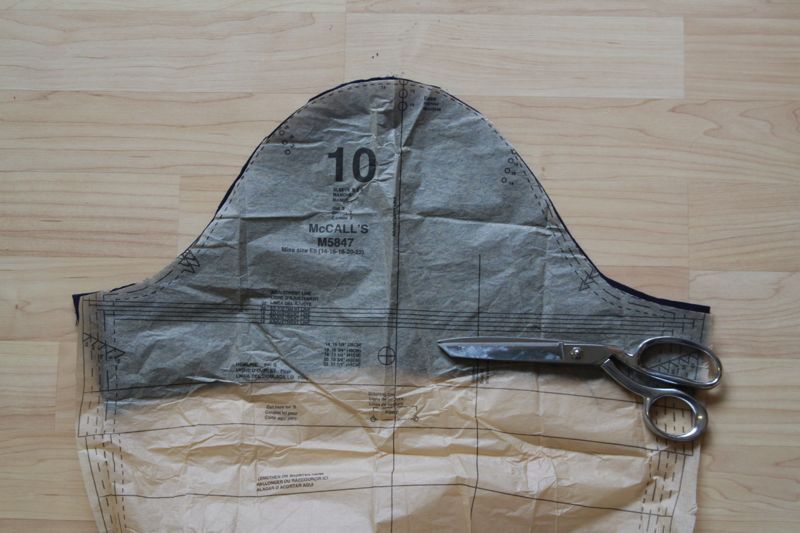
But the sleeve curve ended up much too tall, so I ended up trimming quite a bit to make it fit into the armhole.
So this certainly wasn’t a 20 minute refashion (more like 3-4 hours total), but I’m fairly happy with the result.
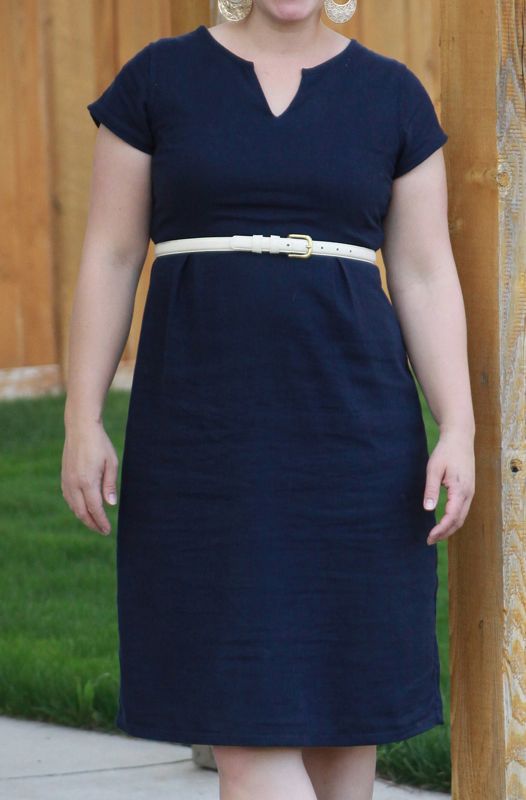
I now have a new, wearable and (dare I say?) cute dress that doesn’t hug me around the middle. And it cost me nothing but a few hours of time. I added a belt I got for a whopping one dollar at the thrift store.
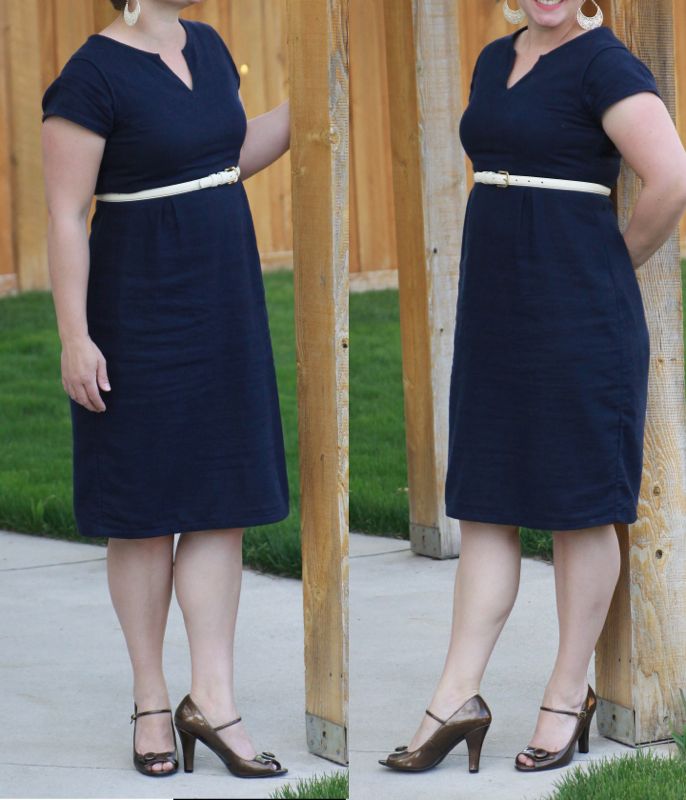
And there you have it! The blue linen dress refashion.


IvoryPearl says
brilliant idea…you can’t even tell that the redo dress even came from the frumpy wrinkled original dress…very stylish!
Shantel Jones says
The more I read the more amazing your blog is!!! Great job and that dress is ADORABLE!!!
Boca Raton CPAt says
Two questions frequently asked by Network Marketers are What
kind of business records do I have to keep for the IRS.
In a photography business in particular, here are a number of items that are assets to be listed for your business.
Alas, business deductions act as a salve to cool the burning and itching of your bank
account.
Take a look at my web blog: Boca Raton CPAt