
In today’s post: Turn rolls of toilet paper into a cute snowman decoration!
Last fall I posted a fabric pumpkins made from rolls of toilet paper and it ended up being my most popular post of the season. When I shared them on Facebook this year, one of my readers suggested making a snowman version. GENIUS!! I wish I could remember who suggested it so I could thank her.
Today I’m showing you how to use the same easy technique to turn rolls of toilet paper and some fabric into adorable snowmen.
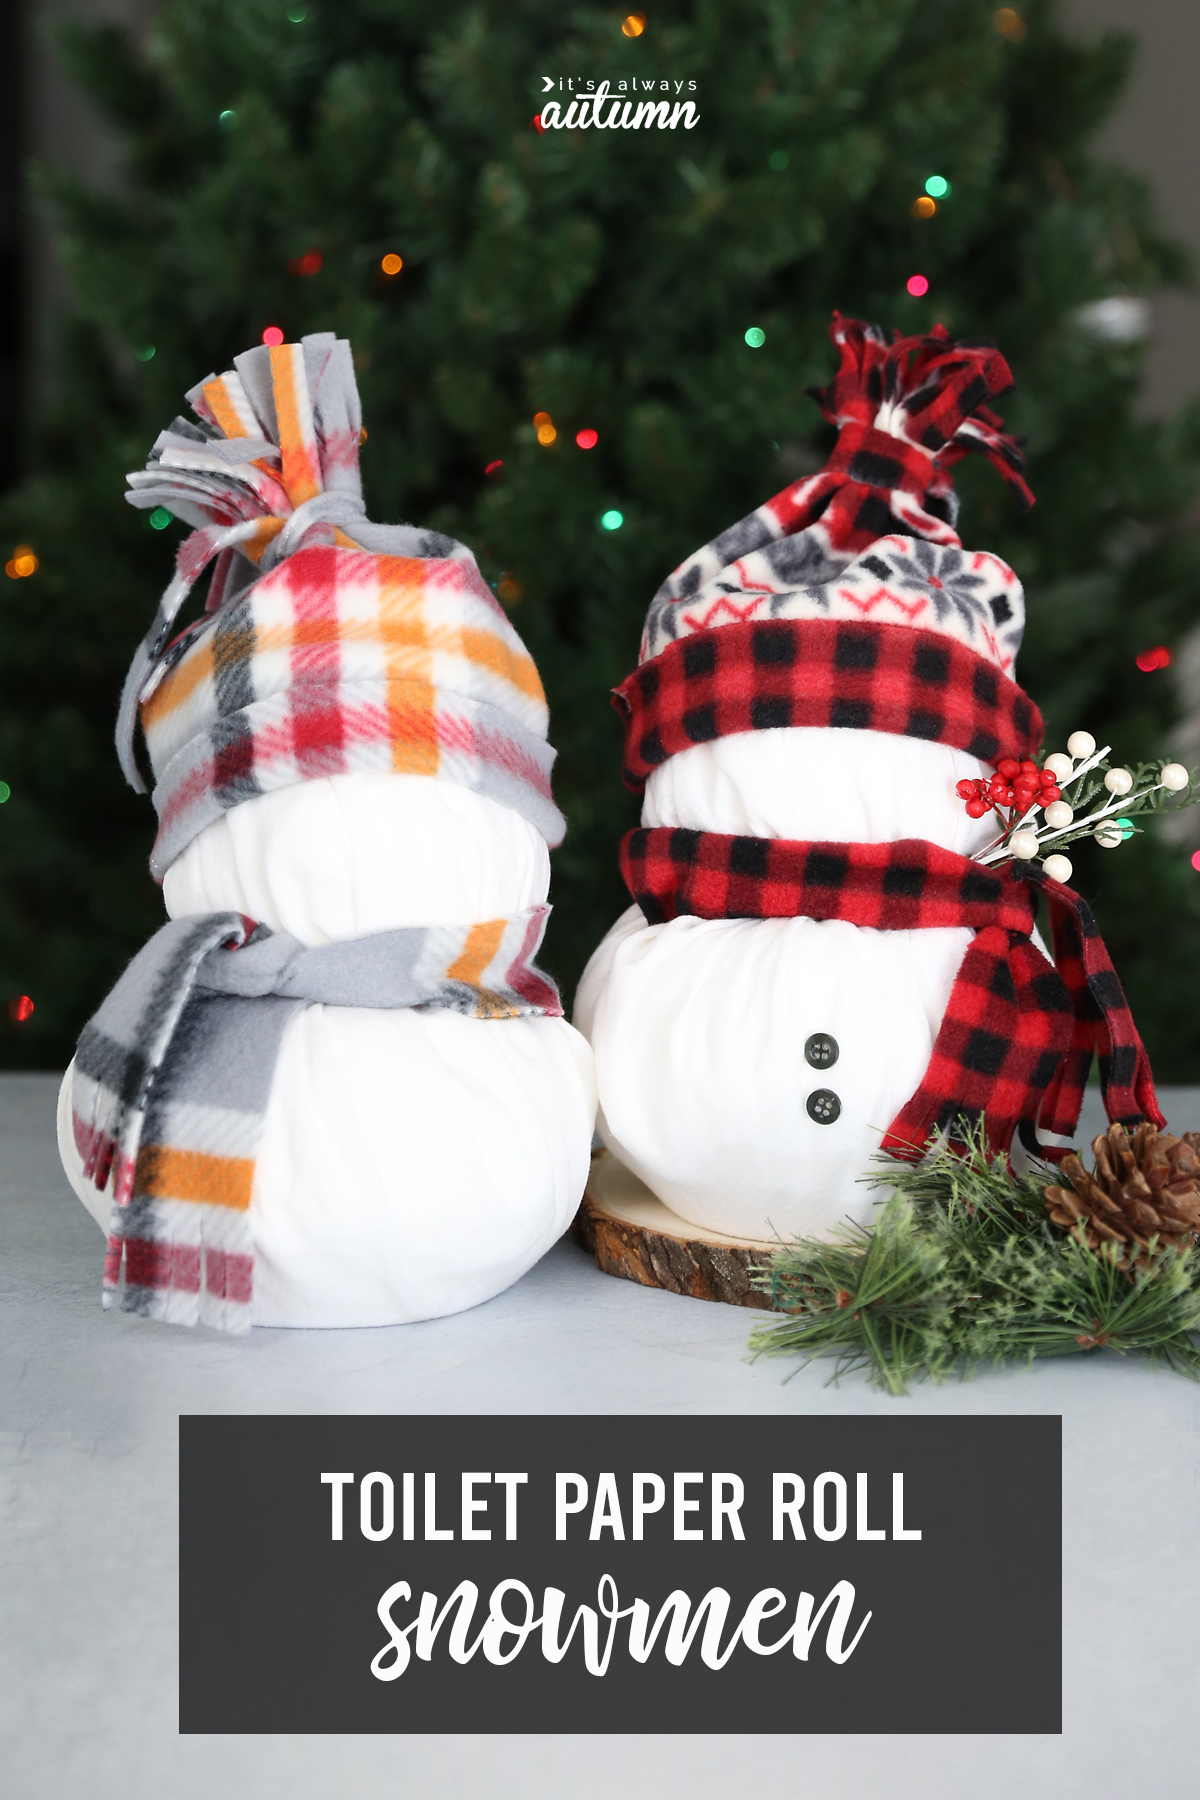
Toilet Paper Snowmen
This is a great craft for a couple reasons:
- It’s so easy, it’s pretty much impossible to mess up
- You can customize the hat and scarf colors to match your decor
- If you don’t want to keep the snowmen for next year, just take them apart and you can still use the TP!
I have a video below that shows you exactly how to make this cute Christmas craft.
The body of the snowman is just fabric wrapped around toilet paper rolls, and then I’ll show you how to make a simple hat and scarf from a small cut of plaid fleece. You can sew the hat together with just one seam – or you can make life even easier and use a glue gun instead of sewing.
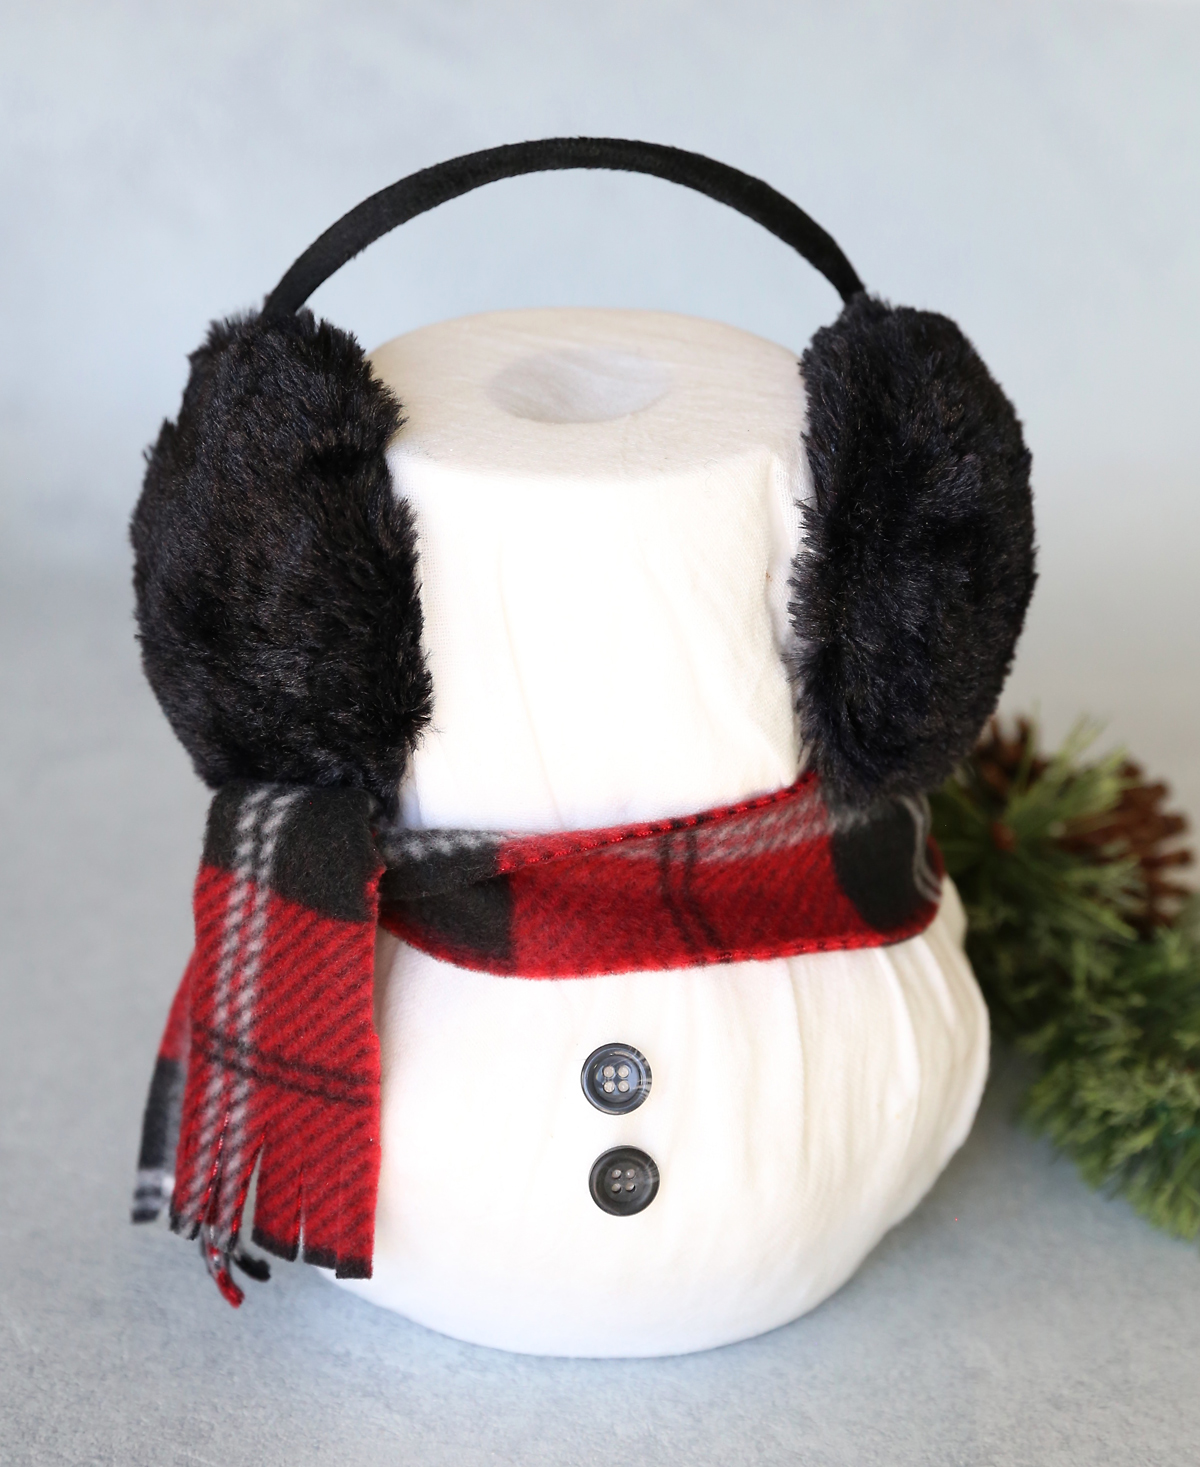
Or skip the hat altogether and use earmuffs from the dollar store instead:
Toilet Paper Snowman Supplies
To make easy snowman, you will need:
Two rolls of toilet paper: I used mega rolls so the snowmen would be nice and fat
Ten inches of fleece: This is just under 1/3 of a yard. Fleece is often on sale for $3-4 a yard this time of year.
Two 18-inch squares of white fabric: I used inexpensive tea towels that I found at Walmart for 5 for $5. You could also purchase 1/2 yard of cheap white fabric (flannel or broadcloth works well).
Two buttons (optional)
Glue gun: If you don’t want to glue your snowmen together you don’t have to! You can just set the head on top of the body. It won’t be as stable, but if it’s not going to get bumped it shouldn’t matter. This would allow you to reuse the white fabric squares if you’d like – if so, pin the buttons on instead of gluing them.
Small Christmas pick or other decoration (optional)

How to Make a Toilet Paper Snowman VIDEO
Watch this video to see how I made the snowman (written instructions follow).
(Note: if the video isn’t showing up above, that means you are using an ad-blocker. Whitelist this site in order to see the video. I know, ads are annoying, but they allow me to create tons of free content for you. Thanks!)
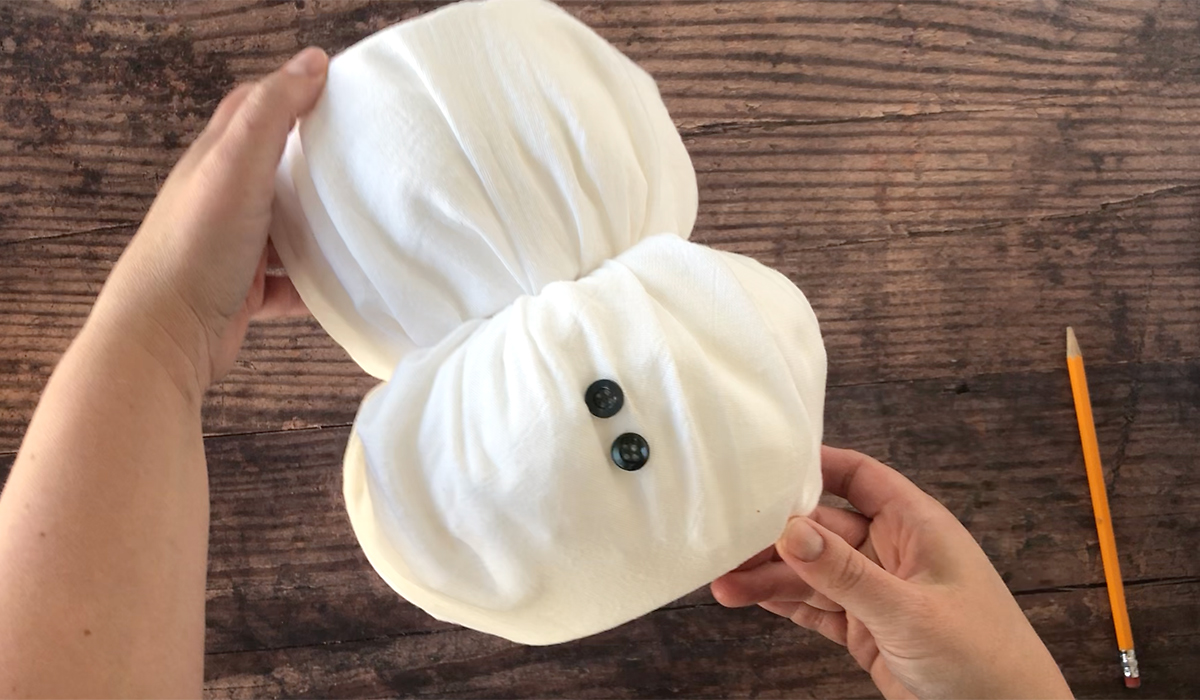
Make the Snowman’s head
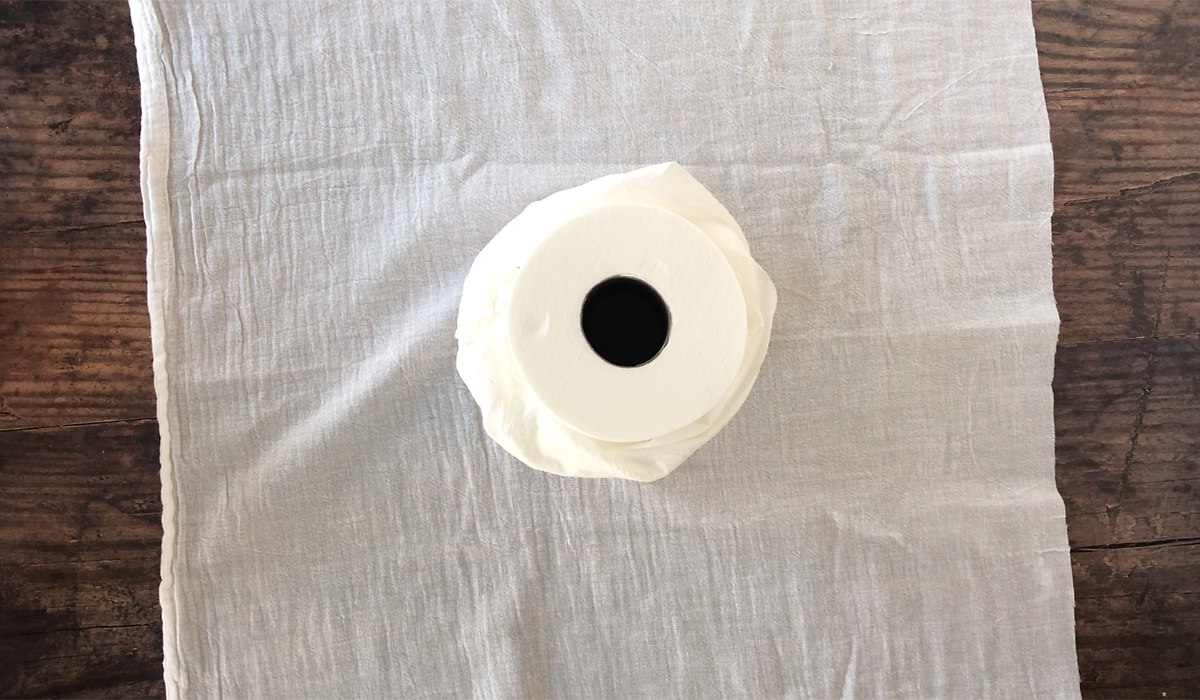
1 – Place an 18×18 inch square of white fabric on a flat surface. Place one roll of toilet paper in the middle of the fabric. Unroll the toilet paper about 14 times and rip the paper off and set aside. Unroll the toilet paper 3-4 more times, but then loosely roll that paper back around the roll, twisting it as you do so. This will make the head a little bit round.
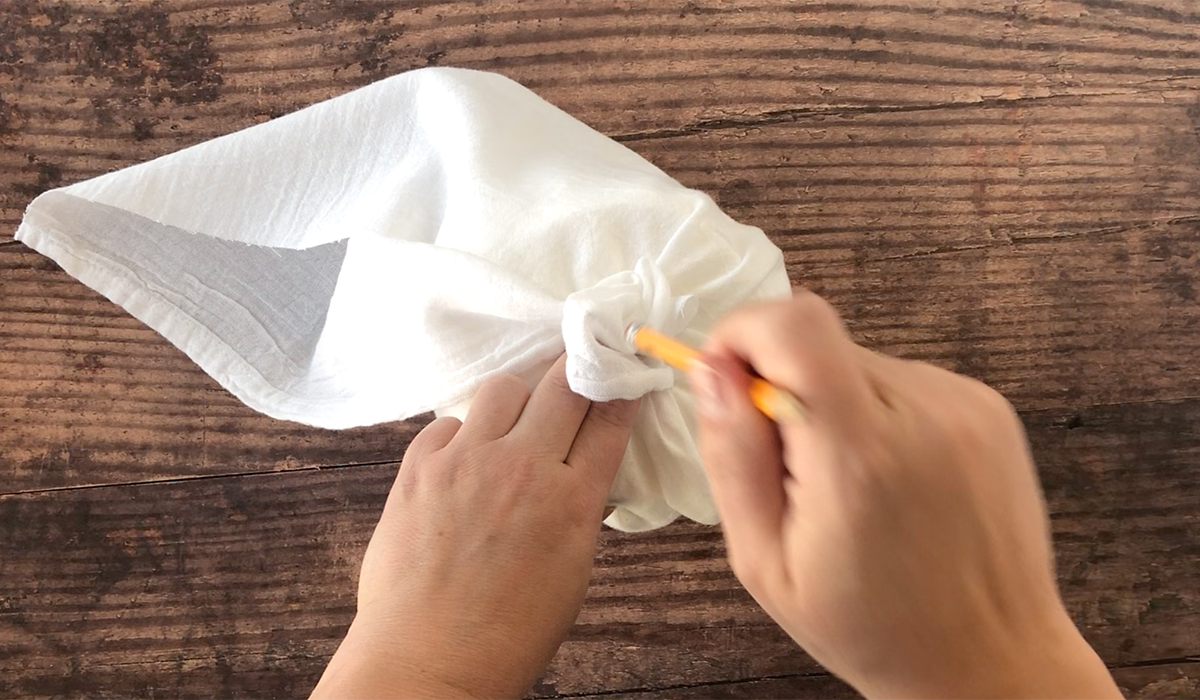
2 – Pull up each corner of the fabric and tuck it inside the toilet paper roll. It can be helpful to use a pencil when tucking the fabric in.
Make the Snowman’s body
1 – Place the other 18×18 inch square of white fabric on a flat surface. Place the other roll of toilet paper in the middle of the fabric. Grab the extra toilet paper that you set aside and begin loosely rolling it around the TP roll, twisting it as you do so. Keep rolling it up until the TP roll looks nice and fluffy.
2 – Pull up each corner of the fabric and tuck it inside the toilet paper roll, as you did with the head. The body should be fatter and rounder then the head.
3 – Glue two buttons to the front of the body.
4 – Glue the head onto the body.
Make the hat + scarf
1 – Cut fleece pieces:
- Hat: 16 inches wide by 10 inches high
- Tie for hat: 12 inches wide by .75 inches high
- Scarf: 26 inches wide by 2 inches high
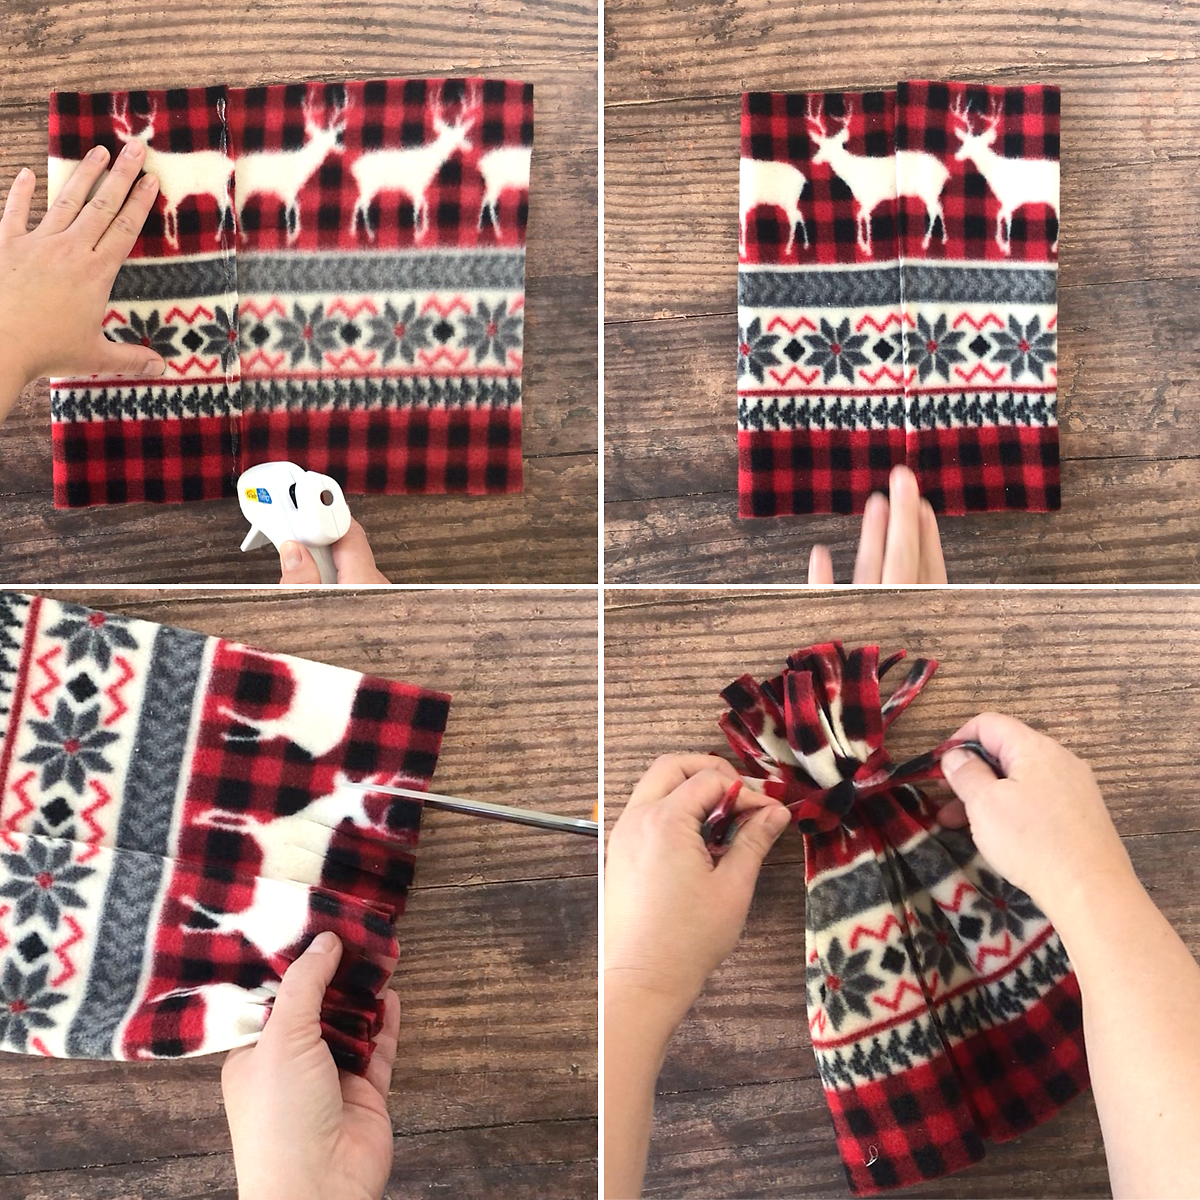
2 – Make hat:
- Place hat fabric with right side down. Fold in one side and run hot glue down the short edge.
- Fold over the other side and overlap hot glue to create a tube.
- Cut fringe 2-3 inches into the top of the hat
- Gather hat together just below fringe and tie with tie piece
- Fold up bottom edge to create a cuff.
3 – Cut a fringe into the short ends of the scarf piece.
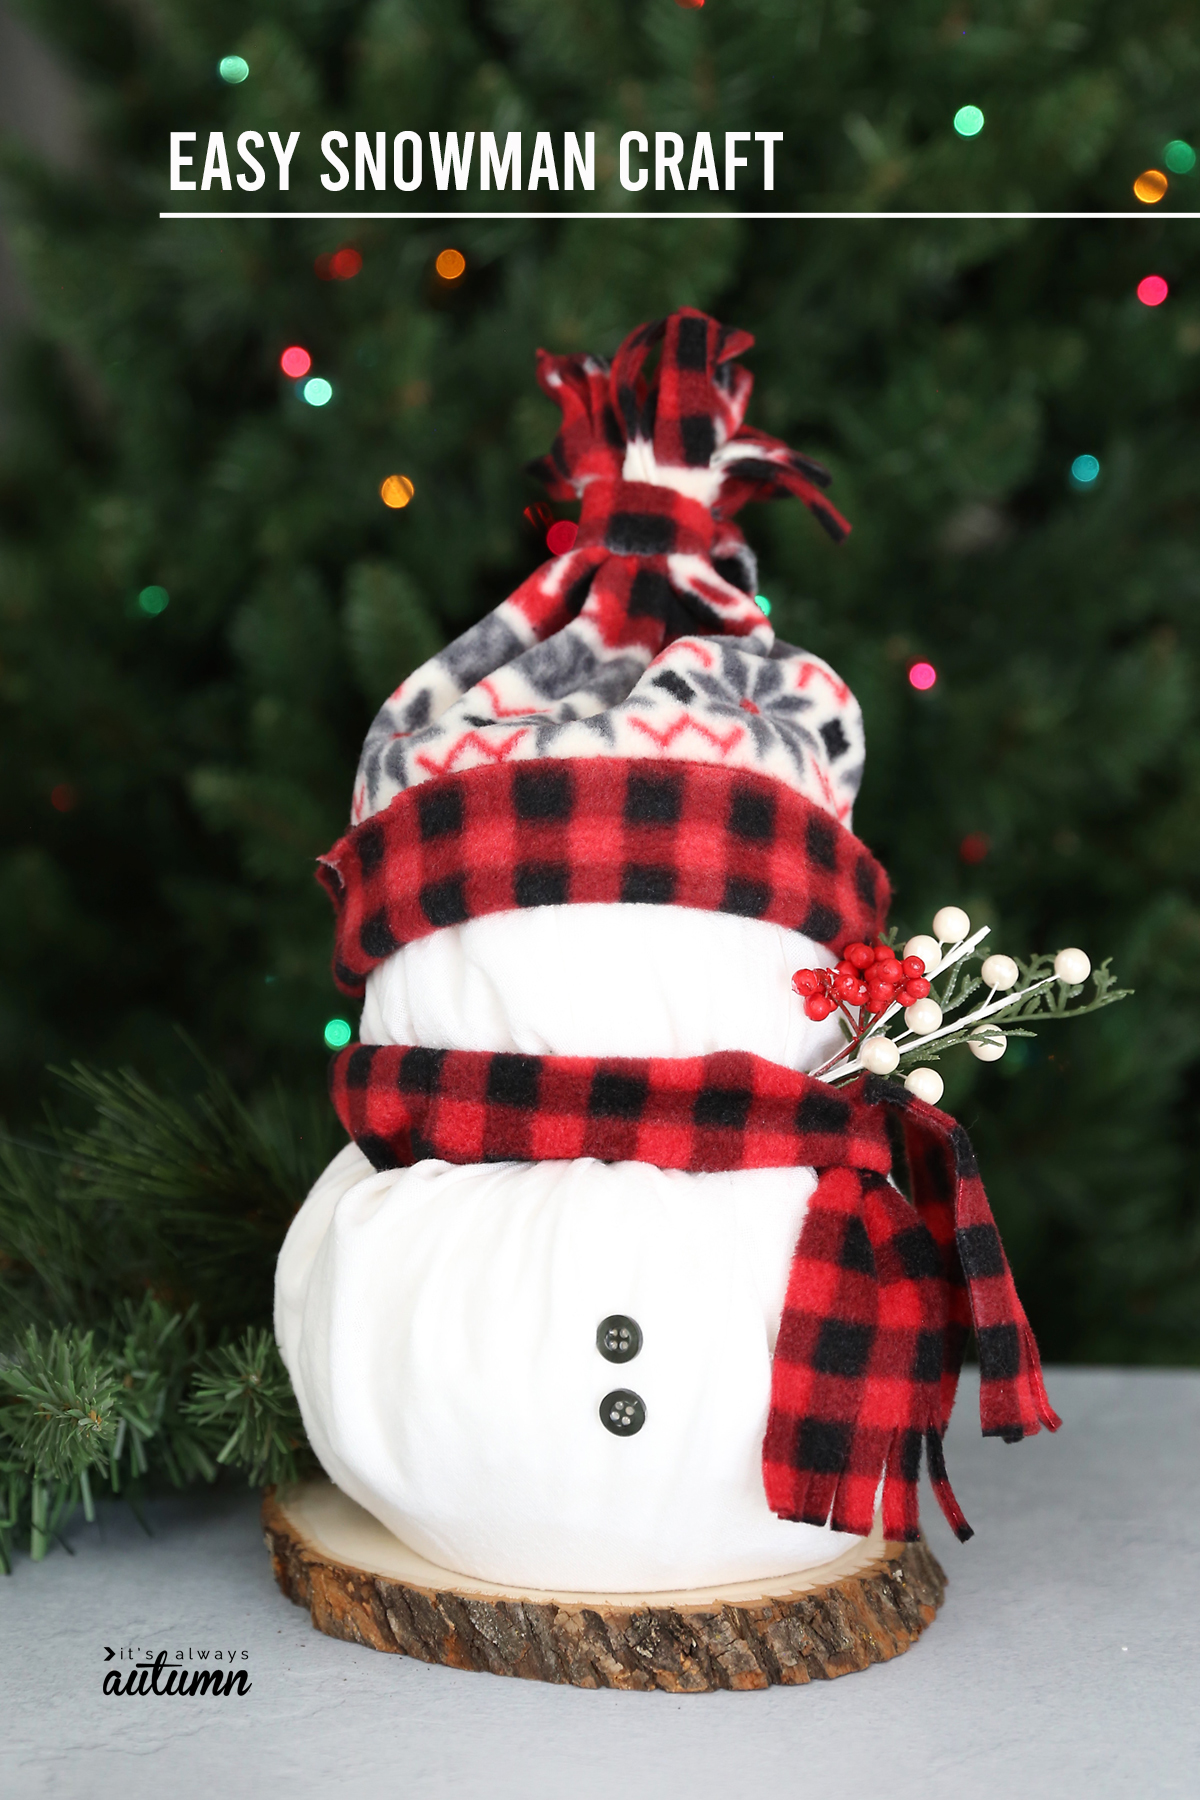
4 – Put the hat and scarf on the snowman. Add a small Christmas pick if desired.
All done and ready to display:
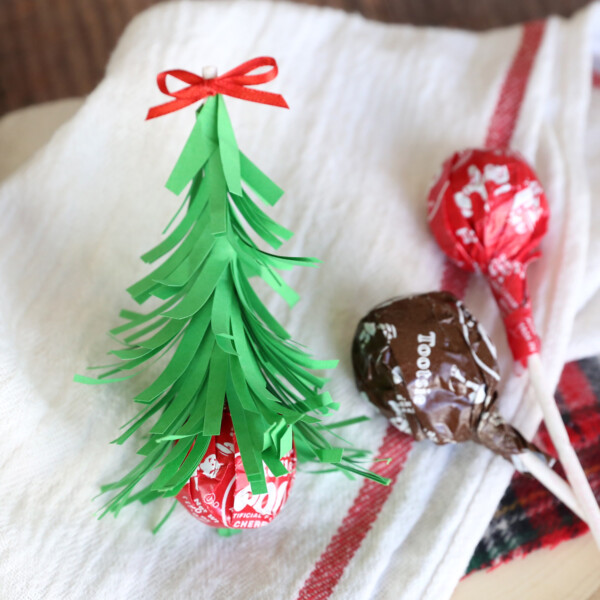
Looking for more fun Christmas crafts? Visit these posts:

Patricia Potter says
Meagan, I’m not sure how to post a picture on here….If I had your email, I can send pics…..I’m so sorry I didn’t see this message until now….:(