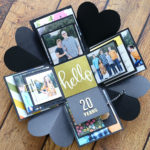
Explosion Box
Learn how to make a cool explosion box full of photos and notes for a fun DIY gift. Use our printable template and cutting chart to make it easy.
Ingredients
- 12x12 inch Solid Colored Card Stock 1 per layer you'd like to include
- 1 sheet Printed Card Stock
- Adhesive
- Paper Trimmer with Scoring Blade see note
- Photos
- Embellishments
Instructions
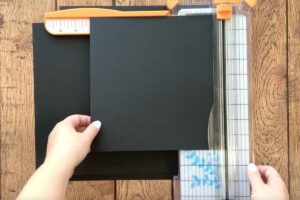
- Print the cutting decide and decide how many layers you would like to make your box. My box has three layers and uses the dimensions that are highlighted in light yellow. Cut your solid card stock to the dimensions listed on the cutting guide.
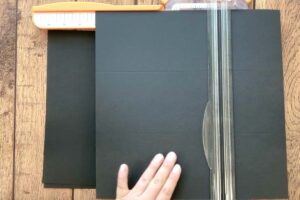
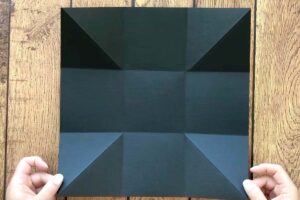
- Find the scoring measurement for the largest piece of cardstock. Measure in from one edge of the cardstock and score (for example, 4 inches in on a 12 inch piece of card stock). Rotate the paper 90 degrees and repeat. Repeat twice more until the card stock has been scored 4 times. This will divide the sheet of paper into 9 equal size boxes. Repeat with the other layers of cardstock.
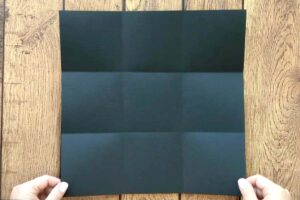
- Fold in the card stock along all scored lines. Again, you should see 9 equal size boxes on each sheet of card stock.
- On the largest piece of card stock, make a diagonal fold through each of the corner boxes. The diagonal fold should fold "down" while the other folds fold "up". Watch the video for a good explanation of this step.
- On the largest piece of cardstock, trace the heart from the cutting guide and cut it out as shown.
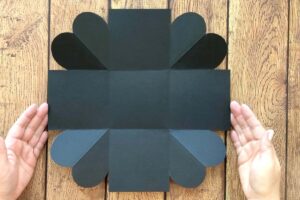
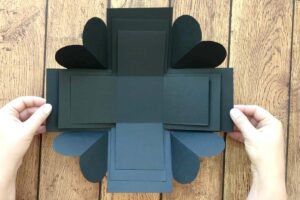
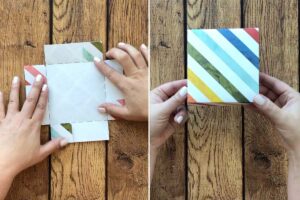
- One the other pieces of card stock, cut away the corner boxes. Layer the largest piece of cardstock on the bottom, then center the next piece over it and adhere on the center box only. Repeat with any other layers.
- Print the lid template on the back of the printed card stock (trim it to fit in your printer if needed). Cut along the solid lines, then score and fold along the dashed lines. At each corner, cut up to where the dotted lines meet from one side only. You are not removing the corners; you are making a flap so you can glue the lid together.
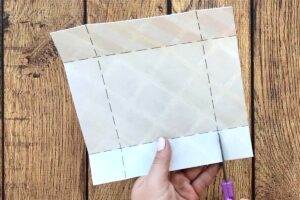
- Fold over the flat at each corner and add adhesive, then press to adhere the flap to the side next to it, creating a box lid.
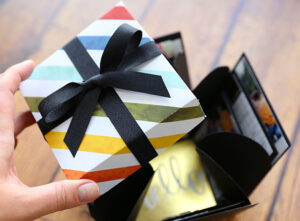
- Decorate the box as desired, adding pictures, notes, embellishments, etc. When finished, gather up the sides of the box, folding the hearts in toward the center, and place the lid on top.
Video
Notes
If you don't have a paper trimmer with a scoring blade, you'll need another way to cut and score your cardstock. You may use a ruler and an exacto knife to cut the card stock, or even scissors if you cut carefully. For scoring, you can use a ruler and the back of a butter knife, or a different type of scoring tool.