Watercolor Resist Paintings
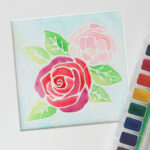
Learn how to make a pretty watercolor painting for beginners - absolutely no experience required! The rubber cement resist technique makes it easy for anyone to get started with watercolors.
Ingredients
- Watercolor Paints (Crayola set works just fine!)
- Watercolor Paper optional but looks better
- Rubber Cement
- Small Squeeze bottle
- Light box/light table OR iPad
Instructions
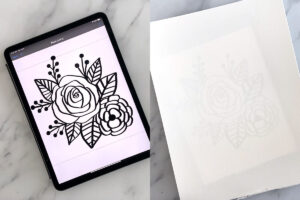
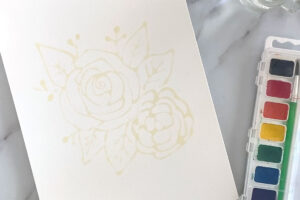
- Print out a design on normal paper. Place the printed design on a lightbox (or a tablet that you are using as a lightbox) and place a sheet of watercolor paper over the design. You should be able to see the design through the watercolor paper.OR, if using a table, you can simply open the design on the tablet, then place the watercolor paper on top.
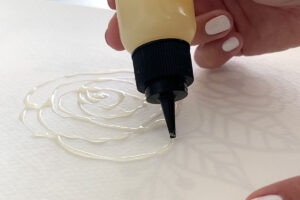
- Pour rubber cement into a small squeeze bottle with a narrow tip. Trace the design onto the watercolor paper in rubber cement. Squeeze the bottle gently so too much rubber cement doesn't come out at once.If you don't have a squeeze bottle, you could use a small paintbrush to "paint" rubber cement on the outline.
- Allow rubber cement to dry for 10-15 minutes. It will still be sticky, but it should be dry enough not to smear before you begin painting.
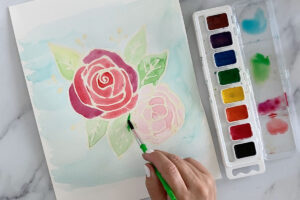
- Paint your design using watercolor paints. Paint in layers, starting with light colors (colors with lots of water mixed in). Continue adding layers of paint until you like how your design looks. Allow it to dry completely.
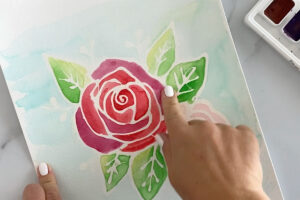
- Use your fingers to rub off the rubber cement - the paper will be bright white underneath it, creating a pretty resist design.