
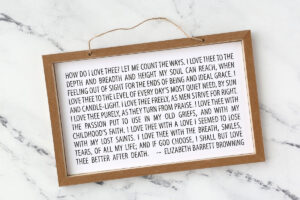
DIY "Love" Sign
You can make this cute DIY “Love” sign in under thirty minutes – and for about five dollars. Use our free printable background or create your own. Easy Valentine’s Day craft idea.
Ingredients
- Wooden Sign 7.5 x 11.75 inches
- Wood Beads
- Wood "Love" cutout
- Paint + Paintbrush
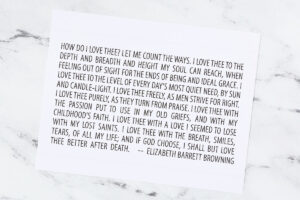
- Printed Text Background
Instructions
- Paint the wood word cutout and allow it to dry. You can use a hair dryer to speed the drying process.

- Download and print the text background from the blue box in the post, if you are using the same sign I used. If not, see the tip below to learn how to create your own text background. Print it on card stock or other heavy weight paper.
- Trim the text background so it fits your sign.
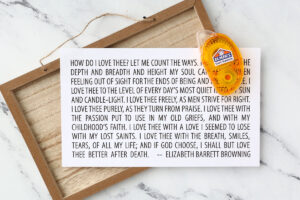
- Use adhesive on the back to adhere the text background to the sign.
- Adhere the word to the center of the sign. String beads onto the twine used to hang the sign and secure the twine in back with hot glue.

Notes
If you can’t find this sign at Dollar Tree or you want to use a different one, you can create your own background in Microsoft Word. Go under File -> Page Setup and choose landscape mode. Measure the inner dimensions of your sign (inside the “framed” edges). Go to Insert -> Text Box to create a text box in Microsoft Word that’s an inch smaller in height and width than your sign. Then copy and paste the poem or whatever text you’d like to use into that box and justify the text to make it stretch from one edge of the text box to the other. Choose a font and play with the font size until the text fills up the entire box. Under Format -> Paragraph you can also play with the line spacing to get it to fill your box. You can add in spaces along the last line to make it fit better as well. Once you like how it looks, print it out onto card stock or heavy weight paper. Carefully trim around the text, taking just a little off at a time, until it fits right inside the framed edges of the sign.