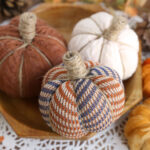
Sock Pumpkins
Turn cute fall socks into adorable little pumpkins perfect for decorating your home for fall. This is an easy fall craft you can complete in about ten minutes!
Equipment
- Hot Glue Gun plus silicone finger covers
Ingredients
- Socks
- Twine
- Ply-Fil
Instructions
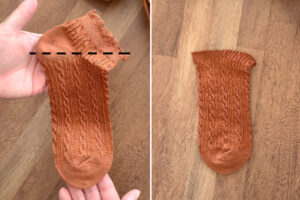
- Hold the sock with the foot portion up and down and cut straight across at the heel, keeping some of the heel attached.
- Stuff a large bunch of poly-fil into the toe of the sock. Pull the top edge of the sock closed and wrap the end of your twine around it a couple times, tying a knot. Leave at least an inch of excess fabric above the twine, and don’t cut the twine.
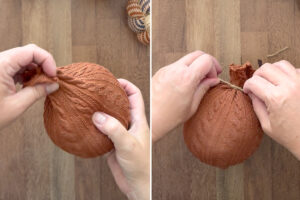
- Wrap twine down one side of the sock ball and back up the other side, then pull the twine tight enough to cinch the ball and create a depression.
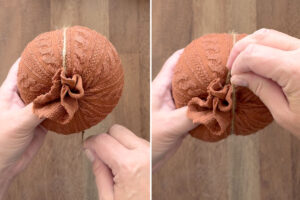
- Rotate the ball ninety degrees and wrap the twine around it again, dividing the ball into four sections, again pulling the twine tight. Then wrap the twine twice more, this time dividing each of the four sections into two. Your ball will now be divided into eight sections.
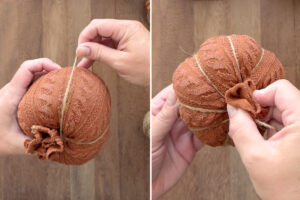
- Place some hot glue at the top of the pumpkin where the extra fabric is, and tightly wrap twine around the excess fabric to create a stem.
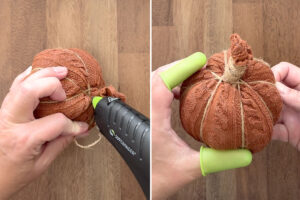
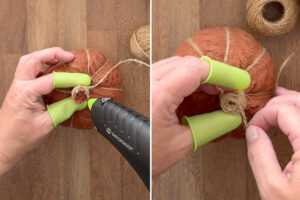
- When the stem is as tall as you’d like, trim away any remaining fabric. Use hot glue to secure twine around the end of the stem, coiling it from the outside in to completely cover the sock fabric. Cut the twine.
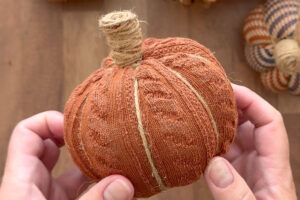
- The pumpkin is finished and ready to display!
Notes
I used these cable knit socks and these patterned socks.