
Wood Shim Angels
Make beautiful Christmas angels using wood shims and a few other supplies. This is an easy Christmas craft for adults you can complete in about half an hour.
Ingredients
- 10 8 inch Wood Shims
- 1 1.5 inch Wood Ball Knob
- 38 inches Wired Ribbon 1 inch wide
- 2 .5 inch Wood Beads
- White Paint and Paintbrush
- Wire 20 gauge, or stiff enough to hold shape but thin enough to cut
- Twine jute and baker's
- Greenery or other embellishment
Instructions
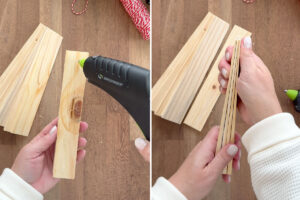
- Create a triangle shape with the shims by placing all the wide ends at the bottom and the narrow ends at the top. Hot glue each shim to the next, checking as you glue to make sure the finished triangle stands up straight.
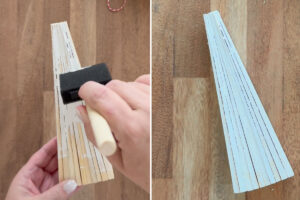
- Use a dry paint brush to brush on a small amount of white paint, allowing areas of wood to show through. Dry thoroughly.
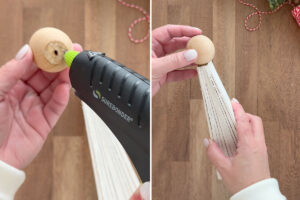
- Hot glue the flat side of the ball knob to the top of the shim triangle. This is the angel's head.
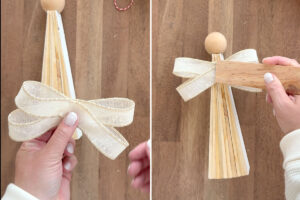
- Cut the ribbon in one 26 inch piece and two 6 inch pieces. Fold the 26 inch piece into a double figure eight to create wings. Hot glue them to the back of the angel, about half an inch below the top of the triangle. Protect your fingers from the hot glue.
- Create a halo: wrap wire around the head a few times, then fold the wire 90 degrees down and straighten it out. Glue the straight part over the ribbon you just added; glue the shorter ribbon pieces over the wire angling downward.
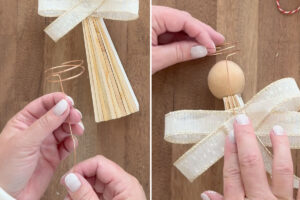
- Cut a ten inch piece of twine and thread both wood beads on it. Tie knots at both ends of the twine. Loop the twine behind the angel's head and bring the beads to the front; glue them to the body.
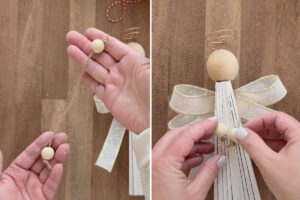
- Decorate with a bow at the neck and some faux greenery tucked between the hands, then your angel is read to display!