
DIY Easter Doormat
Learn how to make this adorable DIY Easter welcome mat without a cutting machine! This is an easy Easter craft for adults you can complete in a few hours.
Equipment
- Coir Doormat
- Stencils
- Masking Tape
- Acrylic Craft Paint
- Stiff Paintbrushes
Instructions
- Decide where you want the stencil placed and using masking tape to tape it down to the doormat.

- Put some paint on a paper plate, and tap your brush down into it. Begin applying paint to the openings on the stencil using an up and down tapping motion with the paintbrush. DO NOT brush side to side. Hold the stencil down near where you are applying paint.
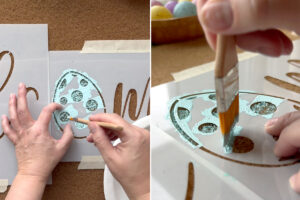
- Continue painting on the stencil until all the openings are covered. You will likely need to go over each area at least twice to apply enough paint.
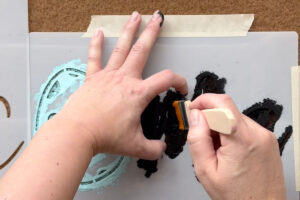
- Carefully remove the stencil, taking it straight to the sink to wash.
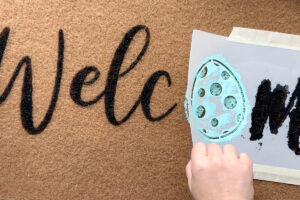
- Use a smaller paintbrush to touch up any areas that look like they don't have enough paint. Again use an up and down tapping motion.
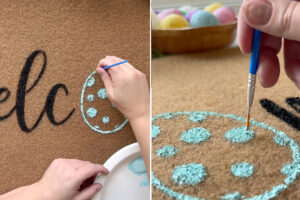
- Use additional stencils to add other designs as desired. Make sure not to touch or smudge paint that is still wet.

- Allow paint to dry thoroughly (at least 24 hours) before using doormat.

Notes
I used doormats and paintbrushes from this Amazon kit.
I used these stencils from Amazon.
Doormat can be sealed with a clear waterproof sealant such as Flex Seal.