
In today’s post: Learn how to make this adorable DIY Easter welcome mat without a cutting machine! This is an easy Easter craft for adults you can complete in a few hours.
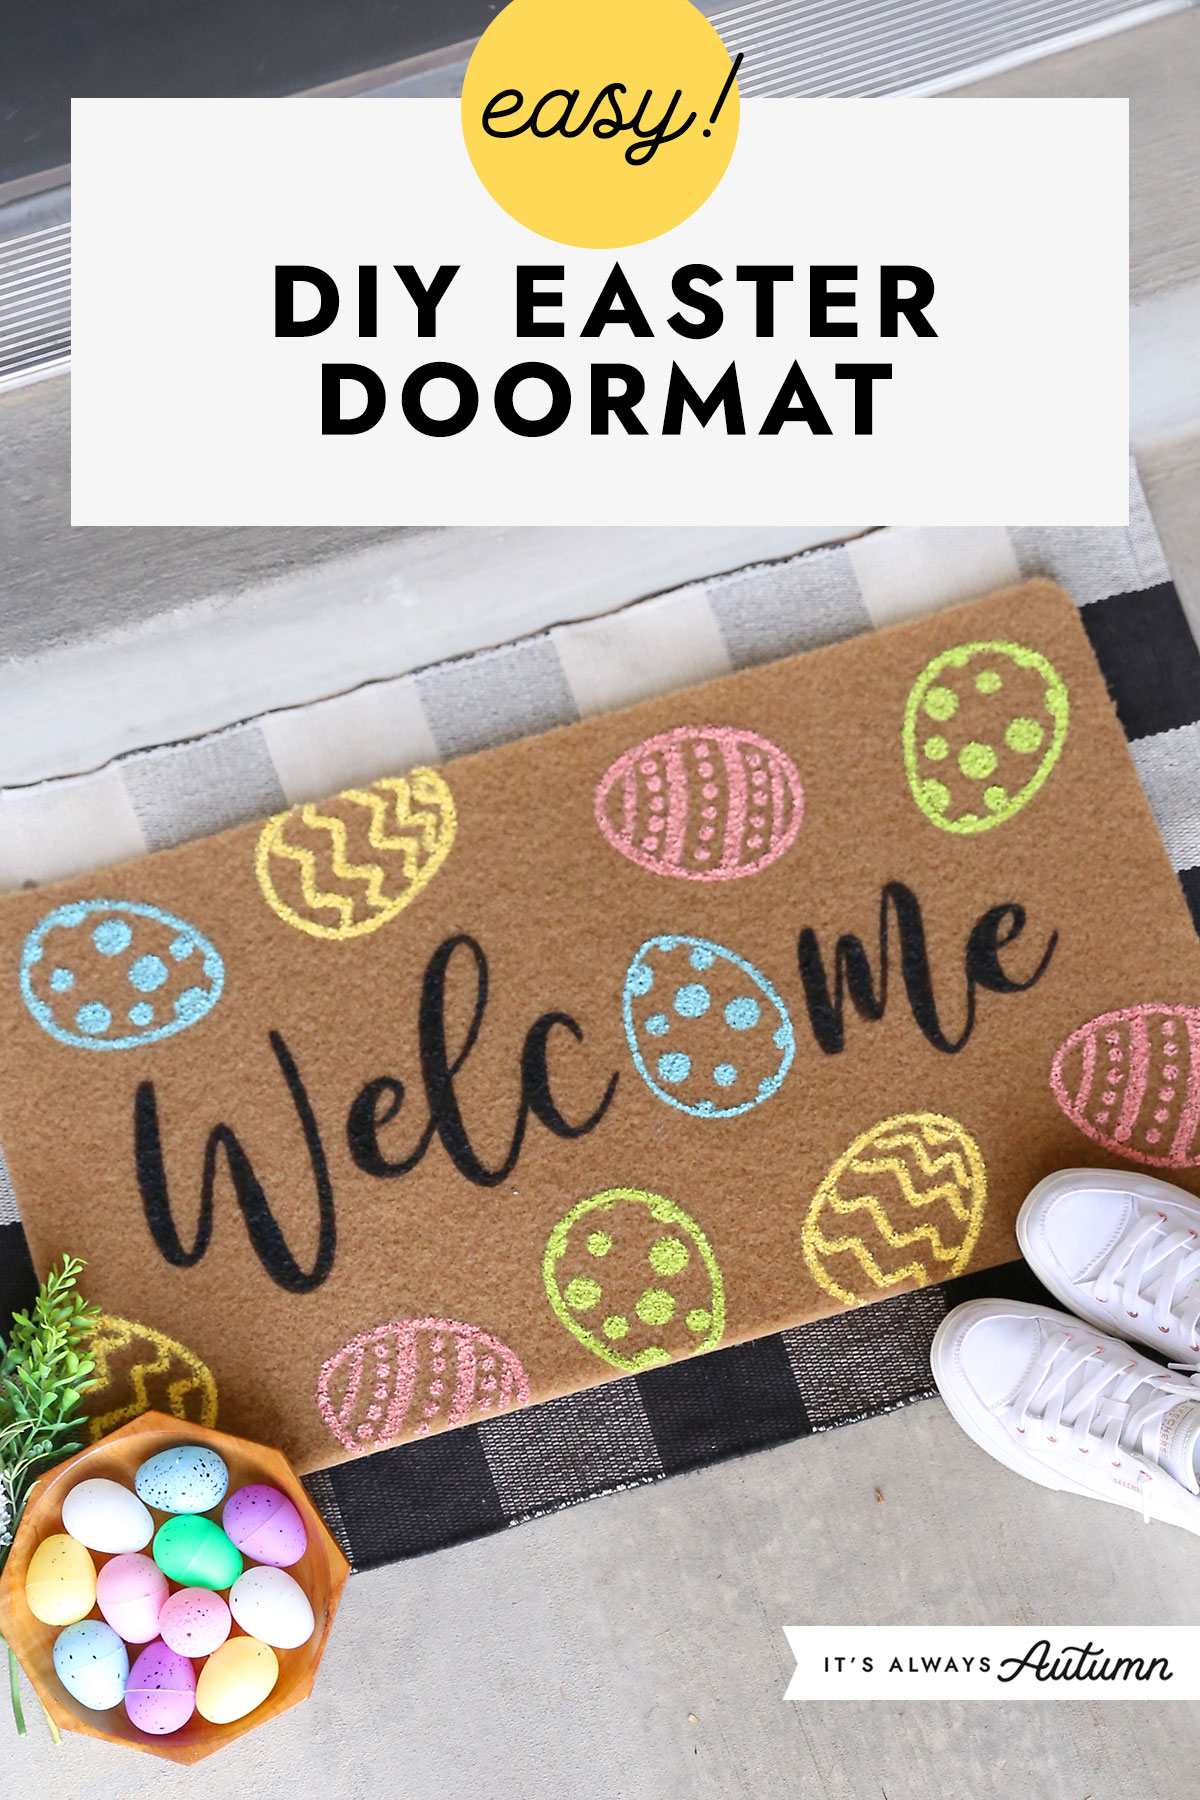
Easy Easter Craft
If you’re looking for a fun spring/Easter craft idea that you can do with friends, a DIY doormat is the perfect idea! I’ve never done a project like this before because I don’t have a cutting machine to cut stencils with, but it turns out you can find all sorts of adorable holiday stencils on Amazon for a very reasonable price. Amazon even sells DIY doormat kits that come with multiple doormats and paintbrushes, so you can make doormats with friends, or different doormats for different seasons.
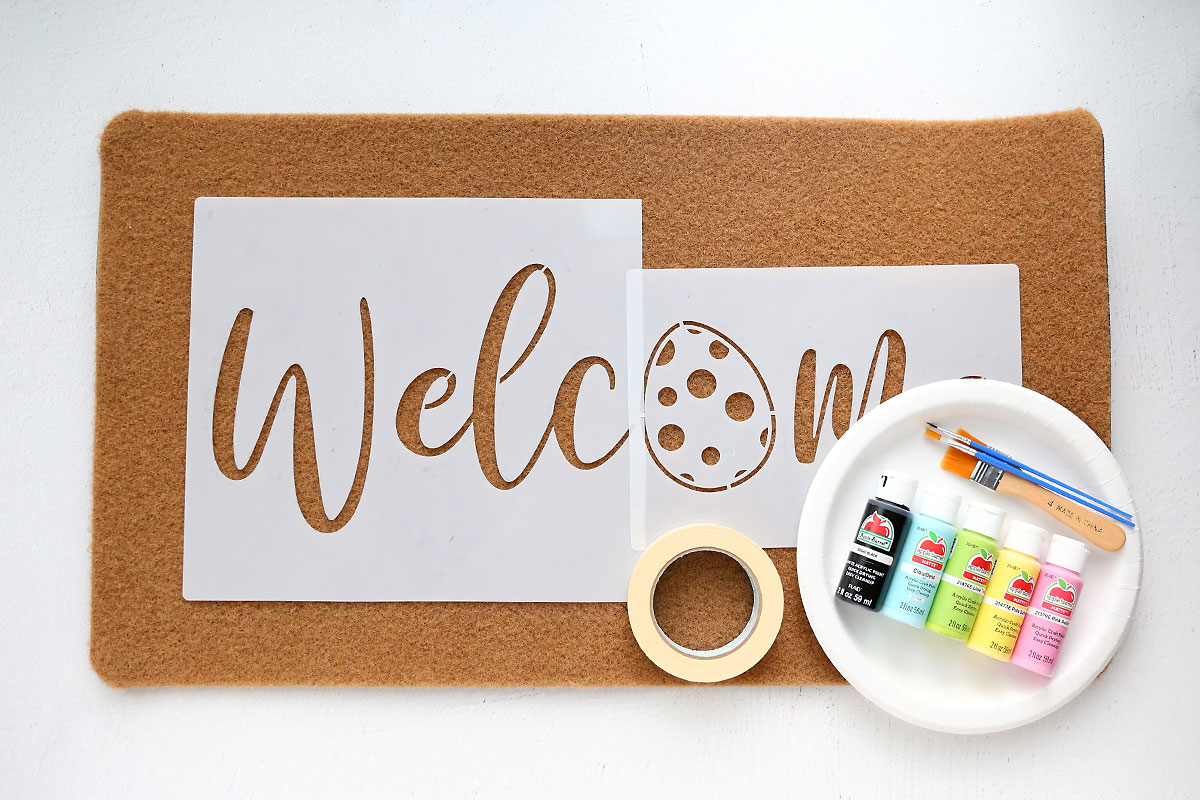
Supplies
Here’s what you need to make your own DIY welcome mat:
- Coir doormat: You’ll need a plain coir doormat for this project. I ended up purchasing a kit from Amazon that included three doormats as well as small paintbrushes and it worked great! The kit is very reasonably priced and would make this a fun project to do with friends.
- Stencils: Because I don’t have a cutting machine to create my own stencils, I purchased these stencils from Amazon. They are good quality, reusable, and come in a variety of holiday themes.
- Masking Tape: For securing the stencils to the doormat.
- Craft Paint: The kit I ordered included small paint pots but I used bottles of inexpensive craft paint instead so I could get the colors I wanted and be sure I’d have plenty of paint
- Paint brushes: I just used the paint brushes that came with the kit. They looked small so I wasn’t sure how well they’d work, but they actually did a great job.
How to make a DIY Welcome Mat
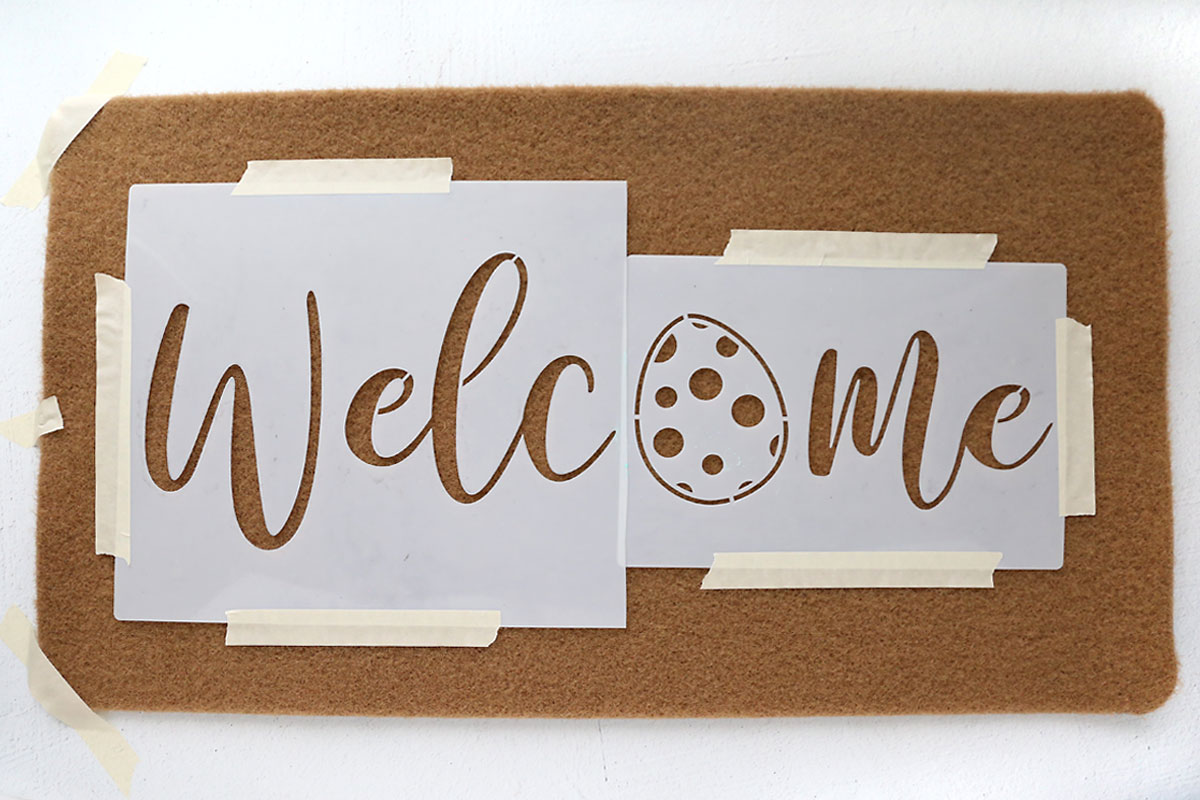
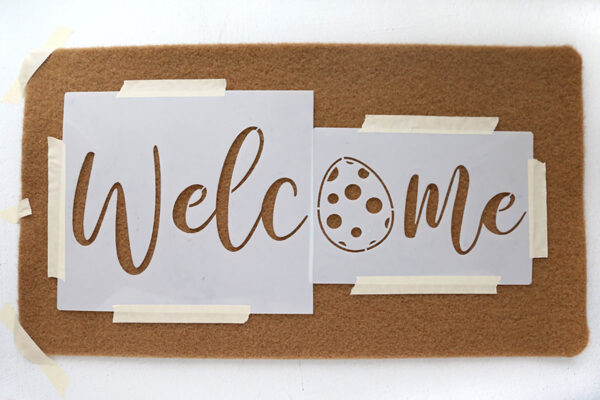
Tape Down Stencil
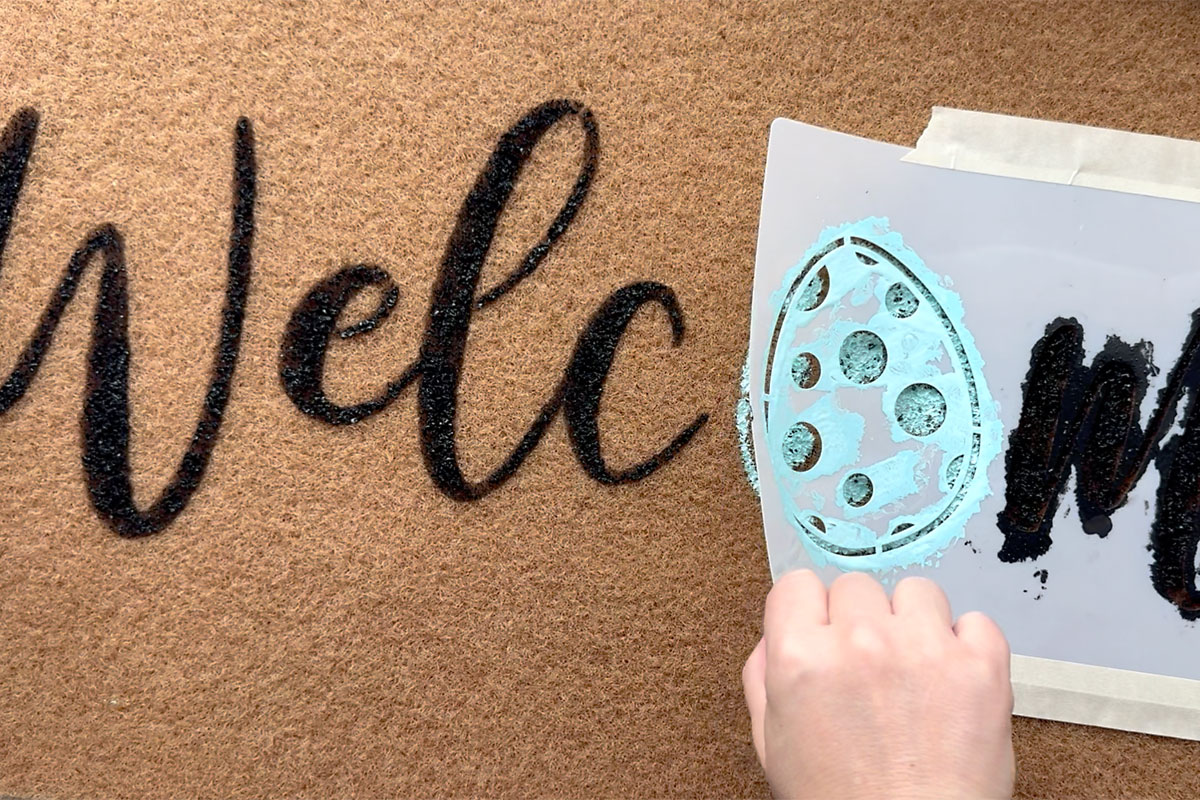
You’ll begin by choosing which stencil you’d like to use and taping it to the doormat.
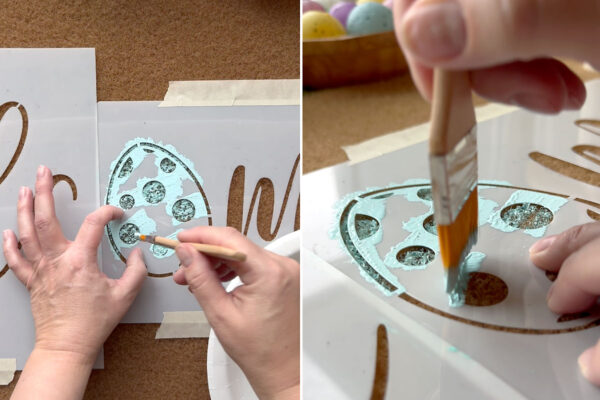
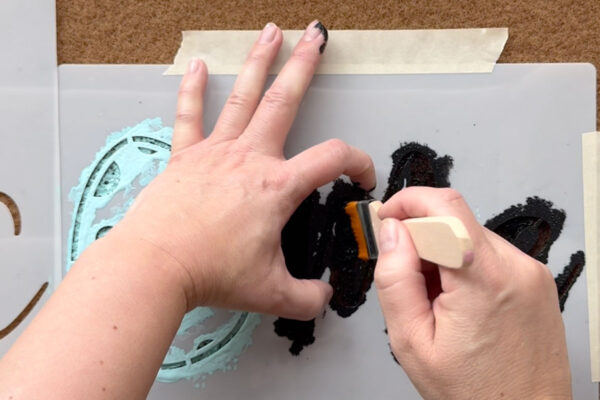
Paint over the Stencil
Now you can start painting over your stencil. The key when stenciling is to hold the paintbrush up and down and paint by dabbing the brush down, NOT sweeping the brush side to side like you normally would. Dabbing straight down ensures that paint doesn’t get under the stencil and ruin the design. I found I needed quite a bit of paint, so it works well to keep a paper plate with a good amount of paint on it close. Dab the brush down into the paint, then paint onto the stencil using an up and down motion.

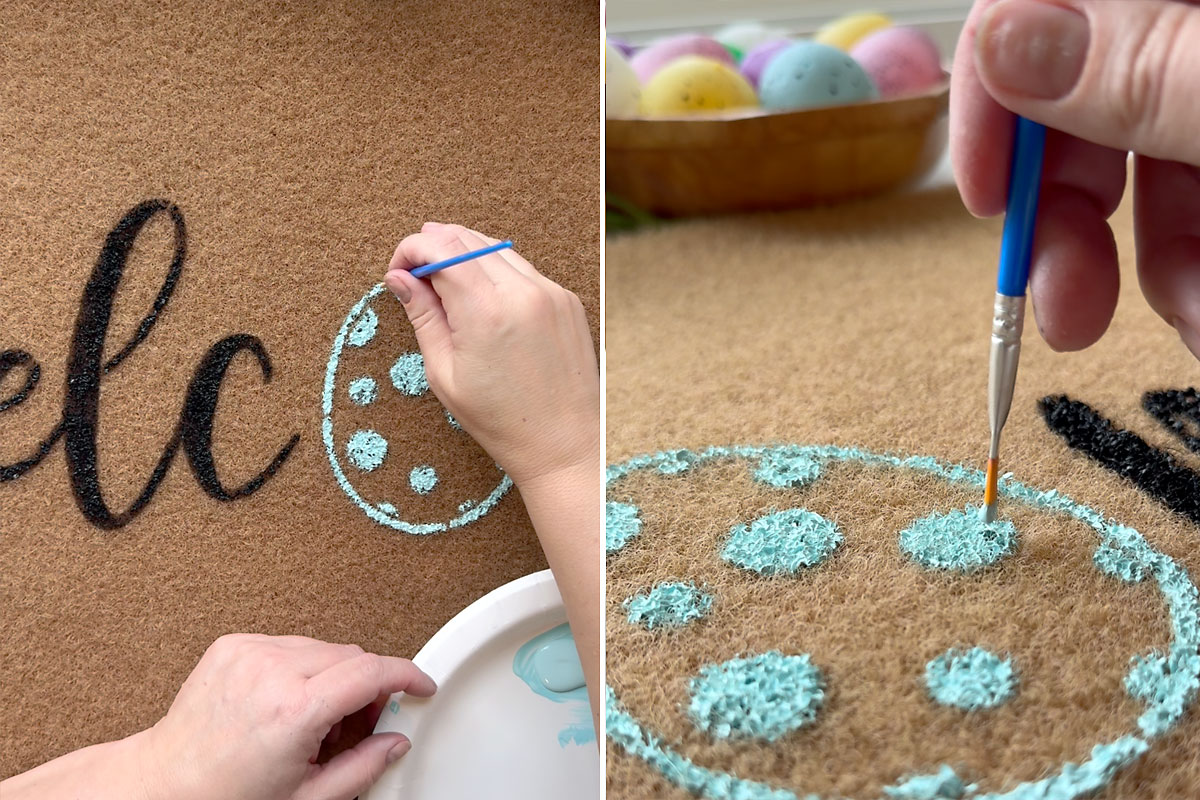
Even though you’ve taped the stencil down, it may move a bit as you dab the paintbrush, so I found it was helpful to press down on the stencil with one hand close to where I was painting. I also would paint an area, go on to the next area, then come back to the first area to give it a second coat.

Remove the stencil
Once you have painted the entire area covered by a stencil, gently lift it up. You can take the stencil to your sink and immediately wash it with some dish soap to clean off all the excess paint. You can also clean your brush at the same time, again using warm water and dish soap.
Touch Up
Once you’ve removed the stencil, it will be easy to see if some areas didn’t get quite enough paint. I used one of the smaller paint brushes from the kit to touch up these areas, again using and up and down dabbing motion.
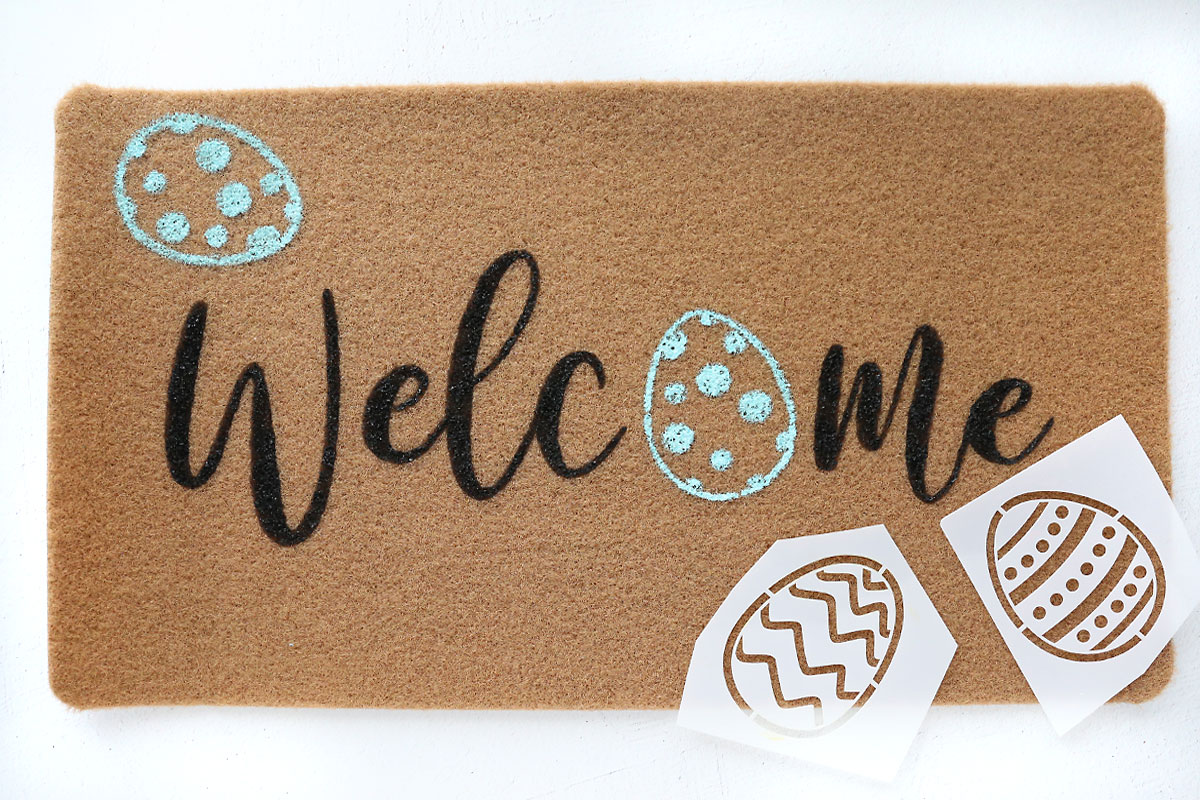
Finish stenciling other colors
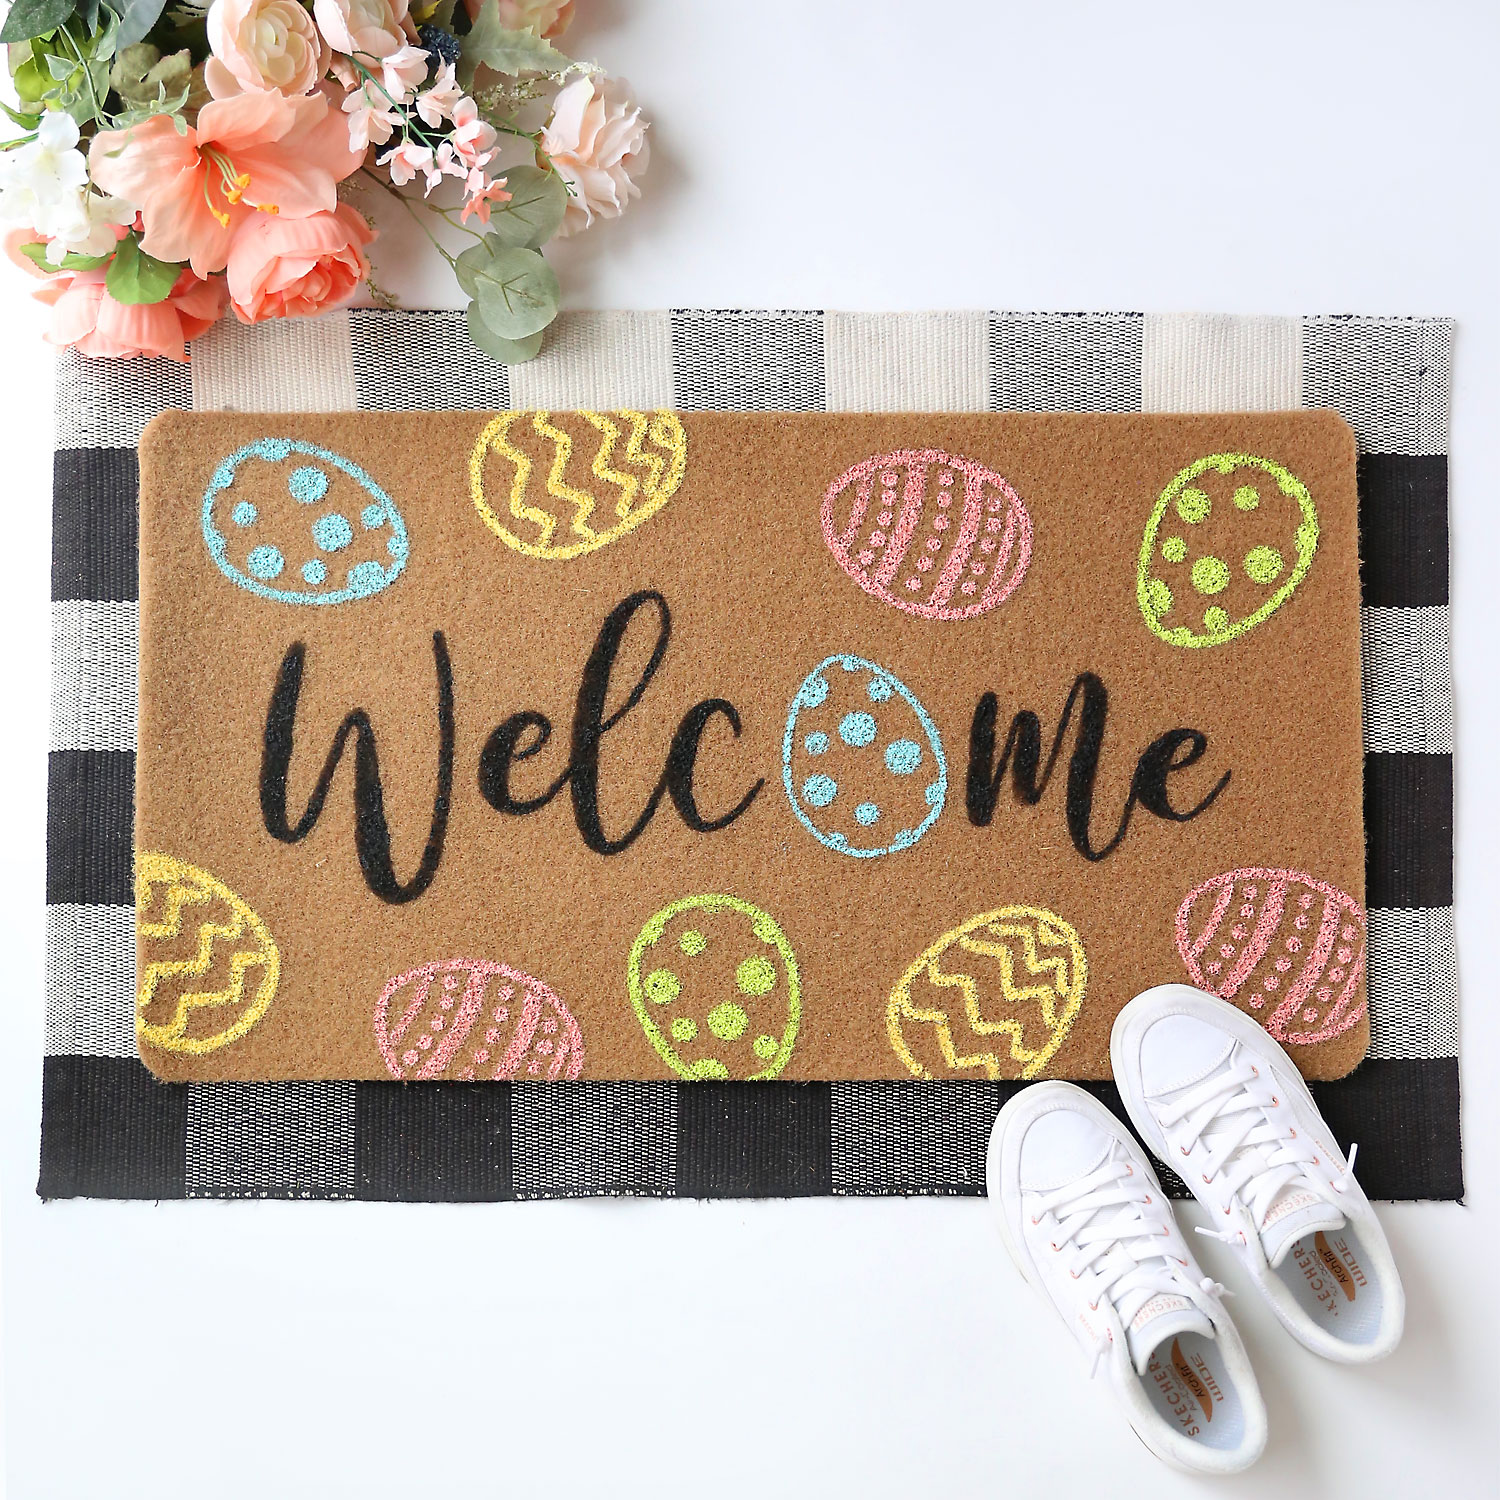
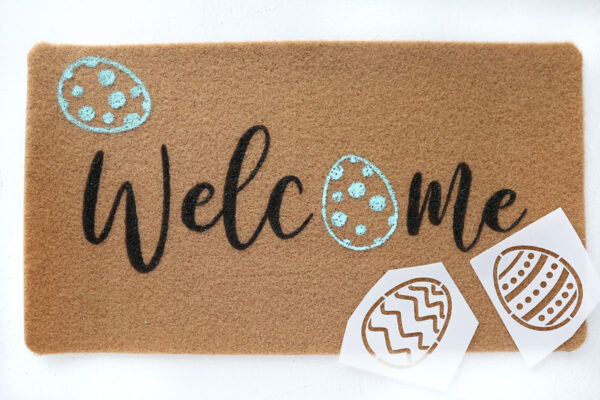
After I completed the “welcome” design on the doormat, I added more eggs around it in different colors. I cut apart the stencil that had three different patterned eggs so I could lay them down separately.
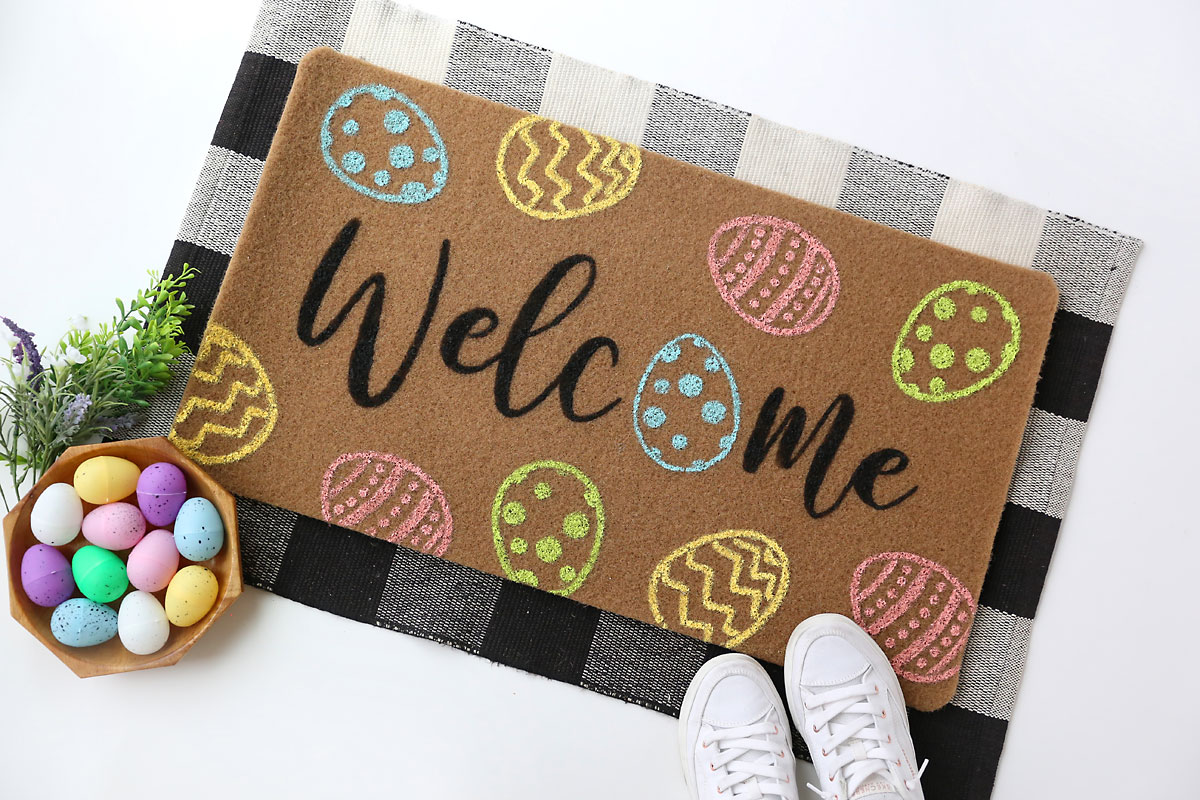
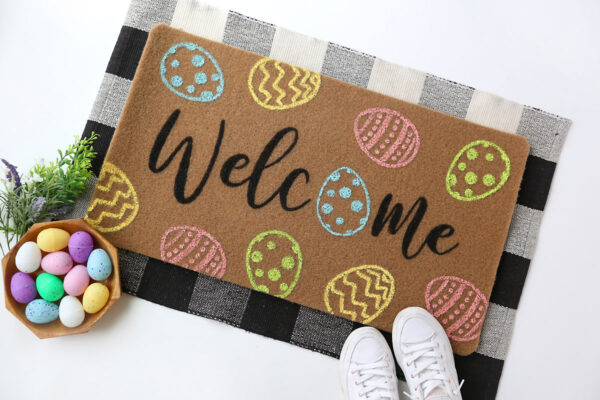
I worked on one color at once, moving the stencil to different areas so I could add multiple eggs. I did not wash the stencil before I moved it to a different area as long as I was using the same color. When it came time to switch to a different color, I washed the paintbrush out thoroughly, then squeezed the brush as dry as I could with a dish towel after washing (I did not let it dry in between). Here’s the finished design:
Do I Need to Seal my Doormat?
Be sure to let your doormat dry thoroughly before using it – at least 24 hours!
This is the first DIY doomat I have made and I did not seal it. Acrylic paint is usually pretty permanent on fabric so I figured it would be similar on a doormat. We’ve only been using the doormat for a week or so but I haven’t seen any signs of fading or that the paint is rubbing off, so I’m just going to see how long it lasts.
If you would like to seal your doormat to ensure longevity, I have seen other creators recommend using Flex Seal in clear, which is a waterproof spray that dries transparent and flexible.
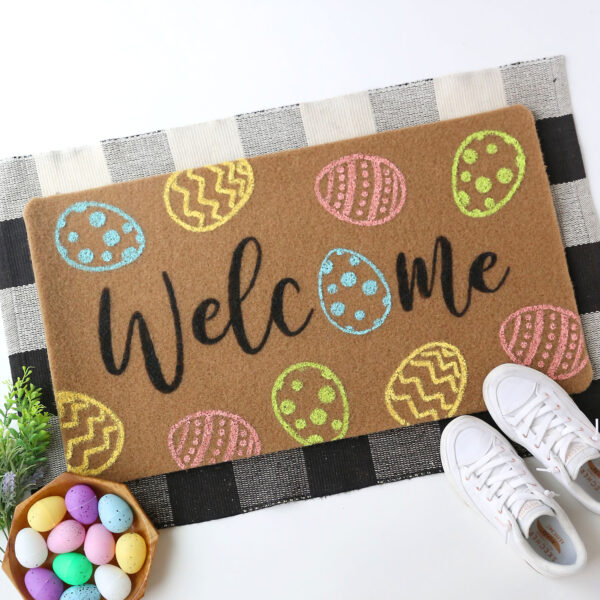
DIY Easter Doormat
Want more project ideas? Sign up to get my favorite easy crafts and recipes straight to your inbox!
Equipment
- Coir Doormat
- Stencils
- Masking Tape
- Acrylic Craft Paint
- Stiff Paintbrushes
Instructions
- Decide where you want the stencil placed and using masking tape to tape it down to the doormat.

- Put some paint on a paper plate, and tap your brush down into it. Begin applying paint to the openings on the stencil using an up and down tapping motion with the paintbrush. DO NOT brush side to side. Hold the stencil down near where you are applying paint.
- Continue painting on the stencil until all the openings are covered. You will likely need to go over each area at least twice to apply enough paint.
- Carefully remove the stencil, taking it straight to the sink to wash.
- Use a smaller paintbrush to touch up any areas that look like they don't have enough paint. Again use an up and down tapping motion.
- Use additional stencils to add other designs as desired. Make sure not to touch or smudge paint that is still wet.
- Allow paint to dry thoroughly (at least 24 hours) before using doormat.


Amy Hunter says
I had the opportunity to see this in person and I had no idea it was homemade! It looks so well done and cute!