In today’s post: Learn how to make hard candy in your favorite flavors with this easy to follow recipe. You don’t even need a candy thermometer! It’s simple enough that your kids can help make it, and the finished candy makes a great gift.
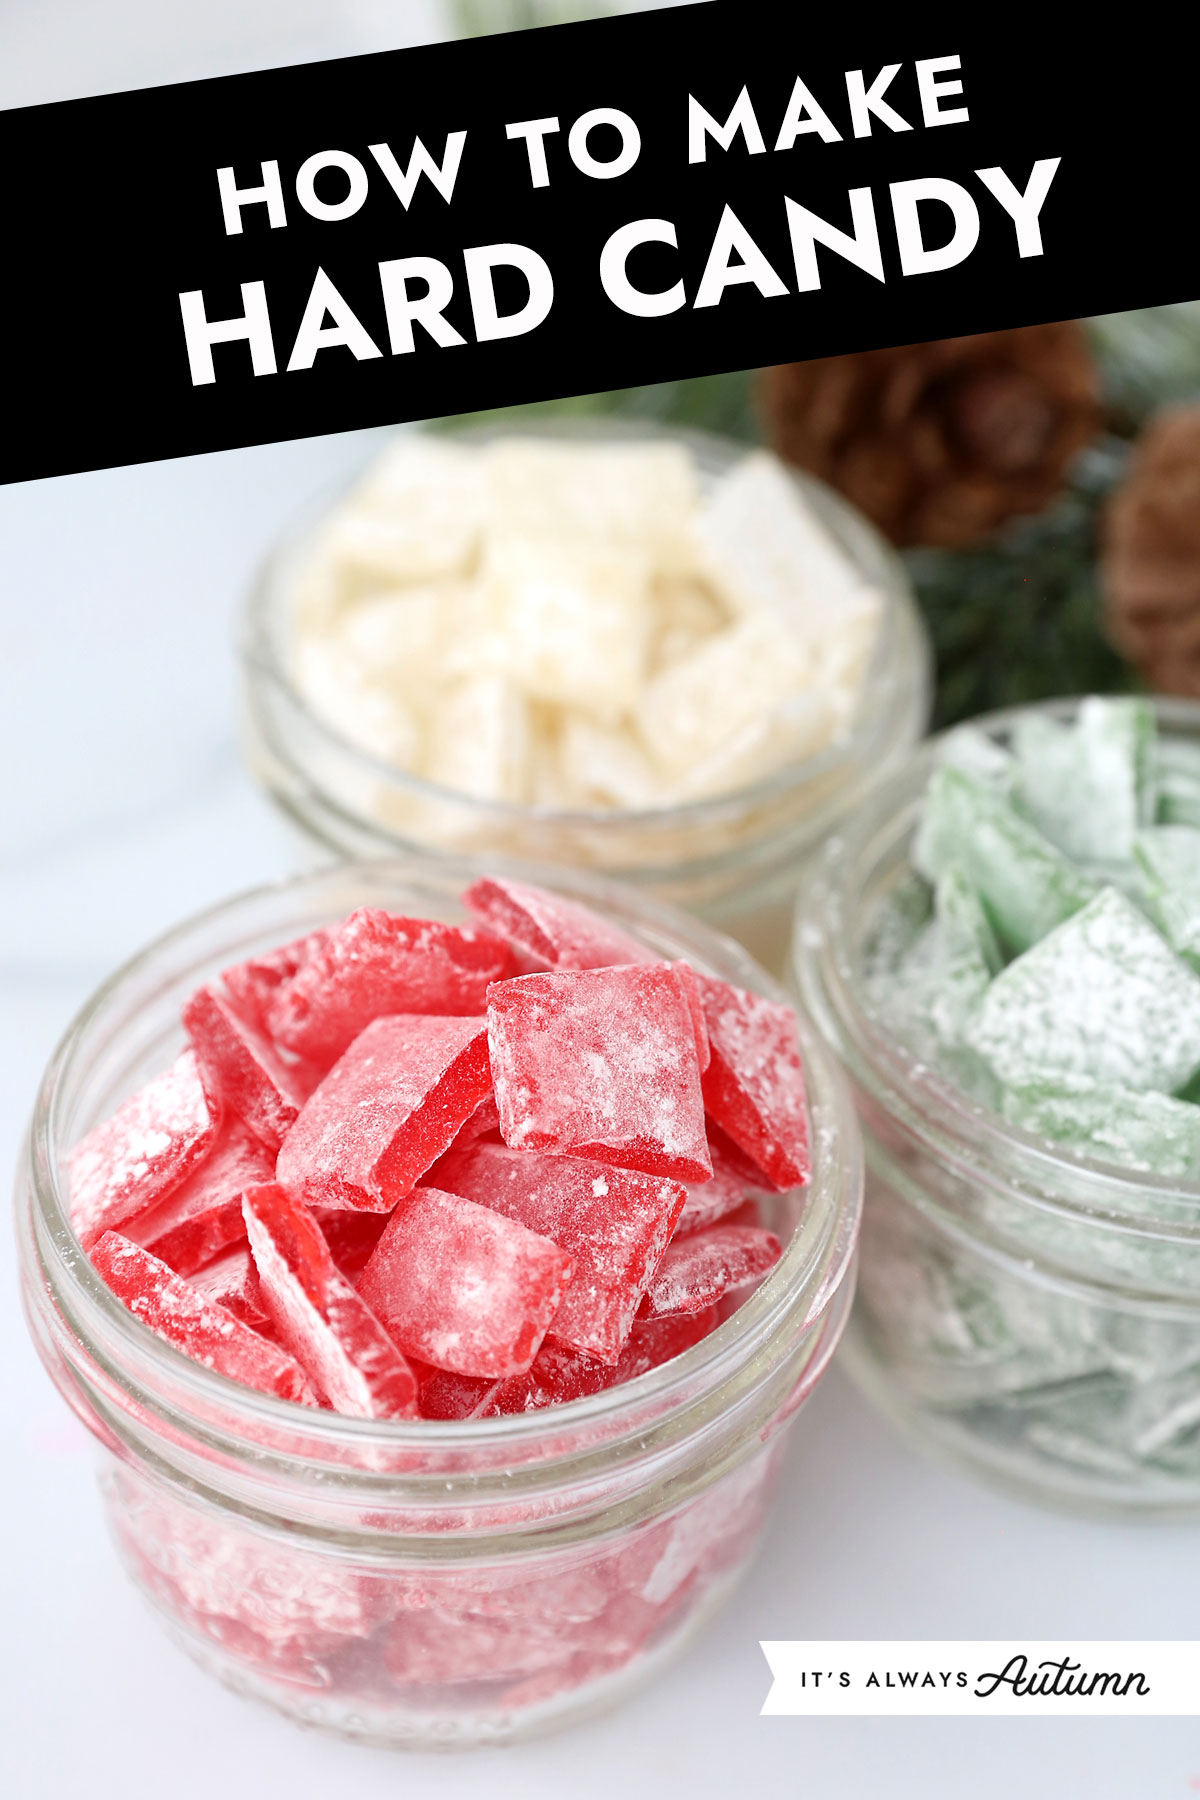
Hard Candy in any Flavor
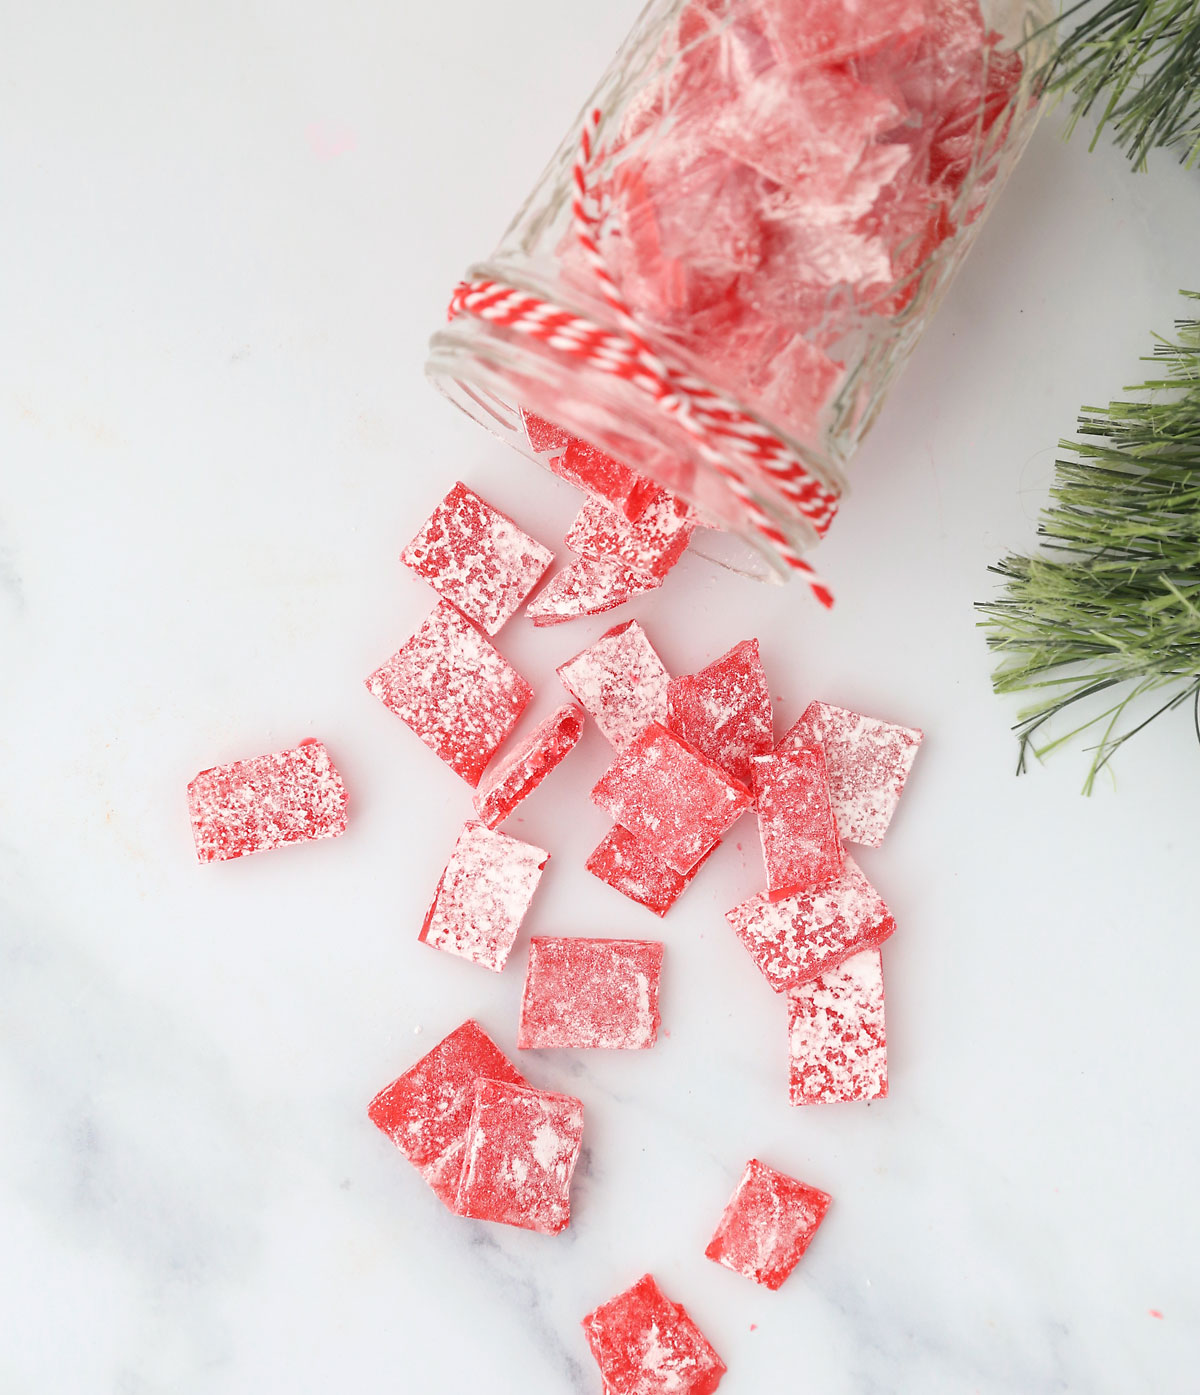
With this simple hard candy recipe, you can make old fashioned hard candy in any flavor you’d like. Ever wished you could buy Jolly Ranchers in just your favorite flavor? That’s what this recipe allows you to make at home. This sweet candy tastes great any time of year, but it’s especially fun to make around Christmas time. Packaged up in a little jar, it makes a great homemade gift. Candy making may seem intimidating, but it’s not! Each batch only takes about 15 minute to make, so you’ll be able to make as many flavors as you’d like.
Ingredients
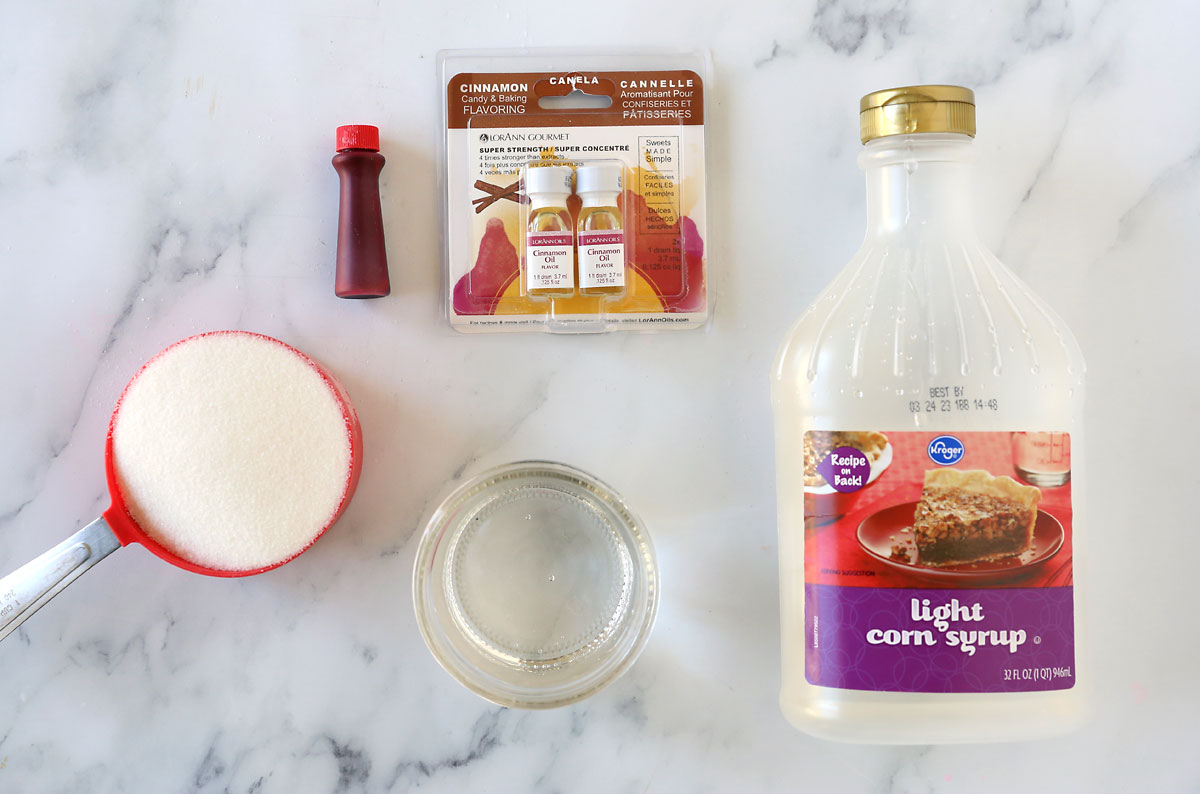
You only need five things to make this classic candy:
- Sugar
- Light Corn Syrup
- Water
- Flavoring: I recommend using flavoring oils, not extracts, and I prefer LorAnn brand oils because they are super concentrated with great flavor. Most large grocery stores sells LorAnn oils in packages like you see below around the holidays, and you can also order them online.
- Food Coloring: You’ll want a liquid food coloring or gel food coloring that you can drop into the hot sugar mixture.
Do I Need a Candy Thermometer?
To turn sugar, corn syrup, and water into hard candy, you need to cook it until it reaches the hard ball or hard crack stage, about 310 degrees F. You can use a candy thermometer to track the temperature of the candy, but you can also make this candy without one. I’ve never actually used a candy thermometer and I’ve been making this for candy for over 30 years. In the instructions I’ll tell you how to test what stage your candy is at using a small bowl of ice water instead of a thermometer.
Prep Ingredients and Equipment
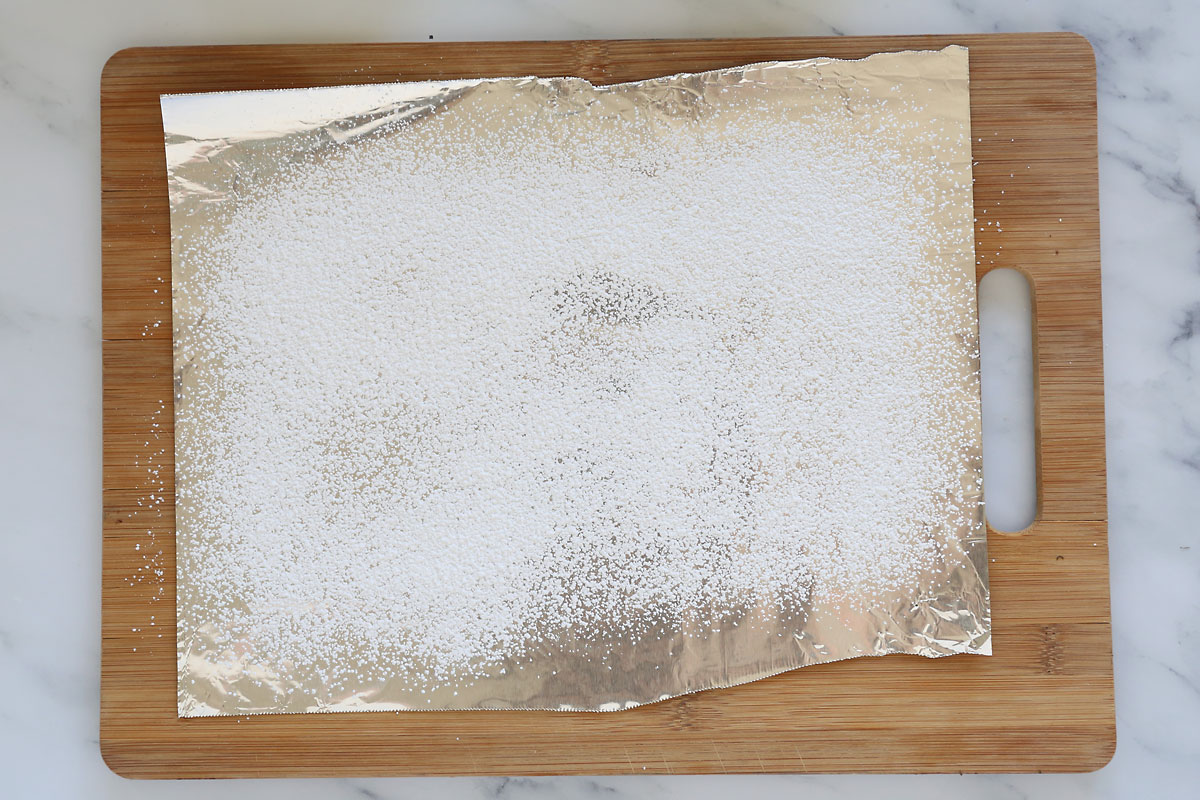
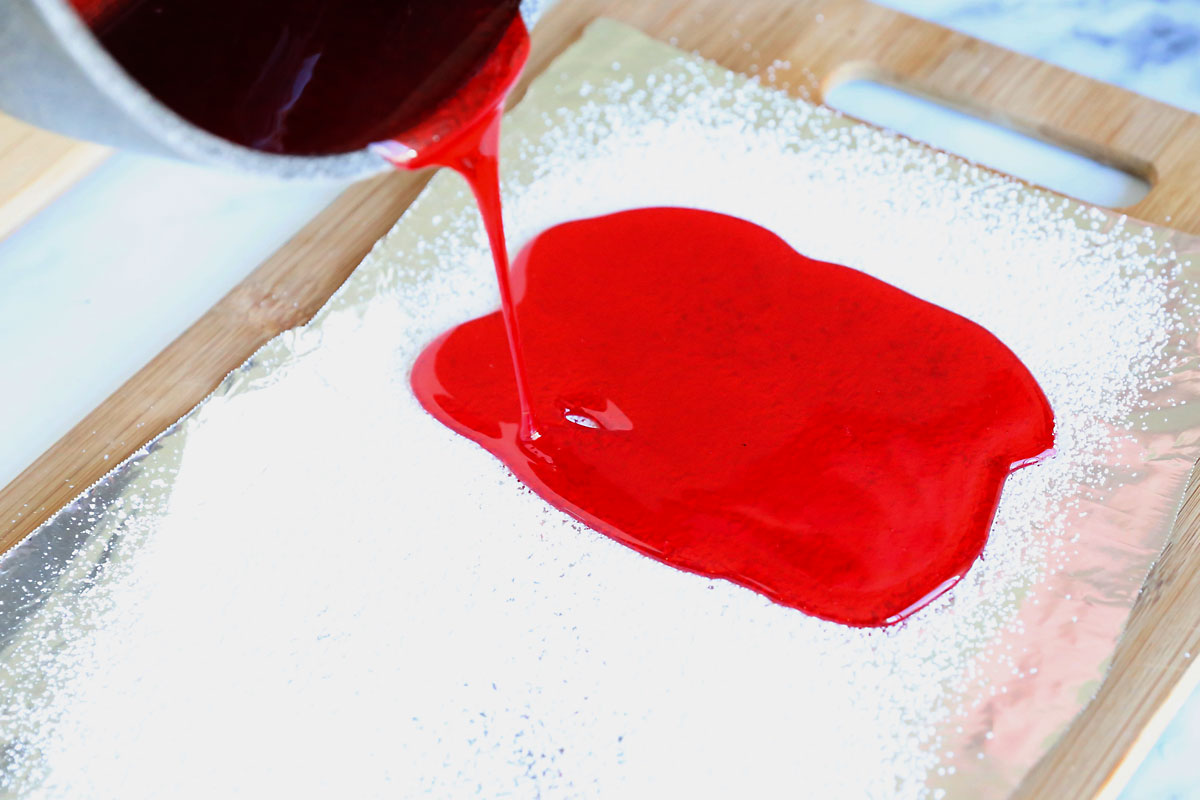
Because making this candy goes pretty quickly, you’ll want to have a few things prepped before you begin. First, place a piece of aluminum foil on a cutting board or cookie sheet (or other heat proof surface) and dust it with powdered sugar. Next, set out the food coloring and flavoring oil and make sure you have both a wooden spoon and a whisk handy. Finally, fill a small bowl with cold water and put an ice cube in it.
Bring Ingredients to a Boil
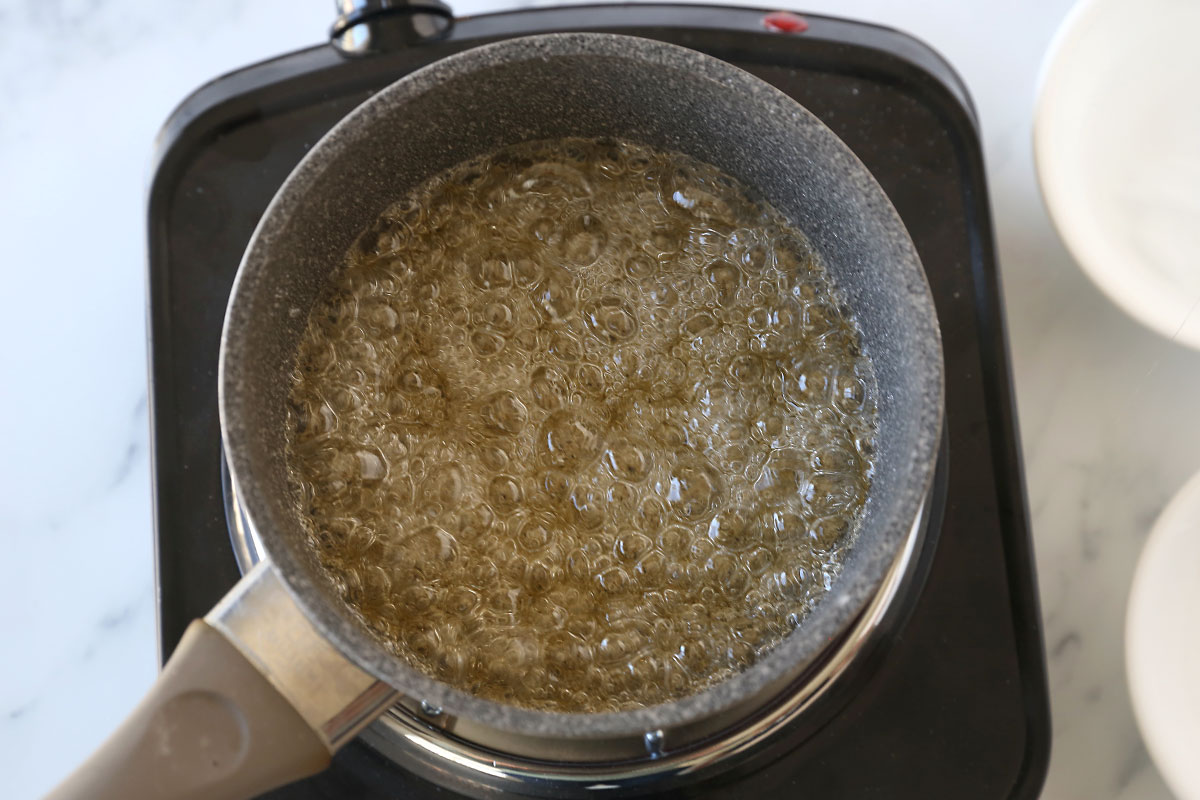
Place the sugar, water, and corn syrup in a small sauce pan. Bring it to a boil on the stove over medium-high heat, stirring with a wooden spoon to combine until the sugar dissolves. Once it’s boiling, you do not need to continue stirring – it’s actually best not to stir so you avoid crystallization of the sugar.
Cook to Hard Crack Stage
You need to cook the sugar syrup until it reach 310 degrees, which is known as the Hard Crack stage. It’s going to take about 10 minutes (or more) to reach this stage. If you have a candy thermometer, you can use it to track the temperature. But if not, you can test the stage your candy is at with a small bowl of ice water. After about 8 minutes of boiling you’ll notice the mixture starting to thicken. Dip the wooden spoon into the boiling syrup and drop some of it into the ice water. This will quickly chill the syrup down so you can tell what stage it is at:
- If the candy immediately dissolves, it has quite a ways to go still.
- If the candy sticks together but stays soft, it’s at soft ball stage. Keep boiling!
- If the candy feels hard but bendy, it’s getting close. Keep boiling.
- When the candy forms hard, brittle threads that snap when you try to break them, it has made it to the hard crack stage and it’s time to remove it from the heat.
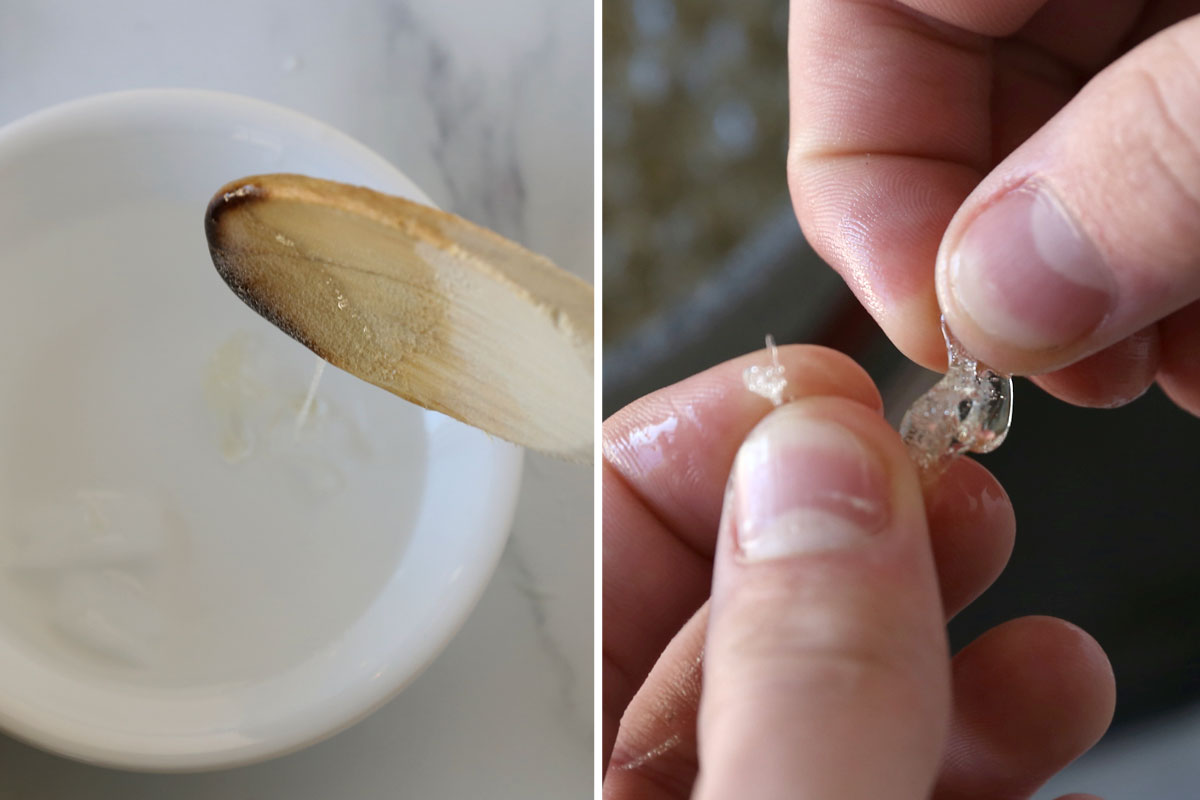
The first time you make the candy, you may end up testing it fairly often – that’s fine! Once you’ve made it a few times you’ll be able to tell when it’s getting close to hard crack stage. If you notice the candy starting to change color and get a little yellow, remove it from the heat immediately – it’s done!
Add Flavor + Color
When the candy has reach hard crack stage, remove it from the heat and wait about a minute to let the boiling action calm down. Drop in some food coloring and the flavoring oil and whisk VERY WELL to combine. Be careful at this stage, as the steam will be very hot and could burn you – don’t breathe it in.
Pour out Candy
Pour the hot candy onto the prepped foil. Use a wooden spoon to make sure you get as much of the candy out of the pot as possible.
Score Candy
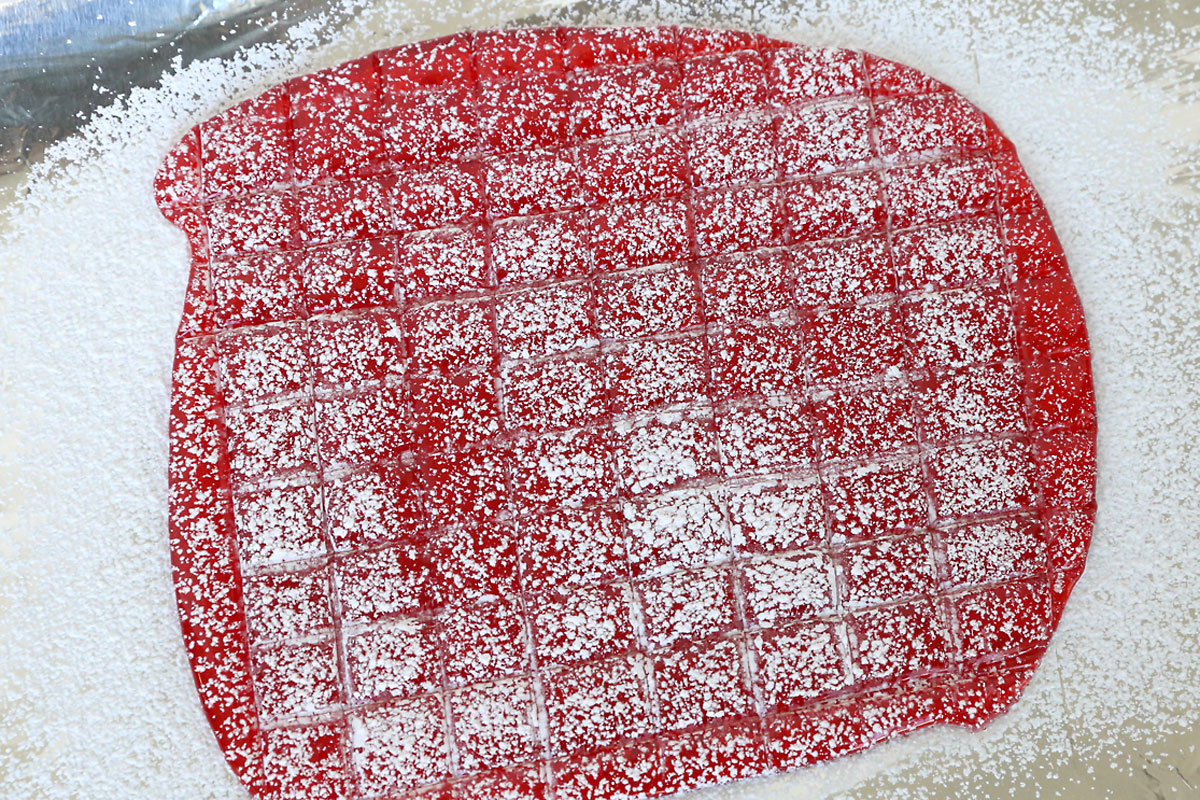
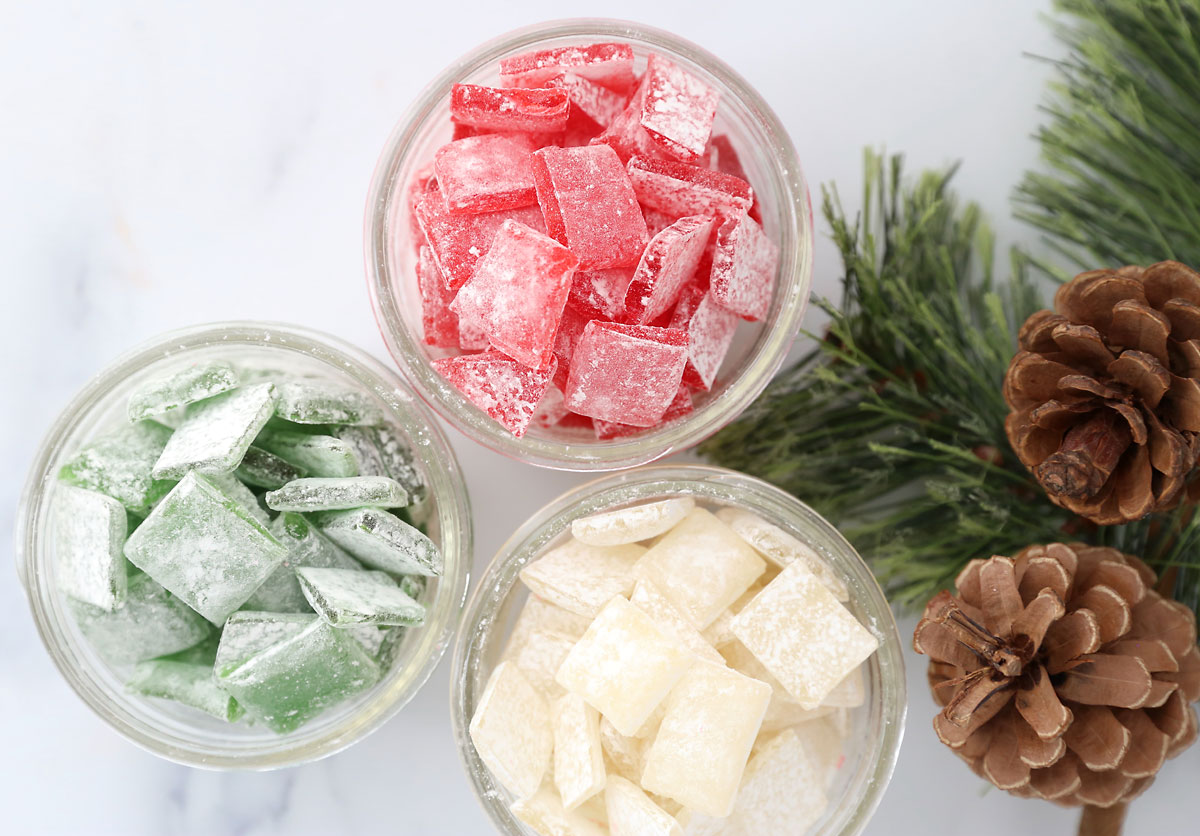
Dust the candy with more powdered sugar. After a few minutes, when it has started to cool off, use a large knife or pizza cutter to “score” it into small pieces, as you can see below.
Break into Pieces
Allow the hard candy to cool completely – about half an hour – and then break it into pieces along the scoring lines. Store it in an airtight container.
Hard Candy
Ingredients
- 1 cup Granulated Sugar
- 1/2 cup Water
- 1/4 cup Light Corn Syrup
- Food Coloring
- 1/2 teaspoon Flavoring Oil See note
Want more project ideas? Sign up to get my favorite easy crafts and recipes straight to your inbox!
Instructions
- Place the first three ingredients in a small saucepan and stir to combine.
- Turn on the heat to medium high and bring mixture to a boil.
- Boil approximately 10 minutes until mixture thickens and reaches the hard crack phase (310 degrees on a candy thermometer).
- Remove from heat and wait for boiling action to calm down, about a minute.
- Pour in food coloring and flavoring oil and whisk quickly to combine, keeping your face away from the steam. Whisk well.
- Working quickly, pour the mixture into molds or out on a sheet of aluminum foil that has been dusted with powdered sugar. Sprinkle more powdered sugar on top of the candy.
- When candy cools slightly, use a large knife to score it into small bite size pieces. When it cools completely, break into pieces. Store in an airtight container.
Tips
FAQ
Store the candy in an airtight container, like a plastic food storage container or even a ziptop bag. Do not refrigerate. Candy will stay good for at least a couple of weeks.
Most large grocery stores carry the LorAnn flavoring oils around the holidays. If you can’t find them in your store, you can order them from Amazon.
Absolutely! This is actually a fairly small batch of candy that will yield about 1 cup and a fourth of candy pieces. Double everything for a larger batch.
There are so many flavors you can use! We love cinnamon, peppermint and wintergreen during the holidays, but there are also plenty of fruit flavors available, such as orange, cherry, strawberry, and lemon.
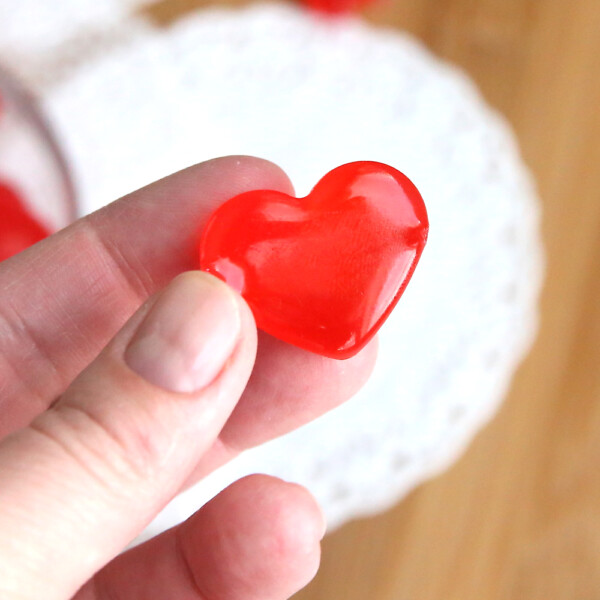
Yes! Instead of pouring out onto a piece of foil, pour liquid candy into hard candy molds to make lollipops or candy in shapes, like the hearts you see here.
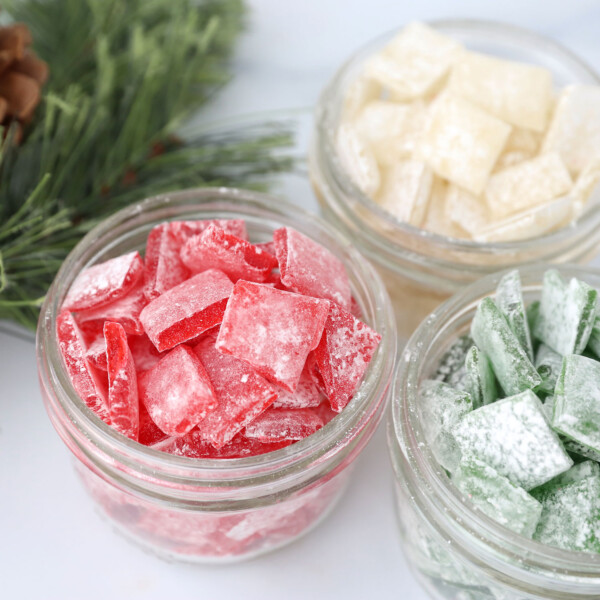
You don’t have to add coloring to the candy if you don’t want to. In the top photos in this post, I left one batch uncolored so I could have red, green, and “white” candy for Christmas. The candy with no coloring in it is more cream colored than white, but once it’s dusted with powdered sugar it looks white.
Soak the pot and utensils in water until the hardened candy on it is dissolved.

June says
Great advice and candy taste amazing.
I’m an 11 year old and made the candy with a little bit of parent help.
Autumn says
Good work! So glad you let me know it worked out.