
In today’s post: Learn how to make amazing homemade cinnamon rolls from scratch that taste even better than Cinnabon rolls! Our post includes step by step instructions to make sure your cinnamon rolls turn out amazing.
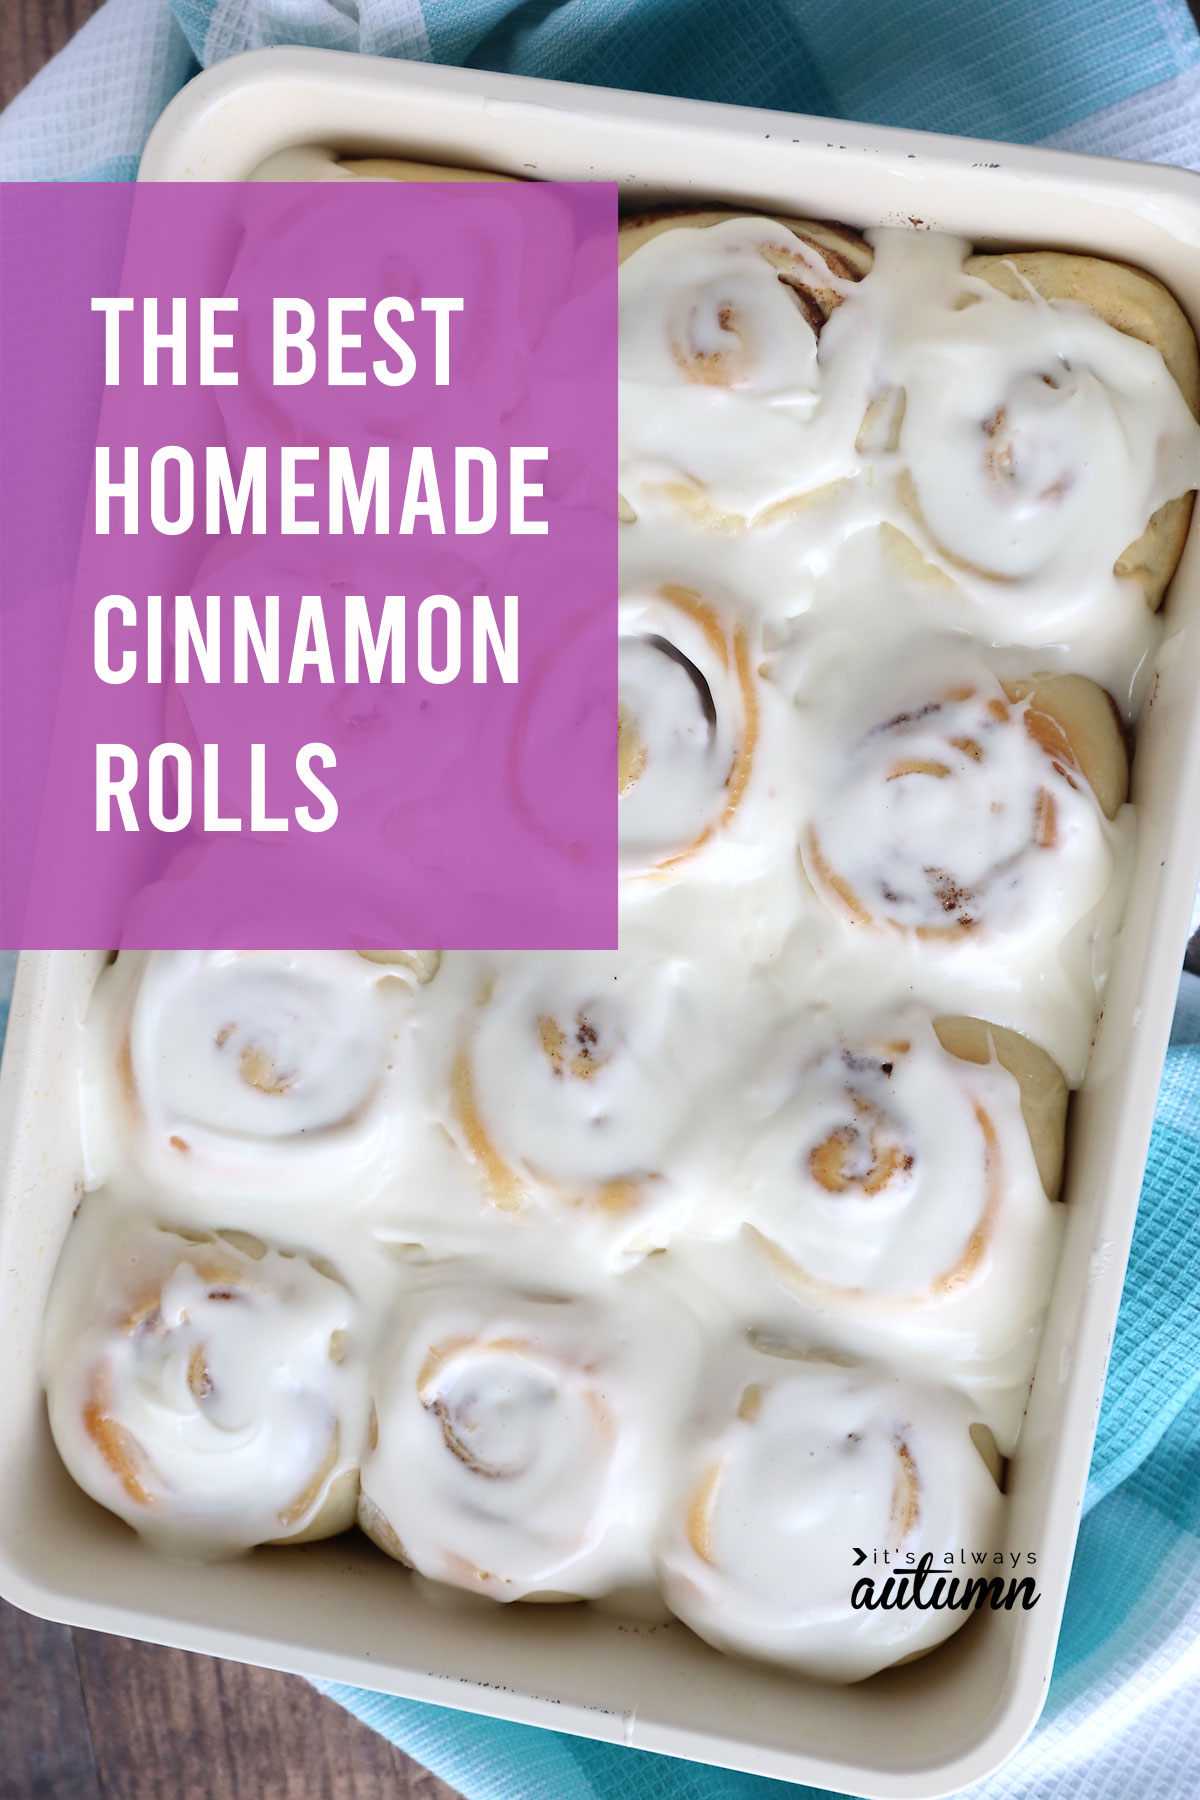
The Perfect Cinnamon Roll Recipe
Why is the the PERFECT cinnamon roll recipe? Well, a couple of reasons:
- We use a dough that’s enriched with butter and egg and sugar so it turns out pillowy soft and just sweet enough – but the dough is still very easy to make and handle. No super sticky mess, I promise.
- I’ve amped up the filling with brown sugar and LOTS of ground cinnamon, and included a simple trick that will keep the cinnamon sugar filling from dripping down to the bottom of the pan while baking!
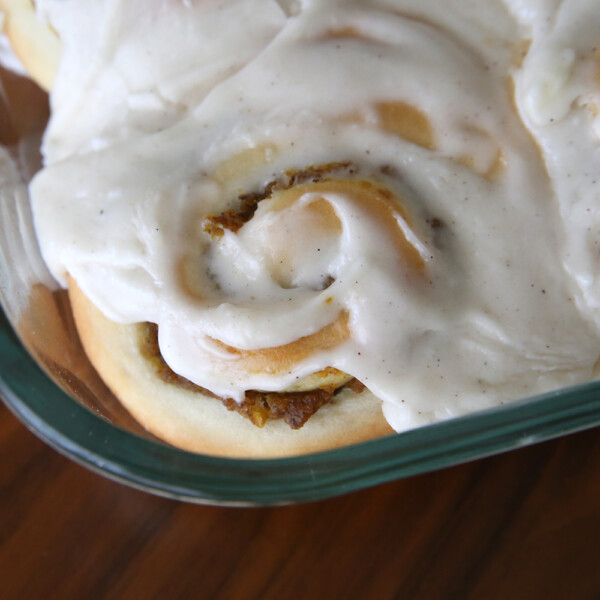
- The frosting is super easy to whip together, but adding cream cheese takes the flavor over the top. Cream cheese icing is the perfect finishing touch for these fluffy cinnamon rolls.

Cinnamon rolls VIDEO
Here’s a quick video that shows the process for making these soft, gorgeous cinnamon rolls.
(Note: if the video isn’t showing up below, that means you are using an ad-blocker. Whitelist this site in order to see the video. I know no one likes watching ads, but they allow me to create tons of free content for you. Thanks!)
How to Make Homemade Cinnamon Rolls
Making any type of bread can be intimidating if you’ve never done it before, but don’t worry! I will walk you step by step through everything you need to know. If you don’t need these instructions, you can head straight to the end of the post for the printable recipe card. Plan on three hours start to finish to make your delicious cinnamon rolls.
Make the Dough
W
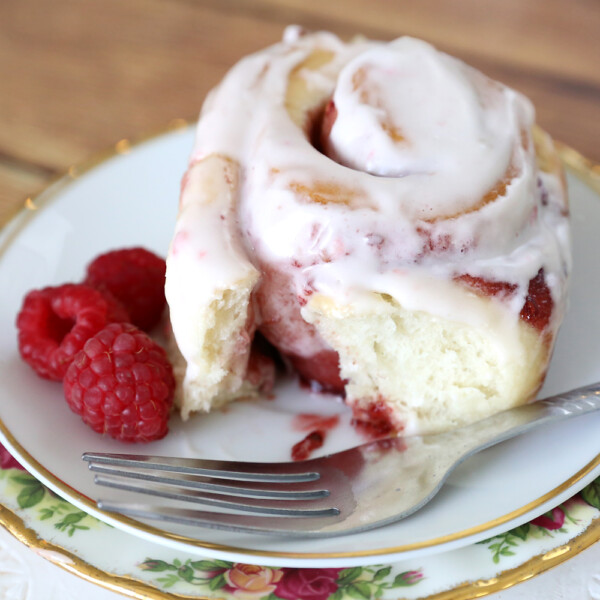
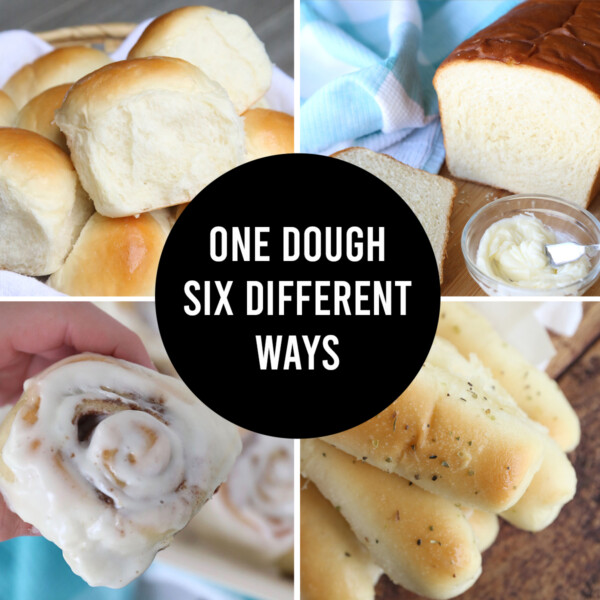
The first thing you’ll do to make cinnamon rolls is mix up a simple yet delicious bread dough. I use this same dough for dinner rolls, raspberry rolls, garlic breadsticks, and more! It’s a beautiful enriched dough that results in pillowy soft rolls or breadsticks, but doesn’t require any ingredients you might not have on hand or any difficult prep (like heating milk to a certain temperature). You don’t even have to proof your yeast!
You just combine all the ingredients in a stand mixer and get things going. I even have a couple of step by step videos you can watch that will show you EXACTLY what to do in the mixing and kneading process, including all my tips for ensuring it turns out amazing.
- If you’d like to see how to mix this dough in a Bosch mixer, visit the Homemade Bread post here
- If you’d like to see how to mix this dough in a KitchenAid mixer, visit the Dinner Rolls post here
Rise + Roll Out the Dough
Once the dough is mixed and kneaded as directed, place it in a large bowl that’s been greased, cover it with a clean kitchen towel, and let it rise for 60-90 minutes until nearly doubled in size. Then you’ll start shaping the dough as cinnamon rolls.
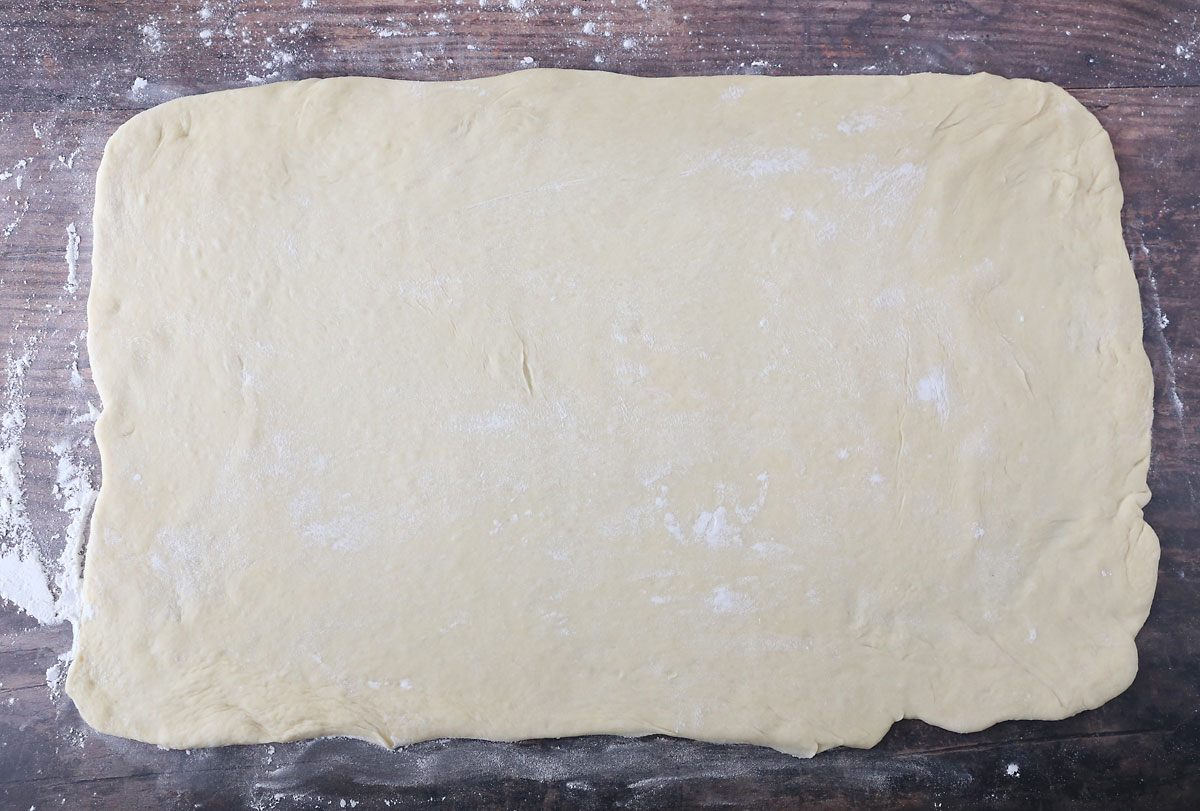
Flour your work surface, and then use a rolling pin to roll out the dough into a large rectangle – about 14 x 20 inches is great. It’s ok to gently pull the dough into shape using your hands as you roll it out.
Add the BEST Cinnamon Roll Filling
This cinnamon roll filling might be slightly different than other cinnamon roll recipes you’ve tried. Older recipes tend to call for granulated sugar, but using brown sugar instead gives a much richer taste. If you’ve ever tried a Cinnabon cinnamon roll recipe you’ll see it uses brown sugar. It really does make a difference!
The other thing that’s different about the filling in this recipe is how you apply it to the dough. Most cinnamon roll recipes tell you to soften (or melt) butter and spread it on the dough, then to sprinkle the cinnamon/sugar mixture over the butter. There are two problems with this method:
- If you’re using a healthy amount of cinnamon sugar, a lot of it will fall out as you slice the rolls and place them in a pan
- More of it will ooze down to the bottom of the pan as the rolls bake, leaving you with less filling in each roll.
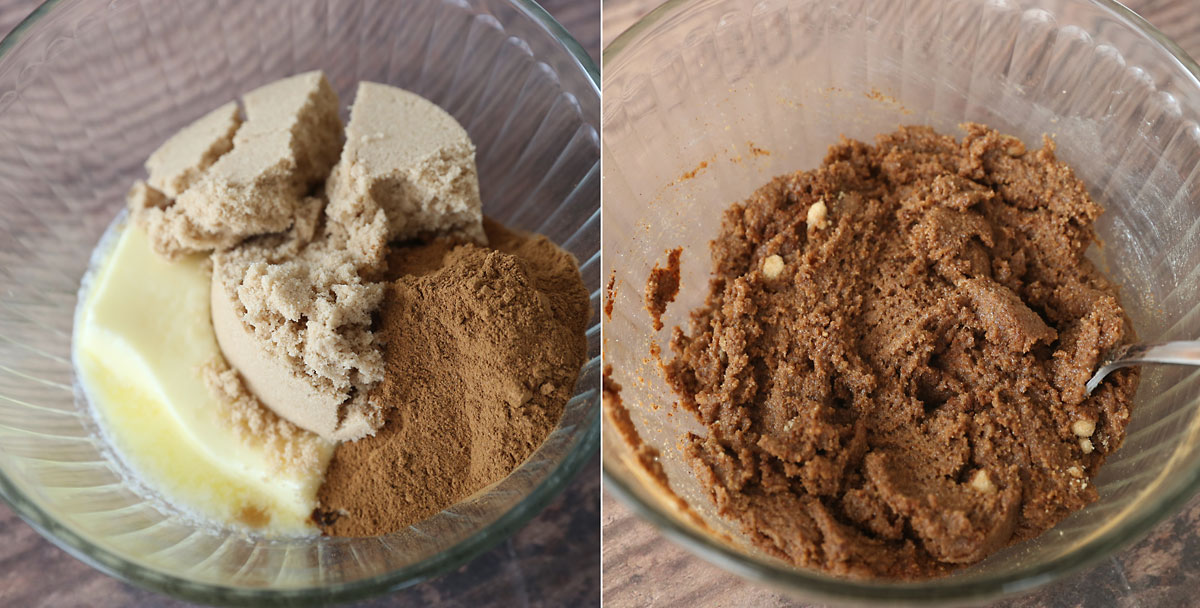
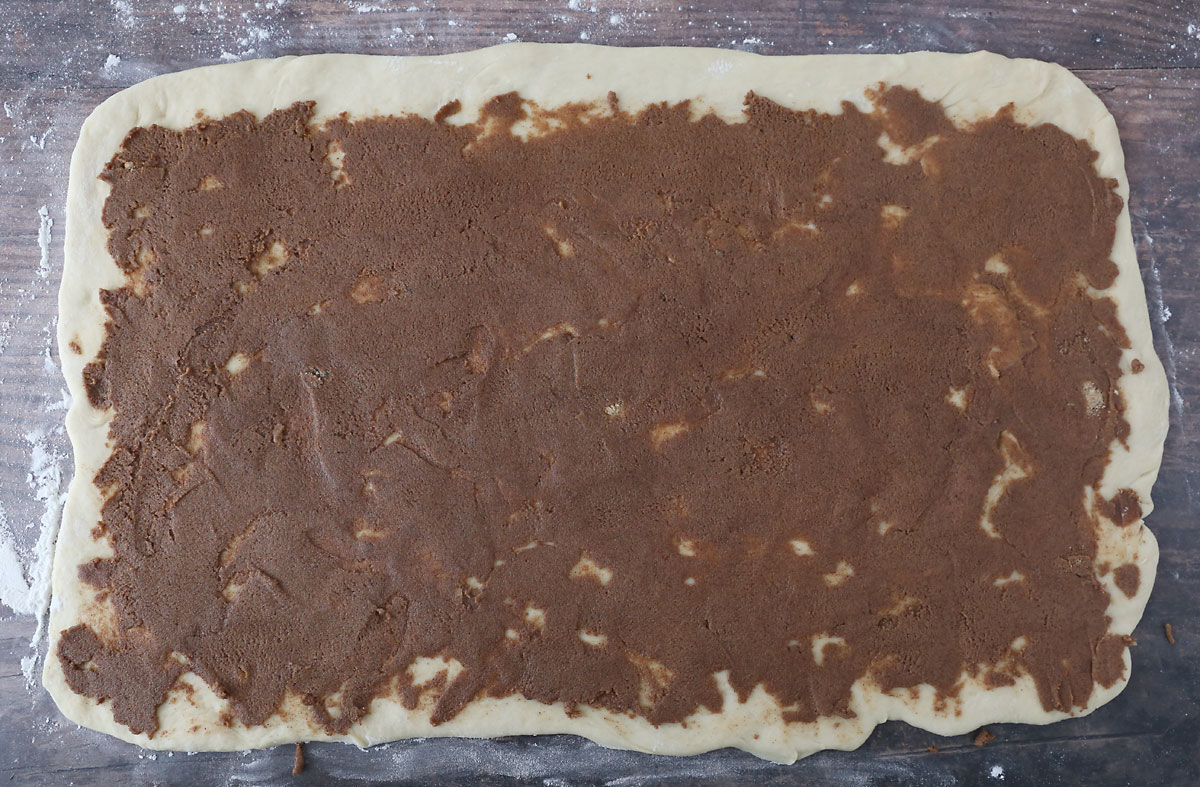
So I make the filling differently: I soften the butter until it’s nearly melted, then mix the cinnamon and sugar into the butter to create a paste. Then I spread the mixture across the the dough, leaving about an inch along the top uncovered.
NOTE: this method does take a few minutes longer than the melt-and-sprinkle method (which you can use if you prefer). When you first start to spread the mixture over your dough it will clump up and be a bit hard to spread. I find it’s easiest to use an offset spatula in my right hand and the fingers of my left hand to gently spread the mixture. After three or four minutes you’ll find it’s adhering to the dough and it gets easier to spread out evenly. Just work gently so you don’t smash the dough. And don’t worry if you don’t get every single spot covered – it’ll work just fine.
Roll and Slice Cinnamon Roll Dough
Once the butter/cinnamon/sugar mix is spread across your dough, it’s time to roll it up into a log, starting from the bottom (which should be one of the long ends). Start by rolling the bottom inch or two up, working from one side to the other. Continue to roll a little at a time, working back and forth from side to side (you can see this in the video above). You want the roll to be somewhat tight so that the roll stays circular, so you can gently pull the dough toward you as you roll it up.
When you get all the way to the top, pinch the top edge gently to seal.
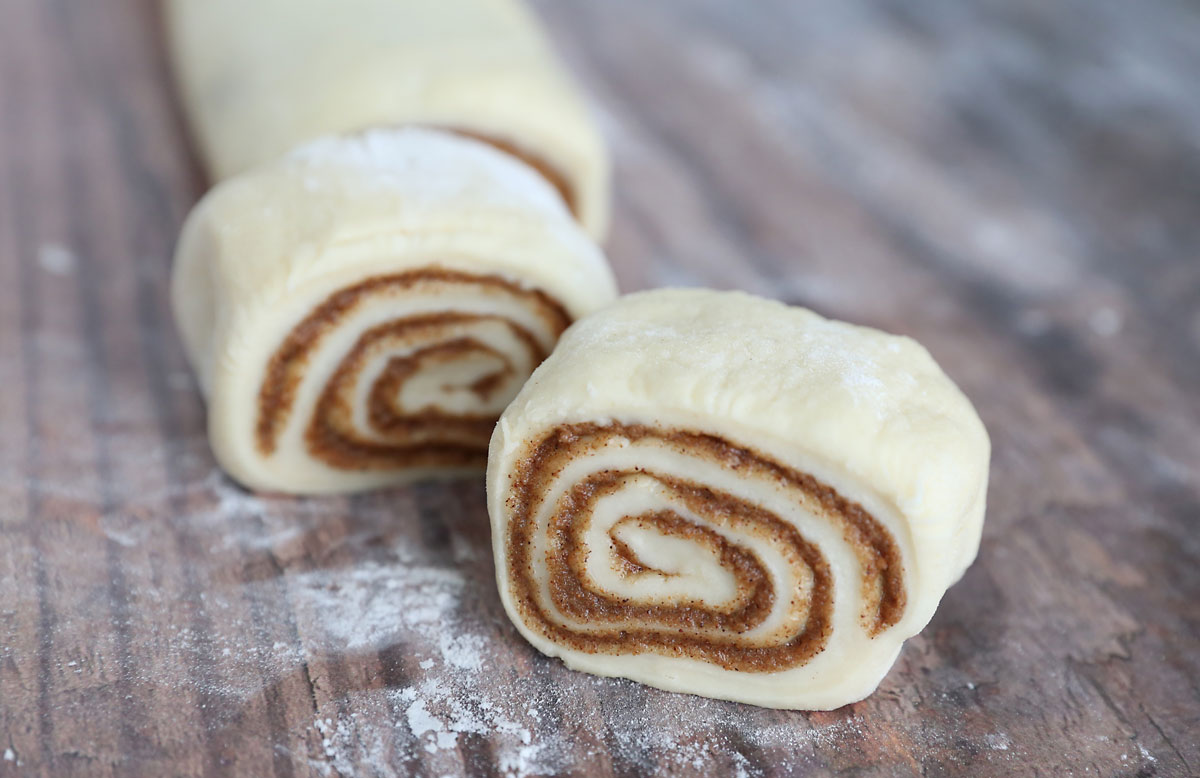
Now you’ll have a log that’s about 20 inches long. I like to cut off the very end of each side of the log so that all my rolls are flat on the top and bottom, but that’s personal preference.
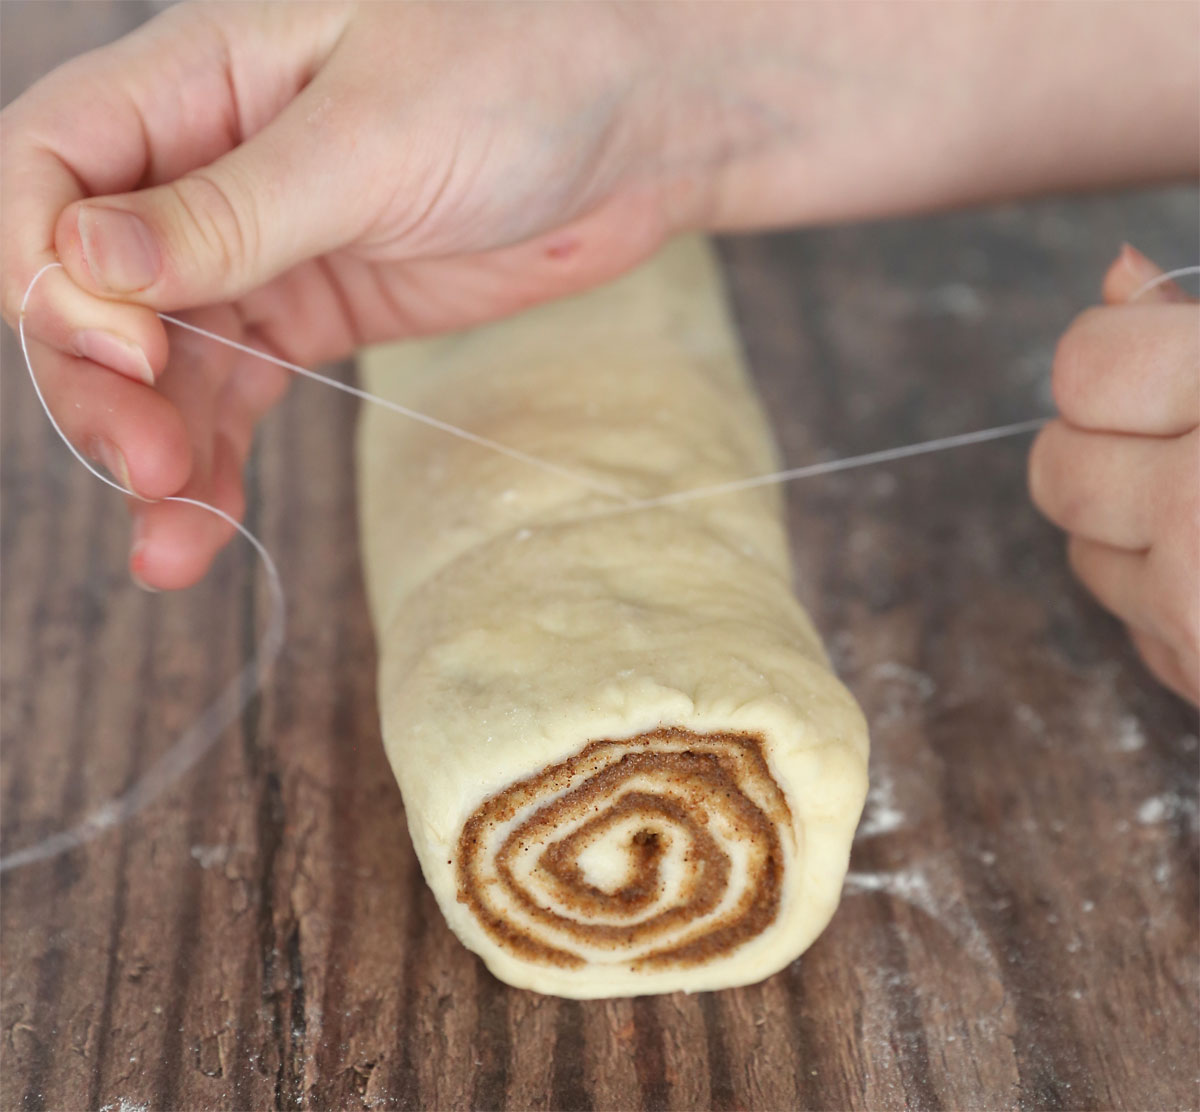
Use a knife to mark where you will slice for 12 equal rolls. Then you can either slice the rolls apart with a very sharp knife OR you can use a piece of thread or unflavored dental floss to cut the rolls. I prefer this method because it doesn’t squish the rolls. Pick up one end of the log and slide a piece of thread under it. Then criss cross the thread over the top of the log and pull on each end of the thread the slice through the log. You can see how I do this on the video above.
Second Rise
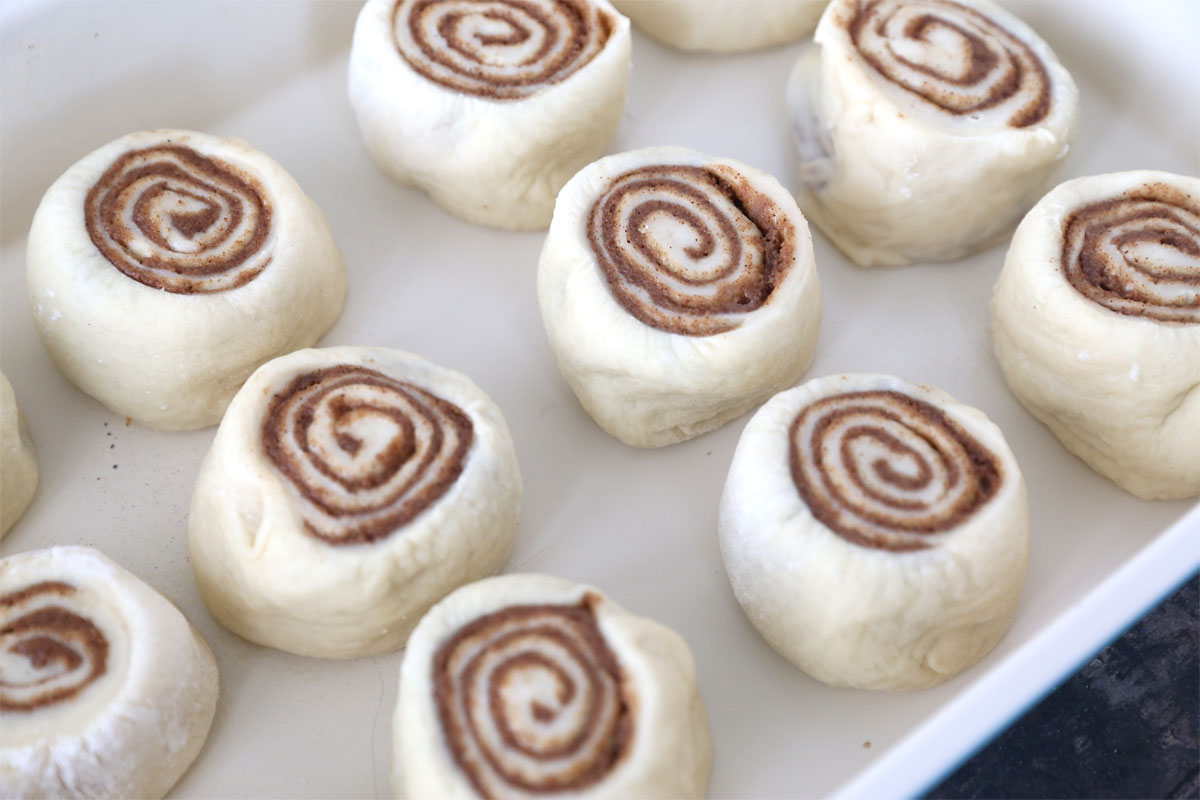
As you slice 12 even rolls, place them in a greased 9×13 inch baking dish to rise one more time before baking.
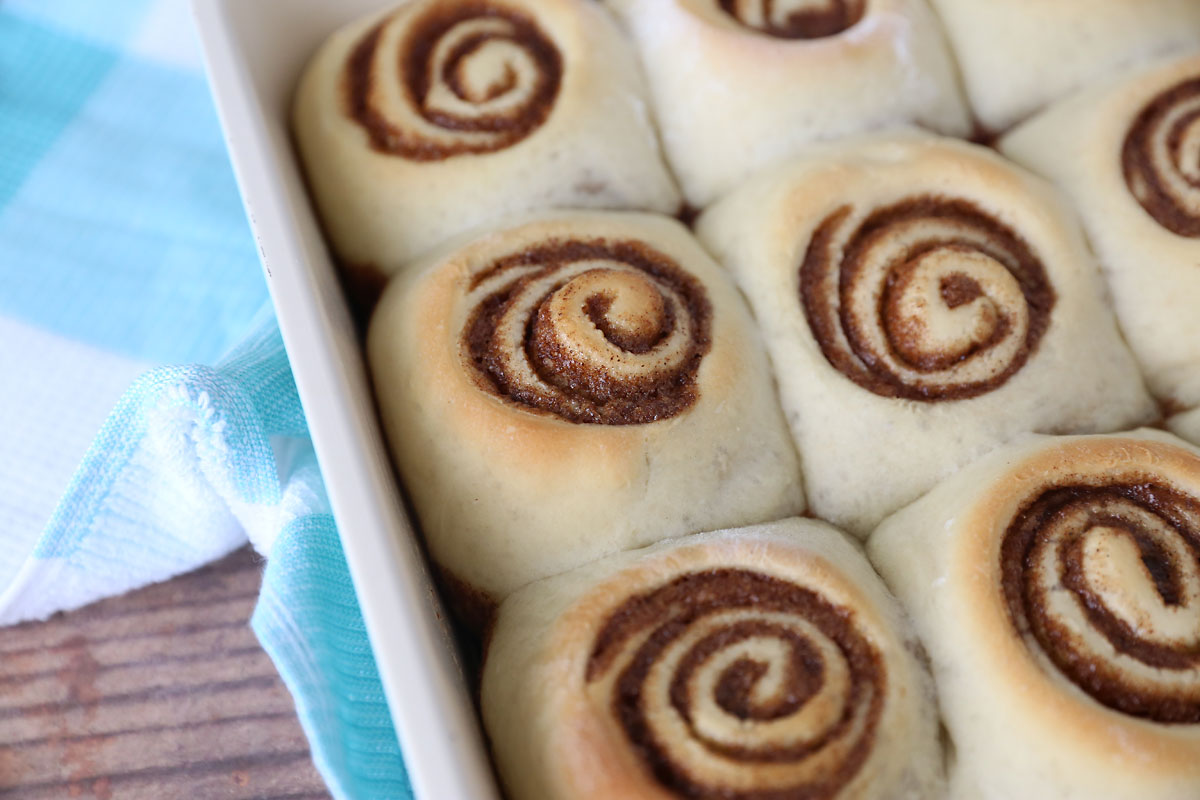
Here’s what they look like before the second rise (plenty of space in between each roll):
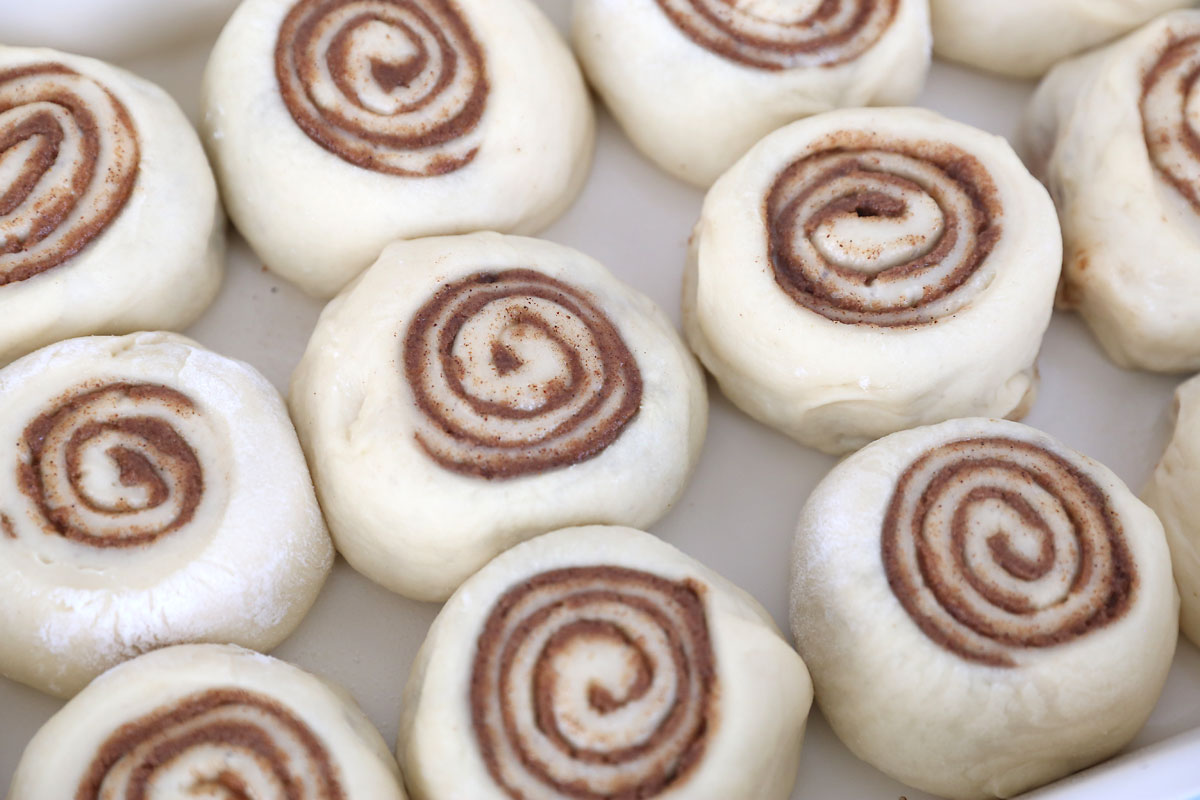
And here’s what they look like after the second rise (nice and puffy, rolls are beginning to touch each other). Your second rise will take 45 minutes to an hour, depending on how warm it is in your house.
Bake
Bake your rolls in a 350 degree oven for approximately 20 minutes until they are lightly brown on top and sound hollow if you tap on them. Baking times vary quite a bit, so you may need to bake yours a little longer or a minute shorter. If you’re unsure whether they are done, you can use a fork to gently pull the two middle rolls apart to see if the dough looks cooked and flaky.
Here they are fresh out of the oven:
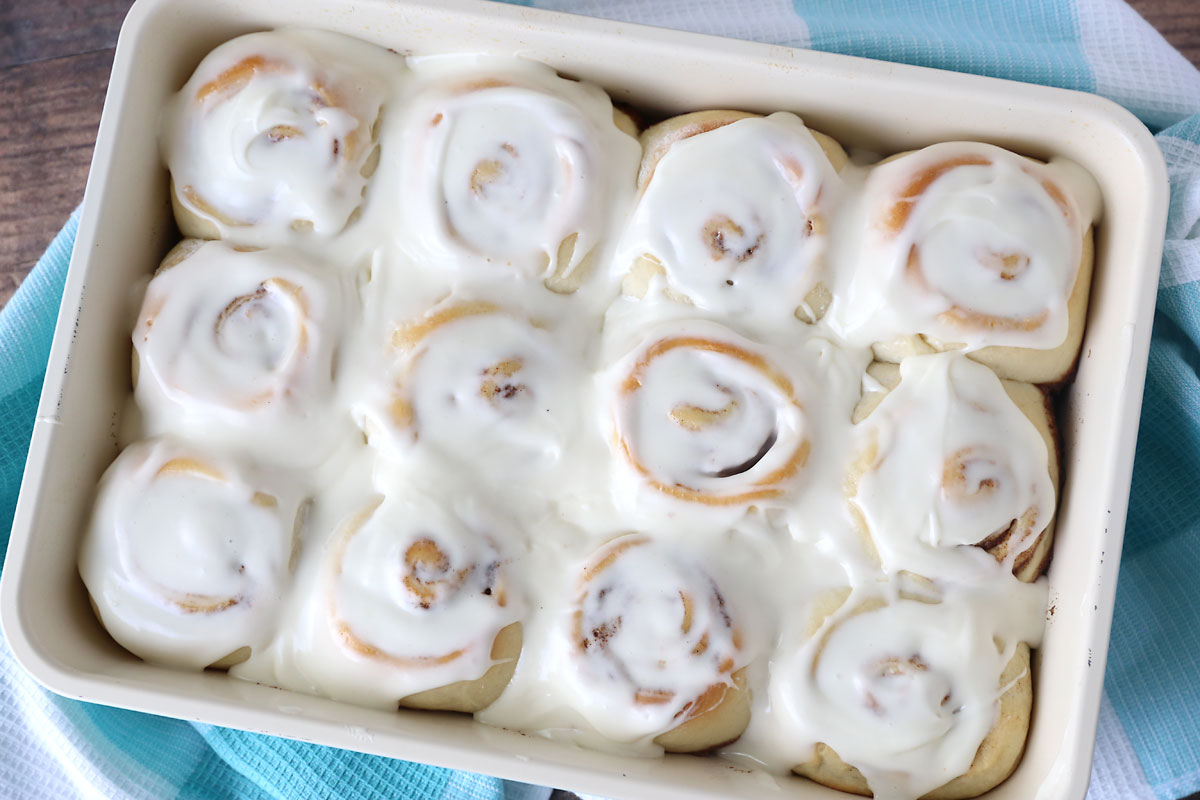
Frost
While the cinnamon rolls bake, mix up the cream cheese frosting. The frosting recipe makes a generous amount of frosting – yum!
If you want the frosting to melt into the rolls, wait about 10 minutes after removing the rolls from the oven to frost them, and serve immediately.
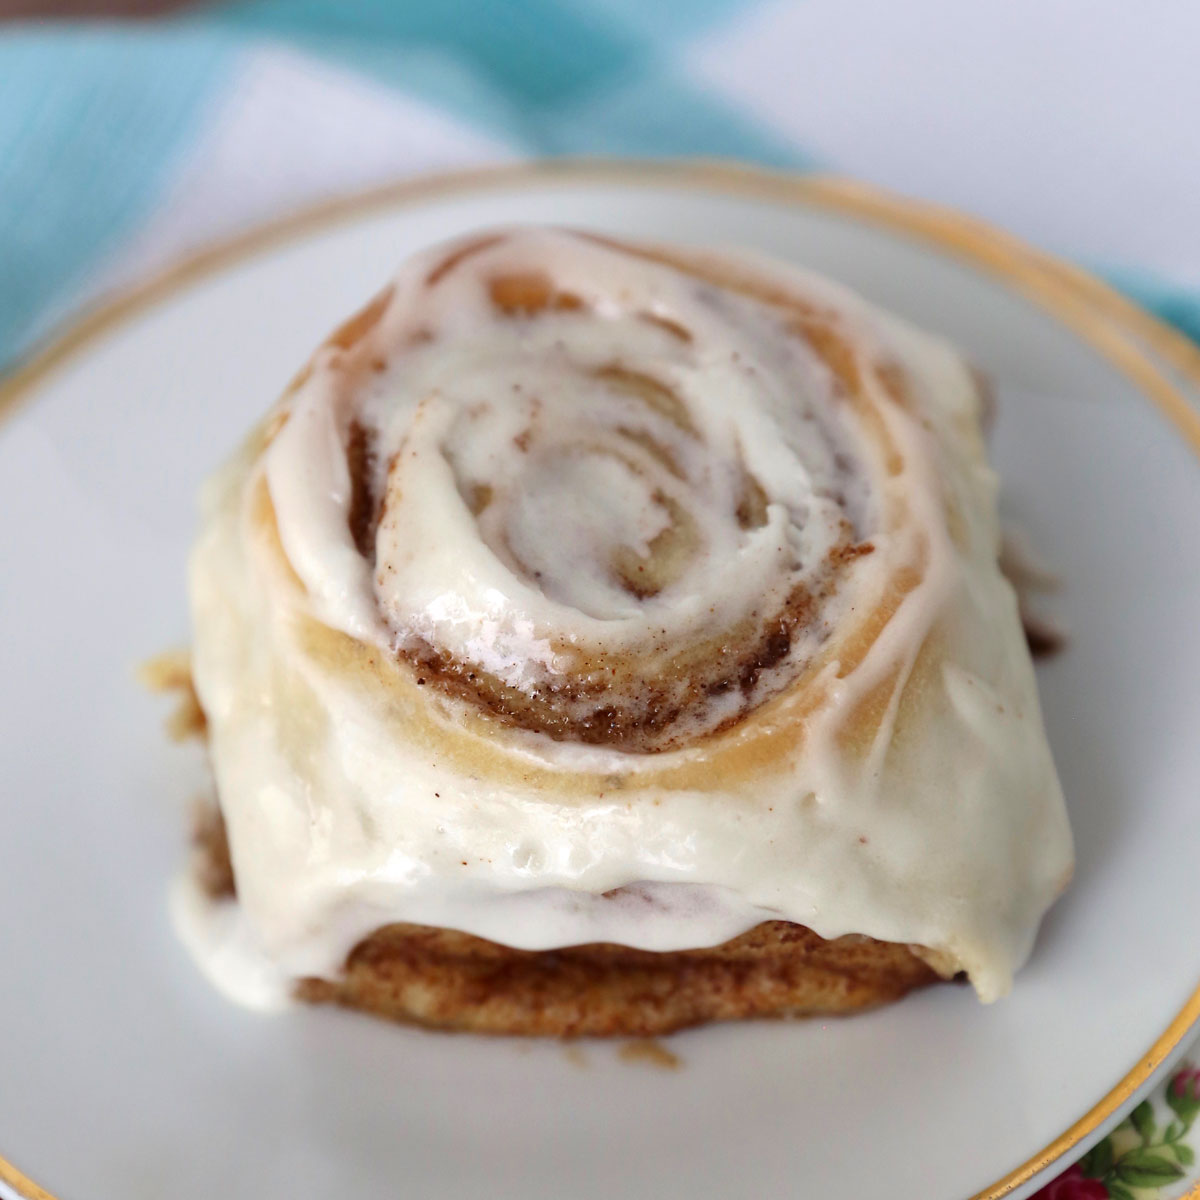
If you prefer fluffy frosting that stays on top of your rolls, allow the rolls to cool completely before frosting and serving.
Cinnamon Rolls
Ingredients
Roll Dough
- 1 tablespoon active dry Yeast
- 1 cup warm water
- 2 tbsp butter softened
- 1/4 cup sugar
- 1 egg
- 3 and 1/4 cups all purpose flour
- 1 teaspoon salt
Filling
- 1/2 cup butter softened, almost melted
- 1 cup brown sugar
- 3 tbsp cinnamon
Frosting
- 1/4 cup butter softened
- 2 oz cream cheese softened
- 1 teaspoon vanilla extract
- 2 cups powdered sugar
- 2-4 tbsp milk
Want more project ideas? Sign up to get my favorite easy crafts and recipes straight to your inbox!
Instructions
- Place all dough ingredients (except 1/4 cup flour) into the bowl of a stand mixer. Mix on low until combined.
- Turn mixer up and knead dough for 5-10 minutes, adding in the remaining 1/4 cup of flour (if you live in a humid climate you may need up to an additional 1/4 cup of flour). Knead until smooth and elastic.
- Turn dough out onto floured surface and form into a ball. Cover loosely with towel and allow to rise 60-90 minutes, until dough has doubled in size. (If you live in a dry climate, spray the dough with nonstick spray and cover loosely with plastic wrap before covering with a towel.)
- Punch dough down. Flour your work surface, then roll dough into a 14×20 inch rectangle.
- Stir together the filling ingredients to create a paste. Gently spread the paste over the dough, using an offset spatula or your fingers. Spread until filling covers the dough except for an inch along the top.
- Starting from the bottom (which should be a long edge), roll the dough up into a log, rolling somewhat tightly. Cut off and discard ends if desired. Mark 12 even slices.
- Using a very sharp knife or a piece of thread, slice log into 12 pieces. Place in lightly greased 9×13 pan.
- Allow dough to rise about 45 minutes until rolls are puffed and touching each other. In the meantime, preheat oven to 350 degrees.
- Bake rolls approx 20-22 minutes until tops are golden brown and rolls sound hollow when tapped.
- Beat together frosting ingredients, making sure that butter and cream cheese are softened. Start with 2 tbsp milk and add more as needed to get frosting to desired consistency. I prefer it fluffy and not pourable so when I spread it on top of warm rolls it doesn't completely melt to the bottom of the pan.
- Allow rolls to cool about 10 minutes, then frost and serve. Store tightly covered at room temperature.
Tacy Bolen says
Can you refrigerate the cinnamon rolls for an overnight type dough? I’m trying determine if I can make the cinnamon rolls the day before Christmas to be made on Christmas morning. I don’t want to be up at 3am making cinnamon rolls if I don’t have to be! Haha
Rea says
Would it be okay to cover lightly with Tim foil during the last few minutes of baking – so as to ensure they don’t get too brown on top?
Autumn says
Sure!
Tomasa Prado says
Can I substitute rapid rise yeast for active ? Or what’s the difference
Autumn says
Yes, you can substitute rapid rise yeast. The difference is that active dry yeast is supposed to need to be “proofed” in the warm water before mixing together – but it turns out it actually doesn’t. So either of those yeasts will work in this recipe!
Debi says
Hi, can I make the dough today and cook it tomorrow morning? It just seems like so much work to do in the morning. If yes to what point do I stop the first rise or the second ?
Autumn says
Yes you can. Let it rise the first time and shape the rolls and put them in a baking pan, then lightly spray with nonstick spray and cover with plastic wrap. Keep in the fridge overnight. In the morning sit them out on the counter to let them come to room temp and rise a little more (if they aren’t already puffed up – depending on the temp in your fridge they will likely rise some overnight) before baking.