
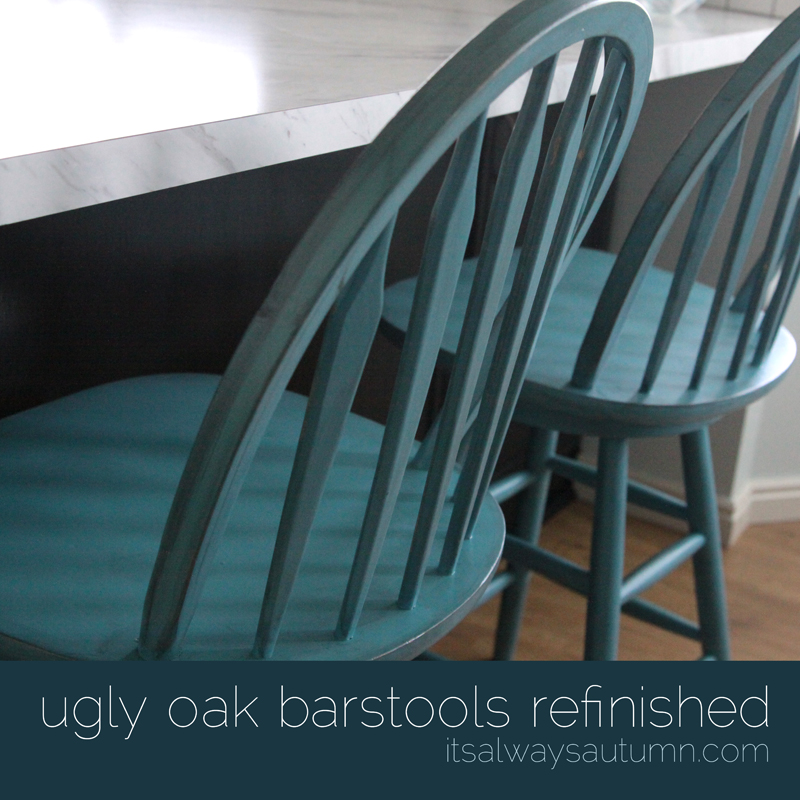
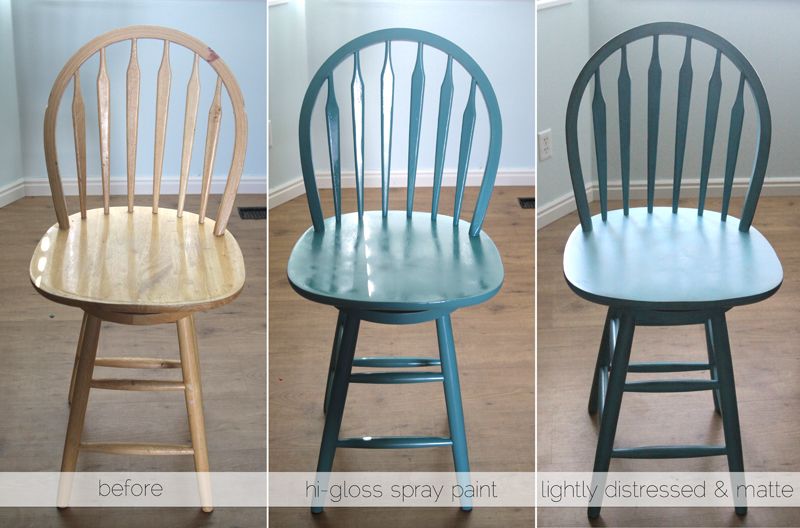
In our new prettified kitchen, our barstools looked pretty sad. (Ok, they looked a little sad before the kitchen got prettied up, but at least they kind of matched.) I’ve never refinished furniture before, but I wasn’t in the mood to shell out money for new stools, plus a bunch of you convinced me I ought to paint them a punchy aqua or turquoise to add some pizzazz to the black and white kitchen. Here’s the barstool evolution:
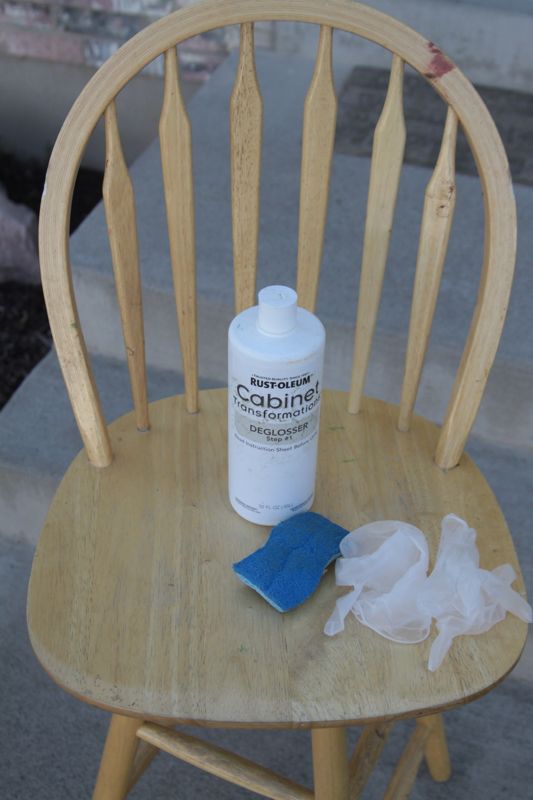
As I mentioned, I’ve never refinished any furniture, so I kind of muddled my way through, but it worked! The barstools started a blond wood color, with a heavy dash of messy-eaters-mess all over them. Yup, I’m embarrassed about that. Oh well. I knew they needed to be cleaned up and I’d have to get rid of the shiny finish before I could paint them, so I scrubbed them down with a chemical deglosser. My deglosser came with my cabinet transformations kit, but I’m pretty sure you can buy deglosser at Home Depot. Wearing gloves and using a sponge with a scrubby side, and I used a generous amount of deglosser to scrub the entire stool to remove the shiny finish.
Next I used Valspar spray paint in Tropical Oasis and painted both stools (standard spray paint rules apply: ventilated area, sweeping motion and light coats of paint with about 5 minutes in between, don’t actually touch or sit on for at least a few hours). My paint was glossy, which I didn’t love, but it was the only spray paint I could find in the right color, so I used it anyway. Turns out it doesn’t really matter – you can just use a matte finish sealant and that will take care of the gloss.
After painting, I did just a bit of sanding on the edges of the stool.
I didn’t want these to look “shabby chic” or heavily distressed – just not plastic perfect, you know? So after a little sanding I added some black antiquing. I didn’t want to spend $8 on a big container of antiquing stain at Lowe’s, so I hit up Hobby Lobby and got acrylic paint and antiquing medium ($3 total) instead. Also, the antiquing stain I found was fairly brown, and I wanted mine to be black so it would look better against my black cabinets.
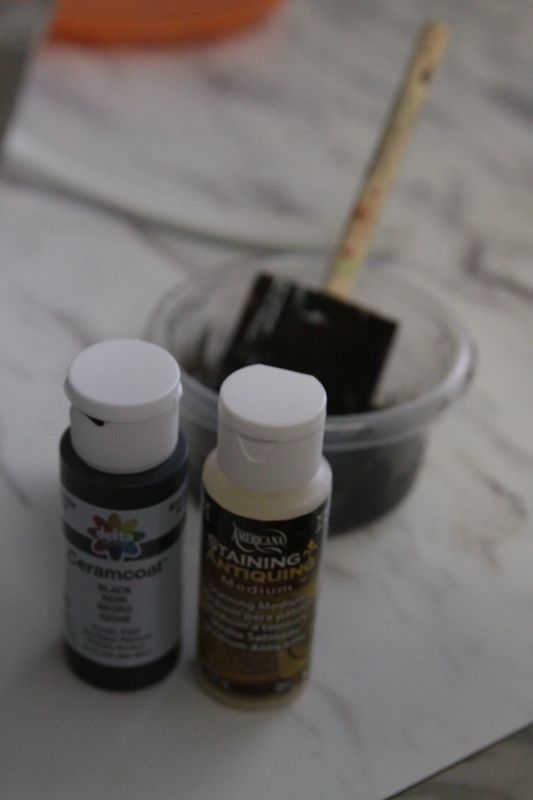
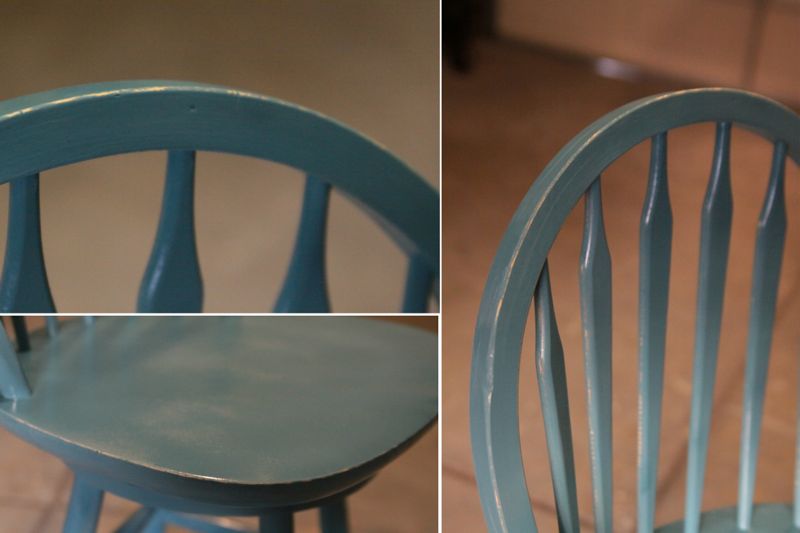
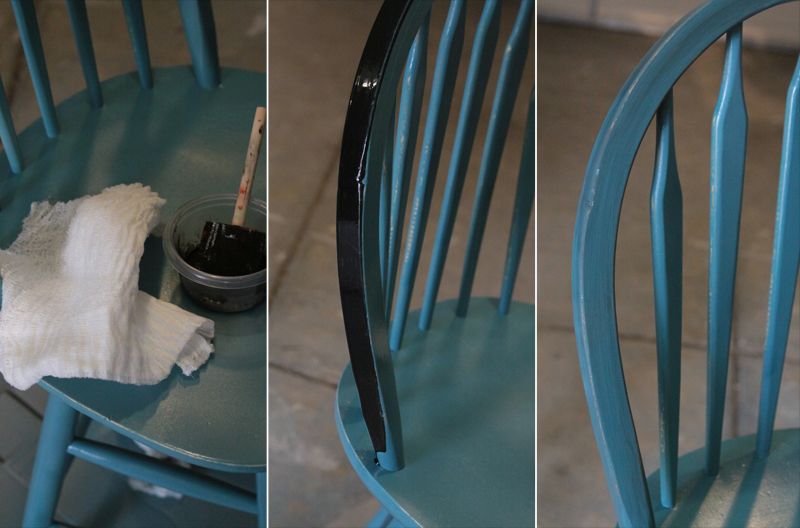
I mixed equal parts black paint and antiquing medium and got to work (I ended up adding a little bit of water to the mix as well because it was going on too strong at the beginning). I stroked the paint on with a foam brush, and then rubbed it back off with cheesecloth. I was going for a fairly subtle effect. If you look closely at the photo on the far right below, you can see that most of the black paint is removed, but just a little stays.
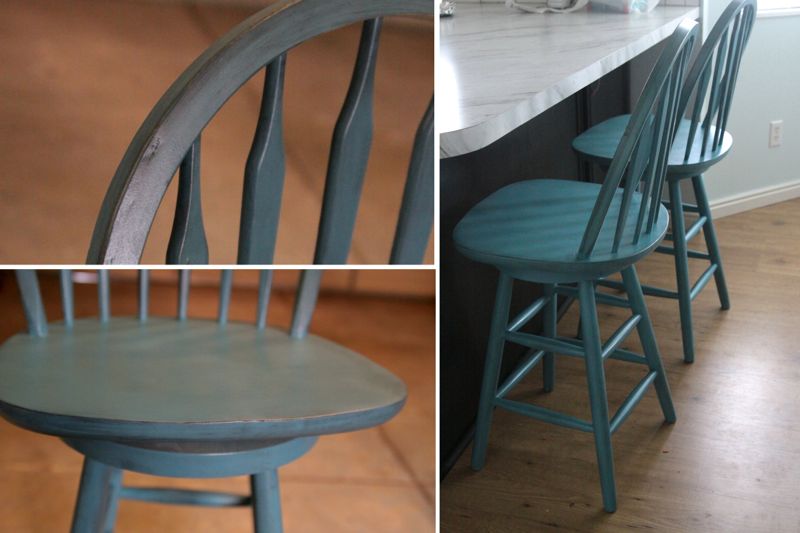
These shots show the antiquing a little better.
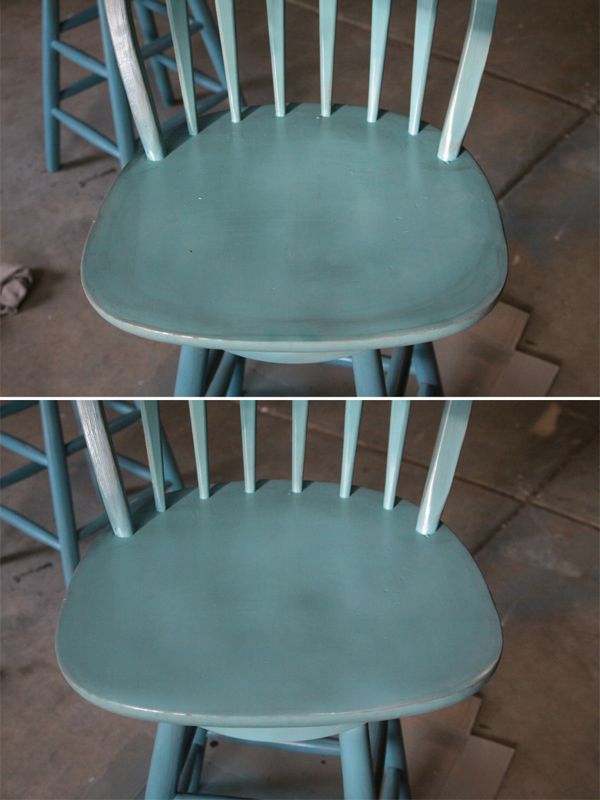
On a few areas the antiquing was too dark, or didn’t blend very well (like you can see on the top photo below). I just shot those areas with a little more spray paint to even out the effect (bottom photo below).
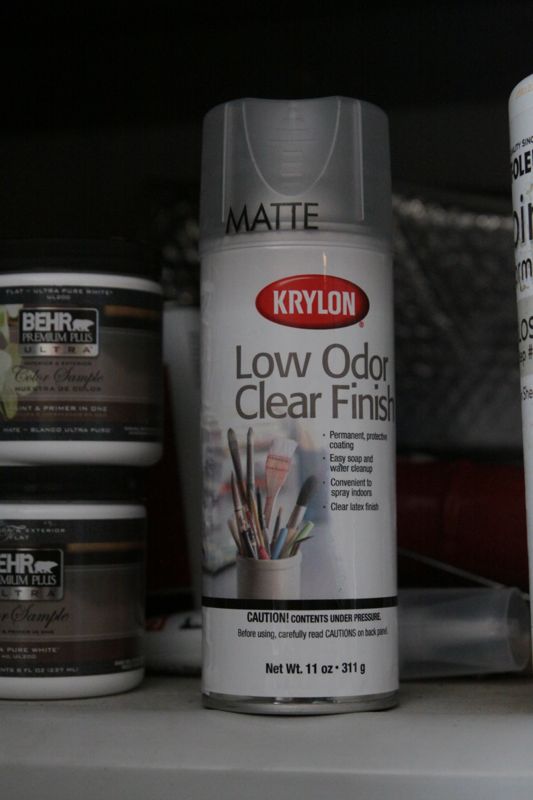
Finally, I knew I needed to seal the stools with some sort of poly-spray. I happened to have this matte version out in the garage, and it worked great! I like the stools much better with a matte finish than a glossy one.
One more piece of the kitchen completed!


Claire bunn says
These are absolutely gorgeous. Thank you so much for the instructions. You did an amazing job. We just did a partial renovation our kitchen and it is a little warmer then I would like it to be. I’m going to infuse blues into the color palette and refinishing the hand me down stools my mom gave us to this color is exactly what I was looking to spruce up the room. I think that the antiquing is the icing on that cake.
Printabelle says
Gorgeous color!
handyman, crafty woman says
These turned out SO nice! Thank you for posting at Handyman, Crafty Woman’s Wicked Awesome Wednesday!
Sarah says
These turned out great! I love the color. Isn’t it amazing what a bit of paint can do to update some boring chairs? I just recently painted a thrift store find chair for a completely different look too!