We recently drove 14 hours each way to spend a few weeks visiting family. My kids insist on bringing their pillows along on every long car trip we take. They NEED them, they say, to get comfy while they’re reading books or watching movies on the ride. I can understand, but we really don’t have room in the very full mini van for four pillows. The pillows invariably end up squished on the floor of the van (which is always covered in crumbs by the time we’ve been on the road an hour or two) and then stepped on for the rest of the drive. I decided we needed a better solution.
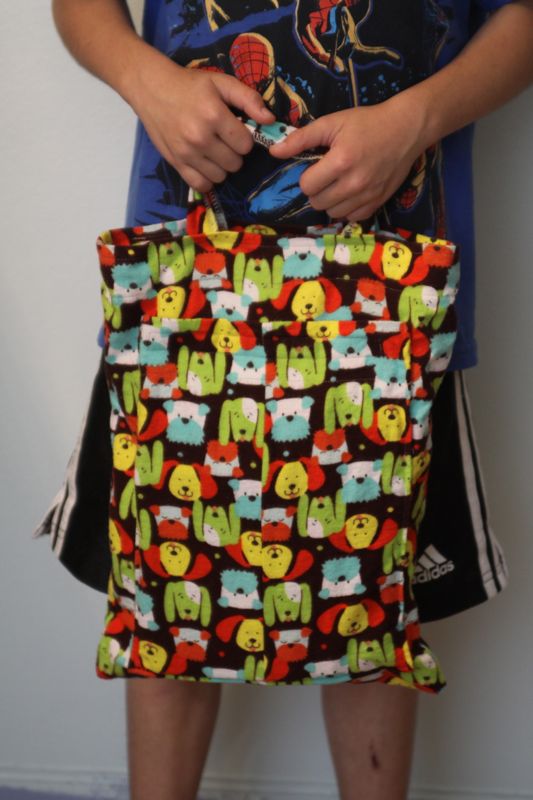
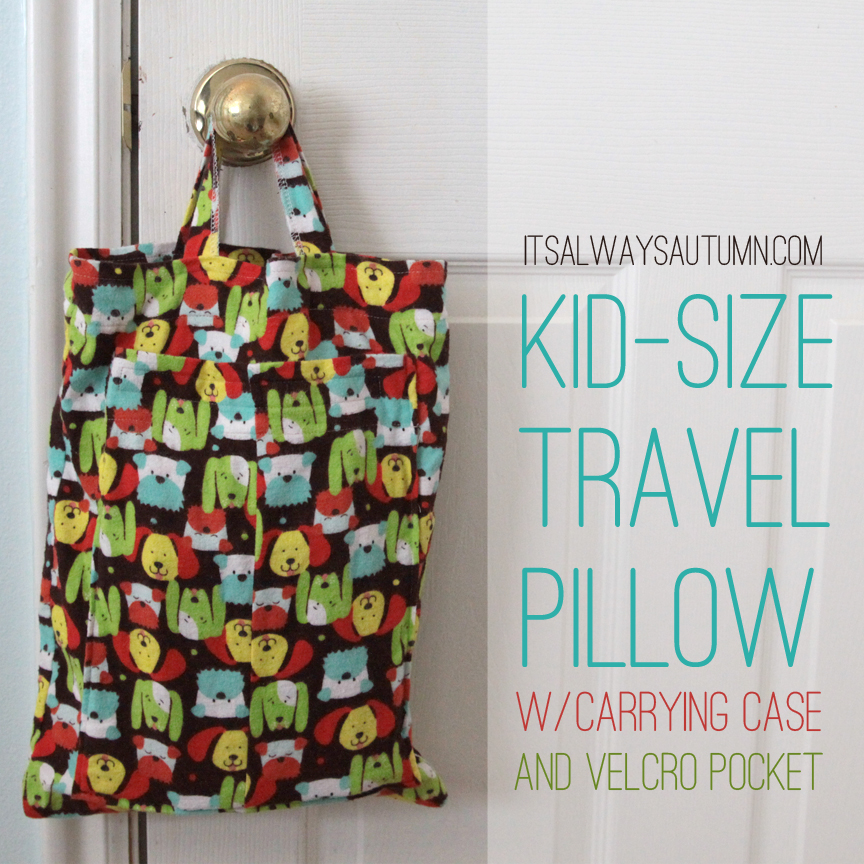
And so, I whipped up a travel pillow for each child. I cut an old pillow into four pieces and sewed up the open sides to make four mini pillows. Then I made cases using fun printed flannel (1/2 yard for each). I added a handy velcro pocket on the front so each child could keep a few books handy.
I added handles for easy transport to and from the car.
For just a few dollars and about 30 minutes each, my kids had handy travel pillows just large enough to keep them comfy, but small enough to be convenient on the long ride.
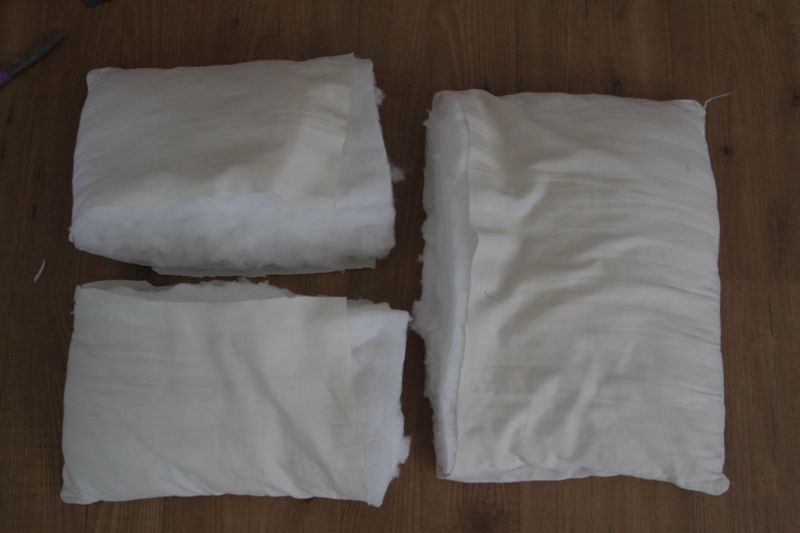
Here’s how: I started by cutting an old pillow into quarters. It turned out to be easier to cut through the pillow’s fabric first, then to tear the filling apart rather than try to cut through it.
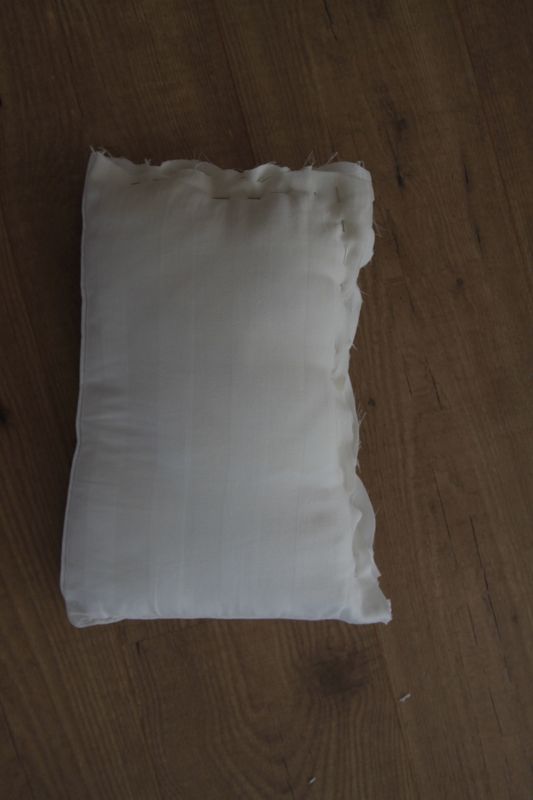
I removed enough filling so that I could close up the two open sides on each travel pillow. I pinned well, then serged the sides closed. If you don’t have a serger, you could just sew a straight stitch – but I’d recommend using a small stitch length to make sure it’s secure.
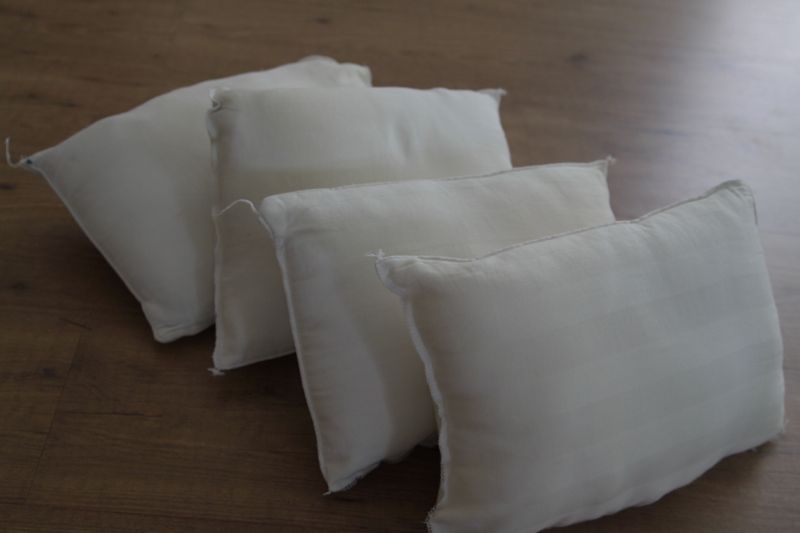
Four mini pillows, all ready to go. If you only need one or two travel pillows, keep one half of the pillow intact and sew up the side – then stuff it into a slip cover for a throw pillow.
For each case, you’ll need 1/2 yard of fabric and about seven inches inches of sew on velcro. I used flannel fabrics because they come in such a fun variety of prints, but a plain old cotton would work just as well. Wash your fabric first, because it will likely shrink. Then cut out the pieces as shown below:
Don’t worry if your fabric has shrunk a little more than mine did and your two main pieces can’t be quite 18 inches tall – 17 would certainly work fine.
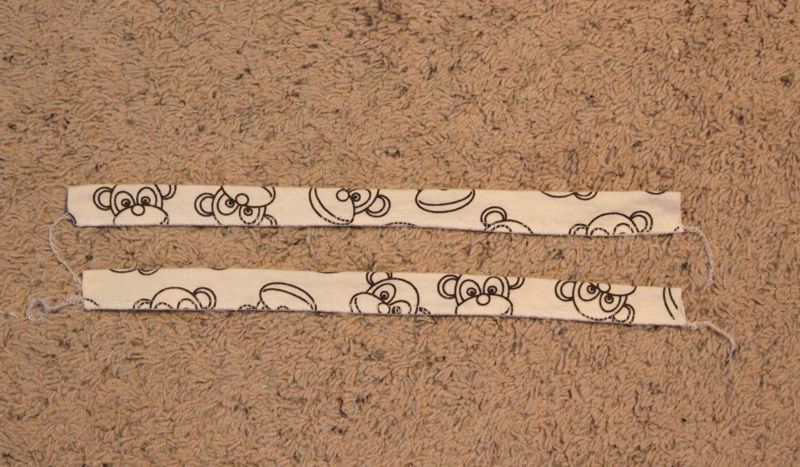
I started by pressing my handle pieces in half longways, wrong sides together, and serging down one side to finish the raw edges. If you don’t have a serger, fold the handle pieces in half right sides together and sew with a narrow seam allowance, then turn right side out and press.
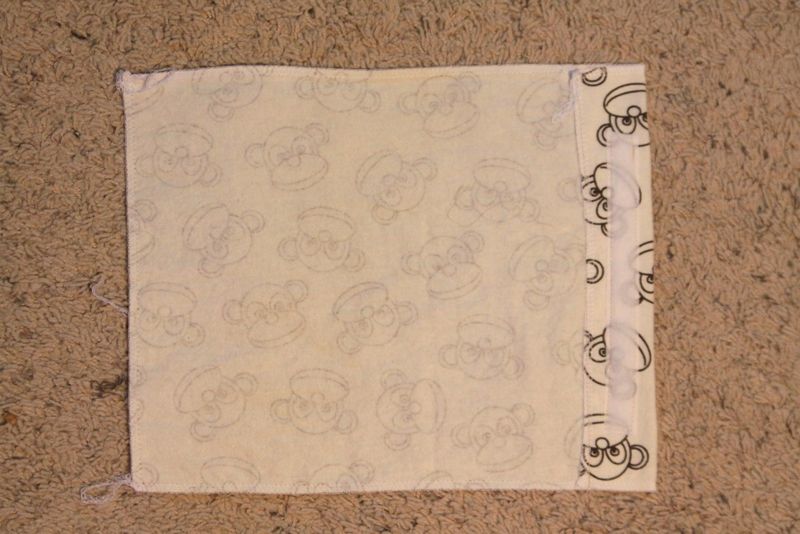
Next I serged all the way around the pocket piece to finish the edges. If you don’t have a serger and your fabric frays (most cottons will), pink or zig zag around all raw edges.
Fold the top of the pocket piece down about two inches, press, and sew straight across to make a clean top hem for the pocket. Center one half of your velcro on that top hem, pin, and sew on (I sewed a rectangle all the way around the velcro, very close to the edge).
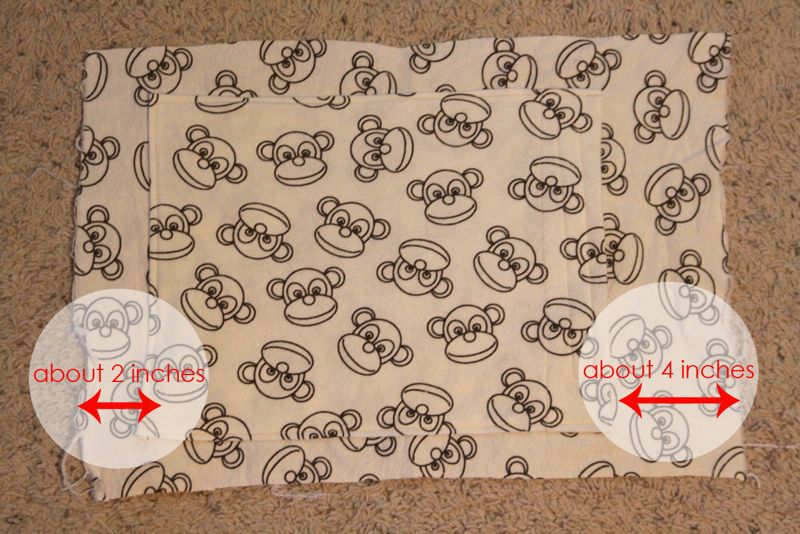
Place pocket on front piece as shown below and mark where the other half of the velcro should go on the front piece. Sew to attach velcro to front piece.
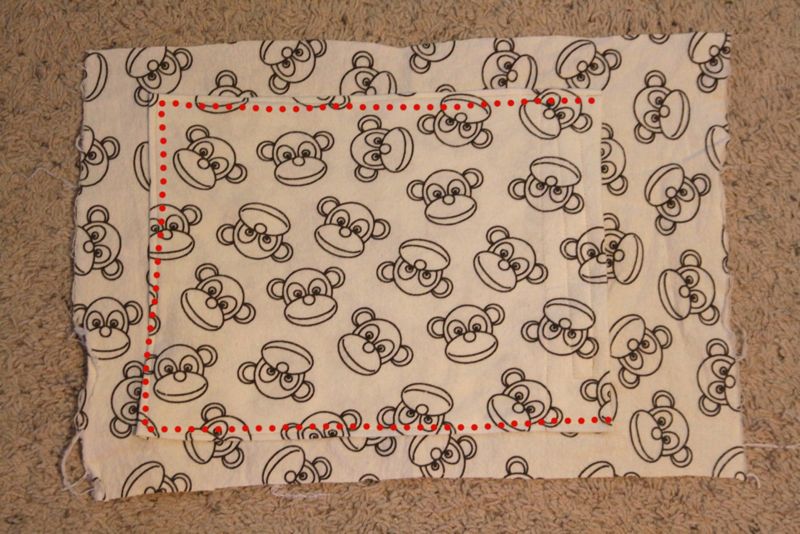
Now you can press the three raw edges of the pocket under about 1/4-1/2 inch. Place the pocket on the front piece, matching up velcro, and pin in place. Sew along dotted lines shown below to secure pocket to front piece.
Lay the front piece on the back piece, right sides together, and sew along sides and bottom, leaving the top open, to make a pillow case.
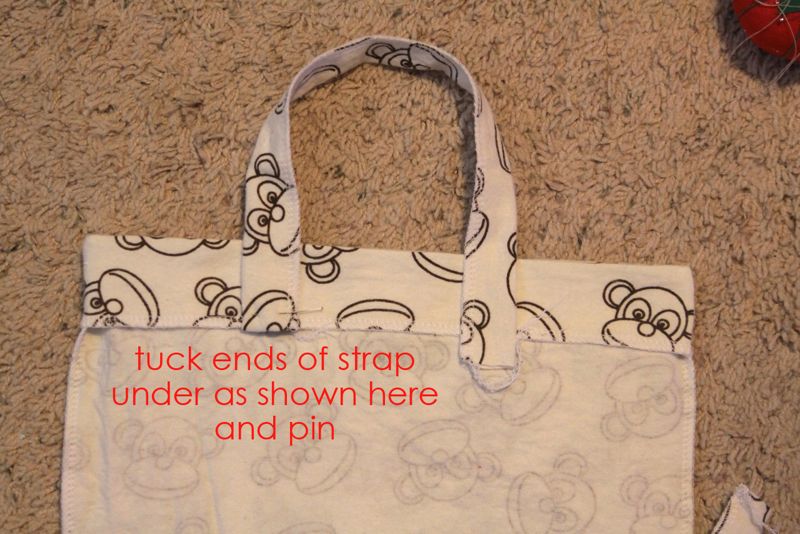
Fold the top of the pillow case down about an inch and a half and pin. Make sure the part you’ve folded down doesn’t overlap the top of the pocket. Pin handles on the case as shown, tucking raw edges of handles inside the part that’s been folded down.
Sew all the way around the top, about 1/4 inch from raw edge of the folded down portion. Sew all the way around the top again, this time about 1/4 inch from the very top to secure handles.
And you’re done! If you have a whole passel of kids, go ahead and make three more.
linked up at:





Steve Warner says
Khepric is the leading mens health supplement provider that makes the male health better.