
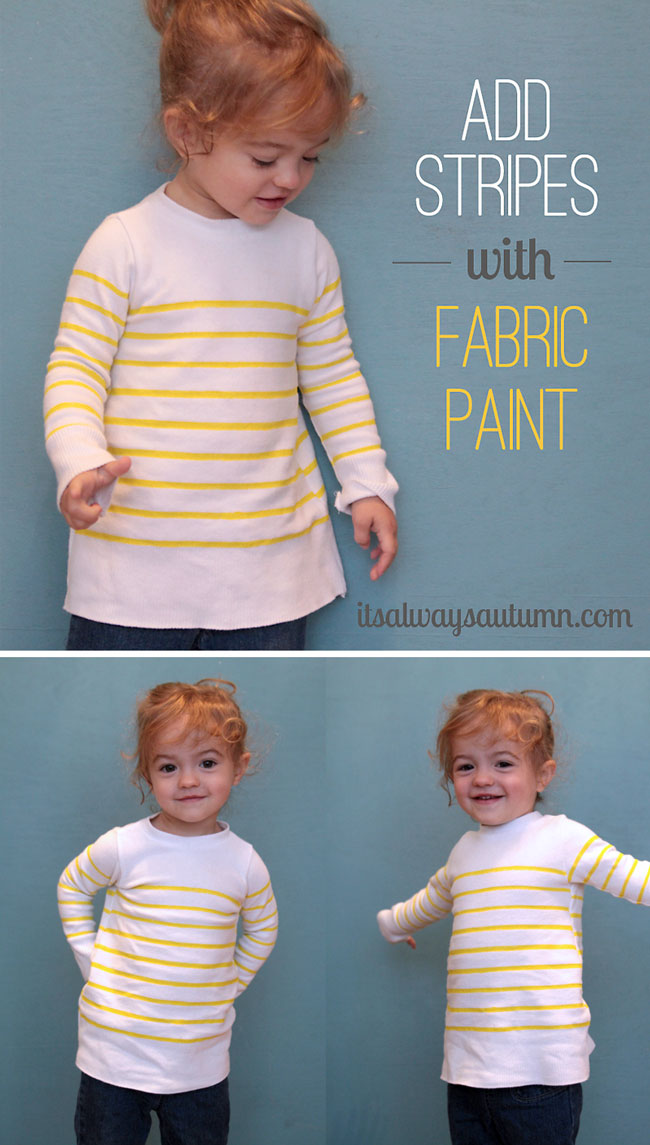
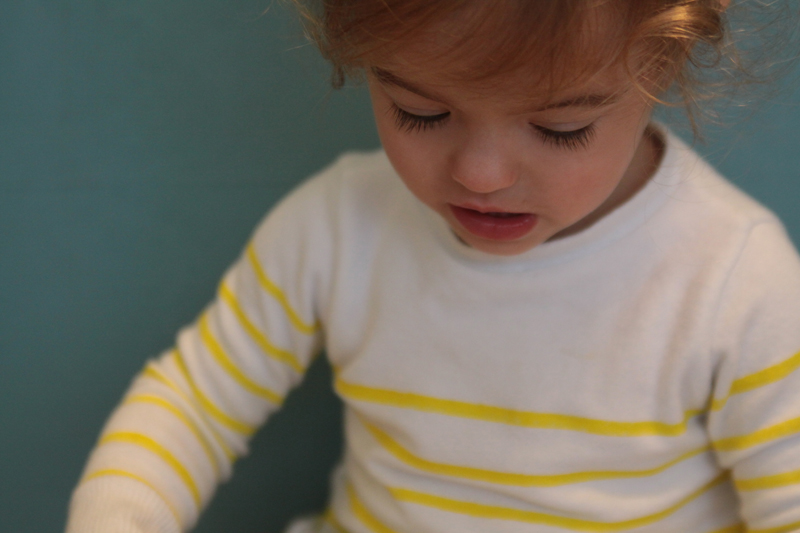
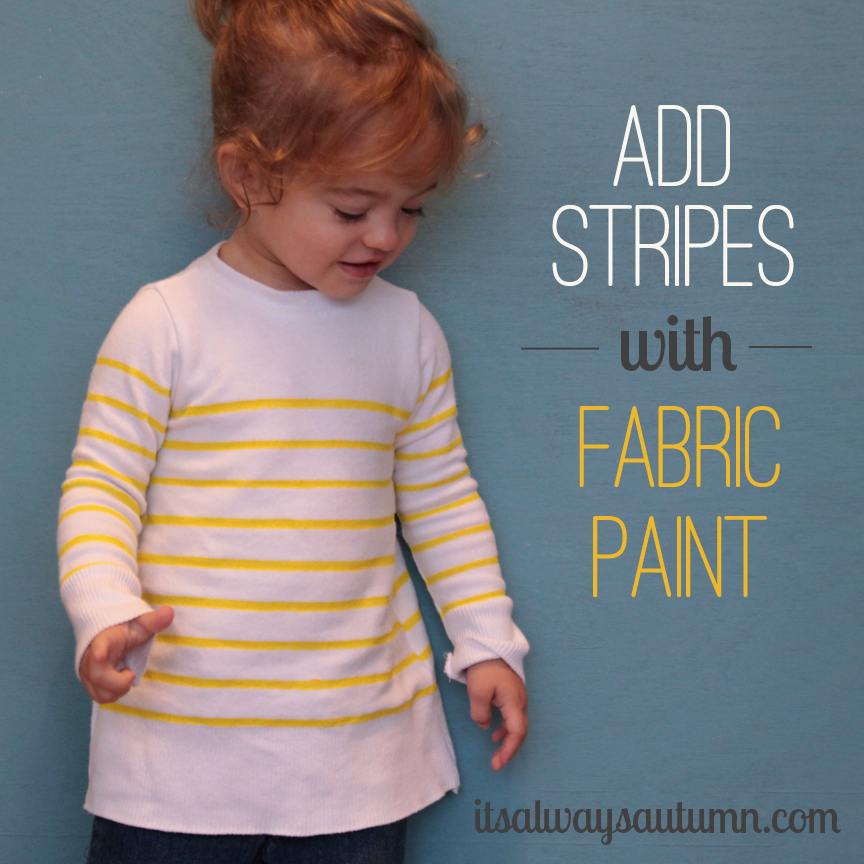
Stripes have been popular for years now, with good reason – they’re simple enough not to be fussy, but they add a little polish to an otherwise plain piece of clothing. Stripes are SO EASY to add to any garment using masking tape and craft paint – here’s how I dressed up a plain white sweater for my daughter.
Since I was also sewing together the sweater, I was able to add the stripes to each pattern piece separately, which simplified the process. However, you could still do the exact same thing to an existing garment – just make sure you place a piece of cardboard in between the front and back layers before painting. Then paint the front, let dry, and paint the back (same process for the sleeves).
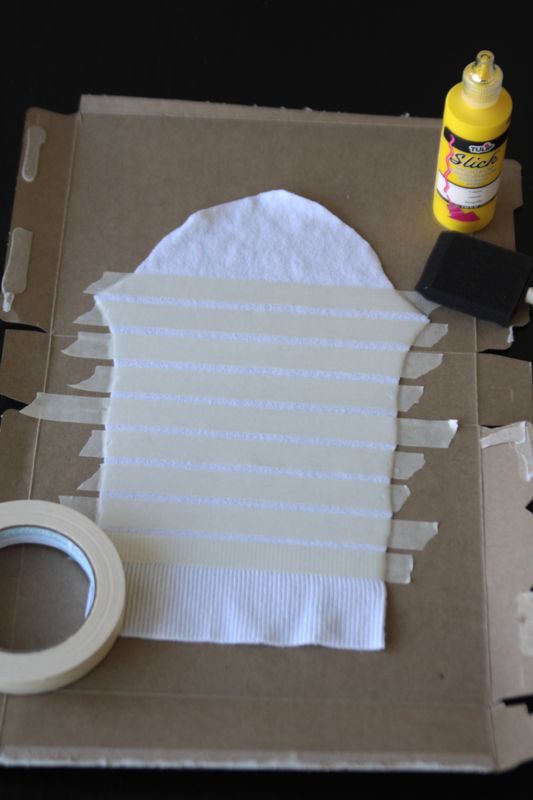
I used masking tape to create my stripes – I just placed rows of masking tape across each pattern piece about 1/4 inch apart. You could create any size stripes you like, but less fabric paint is generally better (keeps the garment from feeling too crunchy) so narrow stripes might be your best best. (ETA: to get rid of the crunchiness, just add textile medium![]() – affiliate link – to your paint. After one wash all the stiffness is gone.) Also, be aware that the painted part of the fabric won’t have as much stretch once it dries, so don’t use this technique on something that needs to be very stretchy.
– affiliate link – to your paint. After one wash all the stiffness is gone.) Also, be aware that the painted part of the fabric won’t have as much stretch once it dries, so don’t use this technique on something that needs to be very stretchy.
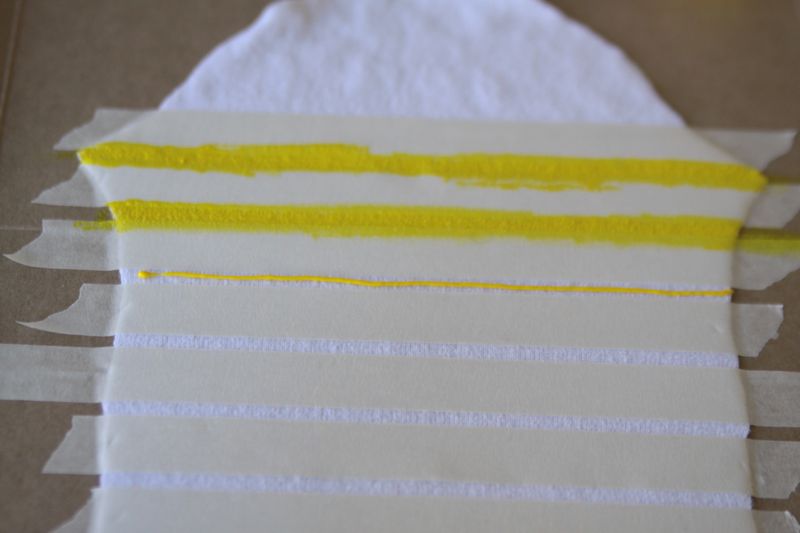
I just squeezed a small line of paint across each untaped area then pounced it in with a foam paintbrush.
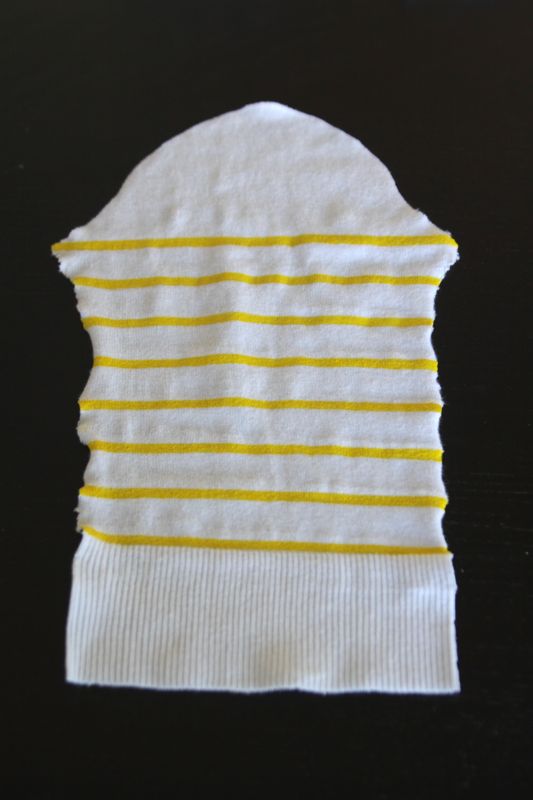
I let the paint dry just a little, then removed the tape. That stretched the fabric out a bit, which was fine, because it sprung back into shape with a quick ironing (on the non-painted side).
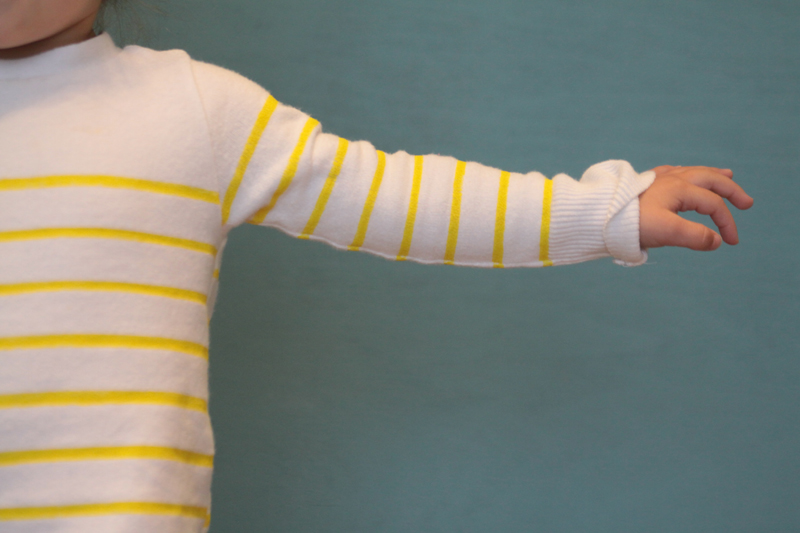
I sewed the sweater together with long, skinny sleeves…
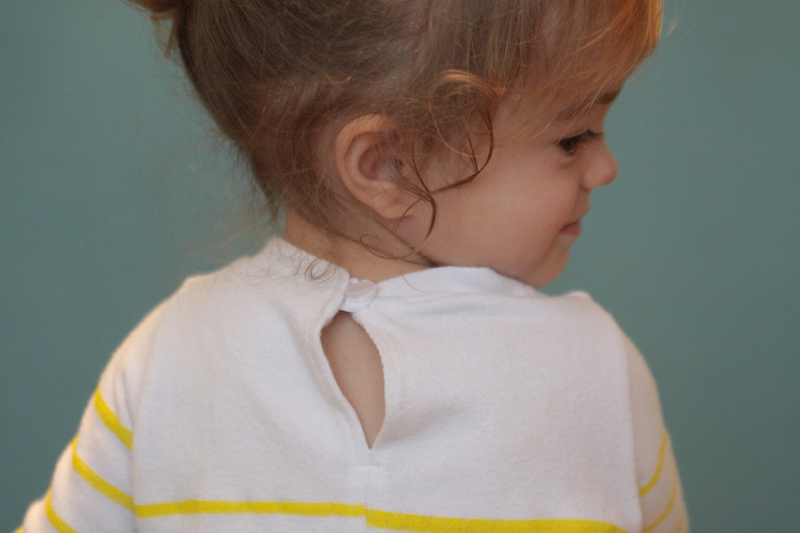
…and an elastic loop and button closure in the back (so the neckline wouldn’t have to stretch too much).
The button came straight off the original cardigan – the neckline “ribbing” did as well. It was actually the finished edge of the cardigan down the front where the buttons were originally.
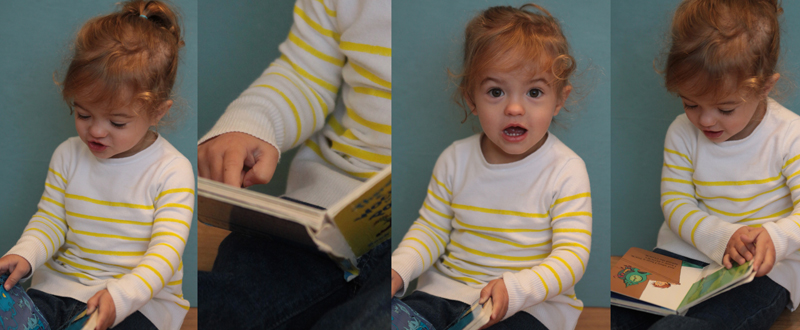
A simple refashion with a bright, modern twist. I love it! (For more on the construction details of a refashion, check out this post, or this one, or this one.)
Linking to some of these parties:
Monday: Skip to My Lou | Brassy Apple | Craft-o-Maniac
Tuesday: Tip Junkie | Ladybug Blessings | Sugar Bee Crafts | The Blackberry Vine | Hope Studios | Funky Polkadot Giraffe | Not JUST a Housewife | Homework Today’s Assignment: Be Inspired | Shwin and Shwin
Wednesday: Handy Man, Crafty Woman | Southern Lovely | Sew Much Ado | SNAP | Someday Crafts | The NY Melrose Family | Printabelle | Simply Kierste | Lil Luna
Thursday: Somewhat Simple | House of Hepworths | Momnivore’s Dilemma | The Shabby Creek Cottage | Yesterday on Tuesday | Fireflies and Jellybeans | The Taylor House
Friday: Chic on a Shoestring Decorating | The Shabby Nest | Stuff and Nonsense | Naptime Crafters | It’s a Hodgepodge Life | At The Picket Fence | 504 Main | Blissful Bucket List | Whipperberry
Weekend: Tatertots and Jello

Refashion tutorials says
I love ho wou harvested elements from the original sweater to make the new sweater, like using the original front placket to make the new neckline.