
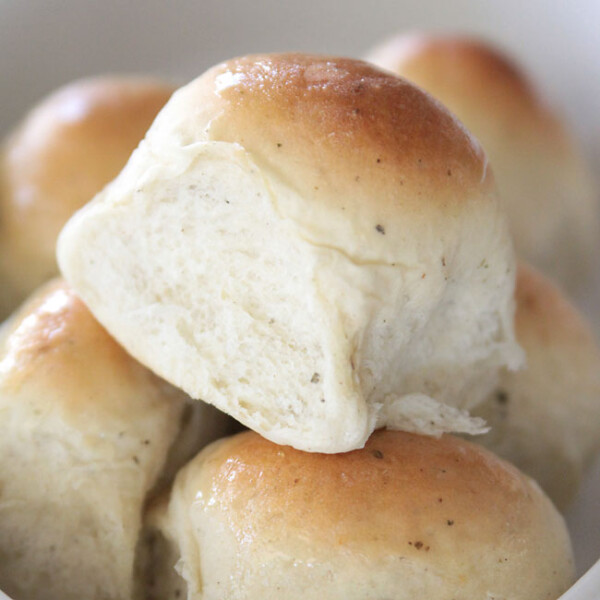
I know, I know, us blogger peeps claim every single recipe we post is simply. amazing. Like awesome-sauce and all that. To tell you the truth, there’s a chance that not every single recipe on this here blog is earth shatteringly amazing. Some of them are actually probably just…really good. But this one? Well, you know that scene in the first Harry Potter movie when Harry picks up his wand for the first time and the music swells and there’s a heavenly light above him and the breeze ruffles his hair? Well, that’s what you might feel like when you taste these garlic & herb dinner rolls for the first time.
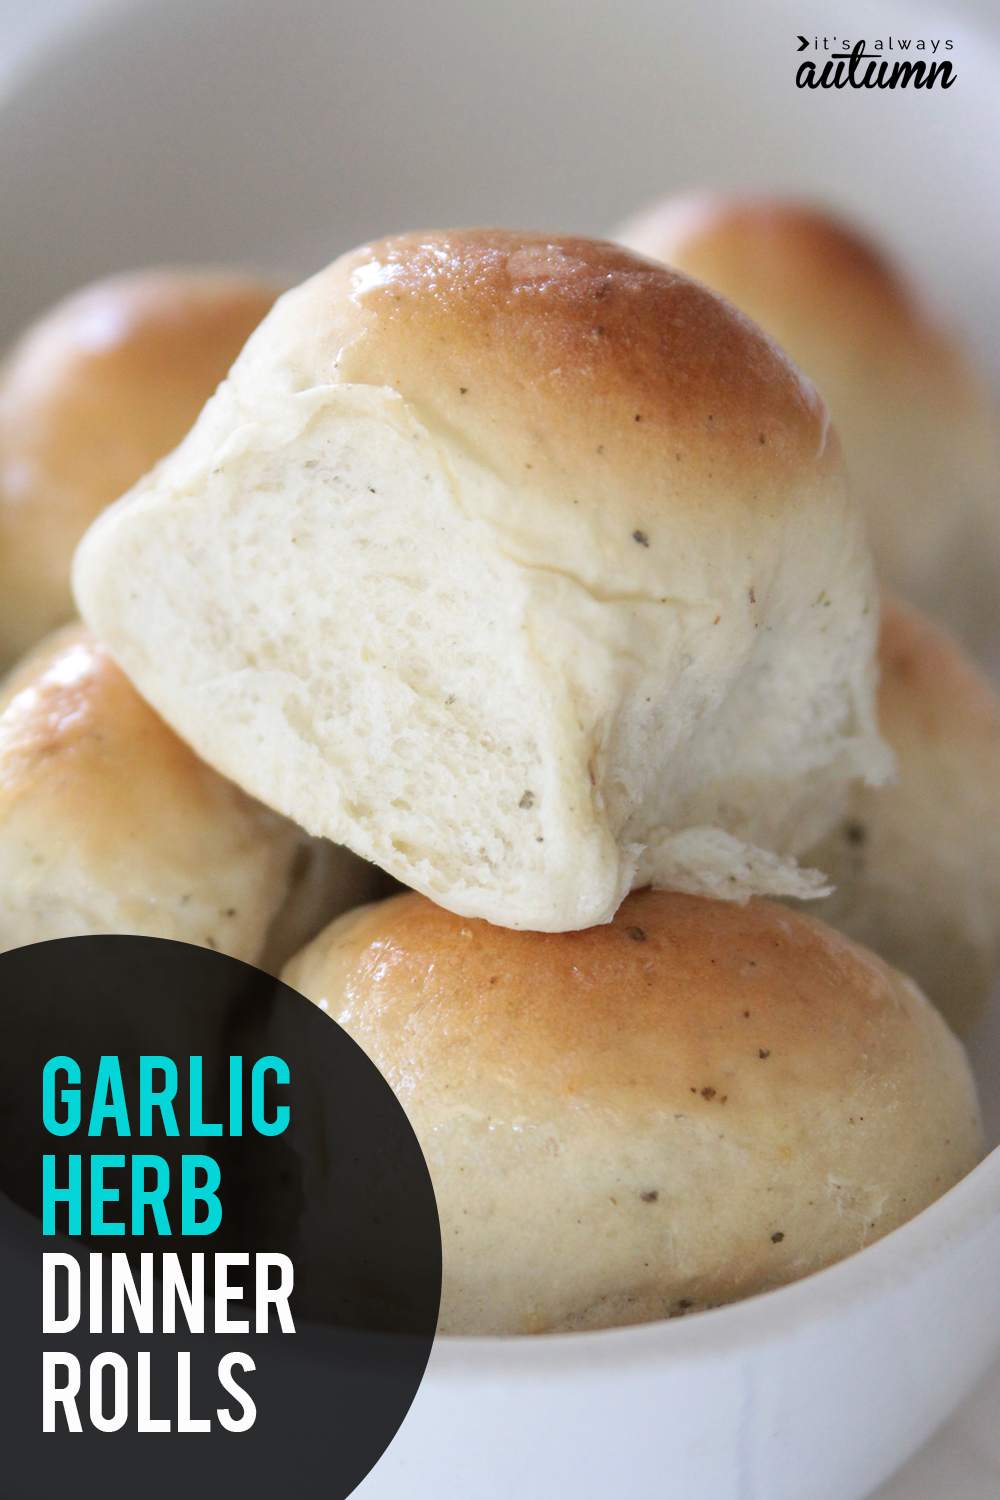
When you start with a pillowy soft homemade dinner roll and mix the flavors of garlic and herbs right into the dough, you know you’re going to end up with something pretty wonderful. As in, let’s skip dinner and just eat the bread wonderful.
And if you’re scared of homemade bread, don’t be! It’s really not that hard. Yes, it takes about 3 hours start to finish, but the vast majority of that is rising time when you don’t actually have to do anything. And it’s worth it!
You’ll find a printable recipe card at the end of the post, but I wanted to give you some step by step photos of the process. You’ll start by adding all the ingredients (except for the additional flour) to the bowl of your stand mixer at once:
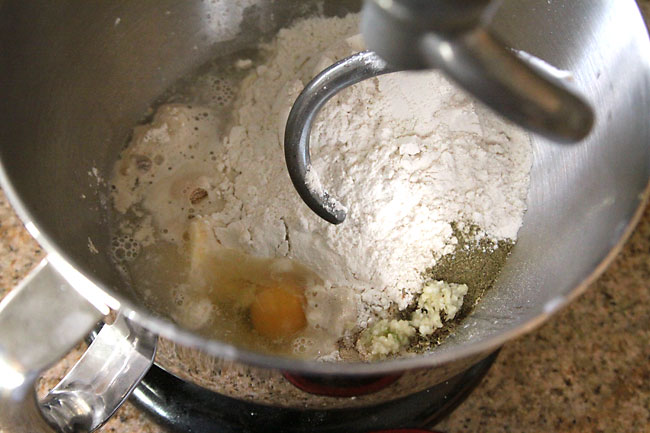
Using the bread/dough hook, turn it on to low and mix it to get everything combined. Then gradually add in up to 1/2 cup additional flour until the dough pulls away from the sides of the bowl (it’s ok of it stays attached to the bottom of the bowl). It will look like this:
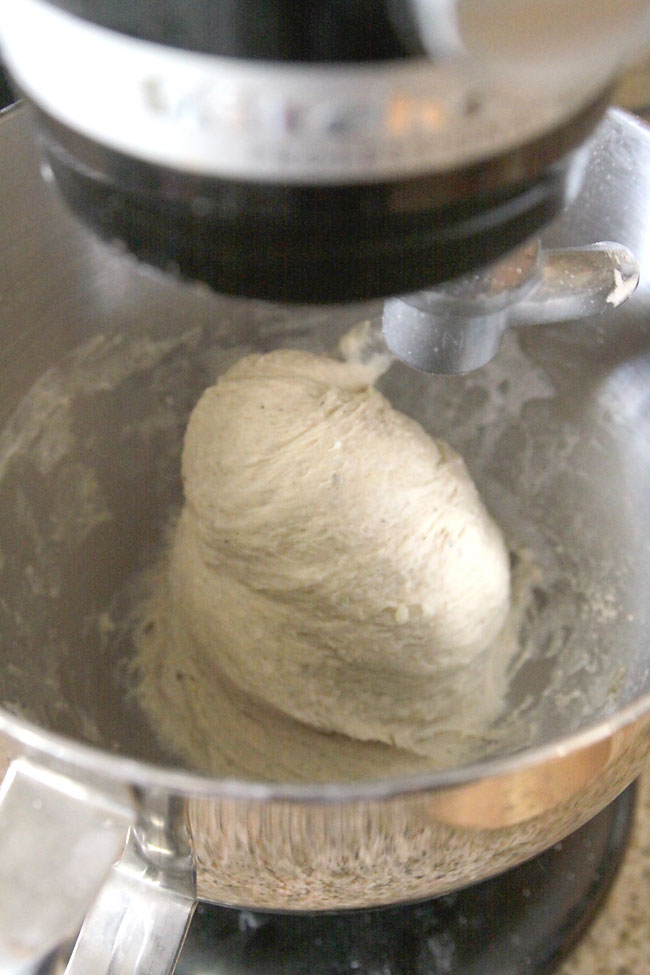
Knead for 4-5 more minutes in the mixer.
NOTE: if you’re not sure how old your yeast is, you’ll want to proof it before you do any of this to make sure it’s not dead. Put the warm water, yeast, and 1 tablespoon of the sugar in the mixer bowl and let it sit for 10-15 minutes to see if the yeast is going to puff. If it does, just add in the other ingredients and continue on. If it doesn’t, your yeast is dead and you need to buy some more before you can make bread.
NOTE: if you don’t have a stand mixer you can mix by hand! Stir half the flour and all the other ingredients together in a large bowl using a wooden spoon. Continue to stir in as much flour as you can until it gets too thick, then dump it all out onto a well-floured surface and knead together, adding the rest of the flour. Continue to knead until smooth, about 10 minutes.
When it’s done kneading you can poke the dough gently with your finger and it will spring back. Form it into a tight ball (it will be about 5-6 inches wide) and cover gently with a towel. Leave it to rise 60-90 minutes.
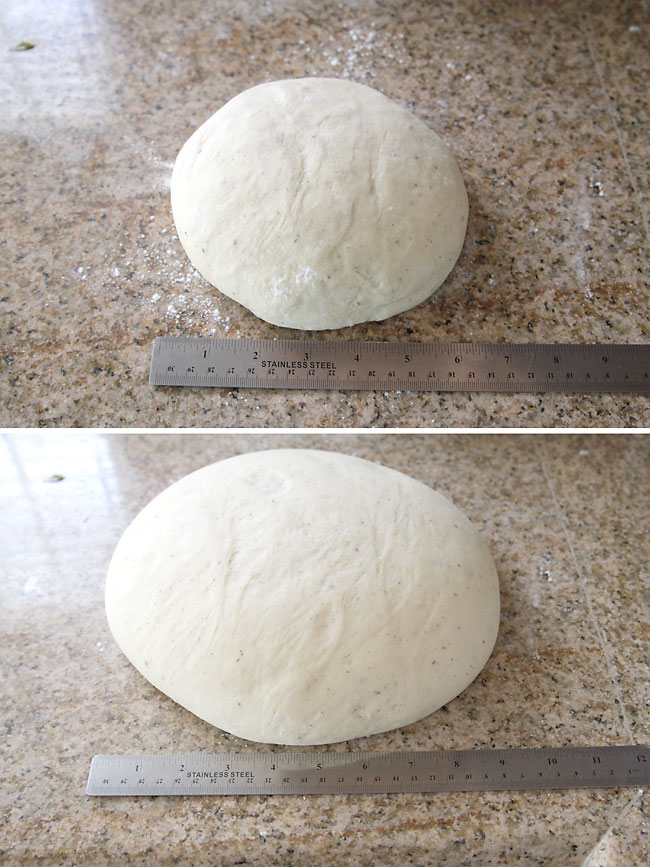
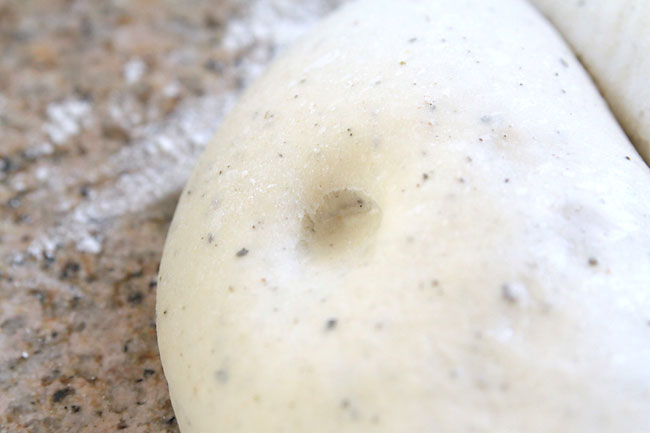
When it’s done rising it will be about double in size (about 9 inches wide now), and if you poke it with your finger the indent will stay, as shown below.
Next you’ll want to cut the dough into 16 equal pieces. Shape each piece into a ball by holding it in one hand and make a loose circle with your thumb and finger, then using the other hand to gently push to dough through the circle. Crimp off the bottom to create a ball. Place the balls of dough in a greased 9×13 pan, loosely cover with a towel, and allow to rise about another hour until the balls are puffed and touching each other. Bake in a 350 degree over 16-20 minutes until tops are golden brown and rolls are cooked through.
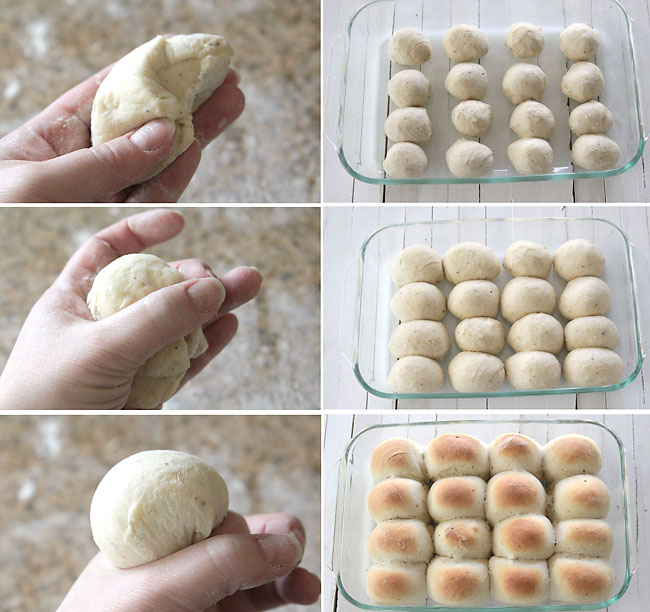
The first few times you make them you’ll want to check to make sure they’re all the way done by gently pulling out one roll to make sure it’s all the way done – undercooked rolls are icky. Keep track of how long they take to bake in your oven since times will vary in different ovens.
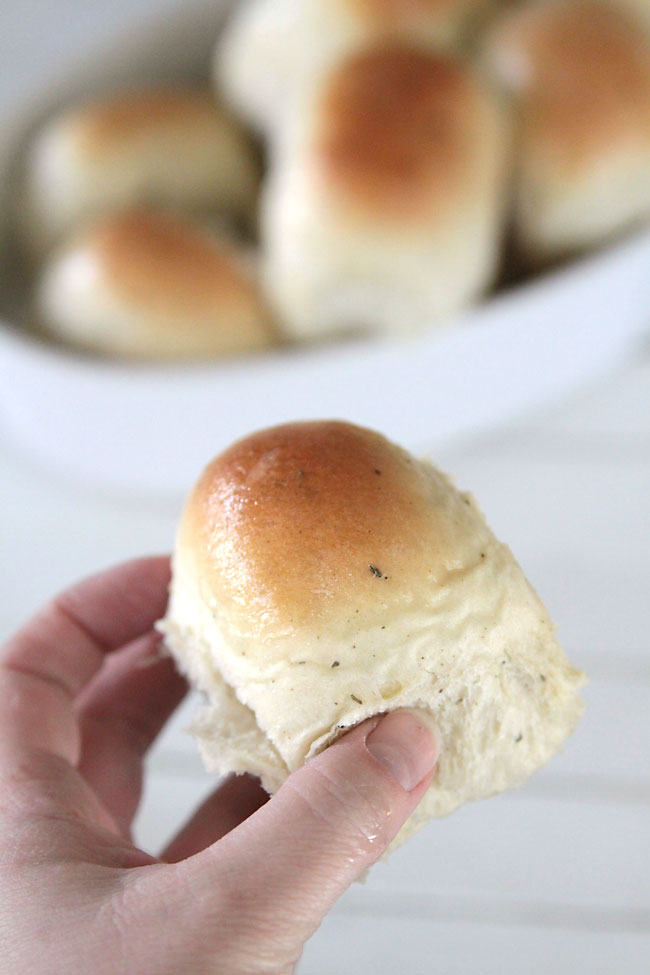
Brush tops with a little melted butter right when they come out of the oven. Serve warm, or cool in the pan. Once you break the rolls apart, the edges will start to dry out, so try not to do that until you’re ready to serve.
A few last notes:
- You can use either instant or active dry yeast.
- You may use fresh garlic or garlic powder in these rolls. You’ll probably have to try it both ways to see what you prefer, as my taste testers were split in their preference. I’ve included measurements for either in the recipe.
- Also, you may use any dried herbs you like. I use 1/2 teaspoon poultry seasoning (which has a nice mix of herbs I don’t always keep on hand), 1/4 teaspoon basil, and 1/4 teaspoon oregano when I make them, but you’re welcome to experiment with your favorites. You may also want to experiment with increasing the herb amount if you like the flavors very strong; I prefer them strong enough to taste but subtle enough not to compete with whatever else you’re eating for dinner.
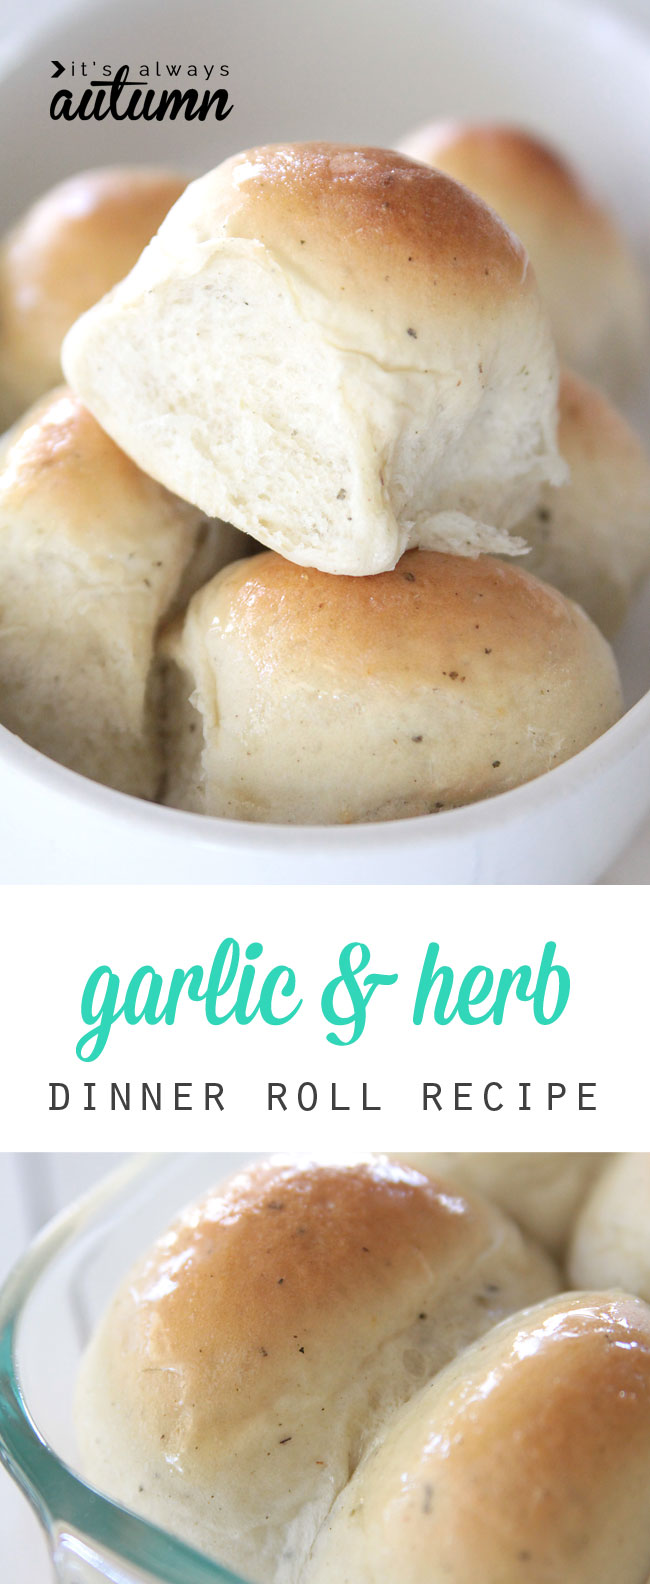
Garlic & Herb Dinner Rolls
Ingredients
- 1 cup Warm Water
- 2 tablespoons Butter
- 1 tablespoon Yeast
- 1/4 cup Sugar
- 1 Egg
- 3 cups Flour
- 1 teaspoon Salt
- 1 teaspoon Dried Herbs
- 1 teaspoon Minced Garlic
- Extra Flour up to 1/2 cup
Want more project ideas? Sign up to get my favorite easy crafts and recipes straight to your inbox!
Instructions
- Place all ingredients except for extra flour into the bowl of a stand mixer.
- Use dough hook and mix to combine.
- Add up to half a cup of additional flour as needed to make the dough mostly pull away from the edges of the bowl.
- Continue to knead in mixer for 4-5 minutes.
- Turn out dough onto a floured surface and fold into a tight ball.
- Cover with a towel and allow to rise for 60-90 minutes until doubled.
- Divide into 16 pieces and form into balls.
- Place in a greased 9x13 pan and allow them to rise until the rolls are puffed and touching, about one hour.
- Bake at 350 degrees for 16-20 minutes until golden brown on top and cooked through.
Enjoy!


Cindy Dine says
Hi Autumn,
I saw a tutorial video with detailed instructions for making dinner rolls, but I can no longer find it. Is it possible to receive that video or a link to the video? Your instructions were crystal clear and the dinner rolls turned out perfect!!!
Thank you for all your amazing recipes and ideas!
autumn says
Hi Cindy! The video for homemade rolls in is this post: https://www.itsalwaysautumn.com/the-very-best.html
It’s below the 3rd photo in the post. If you can’t see the video, that’s because you have an adblocker on. If you whitelist the site or visit on a browser that isn’t using an adblocker it will show up.
Thanks for letting me know you enjoyed this recipe – it’s one of my favorites!
Vera Moore says
Just finished a double batch of these, but I think I roll to big! I only got 20, so I’m only 12 short LOL!! I’ll be freezing the unbaked rolls. My dough also required less than 6 total cups for the double batch. I used about 5 and 1/4 cups. Tomorrow I’m going follow the same recipe for plain rolls! Thanks!
Desiree says
You are my new hero!!! I made these (following the make the night before directions) They were PERFECT!!! Oh my god, they were delicious, they were a HUGE hit at my christmas dinner party!! Thank you!!!
kathy says
They look and sound delicious.
Terri Scott says
Did you mean garlic powder on the recipe card (not garlic salt)?
autumn says
Absolutely! Thanks for catching that – I’ll get it changed right away.