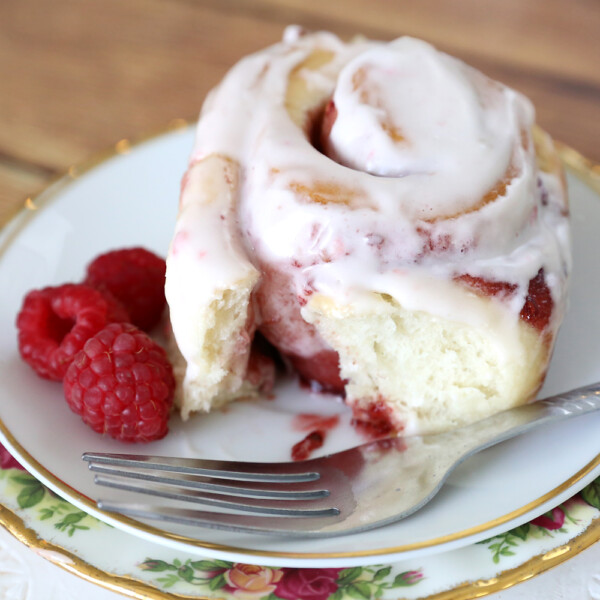
I hear a lot of people say: “I wish I knew how to make bread.” That’s because homemade bread is about the yummiest thing in the world. But making bread seems intimidating, and figuring out when to fit learning something new in amongst all the laundry and errands and carpool, etc., just seems like too much work. But hey, the laundry can wait for 15 minutes, right? In that much time you can watch today’s video, which will walk you through all the steps to make the most amazing homemade dinner rolls. And once you know how to make dinner rolls, you can use the same recipe to make bread, cinnamon rolls, garlic herb rolls, garlic breadsticks, raspberry sweet rolls, etc. This is a tried and true dinner roll recipe that will not disappoint!
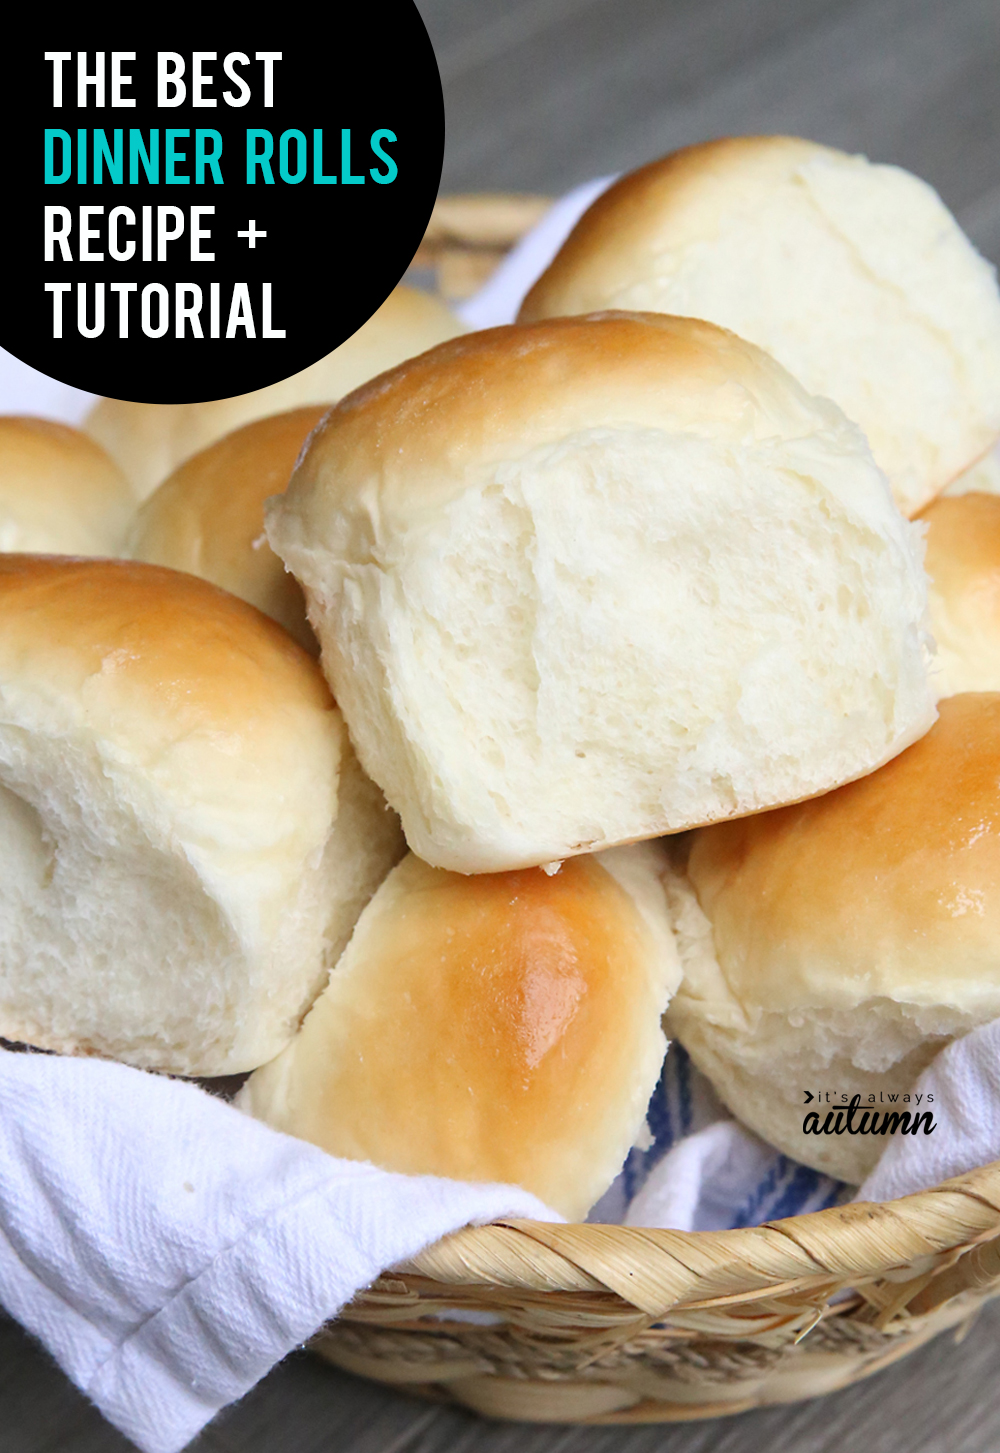
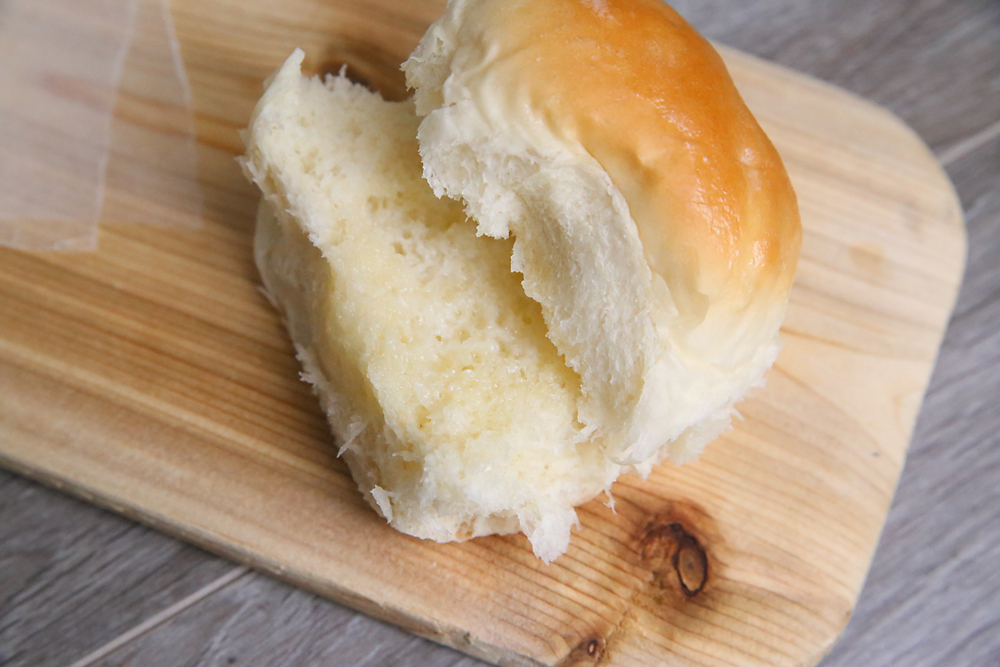
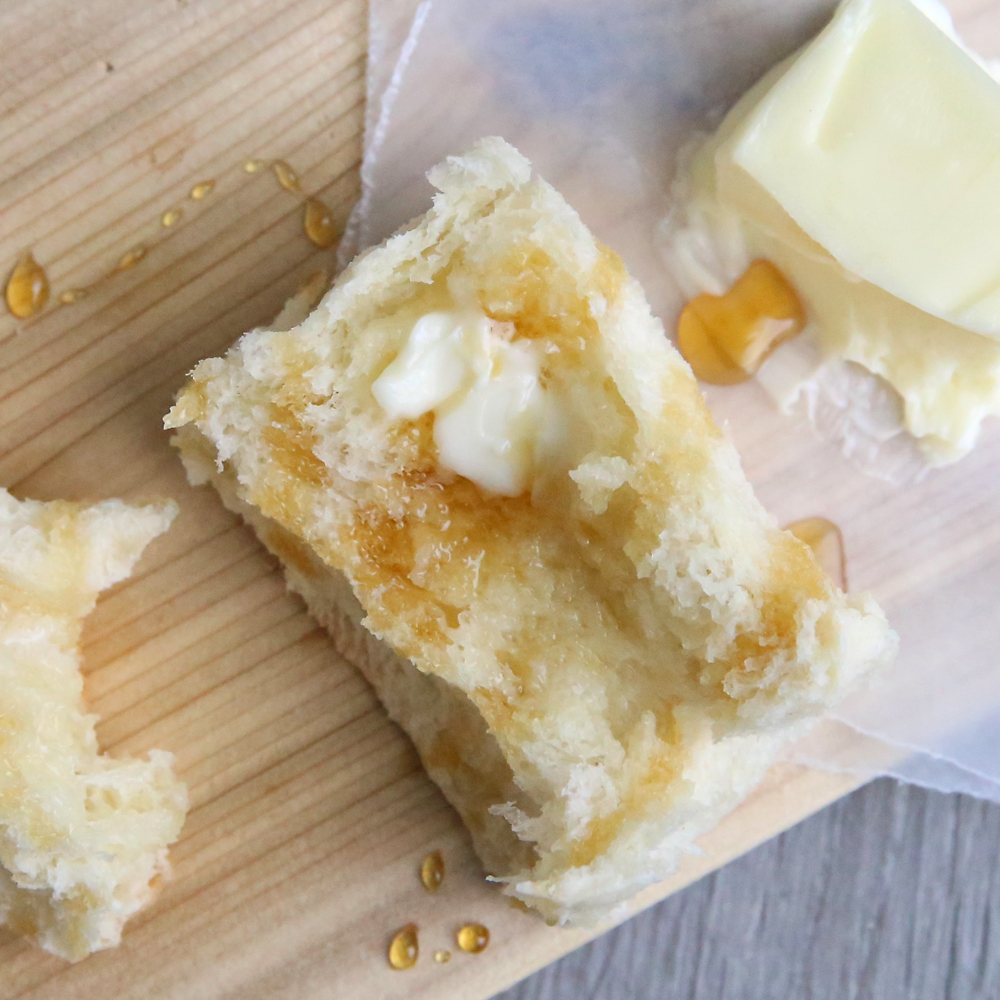
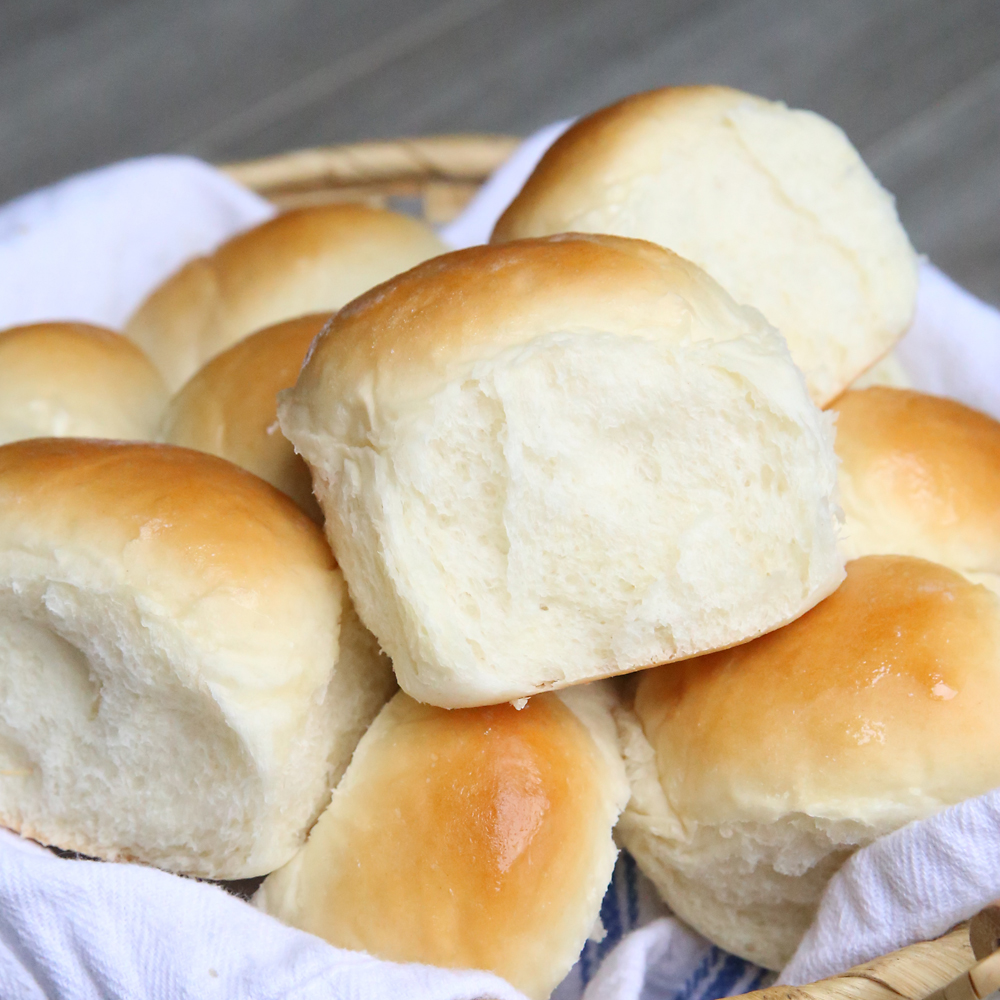
There’s really not much that can compare to a soft, pillowy roll straight out of the oven and smothered in butter. I figured with the holidays coming up some of you might like to learn how to make rolls from scratch. Although I warn you – if you start bringing homemade rolls to family dinners, you’re going to be asked to bring them every year from now to eternity.
I have a free printable recipe card at the end of the post, but first I have a video that will walk you step by step through the process. Making bread isn’t hard, but it has a number of steps and that can be intimidating. The best way to learn how to make bread is to watch someone do it while they explain everything to you. Since you can’t all come to my kitchen (and it’s probably too messy to invite anyone over anyway) I’ve tried to capture the whole process on video.
It’s a little bit longer video than I usually make – about 10 minutes – because I wanted to try to cover everything. But if you’re willing to listen to me blather for that long, you should be ready to make your own easy homemade dinner rolls at the end!
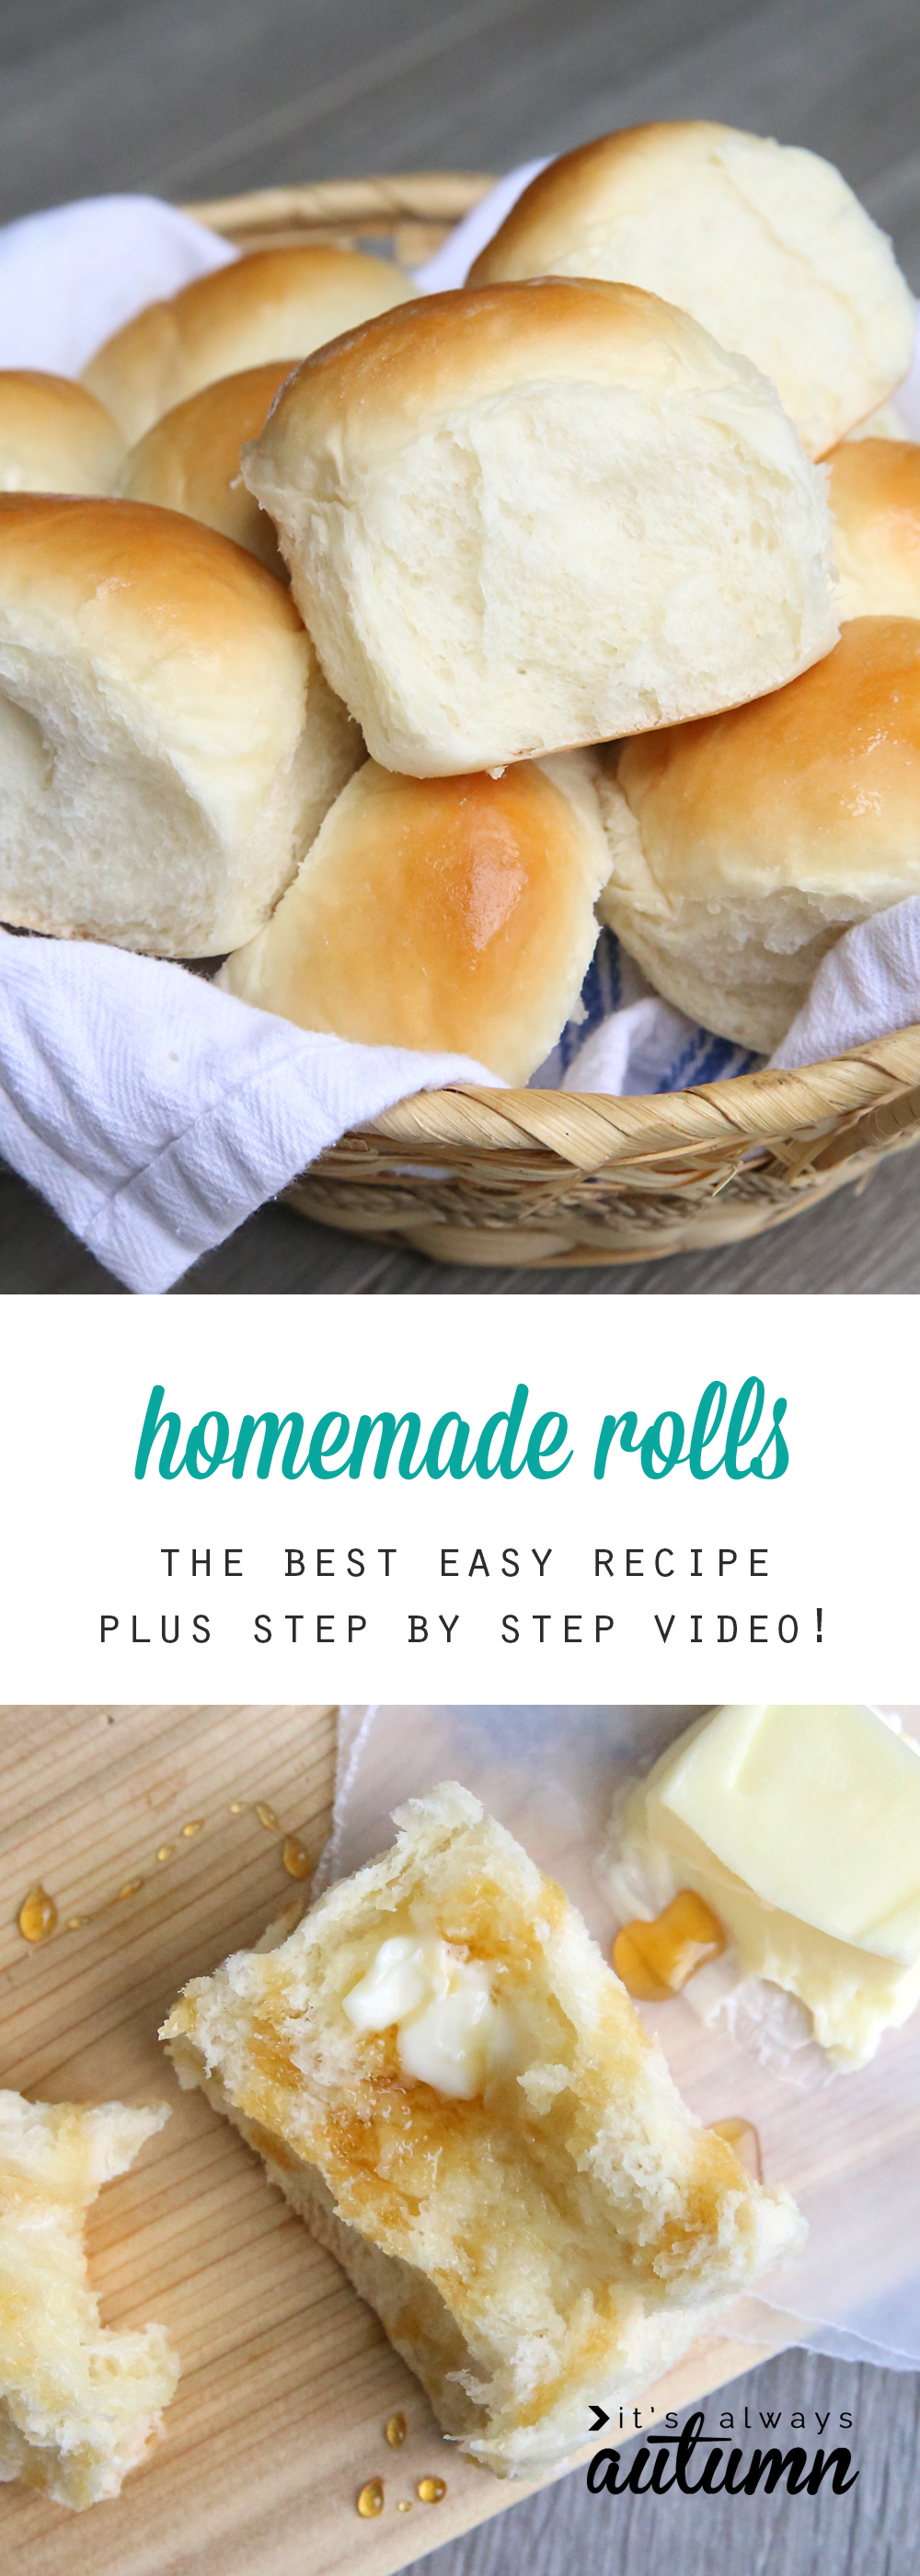
The Best Homemade Dinner Rolls
Ingredients
- 1 cup Water warm
- 3 and 1/4 cups White Flour
- 1/4 cup Sugar
- 1 tablespoon Active Dry Yeast
- 1 Egg
- 2 tablespoons Butter
- 1 teaspoon Salt
Instructions
- Combine all ingredients (except for 1 cup of flour) in the bowl of a stand mixer and mix using a dough hook on low until combined.
- Continue mixing about 5 minutes, gradually adding in the last cup of flour. Dough will be soft and just slightly sticky.
- Turn out dough onto floured surface and knead two or three times, patting into ball shape.
- Cover with kitchen towel and let rise 60-90 minutes, until doubled.
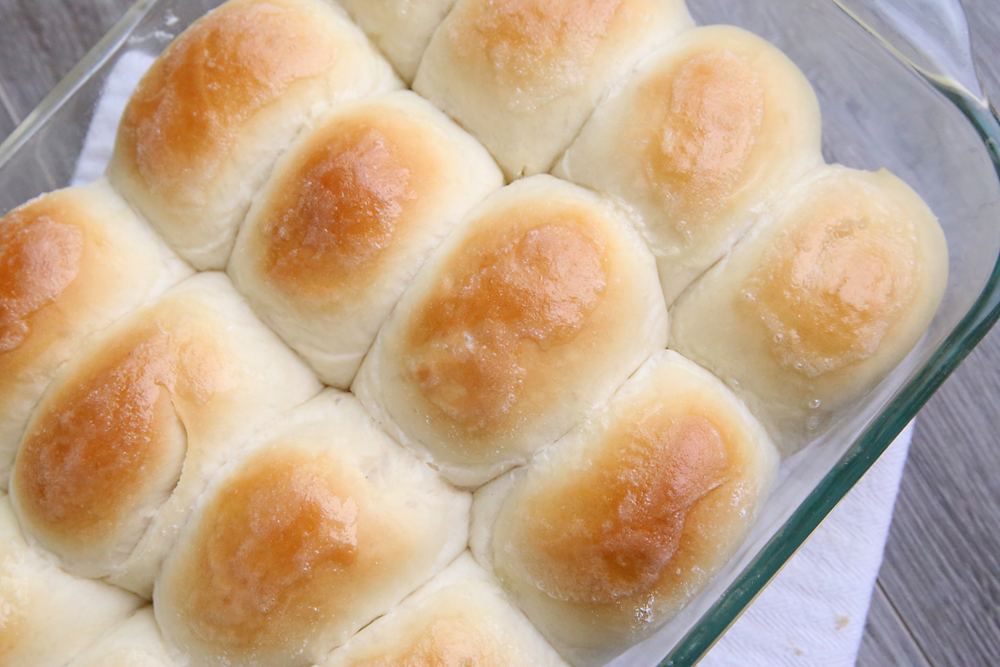
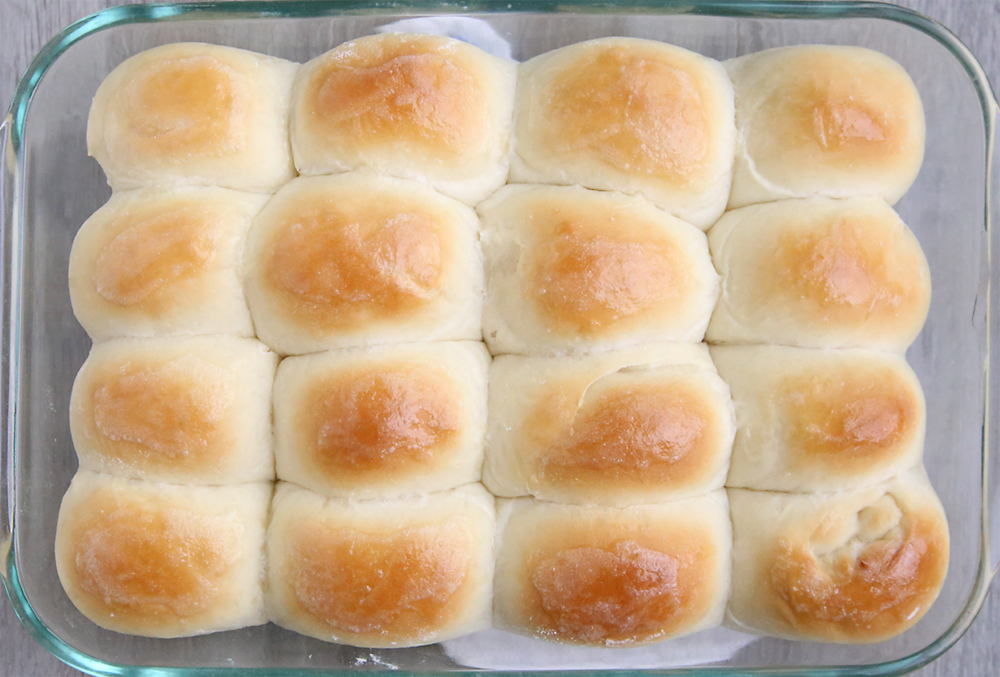
- Turn onto floured surface and divide into 16 pieces. Shape into balls.
- Place in greased 9x13 pan and cover with towel, allow to rise 45 minutes, until puffed.
- Bake at 350 degrees for 15-20 minutes, until tops are golden brown.
A couple extra notes:
- I mentioned in the video that you can mix your bread by hand if you don’t have a mixer, and I even promised to give you some tips for that. And then I didn’t (sorry!). Click here for a really good overview of how to knead bread by hand.
- You should start making rolls about 3 hours before you want to serve them. Here’s the general time table: 15 minutes to mix and knead | 60-90 minutes first rise | 10 minutes shape | 45 minutes second rise | 15 minutes bake time (and those times are absolutely not set in stone – if you let it rise a little too long or not quite long enough the rolls will still turn out fine!)
- You can make the rolls ahead, up through the shaping step, and then freeze them to bake later to save time. Click here to learn how.
- This recipe is for white rolls. You can substitute up to half the flour with whole wheat flour if you’d like, but they will not be as pillowy soft. If you want to make 100% whole wheat rolls, you’ll need to find a different recipe.
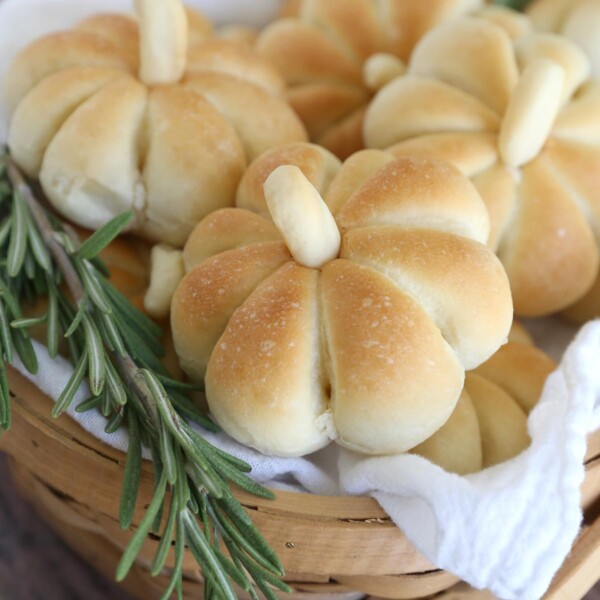
Once you have the basic recipe down, the possibilities are really endless. Check out some of the recipes listed below to see what else you can make:
And if you want to learn how to do all the prep work in advance and cook the rolls later, click here!
Christy says
I’ve been hanging on to this recipe for one of those days I felt like I had the time to make rolls. As Thanksgiving is this week and for the first time in years I’m not cooking but I was assigned all the desserts. So with my bakers hat on, and all my baking goodies out, perusing Pinterest, I thought ya know let’s give this recipe a trial run. O-M-G!!!! Perfect!!! I’ve ate 2 in last 5 min and honestly gonna have to fight off eating more. My 16yo daughter is a fanatic for the rolls at that steakhouse chain. She walked in from school just as these were coming out of the oven. Perfect timing. She said hands down the best ever. She’s already asking how many am I making for turkey day. Lol. Thank you for sharing this recipe and the video with your techniques!!!
Helen b says
These are great. Came out perfect the first time! Just want to know how to store them.
Autumn Baldwin says
I store them in a large ziplock bag, but they are definitely best the day you bake them!
Angela says
Hi just wondering is it normal plain flour or is it bread flour
autumn says
Hi! I use all purpose flour but you can use bread flour if that’s what you have on hand.
Anita says
Hi Autumn
I made your rolls last night for dinner and my family and I loved them! I will be making them again!
Heather says
I Love, Love, Love this recipe. So easy. Easy enough to make on a weekday. Thank you so much for sharing. This is definitely a recipe that is the “Best”; it kicks out every other roll type recipe I have. I can’t wait to try it as a base for Navajo tacos, fried bread and honey, cinnamon rolls, burrocks and calzones. Thanks again!
Lea says
First time making, my dough didn’t rise much and I kept some for tomorrow and baking the rest tonight.
The first problem I ran into, was the second rise was slow going, but it got there when I placed next to the fireplace. When making each doughball it was still sticky inside the dough (not sure if that is part of the rising problem) It still seemed smaller than yours.
The second rise was minimal (but I had more space in between) so I put it in the warming drawer on low. They did rise a bit. They didn’t have the fluffiness to it, but the flavor was there.
I have 6 left over from today’s batch and will try giving them more rising time and see if it makes a difference.
Lea says
UPDATE: The second rolls I saved for later….I put them in a ziplock baggie in the warming drawer to rise. They did great then cooked them. It worked out! Next time I would use a metal pan or cupcake pan as my family likes the brown on the bottom too. I used a ceramic dish hoping it would work, while it did great, I put them back in the oven on a cookie sheet for just a tab more browning.
Thanks! Keeping this recipe.
Claire Jackson says
Hi Autumn! I’m a station cook in Australia and just wanted to say thankyou, these rolls are a staple in my kitchen! So wonderfully easy and the boys always demolish them in 2 seconds flat. Life saver!
Cheers
Claire
Susann says
Delicious recipe! I just made my first dinner rolls ever and they taste amazing, thank you! I was very glad there was a detailed video…
Eileen says
Can I use bread flour or only all purpose flour? And what is the difference?
Michelle Atkins says
Help! I tried this I thought exactly and they came out more like biscuits. What did I do wrong? I mean they were good but they definitely didn’t come out as the rolls pictured but more like homemade biscuits.
Brooke grieve says
Do you think I Can use this dough for cinnamon buns?
Cheyenne says
Can this work as a loaf as well?
Bernice says
I’d like to know , if I make a Bread out of the dough, how long to cook it? Don’t think 15-20 minutes would do right?
Janice says
Hi Autumn, I just made these dinner rolls today and it turned out absolutely fantastic! It’s my first attempt at bread making and your video totally helped a beginner like me. Such an awesome video explaining the steps and tips! I had to adjust the flour amounts probably due to humidity where I live (South East Asia) and yeast to the usual type found here. The video made it super easy for the adjustments since I now know what to look out for in the dough! Thanks again Autumn.
Kathryn Veit says
Love your recipe and especially liked watching the video. I have made these 4 times and they turned out perfectly except for the last time. I think I may have added too much flour! They looked a little dry and were not as smooth. Would it have been ok to add a little more warm water?? In looking back, it think my first three times, I only used 3 cups of flour, instead of the 3 1/4. In the video, it looks like you use 3 cups…it was that extra 1/4 that threw me off.
Barbara Karr says
Is the butter we add to the mix cold, or room temperature? When you stopped the mixer the first time you commented that the butter wasn´t incorporated yet. That said cold to me. I am used to having baking ingredients at room temperature. Am I just being nit picky here? Thanks for sharing all you wonderful bread recipes. Barb K.
autumn says
Hey Barb! Thanks for your great comments – I’ve been enjoying reading them and am so glad you’re having a good time baking bread! If you start with warm water it doesn’t matter if your butter is cold or at room temperature. I use cold just because I’m too lazy to warm it, and it mixes in just fine, but room temperature butter would be great too. Thanks!
Rusty Pancamo says
I just made the 16 Dinner Rolls. Oops! There are only 12 left!!!!!!!! I kept spreading Butter and they made me keep eating ’em!!!! I think the next time, I will had two packs of ADY, just to get them a little more airy.
Thanks,
Rusty in Metairie (New Orleans)
Lizzy says
Made these for Christmas dinner as a last minute “what the hey!” moment…. So easy, so perfect, and everyone loved them!
Judy says
This recipe was delicious and so easy thanks to your great video! I did a test run for Christmas! Will definitely be making these! Thank you so much for this recipe!
Amanda S Mote says
I just made this today after watching youtuber Moss Family tv and these will definitely be a keeper they came out better than anything I’ve ever tried before.
Mallorie says
Any tips for doubling this recipe??
autumn says
I double it all the time! I do a straight double of all ingredients. I do recommend baking in 2 separate 9×13 pans, though. I’ve tried to bake a double batch on a bigger 11×17 cookie sheet with sides, but it’s a bit too crowded and the rolls in the center tend to not get done enough. I do have a one and a half size recipe in this post you could try: https://www.itsalwaysautumn.com/best-homemade-buttery-crescent-rolls-recipe.html
Wendy says
Thank you for this!! I made them yesterday and they were perfect…..and all gone already! Sooooo good!
Cindy says
I love to bake breads of any type. These were amazing. They were easy to make, so anyone could make these, beginners or pro’s. This recipe will be a favorite in our family for years to come. I made sure, i sent it to all of my family. Thank you for blessing us with it.
Betty Jean franco says
Thank you for posting this and your video!!!!! I just made these and they are AMAZING! My daughter and husband think I am a genius! 😉 Thank you for that!
Margaret says
Autumn, thank you so much for this recipe – I just made these rolls and they turned out perfect. Great recipe and great video. Thanks again.
Margaret
Elaine says
These rolls are just what I have been looking for. mine are usually hard or y dense Only one question, do you have to use so much sugar, here in the UK we don’t like sweet bread, There definatly on my todays, to do list. Thank you for making the video.
Janell says
These were so easy and so yummy! I kneaded them by hand and refrigerated overnight for the next night’s meal. I will definitely make these again.
Colleen says
My first time trying to make rolls from scratch here. Silly question but do you melt the butter? I wonder if solid butter will be mixed in well enough with just a dough hook?
Autumn says
No need to melt the butter, it will mix in just fine!
Donna clark says
I’m going to try this. Did you use all purpose or self rising flour?
autumn says
All purpose. Good luck!
Autumn says
All purpose.
Ifdy says
I made these for this Thanksgiving and they were a hit! I also followed your instructions for freezing, and they worked perfectly. I’m saving the recipe in my box to reuse forever! Thanks for sharing this great recipe with the world! 🙂
Sandi says
Absolutely the best and easiest rolls ever! Came out perfectly tender, soft and delicious the first time! Thank you for a great recipe.?
Laurie says
These rolls look heavenly! Thanks so much for sharing your tutorial. I have a quick question. I would like to make these for Thanksgiving dinner but will be very busy Thanksgiving day with other things to make. Is it possible to make these the day before and reheat them Thanksgiving day? Any help/recommendations
would be most appreciated. Thanks!
Nancy says
I love your recipes and have such success with them.
Val says
These dinner rolls look awesome. Thanks Val.
Tina says
Thank you so much for the tutorial! Can’t wait to try! I’ve always had a battle with yeast rolls. Now maybe I can conquer them! 🙂
KT Hom says
Helloooo Autumn! Your post today is the best example of what blogging is all about: Sharing your expertise so others can learn and try something new to make their lives – and those around them – extraordinary! I can’t wait to try your recipe…and I was wondering if you ever used this recipe to make pan-fried scones for your family? My grandmother always made a batch and a half of her bread dough so she could use that half batch to give us a memorable breakfast of her heavenly scones served with melted butter, maple syrup and her homemade jams! Thank you for starting my day out with a HUGE smile and memories of my dear grandma ^_^
Dalene says
Oh my best rolls ever and are so easy. I made both white and wheat and both turned our fabulous! This recipe is a winner. Thank you Autumn!
Lara says
This is awesome, I’m always looking for a roll recipe that doesn’t make 4 dozen :-).
When I was a teenager I worked at Fuddruckers in the bakery, we had make, proof, and roll the buns every morning and if we were running out in the evening. We did have a dough cutter that cut the dough into the right size pieces (one for small, two for large), but I’ll never forget how to roll the dough into perfect balls (they have to have a little circle on the bottom that’s almost a tiny hole). Man did we have fun back then.
Sharon Craggette says
How do you roll and pull and fold the rolls underneath so they puff on top. I saw a video on it but can’t find it