
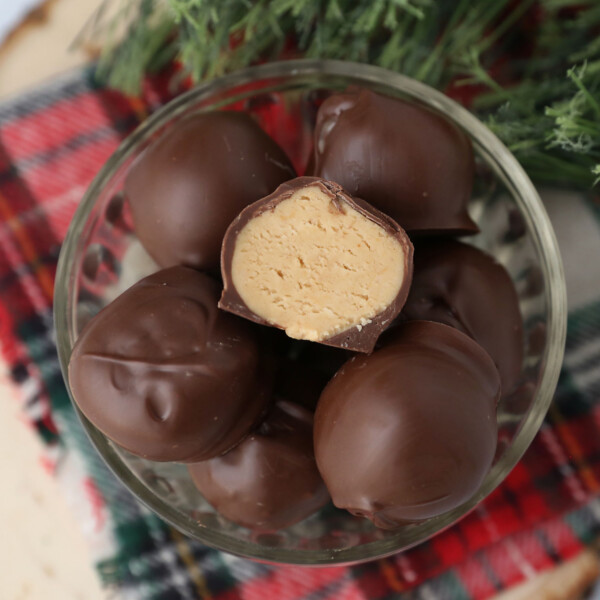
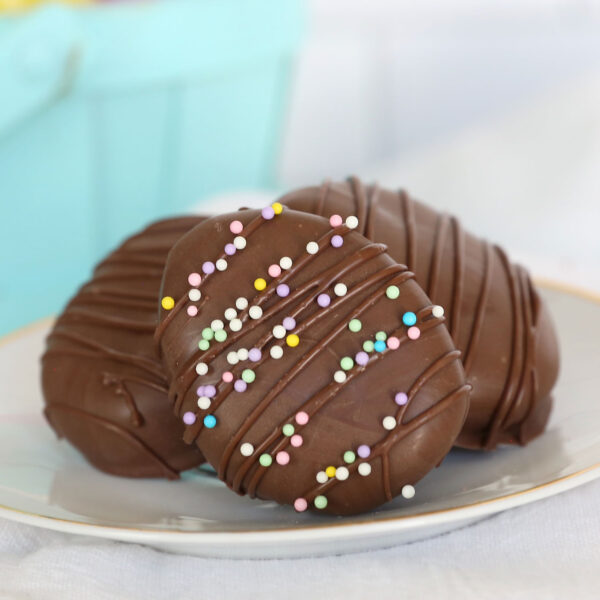
In today’s post: Peanut butter balls are like peanut butter cups but creamier and even more delicious! It only takes four ingredients to make these incredible no bake candies. Some people call them Buckeye Balls while others call them Peanut Butter Truffles. But it really doesn’t matter what you call them, because either way they are absolutely delicious.
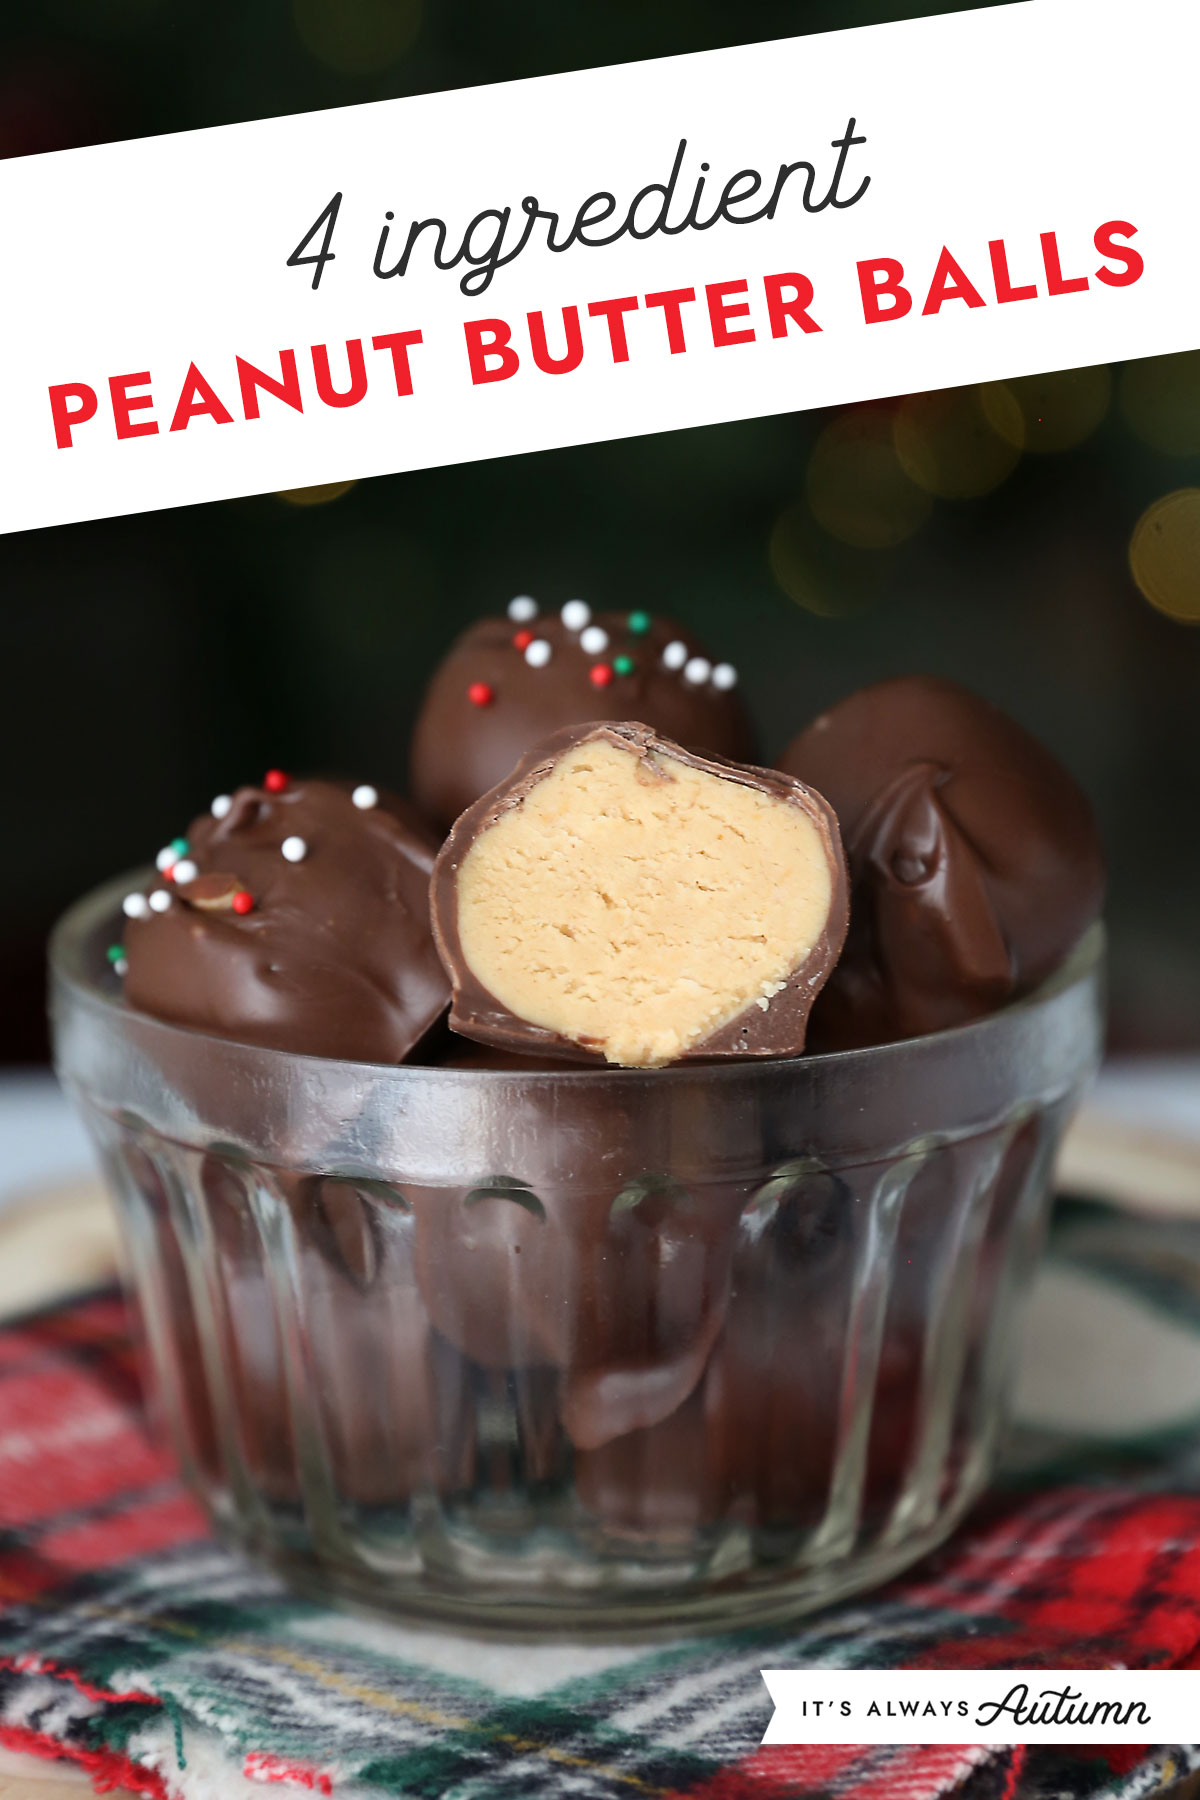
The Best Easy Peanut Butter Balls
I have been making these easy little desserts since fifth grade! Over the past few years I’ve tweaked and perfected the recipe. You’ll find a printable recipe card at the end of the post, but if this is your first time making them, I recommend reading through the post for all my tips.
Ingredients
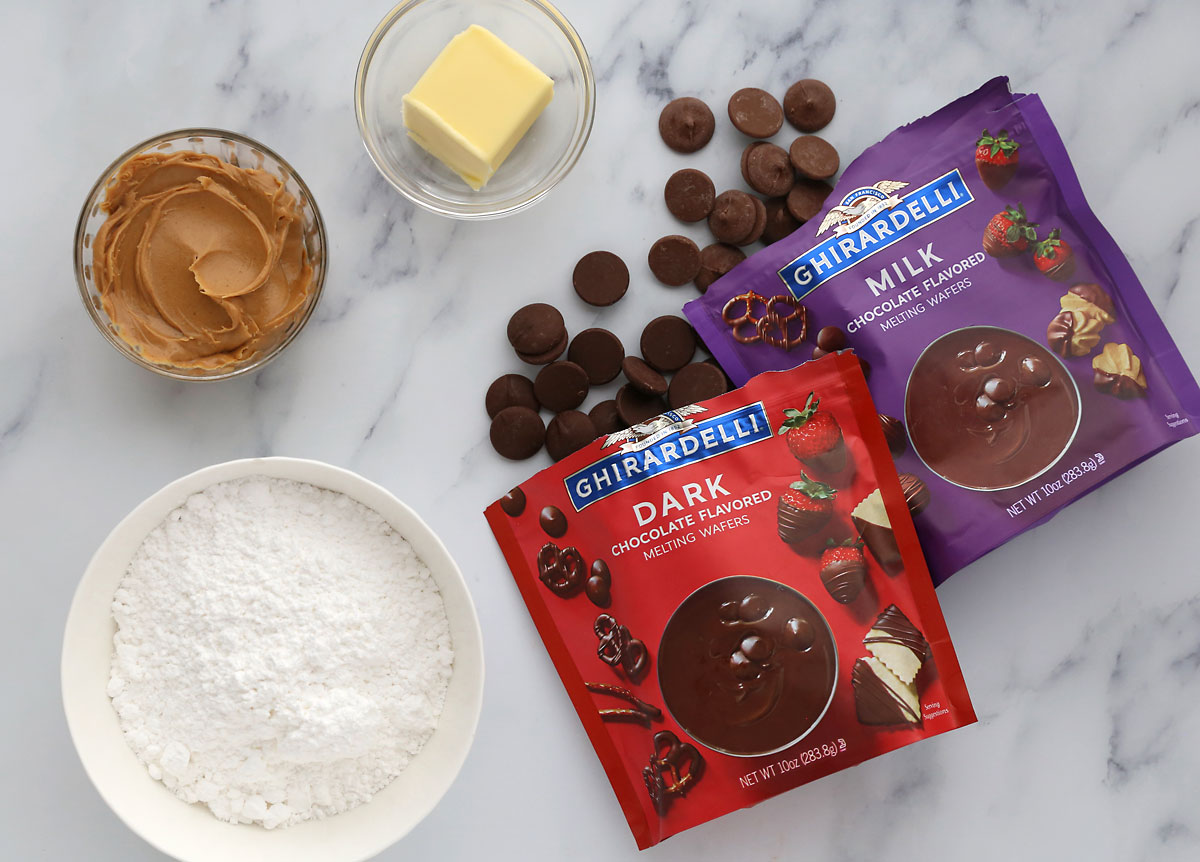
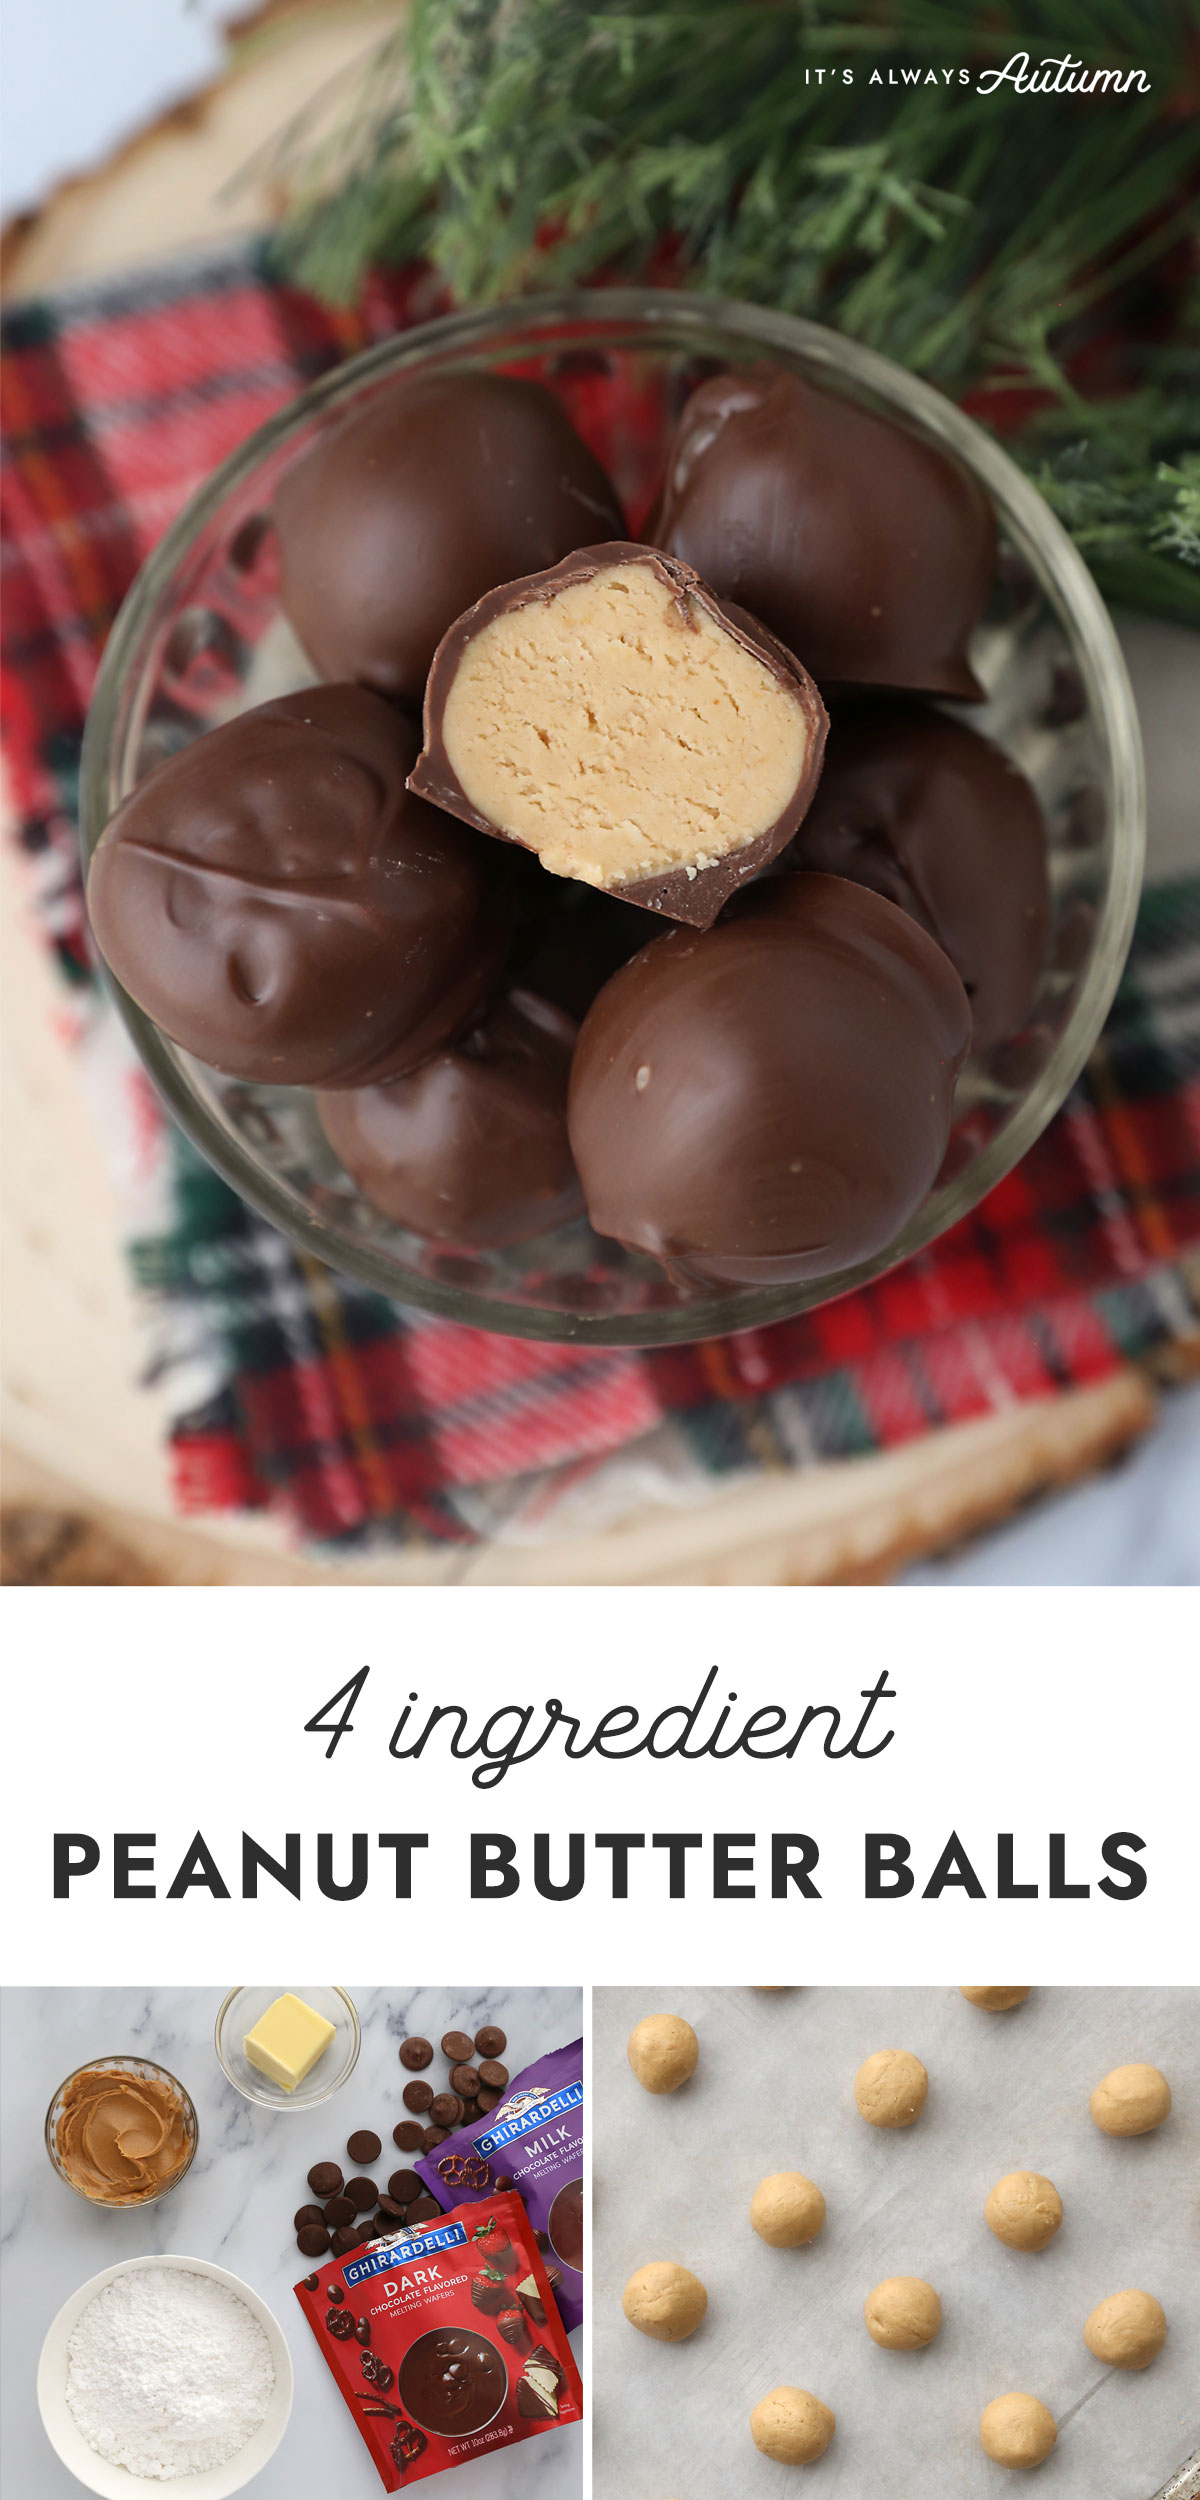
You really only need four ingredients for no bake peanut butter balls:
- Peanut Butter: Use a no-stir peanut butter like Jif or Skippy for this recipe. I also prefer using creamy peanut butter because I like the peanut butter balls to have a super creamy texture. Don’t use chunky PB unless you want little nuts in your truffles.
- Butter: I use salted butter. If you prefer to use unsalted butter, you may want to add a small sprinkle of salt to the mixture. You’ll need to soften your butter before mixing things together; it’s easiest to do this in the microwave on half power.
- Powdered Sugar: Also known as confectioner’s sugar
- Chocolate: I like to use a mix of milk chocolate and semi sweet chocolate, but you can use whatever flavor of chocolate you prefer. Many people make peanut butter balls with dark chocolate, but I think using half milk chocolate gives them the perfect amount of sweetness (it reminds me of Reese’s PB cups). You could even use white chocolate if you’re a fan.
Some people add a few more ingredients to these treats, but I don’t think they’re necessary. You can add half a teaspoon vanilla extract if you want to; I’ve tried it with and without and don’t find there to be much of a flavor difference either way. Other recipes add crushed up graham crackers or crushed rice cereal for texture. Again, I prefer these creamy, so I don’t, but you can experiment and see what you like best!
What Kind of Chocolate Should I use?
Chocolate can be finicky to work with. I used to make peanut butter balls with melted chocolate chips, but I was never completely happy with how they turned out. I wanted a smooth chocolate coating that snapped when you bite into it…without the work of tempering chocolate. I also wanted to use chocolate that was readily available. I’ve had good success with these options:
Ghirardelli Melting Wafers
I’ve only started using Melting Wafers recently, and I really like them! They are made for melting and dipping, so they melt to a great consistently. They set up quickly in the refrigerator and best of all, they taste great (way better than almond bark). As I mentioned before, I use half Milk Chocolate wafers and half Dark Chocolate wafers for the perfect flavor.
Chocolate Baking Bars (bakers or Ghirardelli)
You can also use chocolate baking bars that you’ll find in the baking section, near baking cocoa. Note: these are not the same as chocolate bars from the candy aisle. These bars are usually good quality chocolate, and melt well in the microwave if you chop it finely first. It even sets up pretty well in the fridge.
Almond Bark + Chocolate Chips
Many people use almond bark to dip peanut butter balls because it melts beautifully and it’s super inexpensive. However, almond bark doesn’t taste nearly as good as real chocolate. I’ve had good luck using half chocolate almond bark and half high quality chocolate chips: the almond bark helps it melt and set up better, while using the good quality chocolate chips improves the taste.
Mix the Ingredients
Start by softening butter and mixing it with the peanut butter in a bowl. You can use a stand mixer or electric mixer here – or even a wooden spoon if you’d prefer to mix by hand. Mix in the powdered sugar gradually. The mixture will be a little crumbly which is just fine. You can give it a few kneads with your hand to bring it all together.
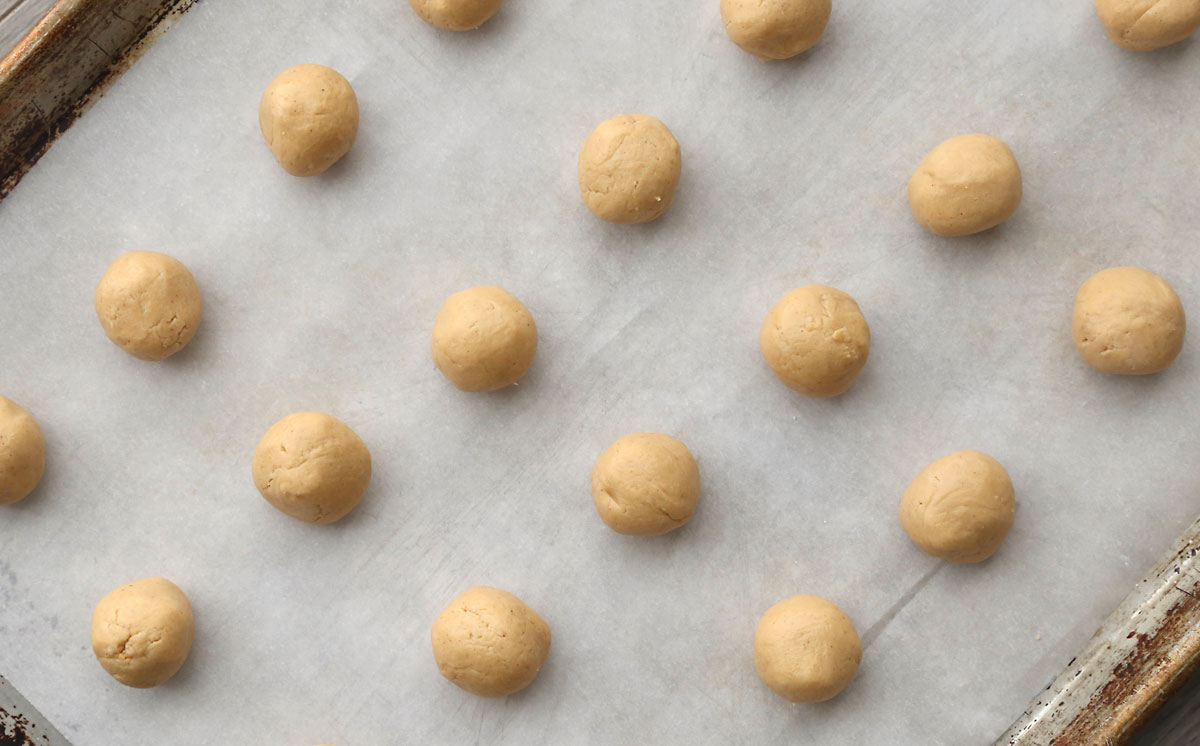
Form Balls
Line a baking sheet with wax paper or parchment paper. Using a tablespoon measure or small cookie scoop, portion out scant tablespoons (a little less than a tablespoon) of the dough. Roll it between your hands into a ball shape. Place it on the lined cookie sheet and chill the balls until they are firm. This will take about an hour in the fridge or 5-10 minutes in the freezer. If you choose to use the freezer, don’t leave the balls in there too long! They shouldn’t be rock solid, just cool and firm.
Melt Chocolate
Next, you’ll need to melt your chocolate. The chocolates I recommended can be melted in the microwave. Place chocolate in a microwave safe bowl and melt in 30 second intervals, stirring thoroughly in between each time in the microwave. It’s very important not to overheat the chocolate, so never go more than 30 seconds at a time and always stir very thoroughly before returning to the microwave. When the chocolate starts looking melted, switch to 15 second intervals.
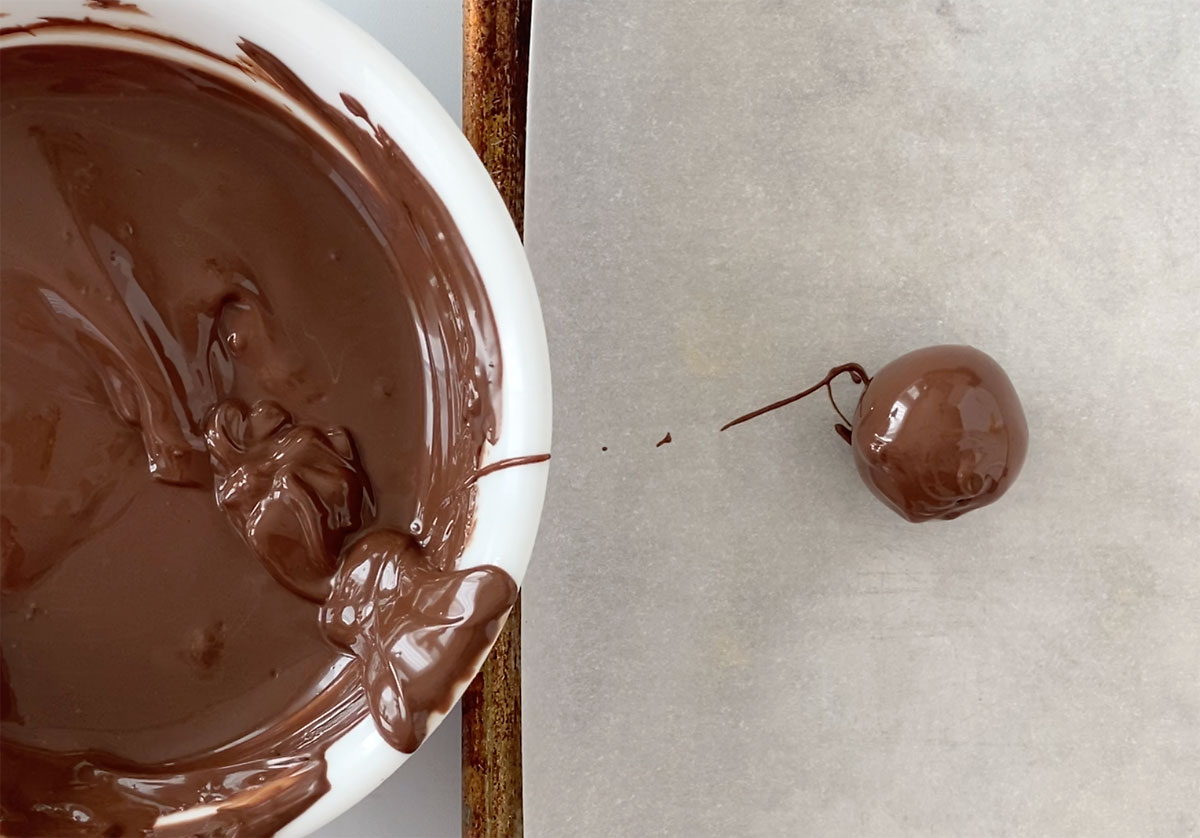
Dip Peanut Butter Balls
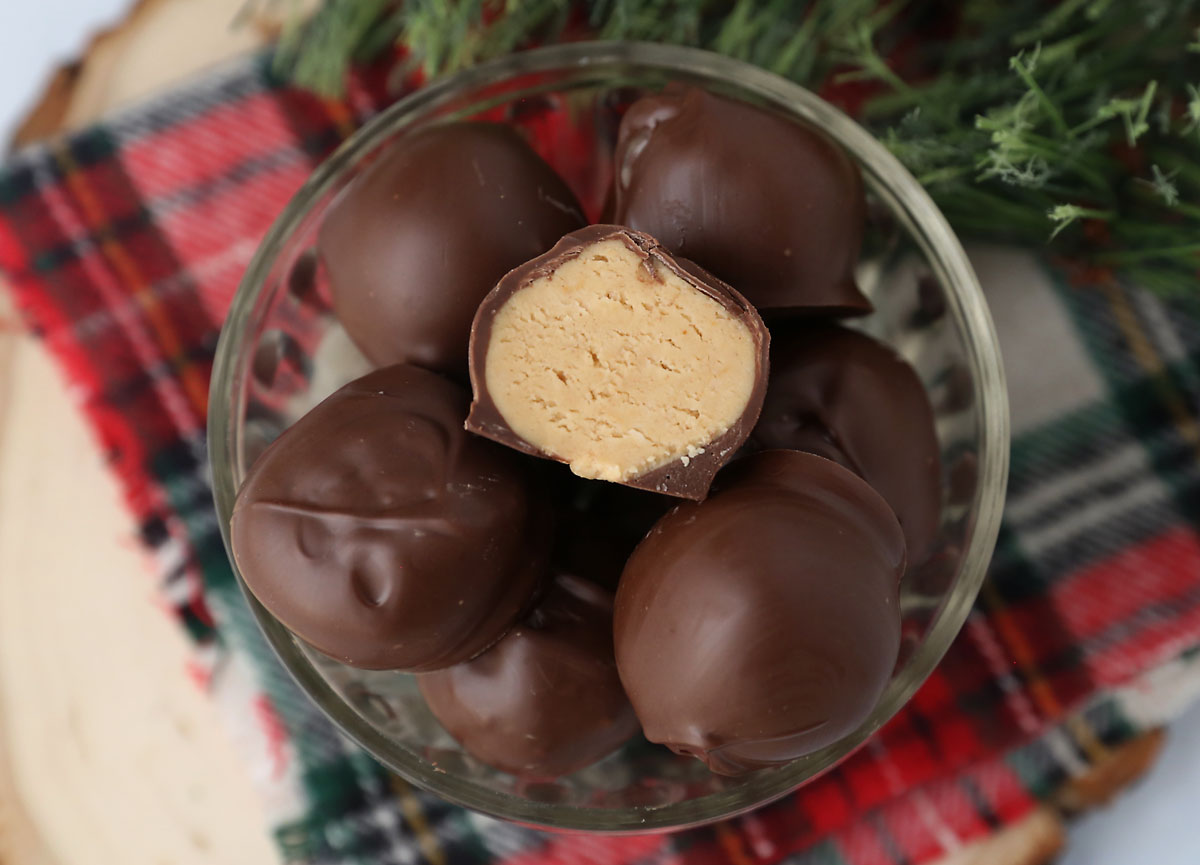
Working one at a time, place a peanut butter ball in the melted chocolate. Use a spoon to scoop chocolate over the top of the ball so it’s completely covered. Stick a fork under the peanut butter ball and scoop it up. Allow excess chocolate to run off the ball, then drag the bottom of the fork across the edge of the bowl. Move the ball over to the cookie sheet and turn the fork over, allowing the ball to fall down onto the sheet. You may want to use the fork to quickly swirl the chocolate on top of the ball. Make sure the peanut butter center is completely covered with chocolate.
Repeat until you have dipped all balls. Be aware that the cold peanut butter centers will cool off the chocolate, so depending on how quickly you work you may need to rewarm the chocolate in the microwave for a few seconds.
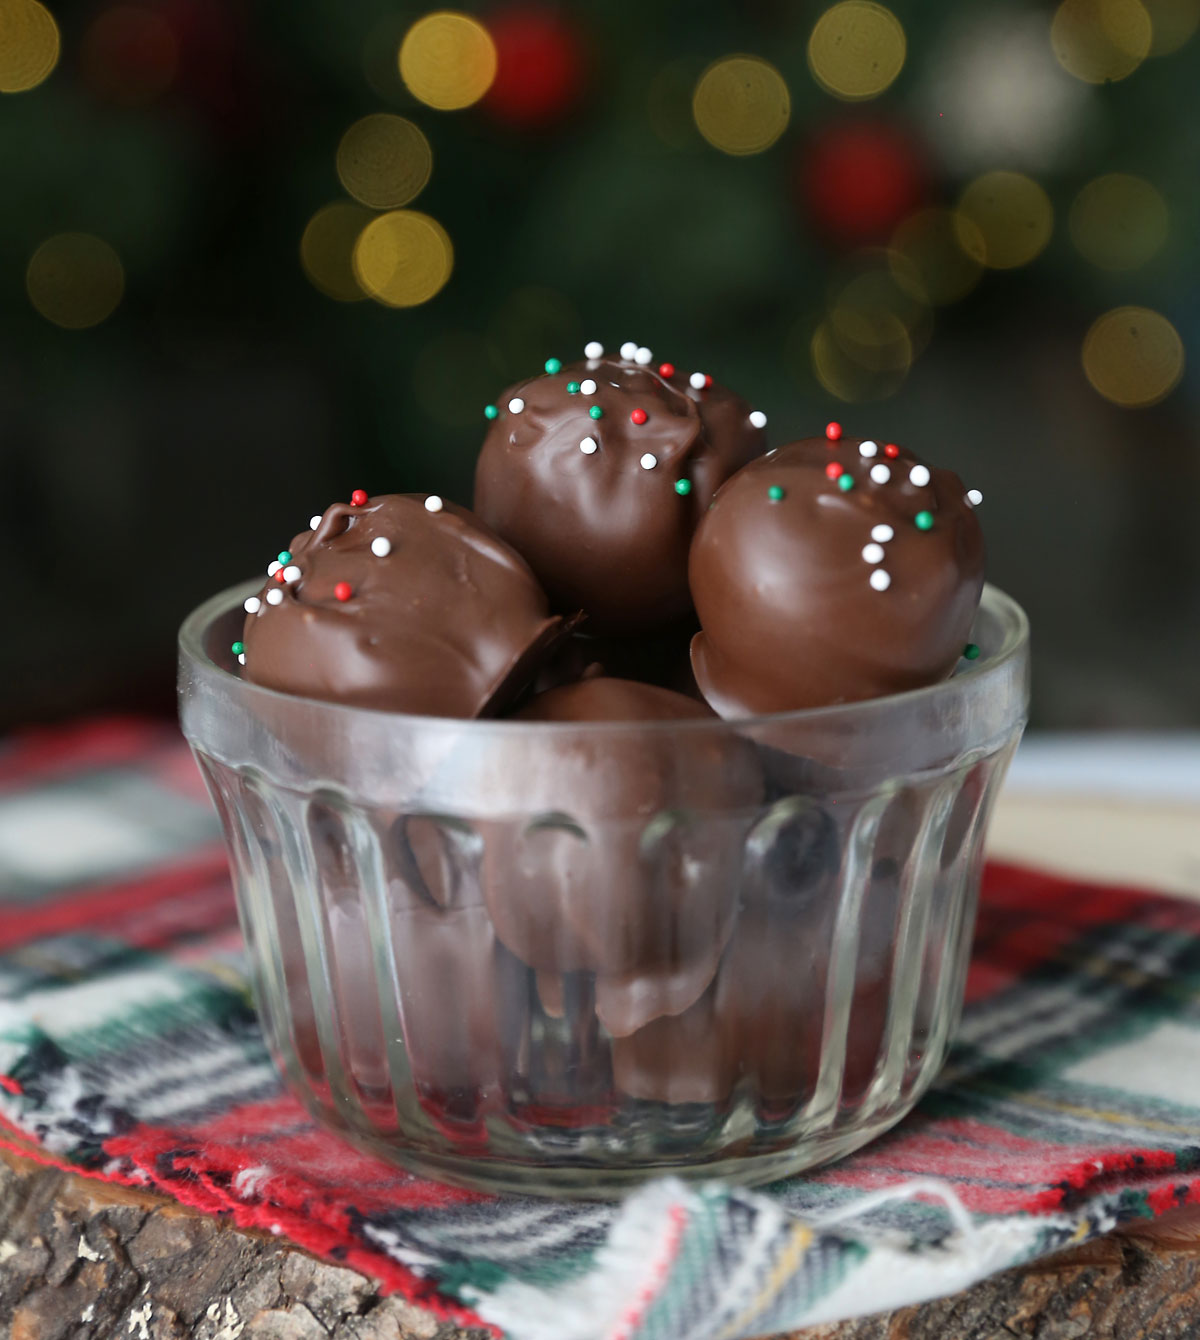
Place the baking sheet in the fridge and chill for about 10 minutes until chocolate is set. You can store the candies on the counter for a day or two; for longer storage keep them in the refrigerator.
Chocolate Dipping Tips
If you’re having trouble, try these tips:
- If the peanut butter balls seem too soft or keep sticking to the fork, place them back in the freezer for a few minutes. They are easier to deal with when they are fairly firm. Also, be sure you aren’t sticking the fork into the ball when you pick it up; just use the fork to scoop under the ball. You can also use a toothpick to help the ball fall off the fork onto the lined cookie sheet.
- Alternately, you can order a dipping tool to make the process simpler. I haven’t tried using one but from the reviews it seems people really like them.
- If you see any spots where the peanut butter is showing through, scoop up a little extra chocolate to cover them. If you leave bare spots, the peanut butter center will start to work it’s way out as the chocolate hardens.
- If the chocolate seems too thick, try warming it back up for another 10 seconds or so. If it still seems too thick, you can stir in 1 teaspoon of vegetable oil or shortening to help loosen it up. I did not need to add vegetable oil to either the baking bars or the melting wafers.
Peanut Butter Balls
Ingredients
- 1/4 cup Butter salted
- 1/2 cup Creamy Peanut Butter
- 1 and 1/3 cup Powdered Sugar
- 10 oz Chocolate see notes
Want more project ideas? Sign up to get my favorite easy crafts and recipes straight to your inbox!
Instructions
- Soften the butter, then beat it together with the peanut butter in a medium bowl. Gradually beat in powdered sugar. Mixture may be crumbly, so knead it together a few times with your hands to bring it together.
- Scoop out a scant (just less than) tablespoon of peanut butter mixture and roll it into a ball. Place on a cookie sheet lined with parchment paper.
- Chill the peanut butter centers until firm – about an hour in the fridge or 5-10 minutes in the freezer. Do not leave in the freezer too long – you want them chilled and firm, not frozen.
- Melt the chocolate in the microwave in 30 second intervals, stirring thoroughly between microwaving. Heat until just melted; do not overheat.
- Dip each peanut butter center in the melted chocolate to coat it, then place back on the cookie sheet lined with parchment paper. If chocolate starts to harden, microwave for another 15 seconds to warm it back up.
- Place dipped peanut butter balls into the fridge for about 10 minutes to set the chocolate. Store at room temp for up to 2 days, or longer in the fridge.
Tips
Christine says
This looks very good please send me the website thank you
Gabrielle Paris says
This recipe is the first thing we ever made in Home Ec class when I was in ninth grade. I’m now 71 and we have made this recipe every year on Easter. Please do not send me emails. I currently have 2345 to go through. Thank you.
Yvonne says
I look forward to trying this recipe soon, but was wondering if I could mix in walnuts or chocolate chips with the peanut butter before dipping?
Shirley Sheridan says
Really really easy and good!
linda broyles says
How many pb balls does this recipe make please?