
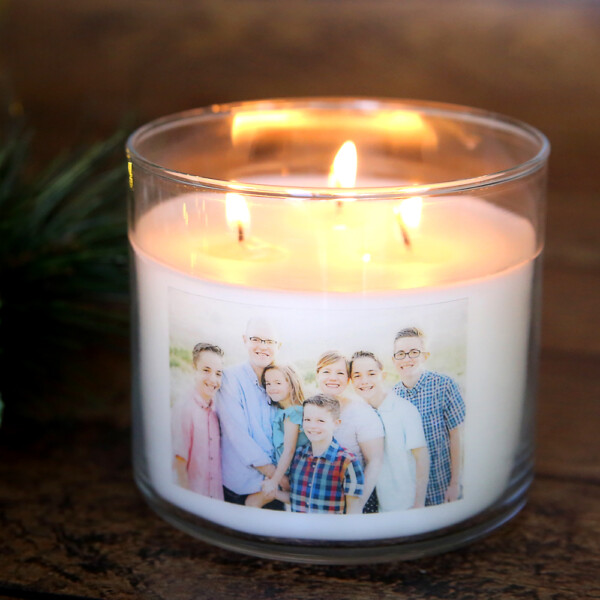
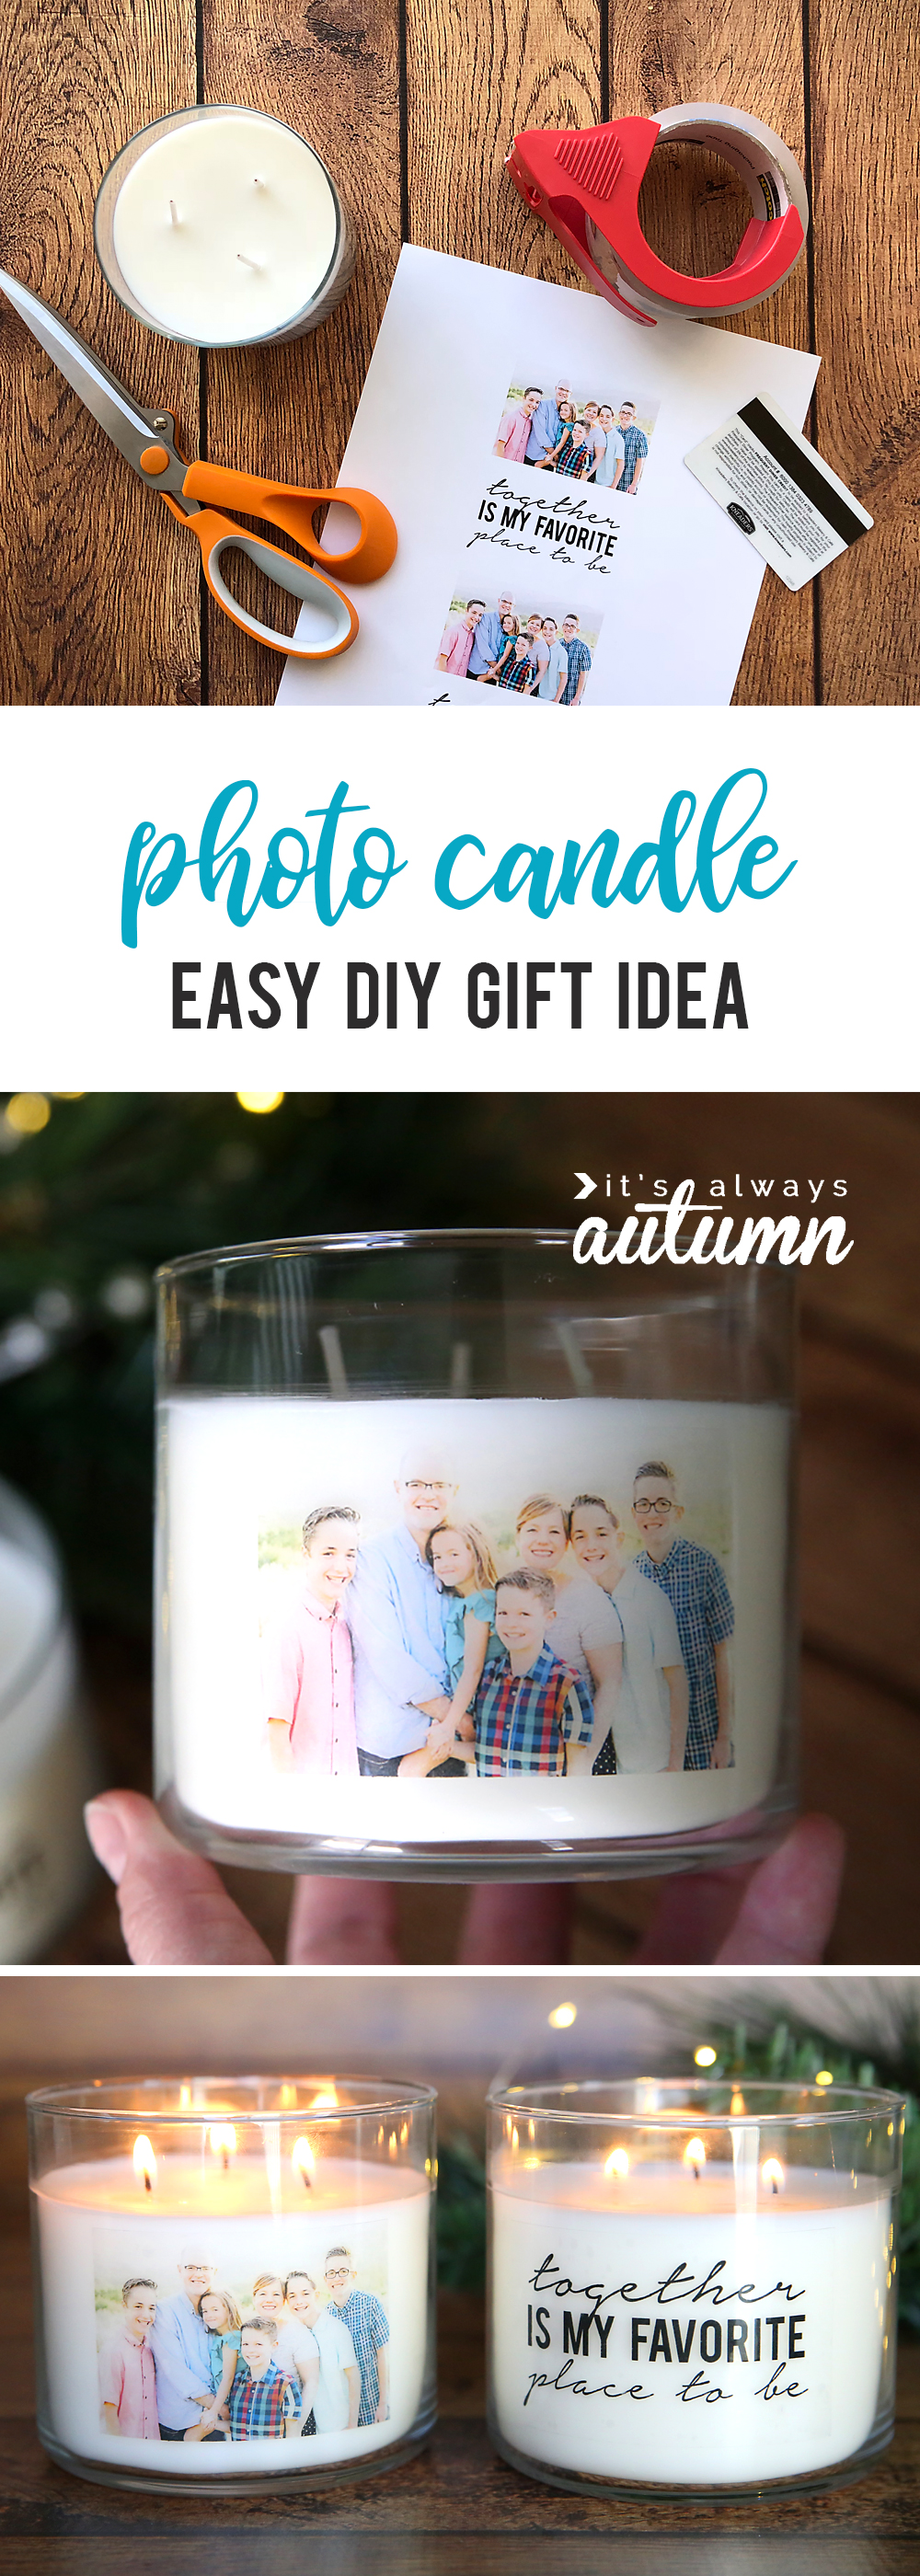
In today’s post: Learn how to make personalized candles with your favorite photo on them using an easy packing tape transfer! This gorgeous handmade gift can be made in 15 minutes for under 5 bucks.
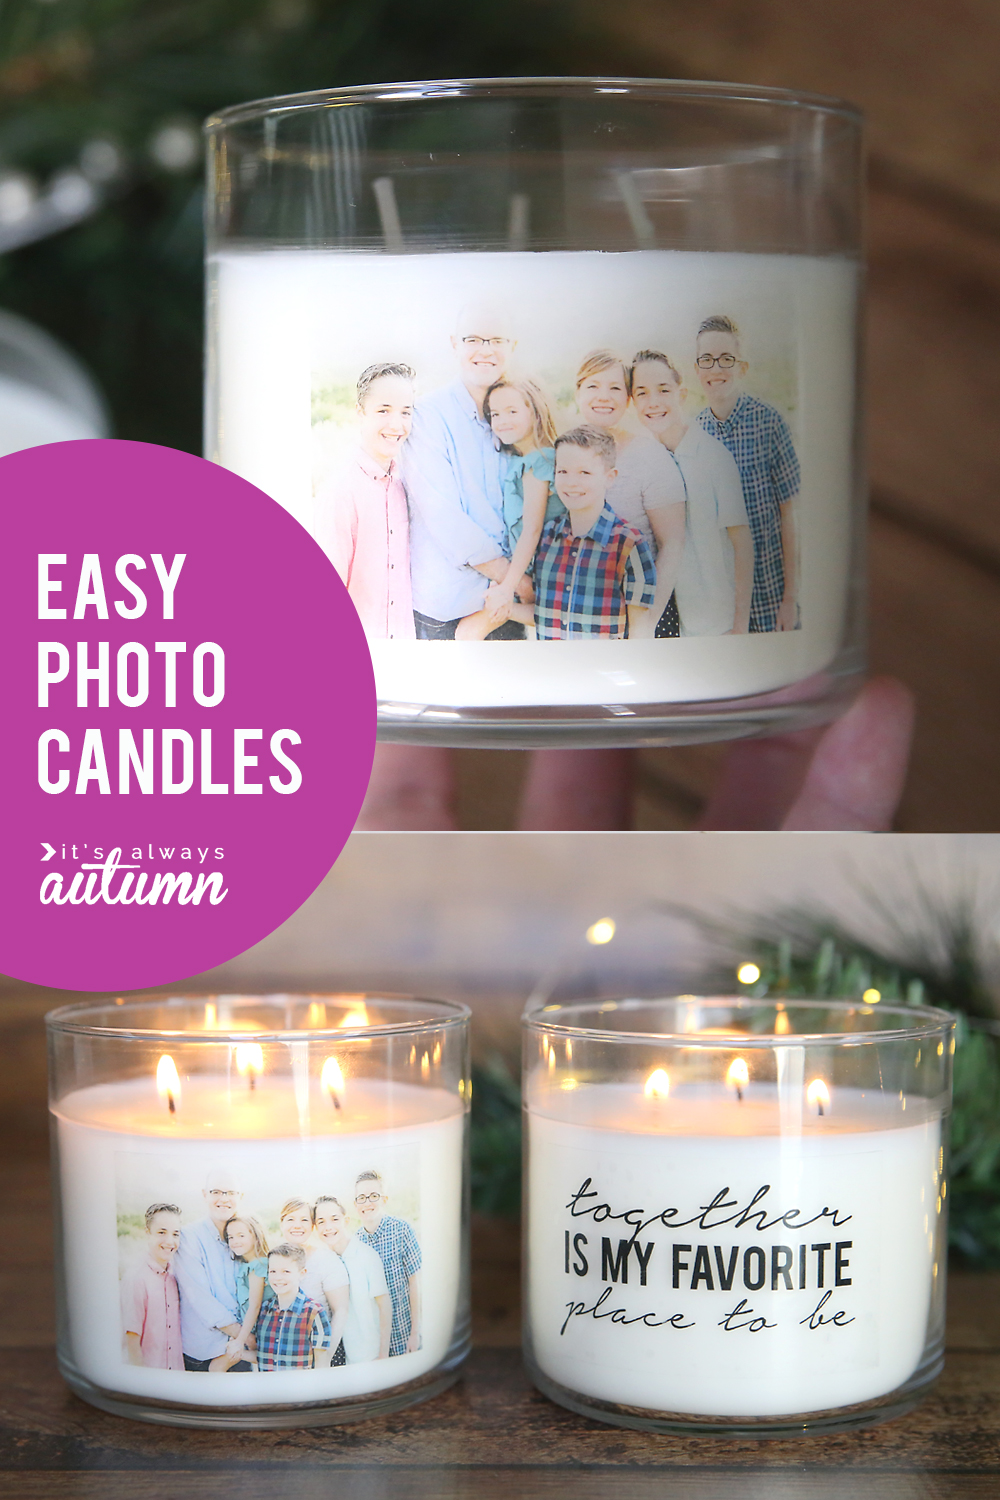
How to Make Custom Personalized Candles
I was browsing a photo gifts site recently and saw cute custom candles that were personalized with photos on the glass. I thought it would be a great gift idea for kids to give grandparents…until I checked the price and found out they were over $30 each! I like presents from my kids to actually be from my kids and $30 is out of their price range (plus who wants to pay that much for a candle anyway?) So I did some digging and figured out how to make our own personalized candle for – get this – less than five bucks each. DIY for the win!
Find more DIY Christmas gifts here
And if you’re thinking it’s worth the money not to have to deal with the hassle of making gifts, let me stop you right there. This is one of the easiest DIYs I’ve ever done. Seriously, it’s simple enough that kids can actually do it on their own and it turns out beautifully! With less than 15 minutes of effort you can transfer a photo onto packing tape, which you can apply to the glass of a candle like a sticker! The tape adheres perfectly, even when you burn the candle for hours.
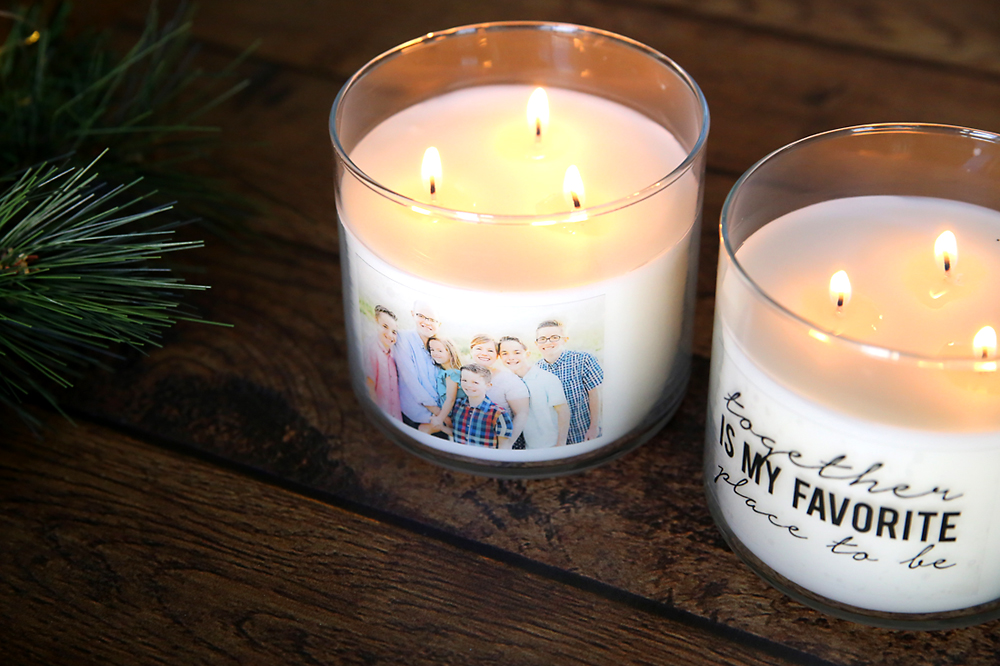
This technique works for putting a photo or special messages on a candle, turning plain candles into beautiful gifts with a personal touch the recipient will love. These personalized gifts make great Christmas gifts and are a fun way to celebrate birthdays. This technique would even work to make memorial candles.
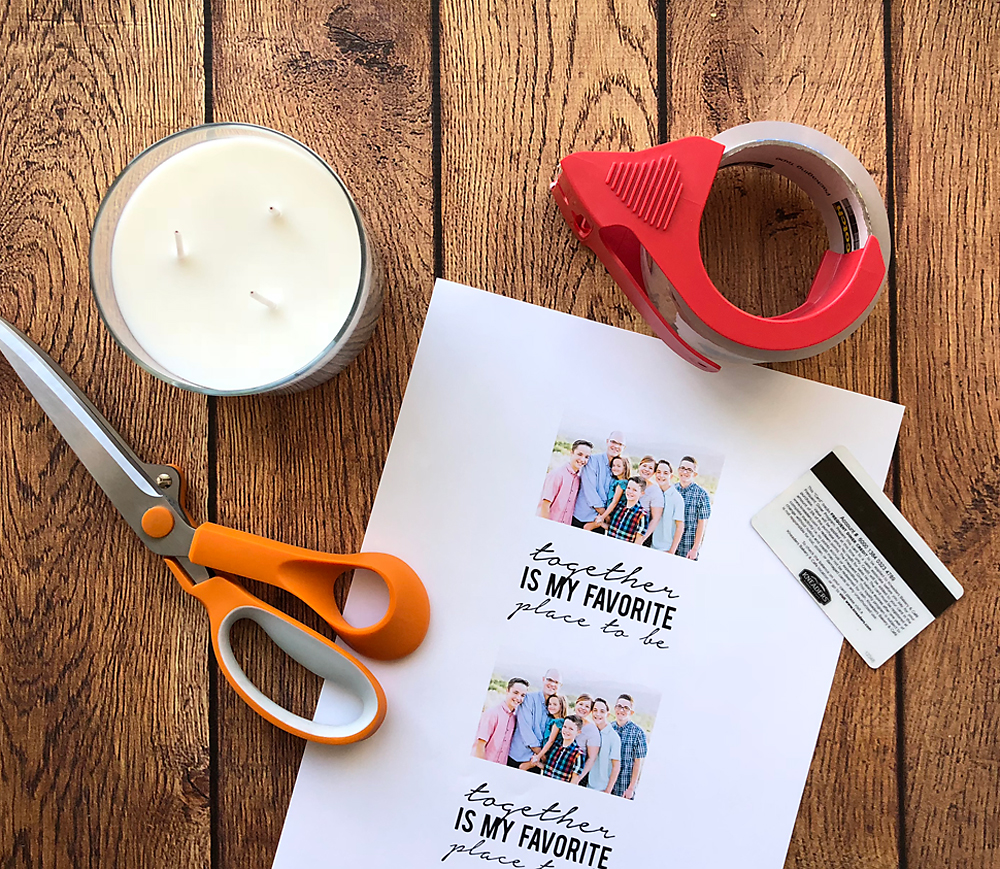
Supplies
The best part of this easy DIY is that there are no expensive supplies to buy. This is all you need:
- White Candle in a glass jar: I found 4 inch tall, three wick candles at Walmart which were under five dollars each at regular price. For best results if you’re transferring a photo, use a white candle – I don’t recommend using a different color candle because the photo won’t show as well. If you are planning to transfer text only, you could use another light colored candle if you prefer a different fragrance, but make sure it’s a light color.
- Packing Tape: I’ve had success with both Duck and Scotch brand tape; please don’t use thin/cheap packing tape from the dollar store
- A Laser Print of your photo on plain printer paper (more info below)
How to get a Laser Print of your Photo
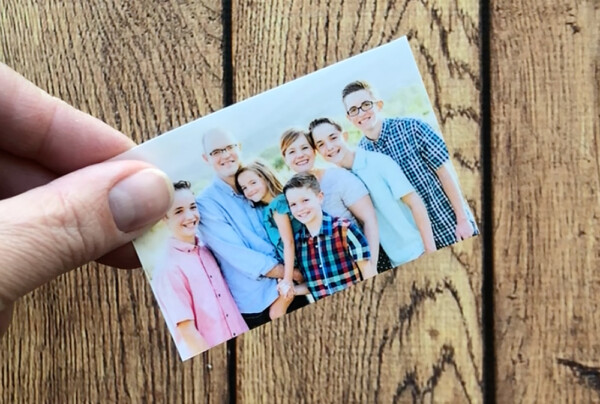
For this project to work, you must have your photo printed onto plain paper from a laser printer. This will not work with a standard photo print that’s on photo paper, and it also will not work if you print it on an inkjet printer. Since most people don’t have laser printers at home, the easiest thing to do is call your local copy shop. You should be able to email them your photos and ask them to print them for you on plain paper with a laser printer. Tell the copy shop to print the photos at 2×3 inches each.
If you want to make multiple candles, you can have multiple photos printed out on the same piece of paper. Even if you are only making one candle, it’s a good idea to ask for a few copies of the photo so you have backups in case of a mistake.
NOTE: I printed out a photo and a quote – you can transfer anything you can print! If you are transferring a photo, use a white candle. If you are transferring a quote or something else that’s all black, any light color candle would work.

Packing tape transfer instructions
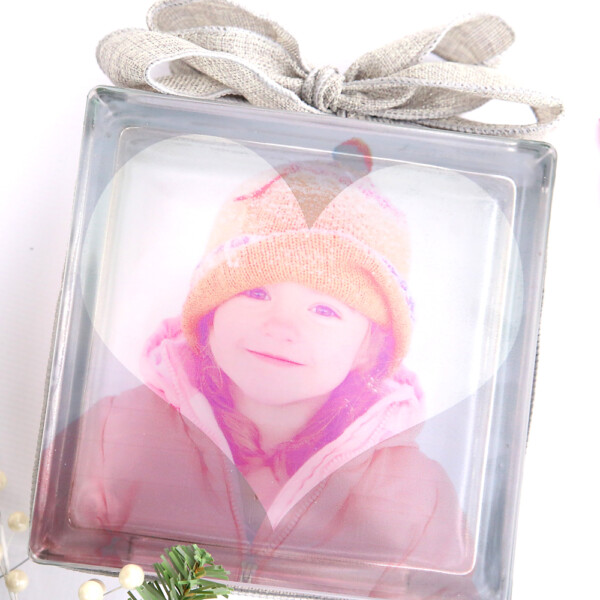
NOTE: Readers have let me know that this technique works much better if you use a photo with a light colored background. Some readers have found that if the photo has a dark background, the tape doesn’t get sticky enough to stick to the candle. If the photo you’d like to transfer has a dark background, it may be better to print it on sticker paper instead of using this packing tape transfer, as described in this glass photo block post.
VIDEO
Watch this video to see how easy it is to make your own personalized candle (written instructions follow):
Cover the Photo with Tape
Pull off a piece of packing tape and tape it down across your photo, making sure the tape completely covers the photo.
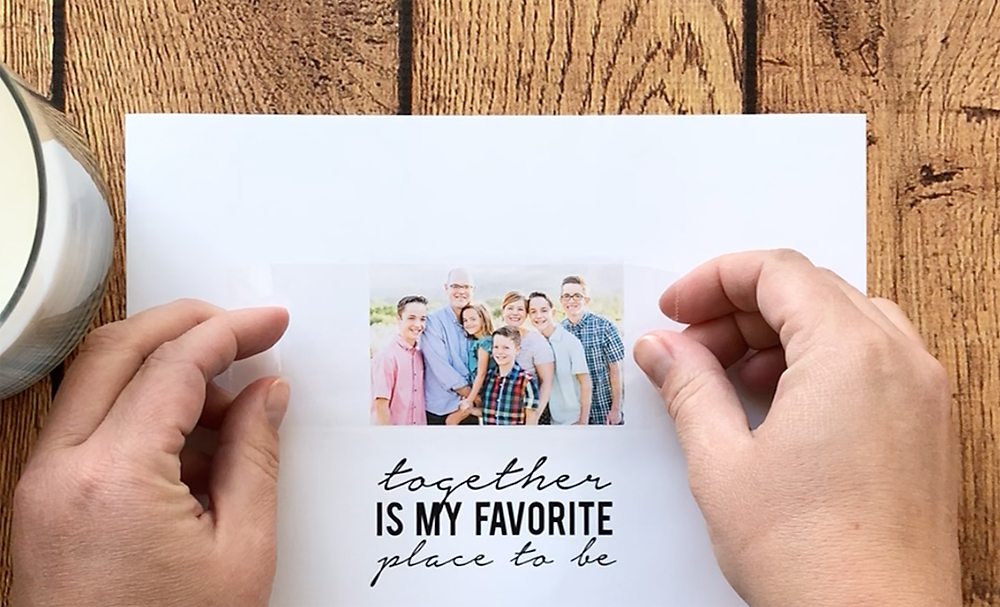
Use a credit card to smooth the tape down. Go over the tape a couple of times to make sure it is well adhered.
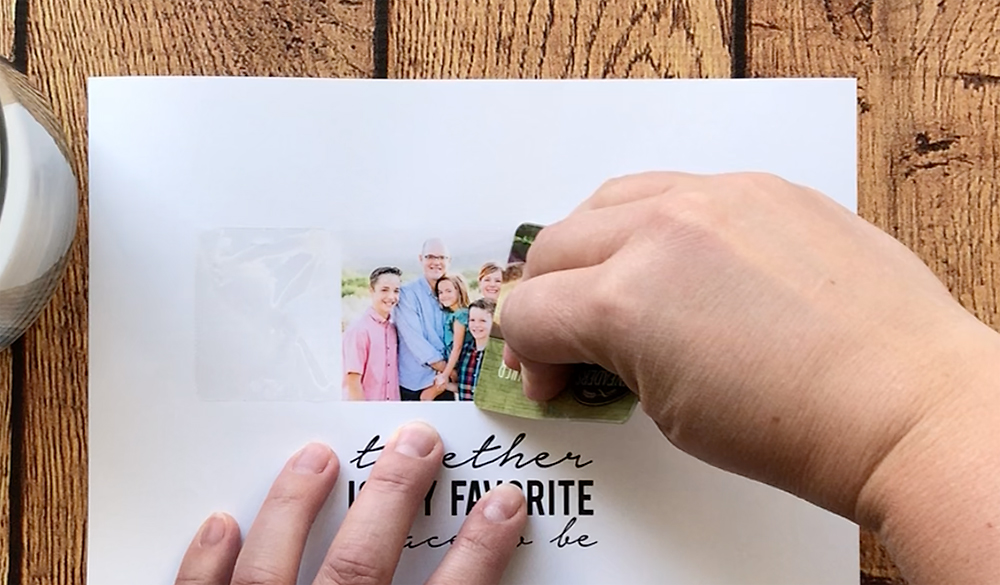
Then cut out the photo:

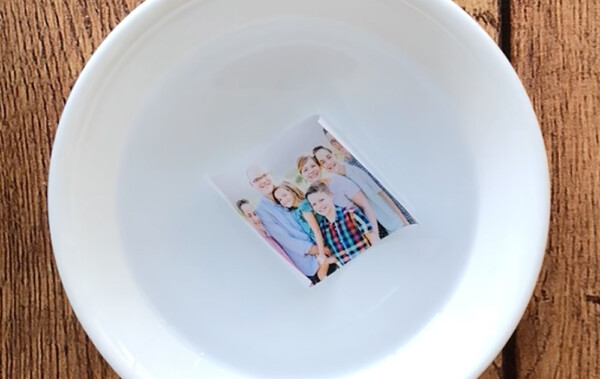
Soak the Photo
Fully submerge the photo in a bowl of water and let it sit for 10-15 minutes.

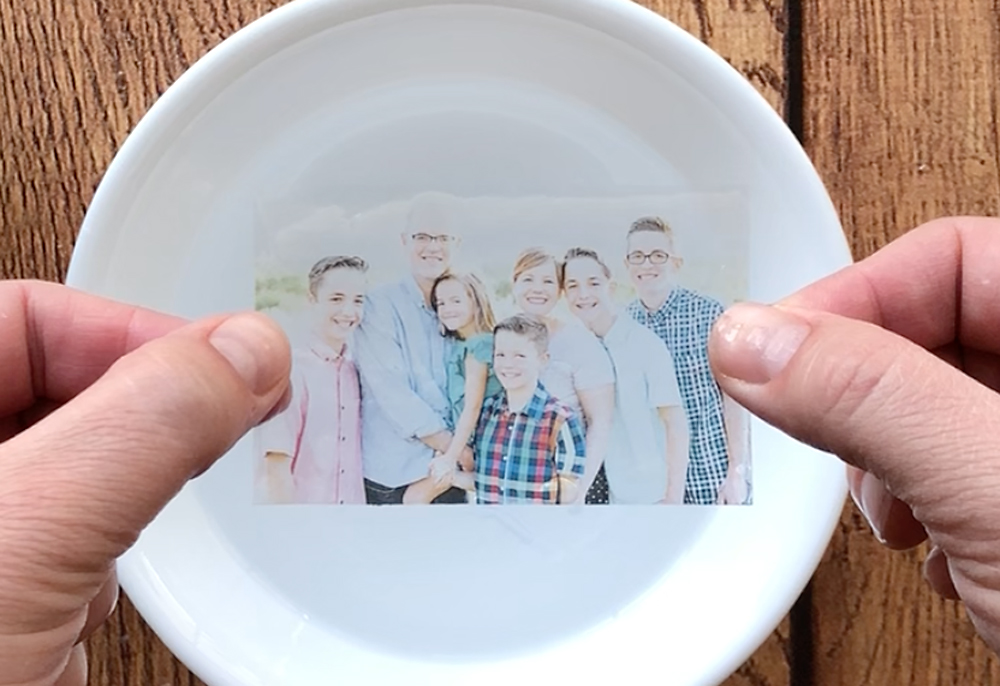
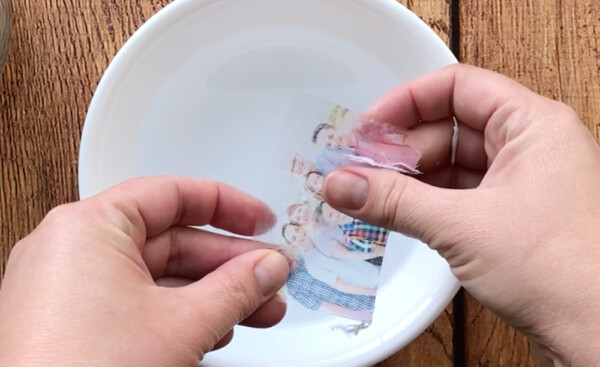
Remove the Paper
Take the photo out of the water and peel the paper off the back. It will leave some white paper fibers, which you can remove by gently rubbing the back of the photo with your fingers.

It can help to dip the tape back in the water a time or two to get all the white paper fibers off. This entire process of rubbing off the fibers only took a minute or two.
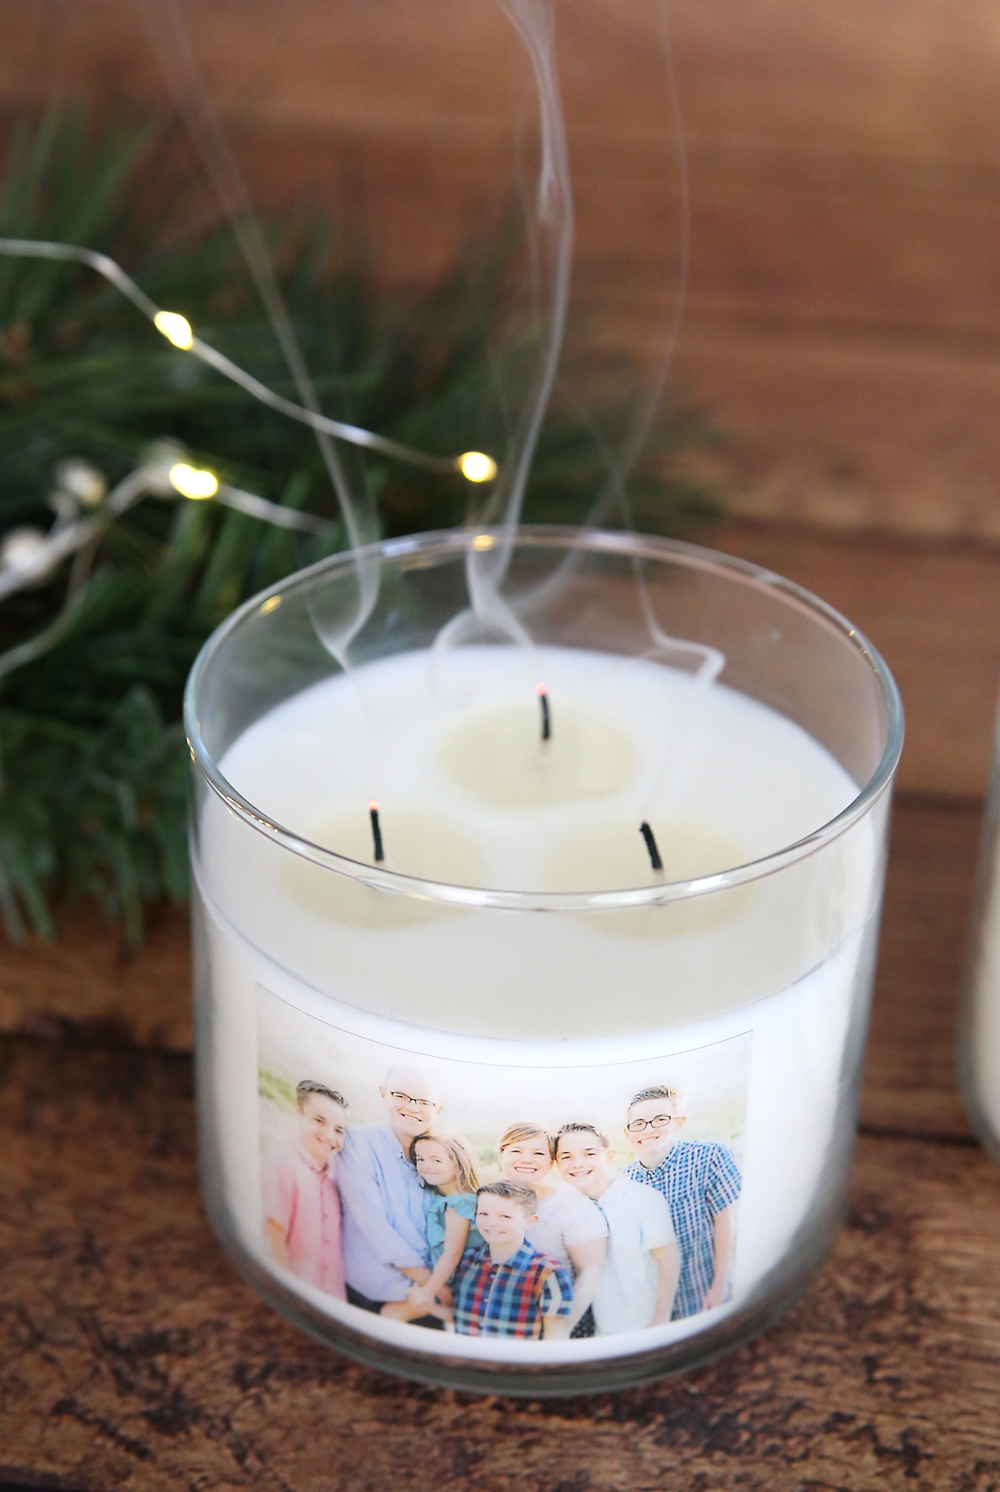
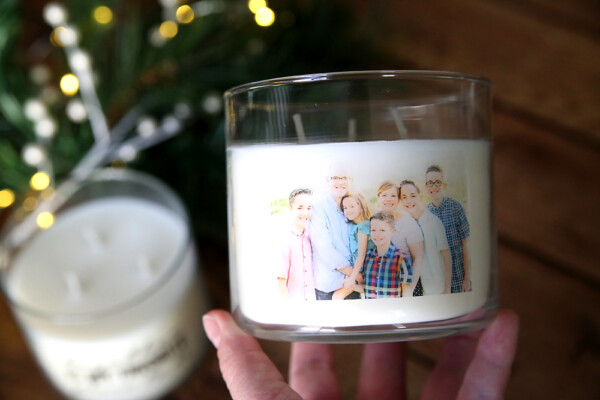
Dry and Apply the Photo
When the back of the photo looks completely clean, lay it face down on a towel and allow it to air dry. When it’s completely dry, the tape will become sticky again, and you can smooth it down on the glass for a personalized candle.
NOTE: Some readers have reported their photos do not get sticky again. I have been unable to replicate that problem; this has worked for me every time. If you have this problem, I recommend:
- Make sure you are using a good quality packing tape
- Be sure you remove all the white fibers from the back of the photo after soaking
- Choose a photo with a light background
- If you really want to use a photo with a dark background, try using sticker paper as described in this post instead.
Personalized Candles
Supplies
- White Glass Jar Candle
- Packing Tape
- Photo laser printed on plain printer paper
Want more project ideas? Sign up to get my favorite easy crafts and recipes straight to your inbox!
Instructions
- Have your photo printed at 2×3 inches on plain paper with a laser printer. Place a piece of packing tape over the photo and smooth it down.

- Cut out the photo.

- Place the photo in a bowl of water and let it sit for 10-15 minutes.

- Take the photo out of the water and gently rub all the white paper fiber from the back of the photo. Dip it back in the water if needed to help remove all the fibers.

- When the back of the photo looks clear, place it face down on a towel and allow it to dry. The tape will become sticky again as it dries. When it's fully dry, stick it to the side of a glass jar candle.


Video Tutorial
For more examples of packing tape image transfers, visit this post at A Piece of Rainbow.
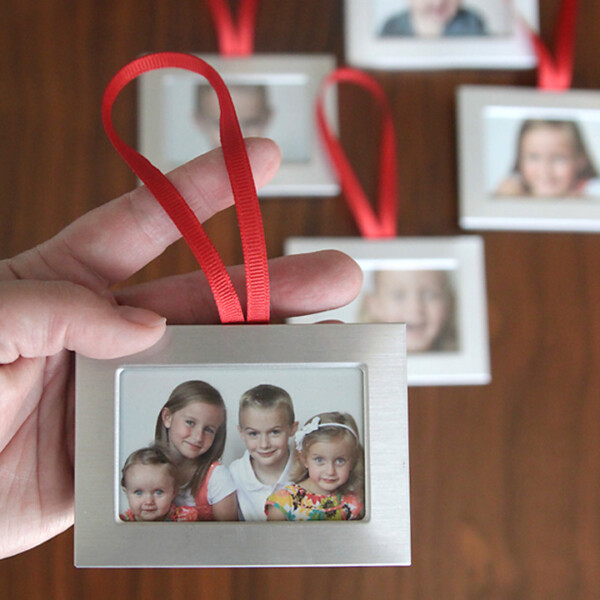
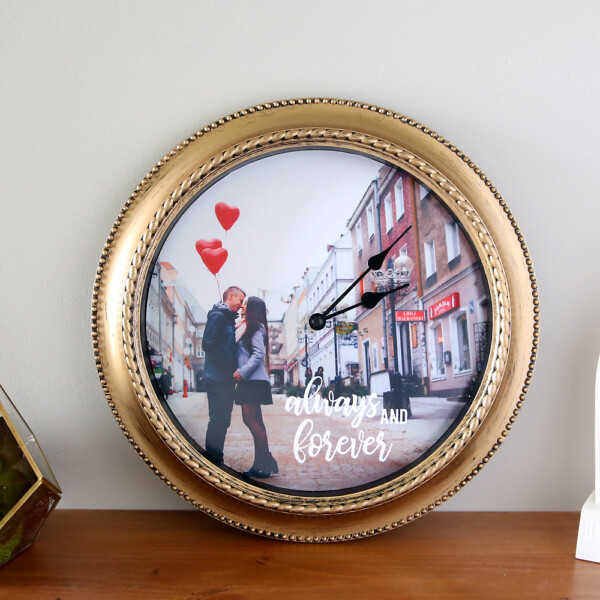
Looking for more DIY gift ideas? Check out these posts:
40 DIY photo crafts and photo gift ideas
25 Cheap (but gorgeous) Handmade Gift Ideas
25 Handmade Gifts People Actually Want!
Easy Wood Plank Photo Transfer

Debbie says
Where do you find the wording to put on the candles? As on the one above?
Rehoboth says
I very much appreciate your contribution
Thanks
Tammy says
can an inkjet printer be used instead of a laser printer?
Felicia dick says
I am going to make this for my boyfriend