In today’s post: Learn how to make a cute skirt from an oversized shirt.
When I was a kid, sewing your own clothes was always cheaper than buying clothes at the store. But fabric is expensive enough these days that making your own clothes doesn’t always save money anymore. That’s why I always keep my eye out at thrift stores and garage sales for items I can cut up and refashion – it’s a great way to get fabric for pennies!
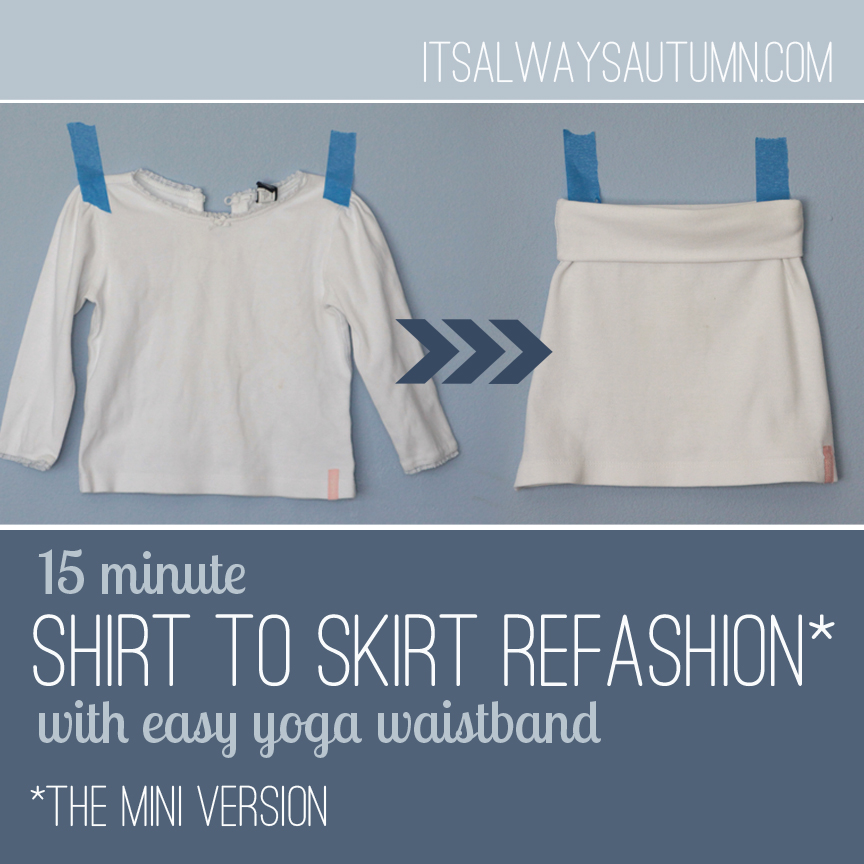
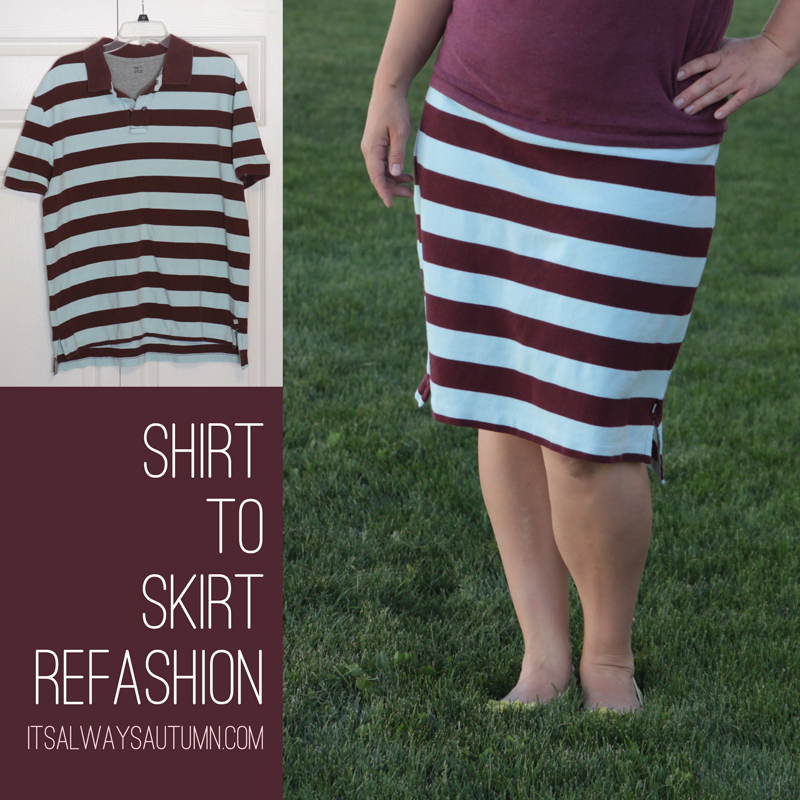
Today I’m going to show you how to make a super easy skirt out of a shirt. I have two examples – using a girl’s shirt to make a little girl’s skirt, and using a man’s shirt to make a woman’s skirt.
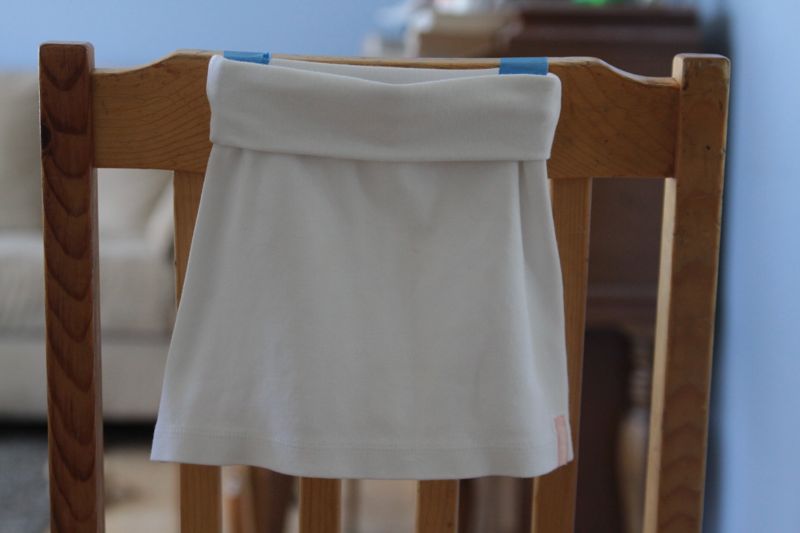
This is what the girl’s version looks like:
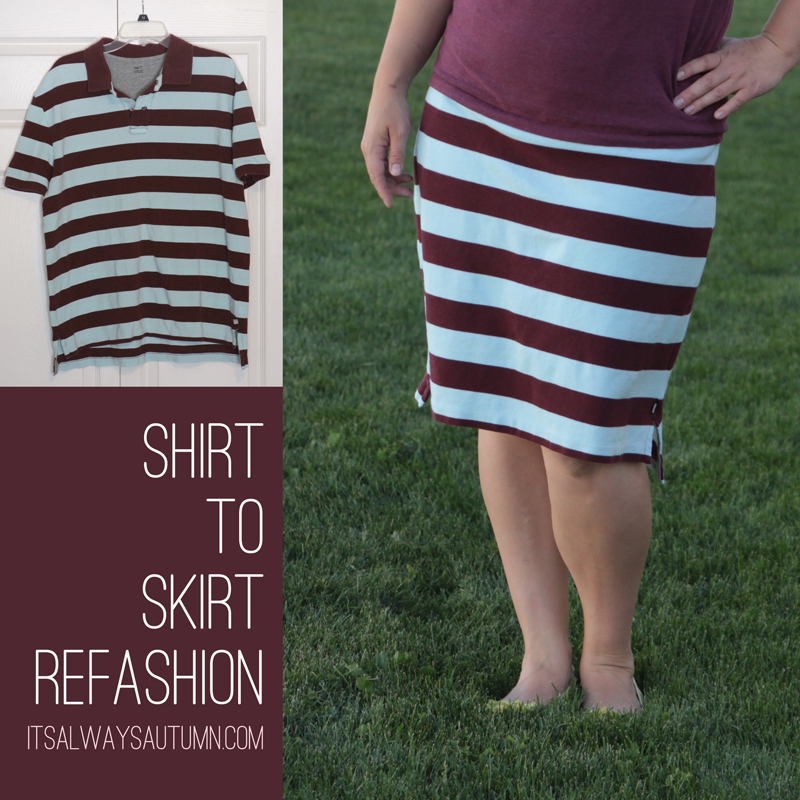
And here’s the women’s version:
How to make a skirt from an oversized shirt
First things first: this will only work with a knit (stretchy) shirt. And the sleeves need to be long enough or stretchy enough to sew together into a waistband that will go around your intended recipient’s waist. If the sleeves aren’t long enough, look through your stash to see if you have any scraps of knit that would either match, or make a cute color blocked skirt.
When I sew on knits I generally use a long stitch and a high tension setting to make sure the machine doesn’t stretch the fabric out as I sew.
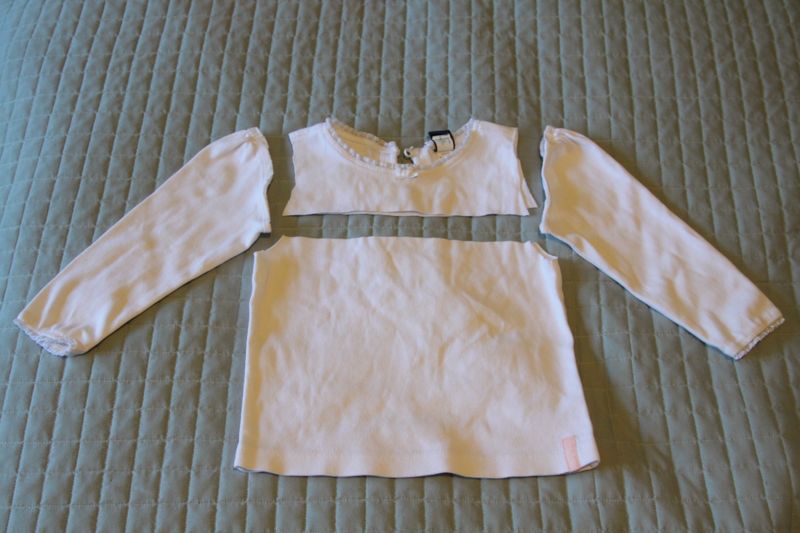
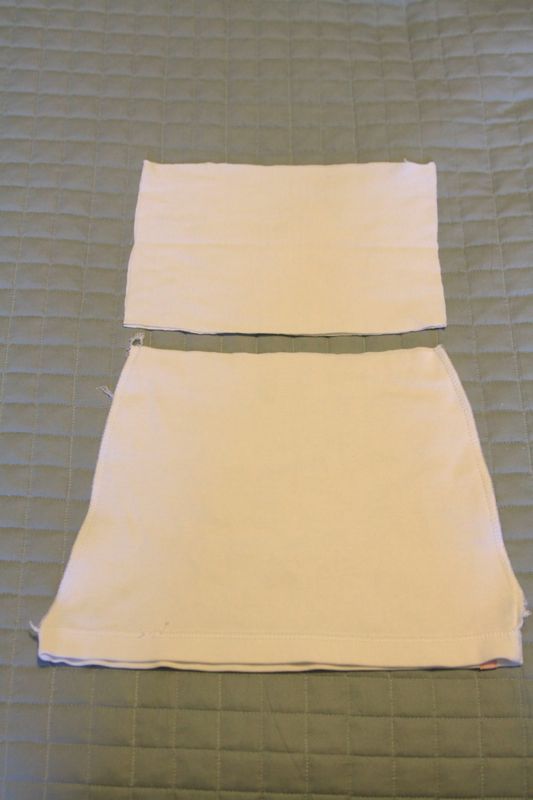
Start by cutting the sleeves off the shirt, then cutting straight across under the neckline. If there is a button or two on the back of your shirt, you’ll want your straight cut to be just below the lowest button.
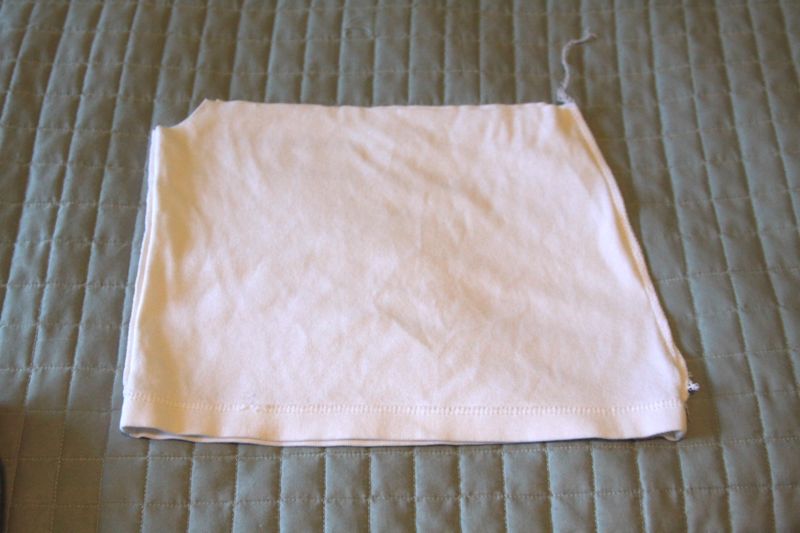
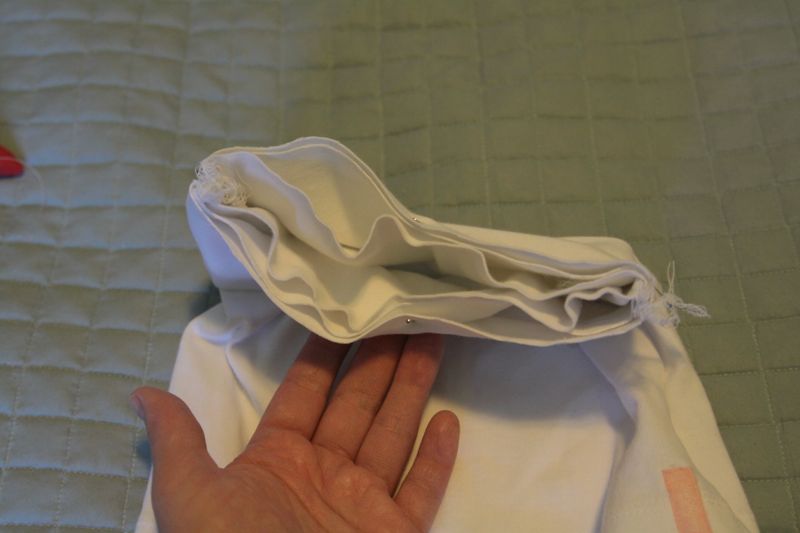
Now you’ll want to turn the main piece of the shirt inside out and sew new side seams, starting where the arm curve meets the top of your shirt pieces, and then gradually tapering out into the old side seam near the hem. The photo below shows what your shirt/skirt looks like before the new side seam on the left, and after the new side seam on the right.
If you’re into things like measuring, now would be a good time to try the skirt on your little girl. Check to make sure it’s not way too long or way to wide. If it’s too long, cut length off the top (we’re going to keep that bottom hem intact to speed things up here). If it’s lots too big around the waist, pin it to fit comfortably and sew new side seams, again tapering out to meet the original side seams near the hem.
If your baby girl is asleep (and of course she is because if she were awake you wouldn’t be sewing) use a skirt or pair of shorts that fit her to determine if you need to take the skirt in at all. If you’ve started with a shirt that fits her fairly well, chances are the skirt is going to be just perfect because baby girls have about the same chest and waist measurements.
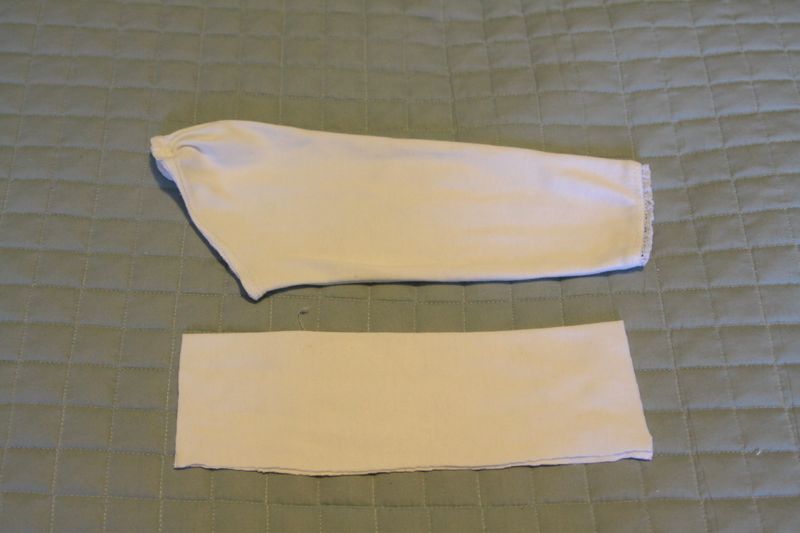
Now pull out those sleeves. Cut them into long rectangles, as shown in the photo below (leaving the fold at the top of the rectangle).
Open up your rectangles and lay them one on top of the other, right sides together. The rectangles will become the waistband for the skirt. How wide they should remain depends on how stretchy your fabric is. Since we’ve used sleeves here, the stretch will be mostly up and down, which means the fabric will be less stretchy side to side (if you were cutting a waistband out of fabric, you’d usually cut it with the stretch side to side). Since this waistband is NOT very stretchy side to side, you’ll want it to be almost wide as the top of the skirt. If you are using material that IS very stretchy side to side, you’ll want to cut it an inch or two shorter than the width of the skirt. Hope that made sense.
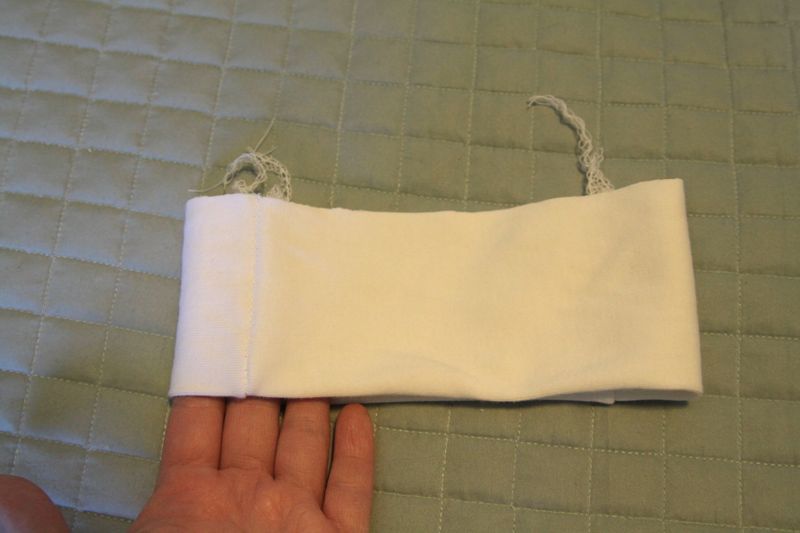
Alright, so you still have your waistband pieces right sides together, as seen above. Sew down each short side, making a ring or circle of fabric. Fold that ring of fabric in half with wrong sides together (so the seam allowances are not visible):
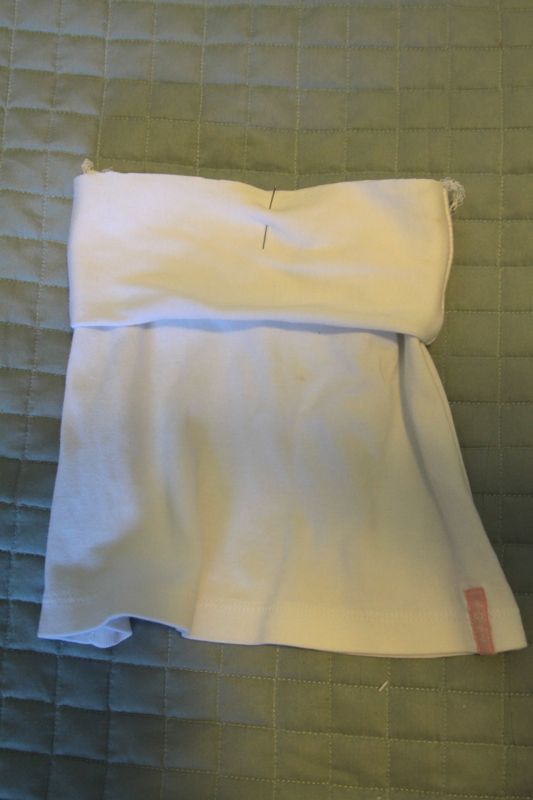
Now turn your skirt right side out again, and lower the waistband onto it, matching up the side seams and pinning. All the raw edges (two for the waistband, one for the skirt) should meet up at the top. Pin side seams, then pin center front of the skirt to center front of the waistband, and the same with the center backs.
Since the waistband is not quite as wide as the top of the skirt, the skirt will bunch up a bit inside the waistband, like this:
As you sew around that circle to attach the waistband to the skirt, you’ll need to stretch the waistband fabric enough to smooth out the skirt fabric (confused? it’s the same as the process used to attach the ribbing around the arms on the dress here.)
Once the waistband is attached, you’re done! Just press your seams, fold the waistband down, and your shirt is now a skirt!
Turn a men’s shirt into a women’s skirt
I used the same process to turn this men’s polo shirt ($2 at a yard sale) into a skirt for myself, with just a few adjustments to the waistband because this shirt didn’t have long sleeves. I was originally planning to cut this polo down into a shirt for myself, but then I realized I had a plum colored tee that matched it really well. So it became a skirt instead. Here’s how:
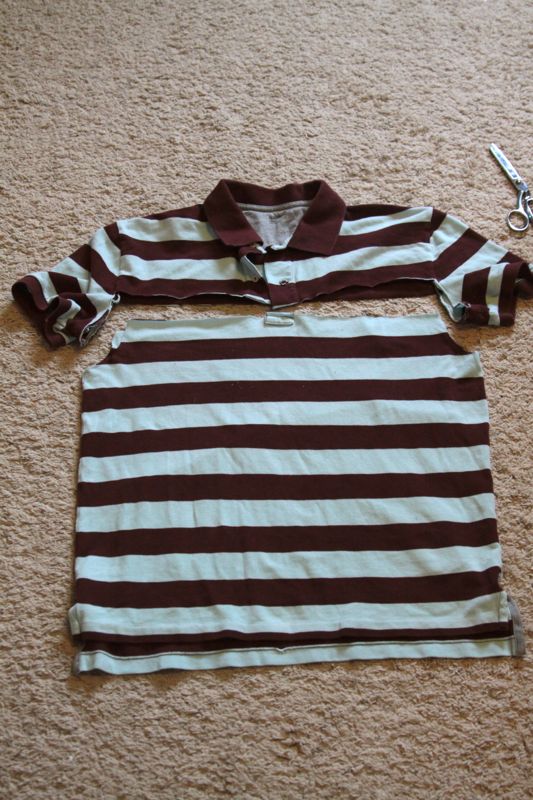
I started by cutting off the sleeves and then straight across the top under the buttons:
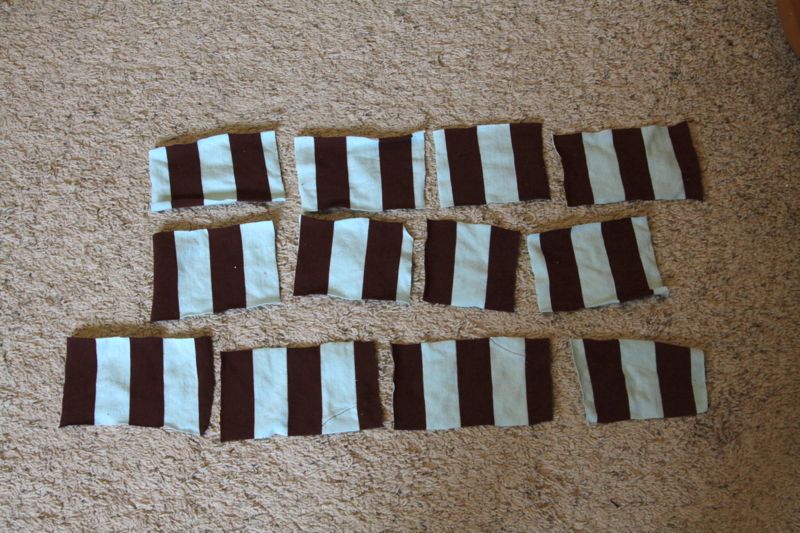
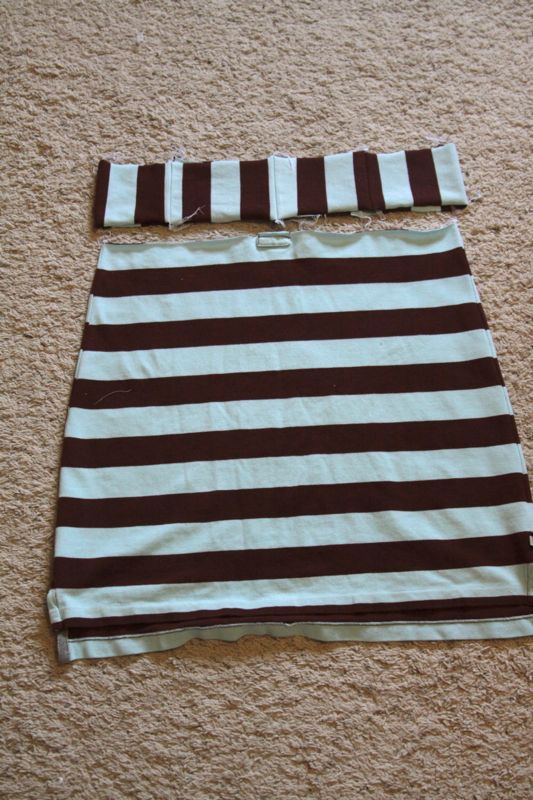
I sewed new side seams, started at the arm curve at the top and tapering into the old side seams near the hem. Then I ran into a little problem – not enough fabric left to make a yoga waistband. I considered just using some white knit I had on hand (which would have worked fine since I doubt I’ll ever be tucking shirts into this skirt) – but I decided to piece together a waistband with the fabric I had left instead. I cut up the sleeves and back yoke into pieces the same height:
Then I sewed them together, matching the stripes, into a long ring of fabric.
Because this waistband was very stretchy, I ended up cutting it quite a bit shorter than the width of the top of my skirt. When making a yoga waistband you don’t add any elastic, so you have to be sure the waistband itself is tight enough around your waist to keep the skirt up. I attached the waistband to the skirt as shown above, and that was all – a new skirt!




Michelle says
This is great! Thanks! In 2020, my employers gave everyone who wanted them tshirts as a feeble attempt to try to show they appreciated us. If they’d been nice tshirts, that would’ve been fine, but, anyway! That’s not for here.
The point is, I have a 4X men’s tshirt without any style to it – it’s just a generic tshirt that I’ve only been wearing to lounge around it, but lately I’ve been wanting to do something different with it, and I don’t want to just toss it or donate it. It’s good quality – it’s just not something I’d ever wear out in public. I haven’t worn it all that much, either.
When I saw this post, I figured I could turn it into a skirt, as it’s white & I want a white skirt for wearing to work in the summer. Thanks again for the post. I can’t wait to try this out!