
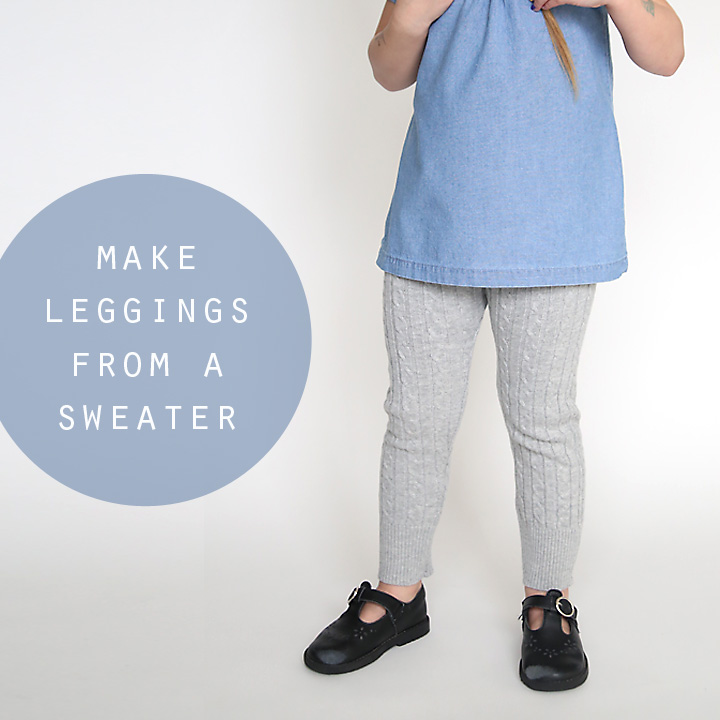
A few years ago I made my daughter a pair of leggings out of an old sweater. They were cozy and soft (and adorable!) and she wore them through the winter, then promptly grew out of them…and I forgot all about them. Until I saw a pair of sweater leggings at the store a few weeks ago and remembered how easy they were to make. So I headed to the thrift store where I picked up a few cable knit sweaters for a couple dollars each and added two new pairs of leggings to my daughter’s wardrobe in about an hour.

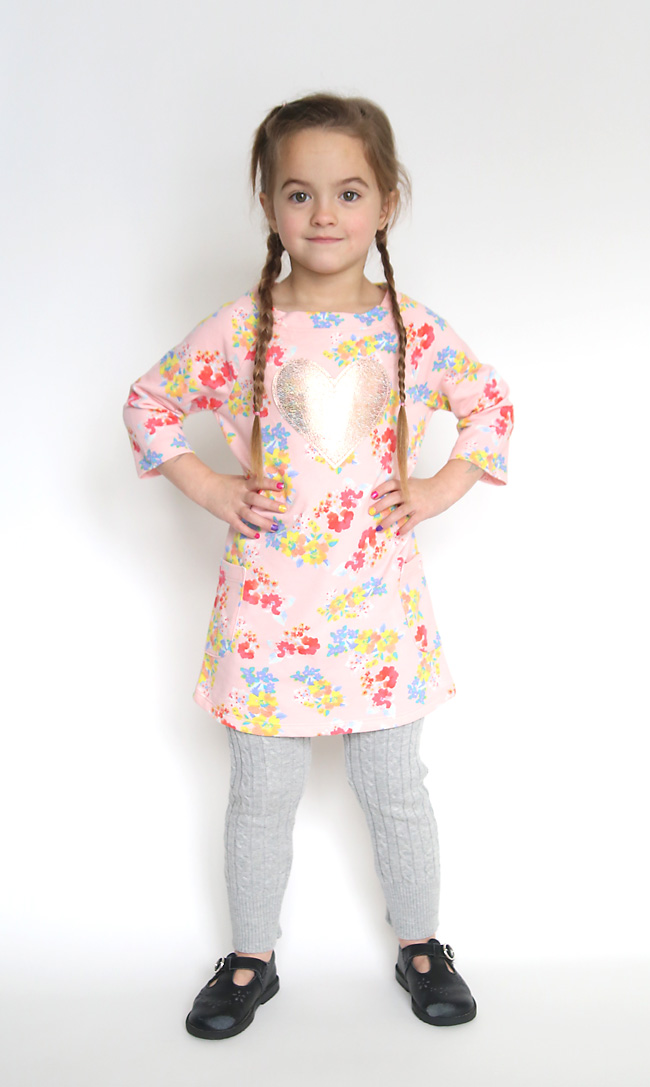
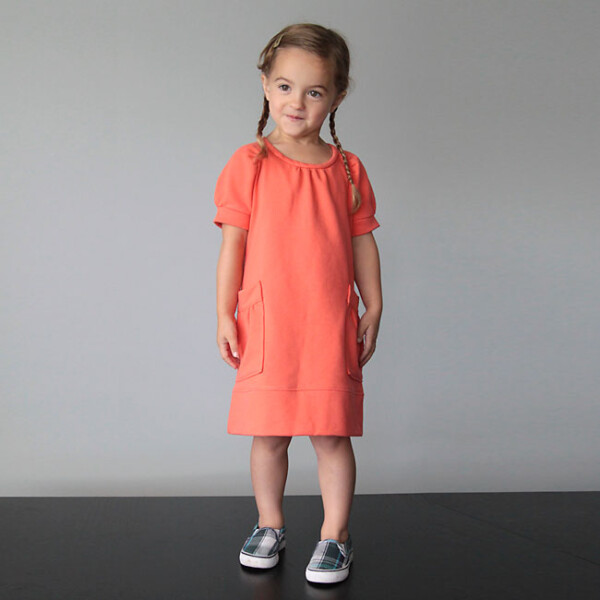
Cute, right?
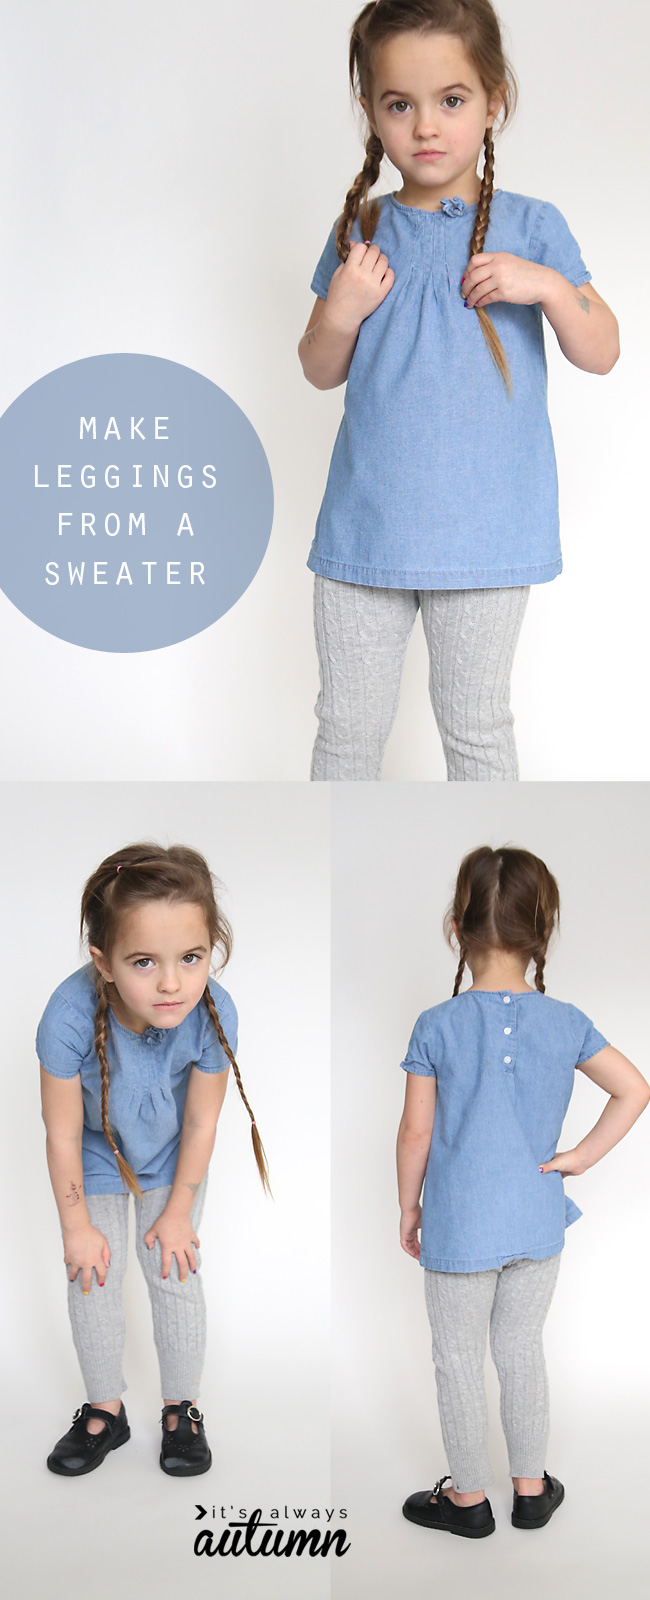
Perfect for keeping her legs cozy during these chilly days.

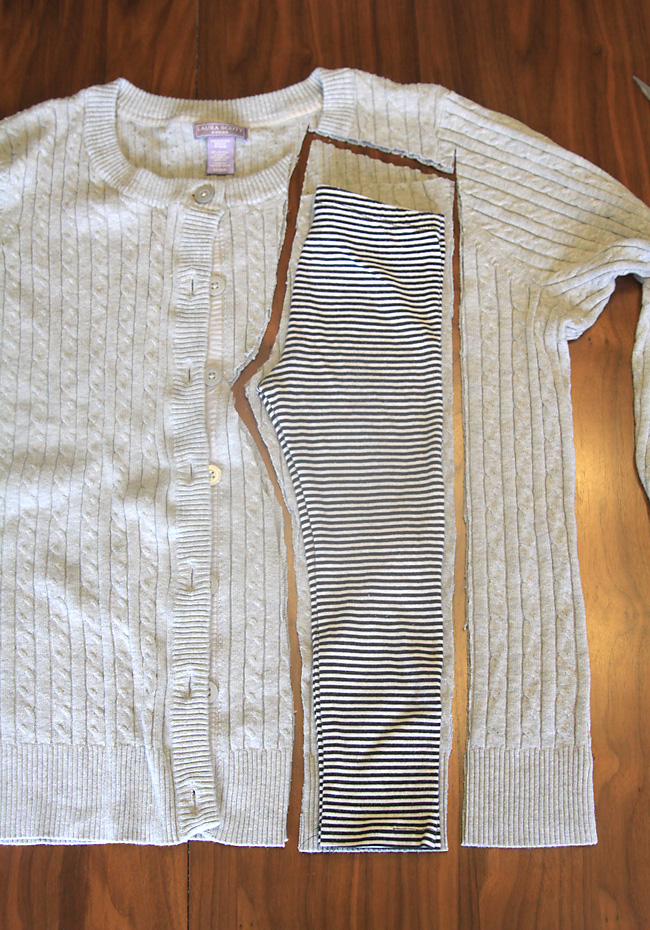
Here’s the before and after (goodbye dated cable knit sweater, hello sweater leggings!):
If you’re ever made leggings before, you don’t really need a tutorial. But I’ll give you a quick one anyway. One thing to note – I sewed these up with my serger, which makes this project super simple and quick. If you don’t have a serger, you’ll probably want to read this post for tips on sewing with sweater knits.
My daughter wears a size XS 4/5, which is about the biggest size this will work on using a woman’s sweater, but you could likely squeeze a larger size out of a men’s sweater.
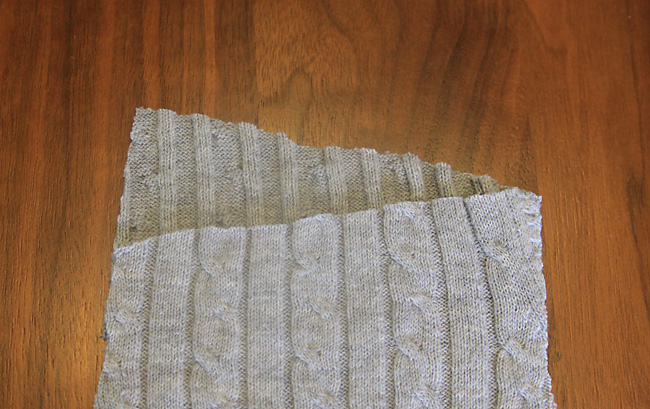
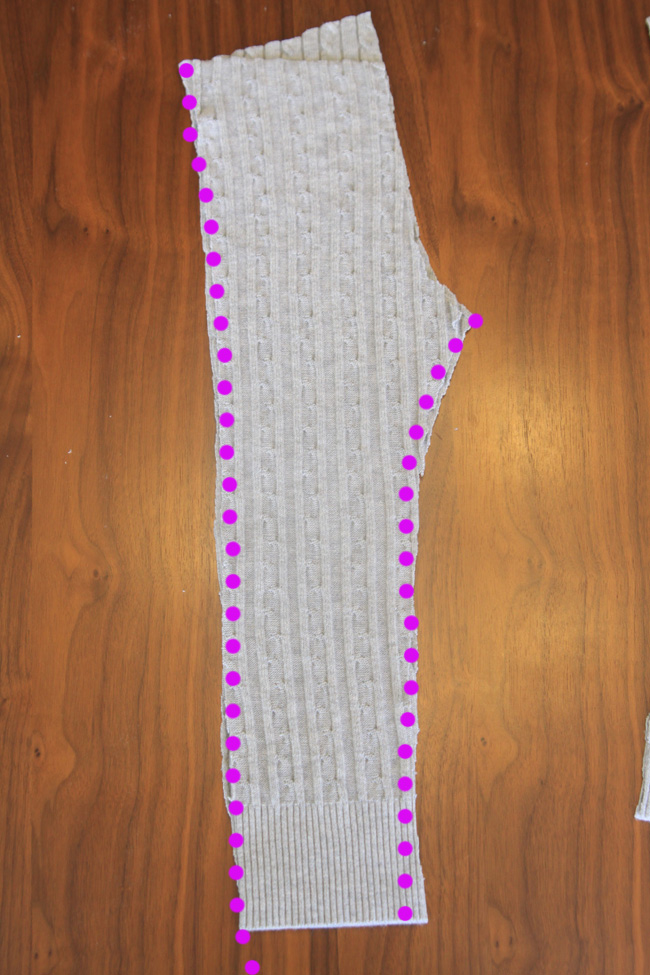
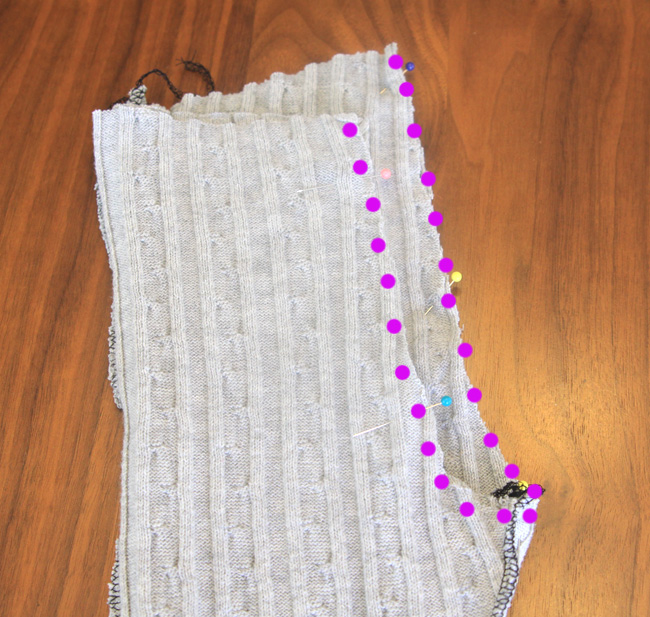
Start with a pair of leggings that fit well and fold them as shown below. Lay the leggings out on your sweater, matching up the hems, and cut around the leggings, adding 1/2 inch seam allowance on all sides and about 1.5 inches extra at the top. Then flip the leggings over and cut a mirror image from the other side of the sweater.
You’ll now have 4 total pieces. 2 of these will be back pieces, and 2 will be front pieces. The 2 back pieces will angle up toward the center seam, as you can see above. For the 2 front pieces, trim the top so they angle down to the center seam, as you can see below. This gives extra room for the tush while making sure the waistband can sit below the belly in front.
Next, place one front piece on top of one back piece, right sides together, and sew down the outer side of the leg, and the inner side of the leg, as shown below. Repeat for the other leg.
Turn one of the legs right side out, and place it inside the other leg, which is still inside out. Match up the “rainbow” or curved seam that will go under the crotch, and sew. This seam will have the most stress on it, so you may want to sew it twice to reinforce it.
Next, cut a piece of elastic just a smidge shorter than your daughter’s waist measurement (1 inch wide elastic would be best, but I only had 1.75 inch wide on hand, so that’s what I used). Sew the short ends of the elastic together to make a circle. Turn the leggings right side out, and slip the elastic over the top. Sew the elastic to the leggings with a zigzag stitch, as shown below (my zigzag is pretty wonky because my machine is old…)..
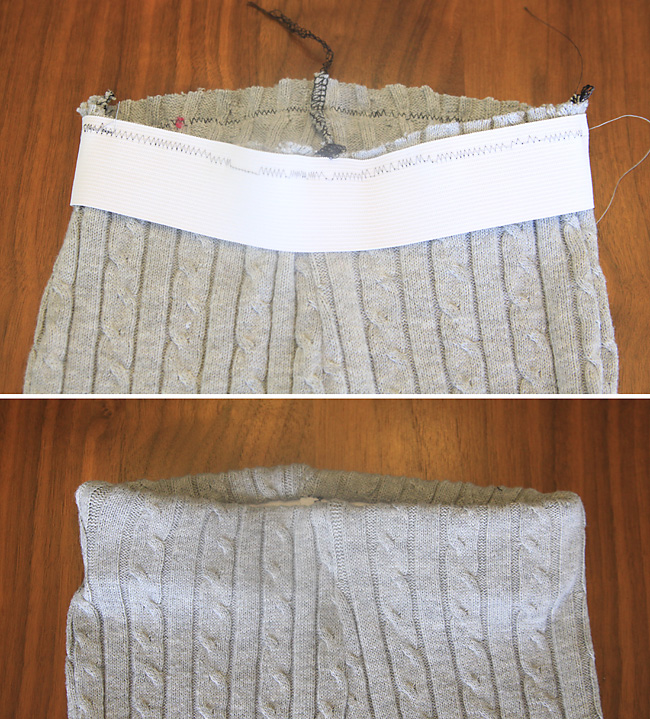
Then you can just flip the elastic to the inside of the leggings. Tack it down along the front, back, and side seams so it stays in place. And that’s it!


Annekatrin says
SOOO cute!
I normaly use the sleeves of shirts. love those cuffs
Chelsea @ Life With My Littles says
I love these SO MUCH! I have to make some for my daughter! Thank you for this genius idea!
Margaret says
Very nice! And the sleeves could make a matching pair for a little sister, or the thrift shop!
lCJinRoslynPA says
Oh, too cute. I just want to know – how do I make some for ME?
Nina says
Now I have the perfect use for those sweaters I never wear! Thanks