
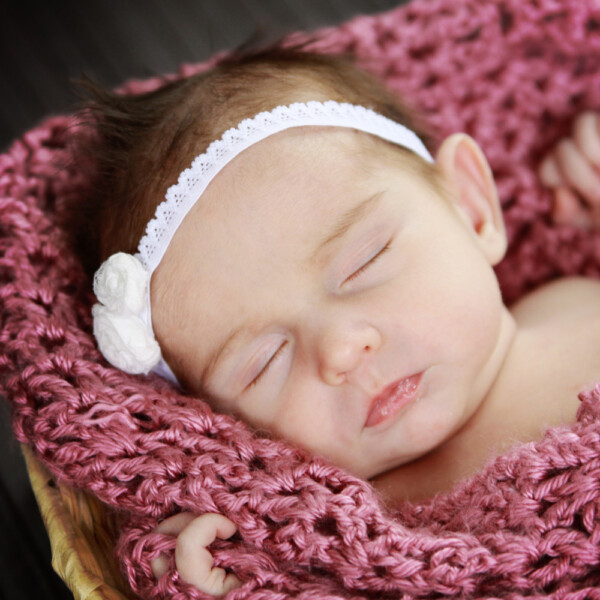
I hope you’ve been following along with this five part newborn photography series geared toward teaching you how to take great photos of your newborn. In case you’re just joining us now, here’s my photography disclaimer and links to each blog post in the series:
I don’t claim to be a pro, and following the steps I’m outlining here isn’t going to make you a pro either. There’s a lot more to photography than props and poses. If you want amazing portraits of your newborn, your best bet is to invest in professional photos.
However, if you don’t have hundreds of dollars to spend on a newborn photo session, there are things YOU can do to get great photos of your newborn, and that’s the point of this blog series. Here’s what you can look forward to in the next few weeks:
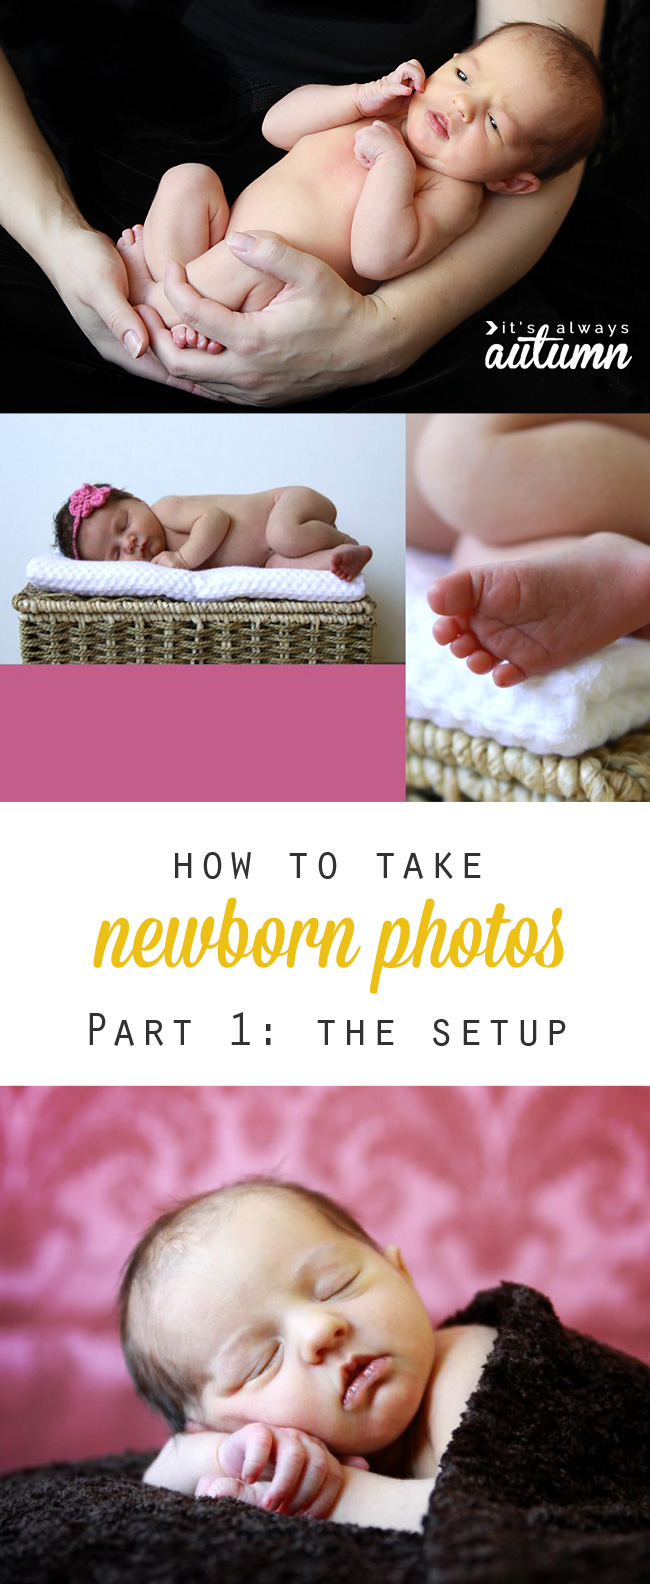
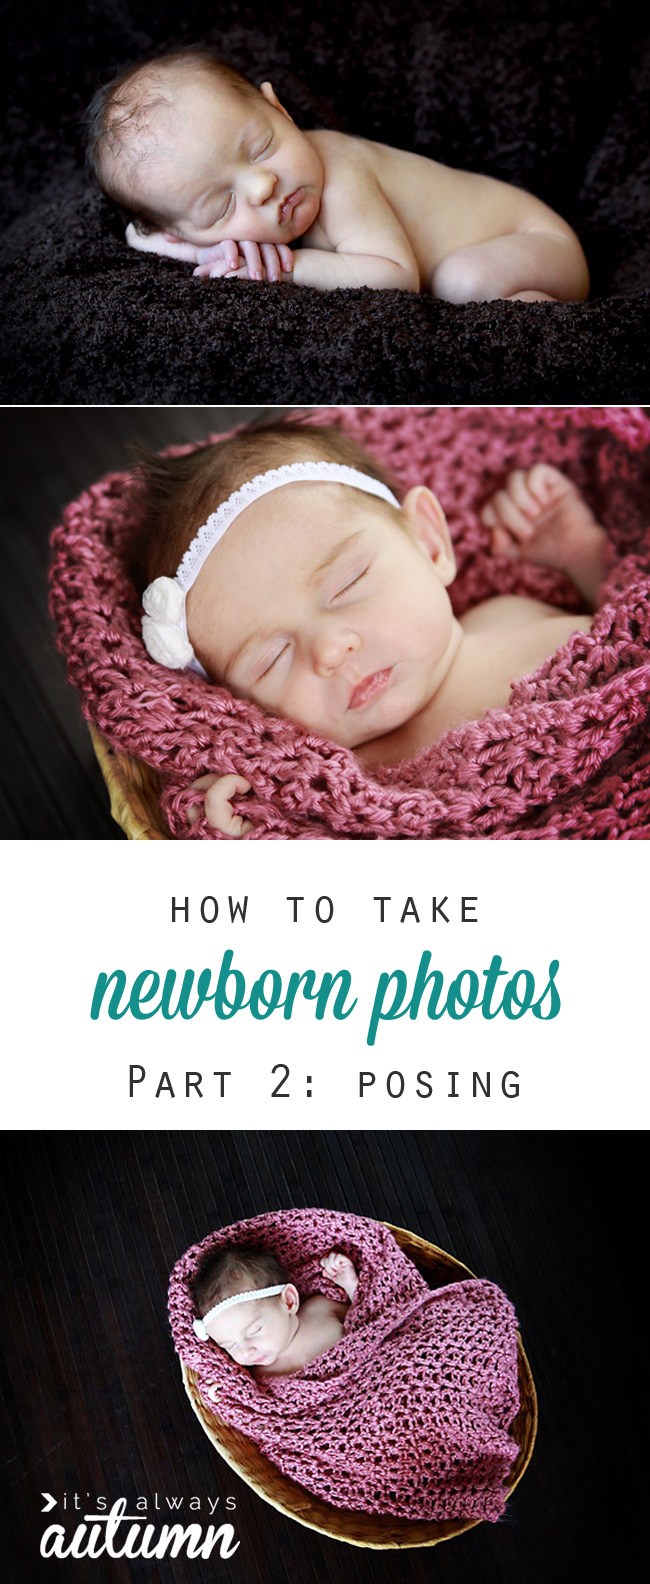
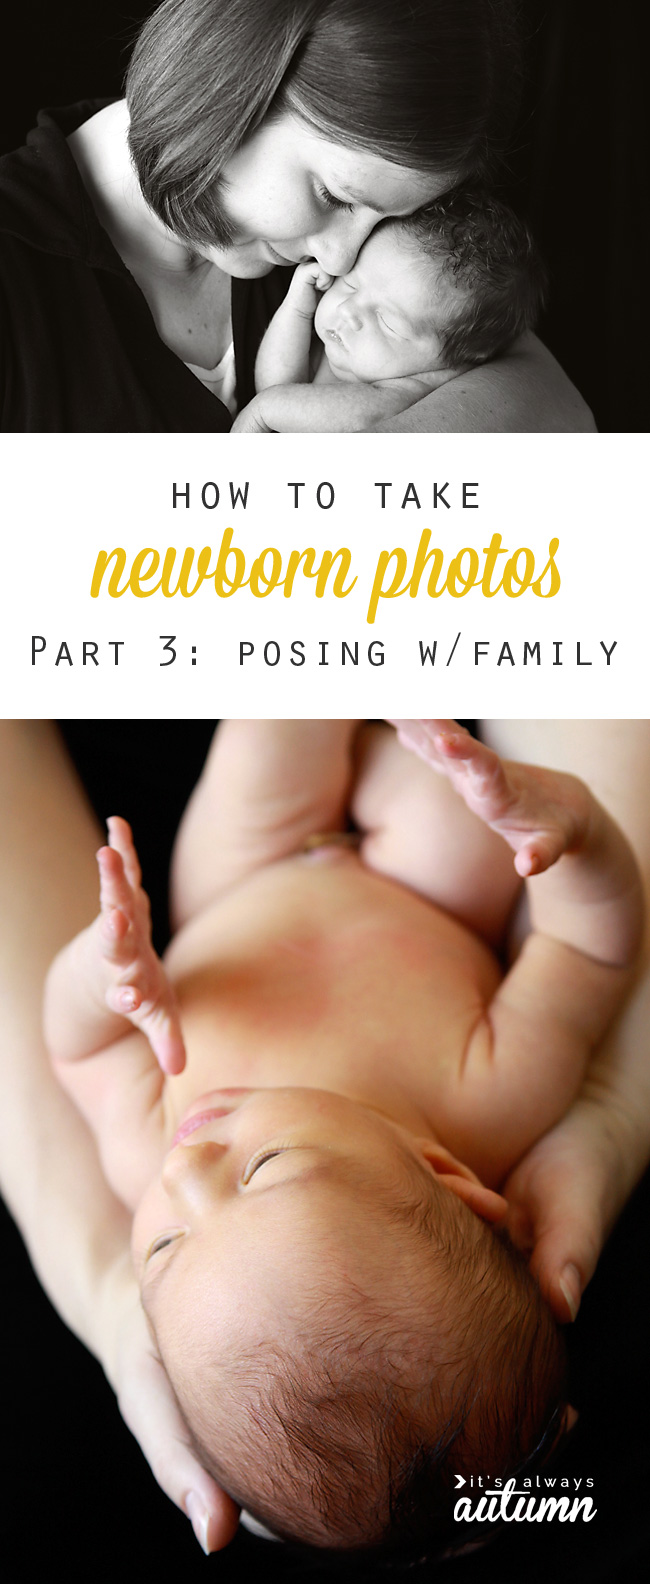

Part 1: the basics: newborn props + setup | Part 2: DIY baby photoshoot: posing | Part 3: posing baby with family members | Part 4: How to edit baby photos | Part 5: how to get this shot (setup to post processing)
How to get this shot
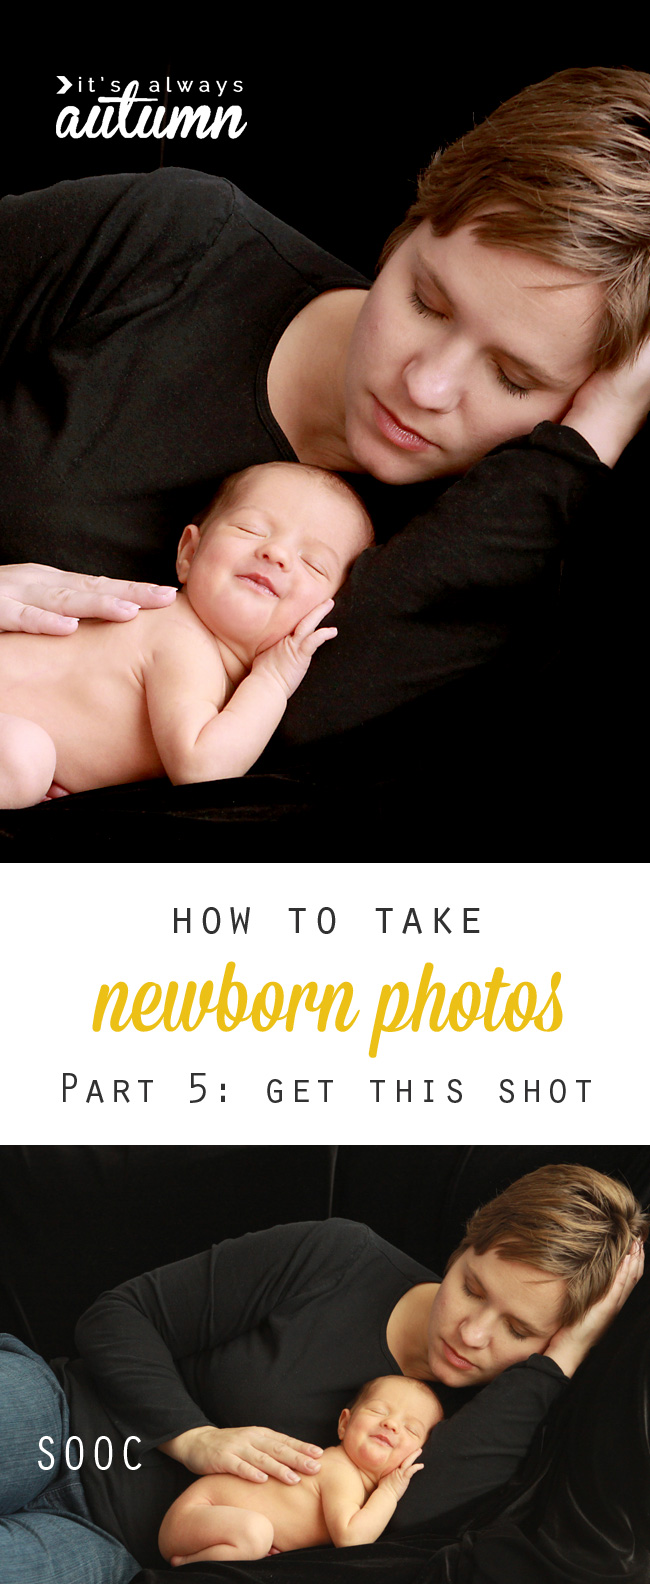
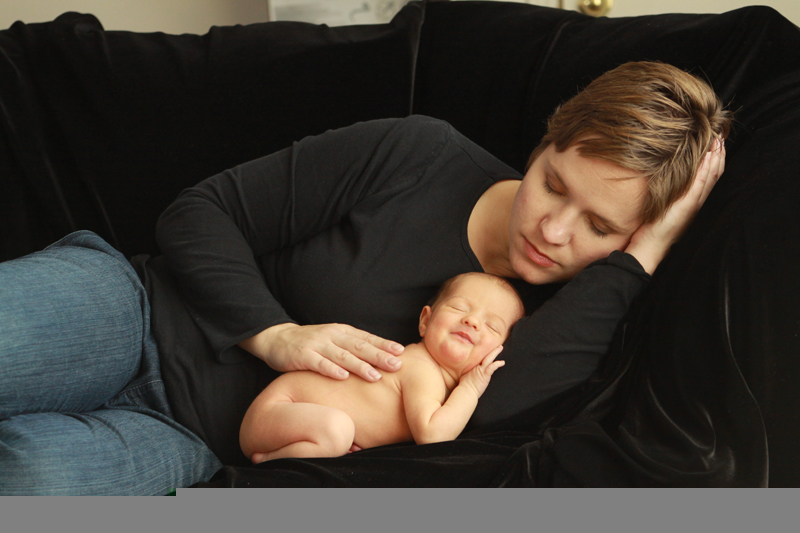
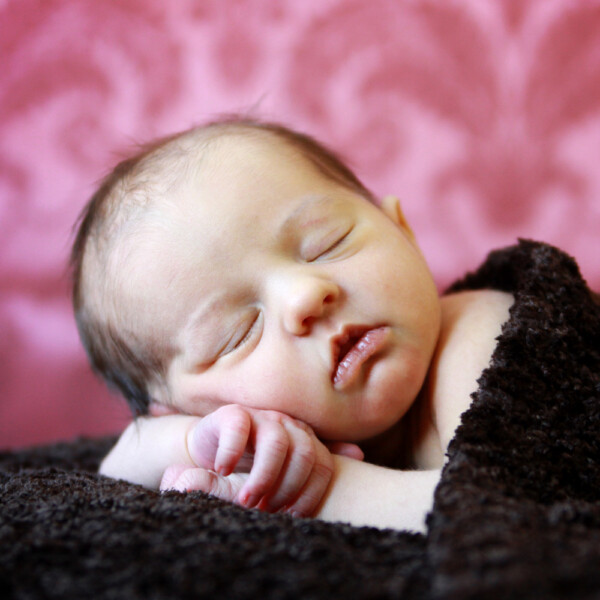
Do you ever see a photograph and wish you knew exactly how to get that shot? Well, my mom did. She saw a photo in a magazine (I think it was an ad for baby shampoo) and she decided she wanted to replicate the picture with me and my brand new baby. And we did. And we ended up with the photo you see just below the title for this post.
Now, I should admit something here. I kind of thought it was totally cheesy. The whole mom and baby sleeping together picture and all. But I figured I’d humor my mom (because she was at my house taking care of my kids and cooking food for me and all), and we set up a little photoshoot, then I did a little editing, and we ended up with a very sweet, albiet somewhat cheesy, photo.
Fast forward a year and a half and I cannot believe how big that tiny newborn baby is now. Everyone experiences this, right? Where did the time go? What happened to that sleepy newborn? No matter how much I love the big 18 month old girl my baby has become, part of me wishes I had that newborn back. And suddenly this photo has become a lot sweeter to me, and quite a bit less cheesy. I can see myself looking at it often through the years ahead and remembering the times I snoozed on the couch with that little one.
All this is to say – if this photo doesn’t float your boat, I’m totally not offended. I get it. But if you’re interested in a photo like this of your and your baby, I’ll show you exactly what you need to do to get it.
You only need a few things to set this up: a couch, a small pillow, a largish piece of black fabric (2 yards of black stretch velvet is what I use), and a black long sleeved tee for mom.
Start by draping the black velvet over the couch, working to cover it completely and keep wrinkles to a minimum. Have mom lie down on her side on the couch as you see in the photo below, then tuck a small pillow under her arm closest to her face. Using the tips I shared in the posing post, place the sleepy baby on top of the pillow, tucking her legs up under her body. Once she’s settled in, carefully pull her hand up under her cheek, as seen below.
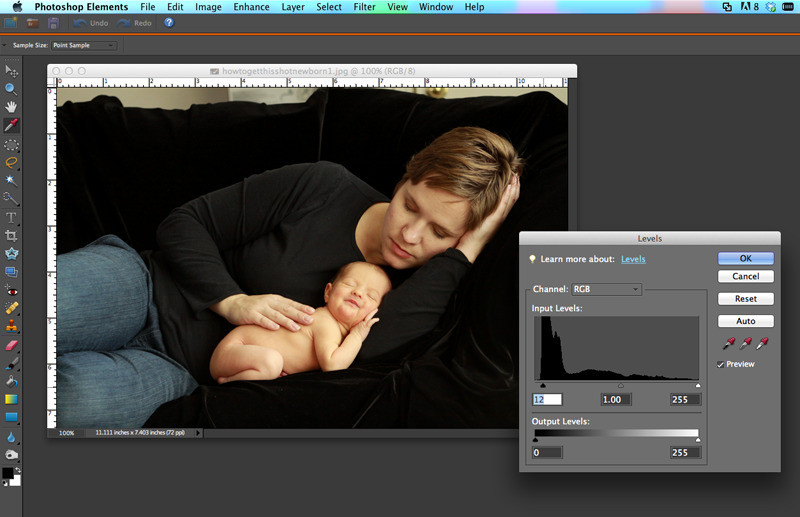
Take a series of photos, paying attention to the scene and making adjustments as needed. Choose the best pic of the bunch and open it in Photoshop Elements to complete the scene.
The first thing you’ll want to do is a levels adjustment. Usually, when shooting on auto, photos need to be lightened just a smidge, but when shooting on auto against a black background you’ll often run into the opposite problem – photos that are a little too bright. (To eliminate this problem, check your camera’s manual for instructions on setting it to spot metering instead of evaluative metering.)
If you look at the undited photo above, you’ll see that the black shirt is so light it looks gray, and there’s not a whole lot of definition in the baby’s face because it’s all fairly bright. Hit control L to bring up a levels adjustment screen, and grab the left-most arrow and start pulling it slowly to the right. Keep moving it to the right until the blacks looks nice and black. This will help eliminate most of the visible wrinkles in the black backdrop. (Don’t go too far – if you do, you’ll lose any definition in the shirt, and it will look like Mom’s head is floating on a black background.) If the faces start to look too dark, just grab the middle slider and pull it slightly to the left.
The next step is to use a paintbrush to paint the area above the couch as well as Mom’s jeans black. Choose a hard edge round brush set at 100% with the foreground color set to black, and begin painting over these areas (it’s a good idea to do this on a new or duplicate layer).
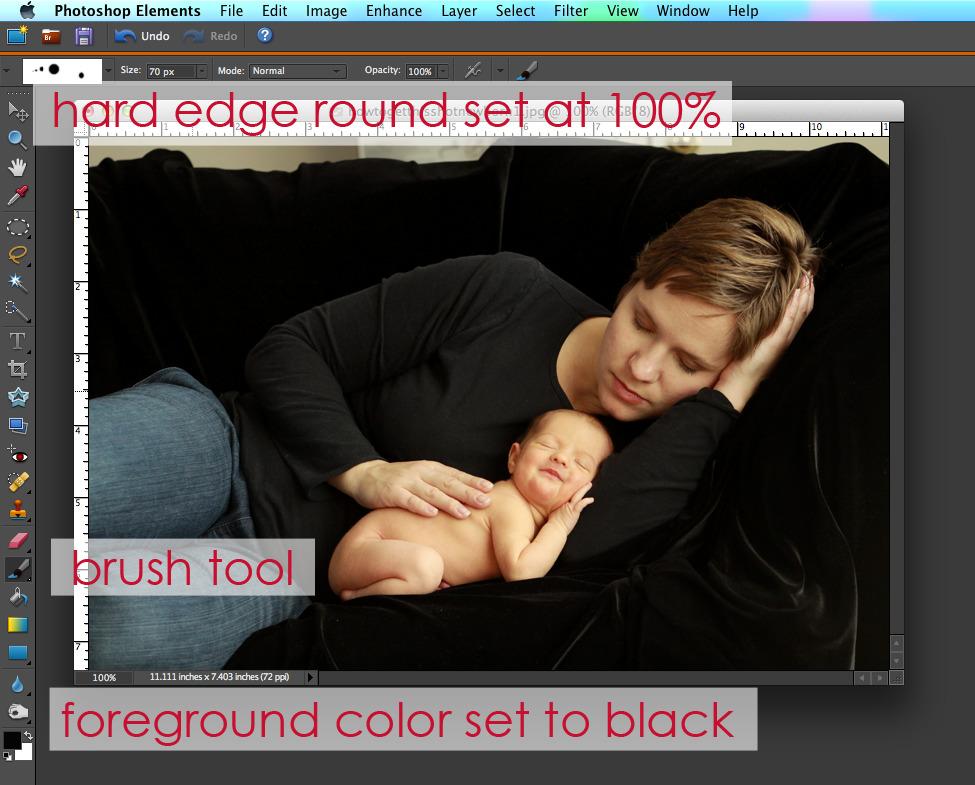
This next photo shows the edges of the photo all painted black, but there are still some wrinkles in the backdrop photo that are showing up. Go ahead and paint over these in black as well, taking care not to brush over anything that shouldn’t be black.

Here’s how the photo looks now. You may be able to see a few of the wrinkles still, especially if your monitor’s brightness is up all the way. Whenever you edit pictures, it’s a good idea to turn the monitor brightness most of the way down – that’s because monitors are much brighter than your printed photos will be. Keeping the monitor brightness down low helps ensure that what you see on the screen is what you get on a photo. Likely, the few wrinkles still visible below will not be visible on a printed photo.

Now you might have noticed this photo looks fairly yellow. That’s because I used overhead (artificial) light as well as window light to light the scene. I didn’t feel like moving my couch around so it would be close enough and at the correct angle to my window to use window light alone, so I turned on the overhead light as well, which results in a yellow tinge to the photo. This can be corrected in PSE by adding in a cooling photo filter. Click on the half white/half dark circle at the top (or bottom) of your layer palette, and choose photo filter.
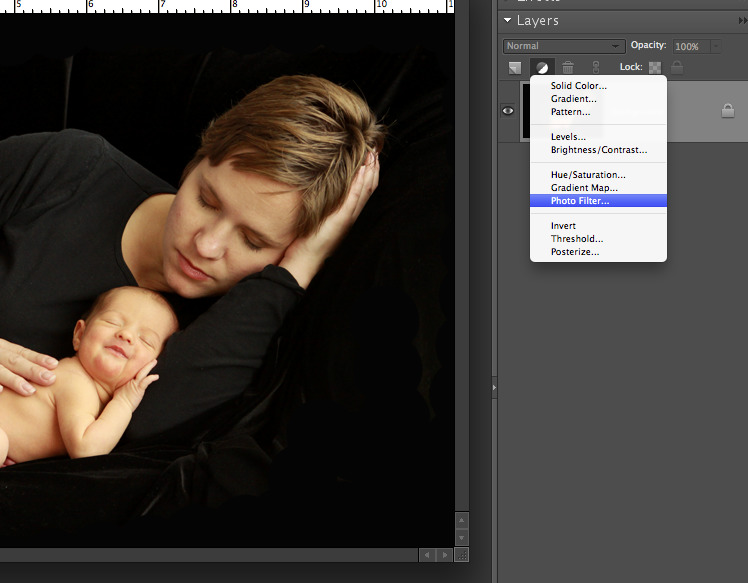
Once the filter box appears, choose a cooling filter and move the slider at the bottom to make it stronger or weaker, depending on how yellow your photo was to begin with. The photo below has the filter applied at 17%, which takes out some of the yellow and gives the skin a healthier pink tinge.

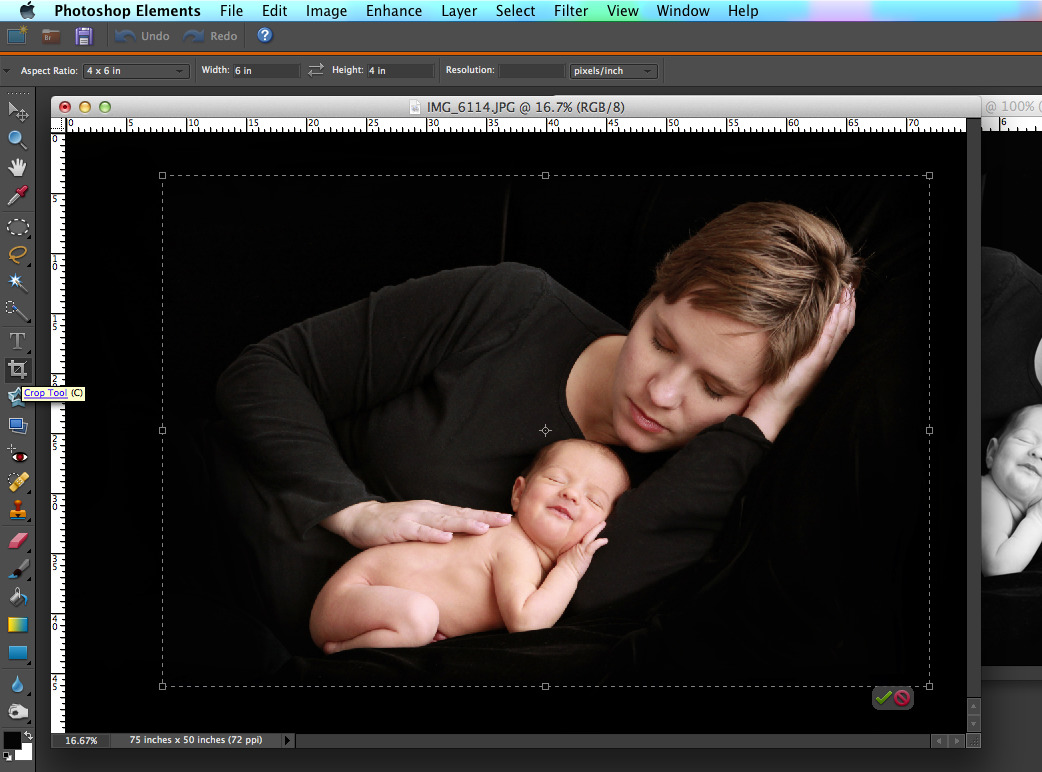
Ok, the final step is to grab your crop tool and crop this photo to whatever size you’d like to print it at. It might be a good idea to save the image at a 4×6 aspect ratio first, then save another copy at 8×10 or 5×7 or however you’d like to print it (remember to flatten the image first, then save as a .jpg).
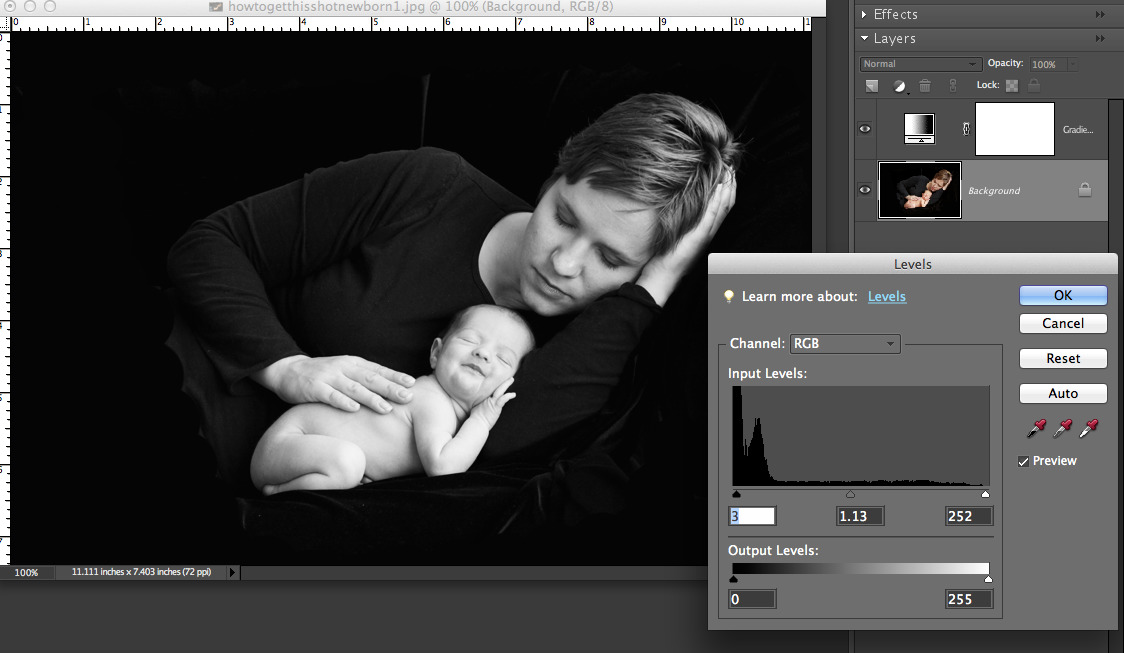
If you want a black and white photo, click that same half white half dark circle on your layers palette, this time choosing gradient map, and choose the black and white square to convert your photo to black and white.

I always bump the contrast on my black and whites, using the levels adjustment box (control L) to make the darks a little darker and the lights a little lighter.
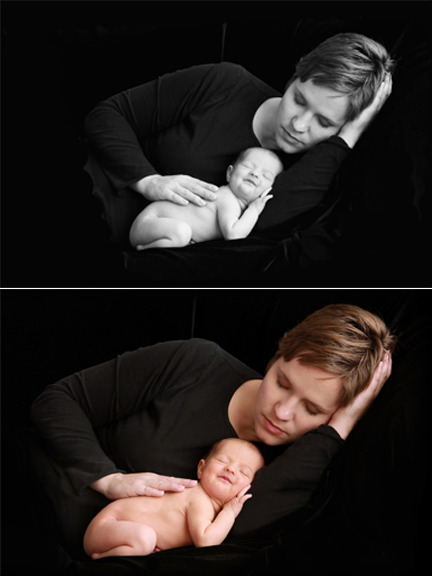
Here’s the finished photo, in both color and b&w:
I hope you’ve enjoyed this newborn photography series! Remember to click through to any parts you might have missed.
Part 1: the basics: newborn props + setup | Part 2: DIY baby photoshoot: posing | Part 3: posing baby with family members | Part 4: How to edit baby photos | Part 5: how to get this shot (setup to post processing)

Tiff says
So glad I came across these steps. Thank you so much!
Ashley says
Thank you so much! My best friend asked me to take some photos of her and her new babe and this series has helped me so much! I am excited to use all your tips and tricks!! Thank you!!
VictoriA says
Thank you very much for the great post!
CHERYL says
You are so sweet to put these wonderful instructions out there for anyone to use. My grandchild is due in December and I can’t wait to take the newborn pictures. Thank you so much!!!