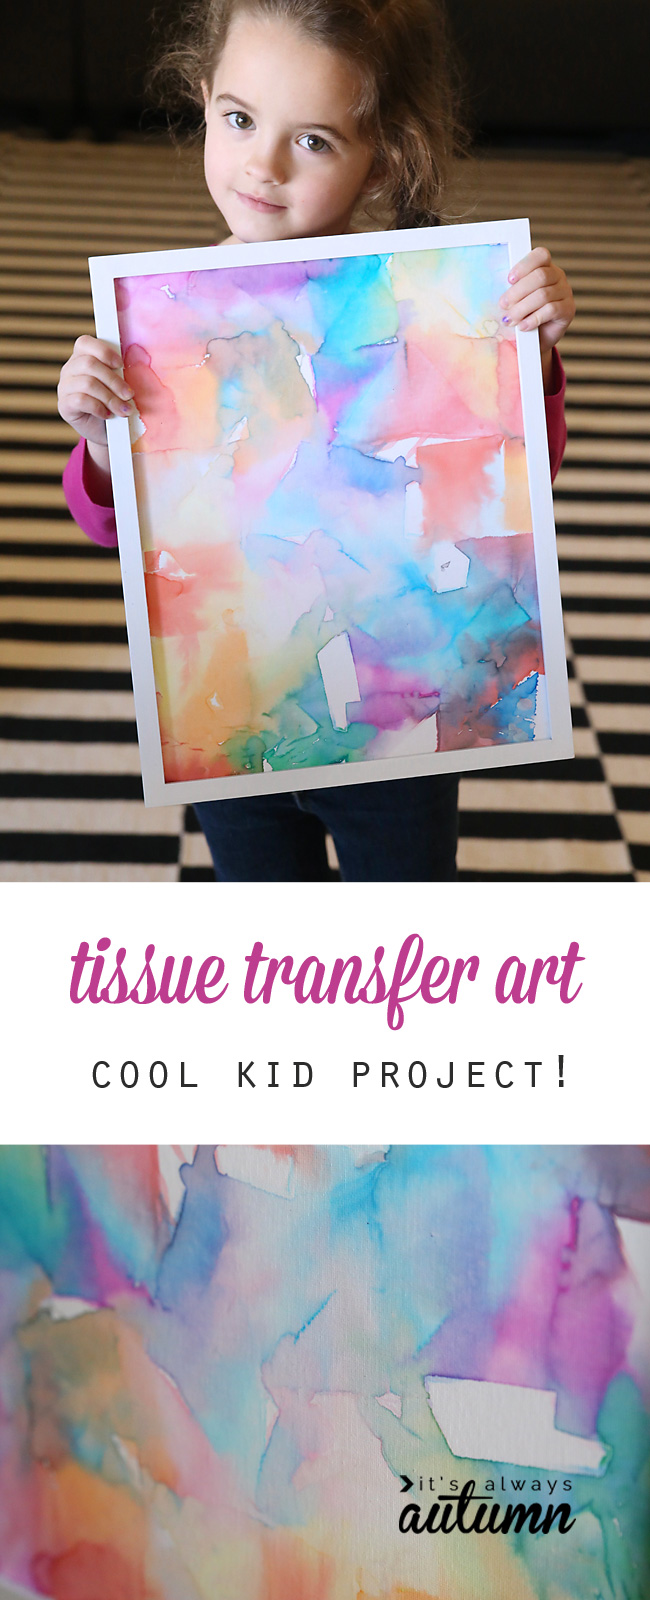
In today’s post: Learn how kids can make gorgeous “modern” art with this fun tissue paper art technique.
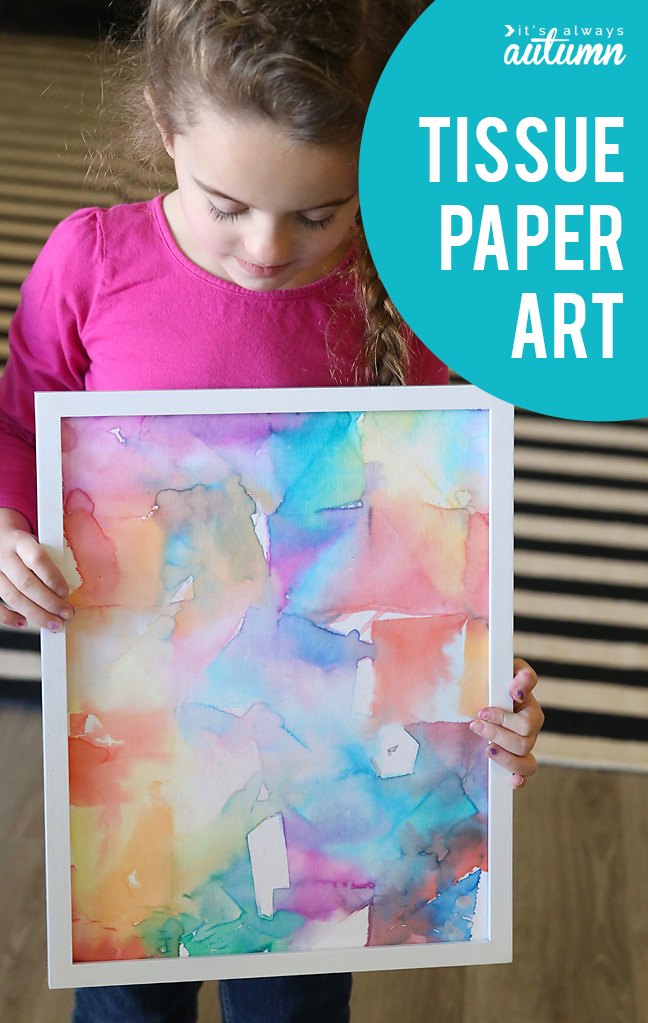
My younger kids and I have had so much fun today with a new art project: easy tissue paper art. It’s a really simple process that even my 5-year-old could do all on her own, but you end up with a final product that looks like a beautiful art piece! Click here for more cool art ideas for kids.
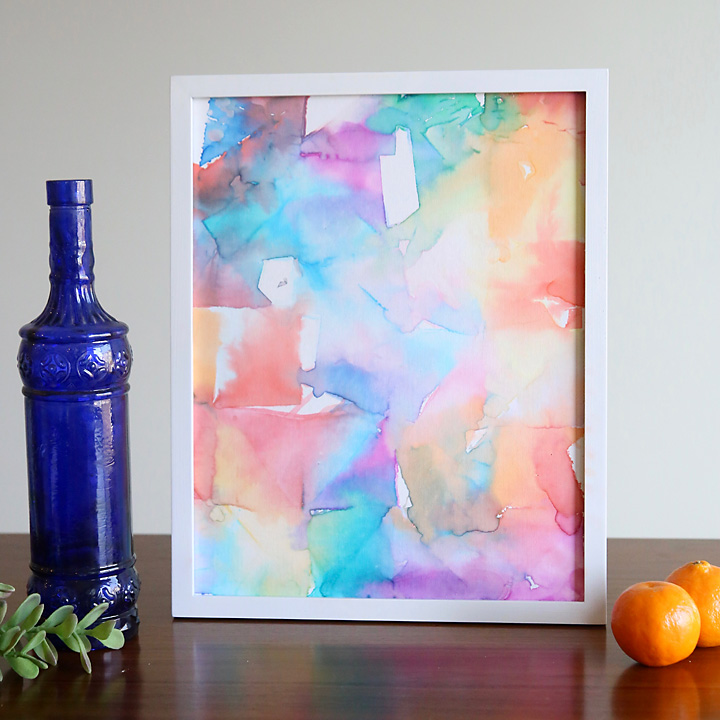
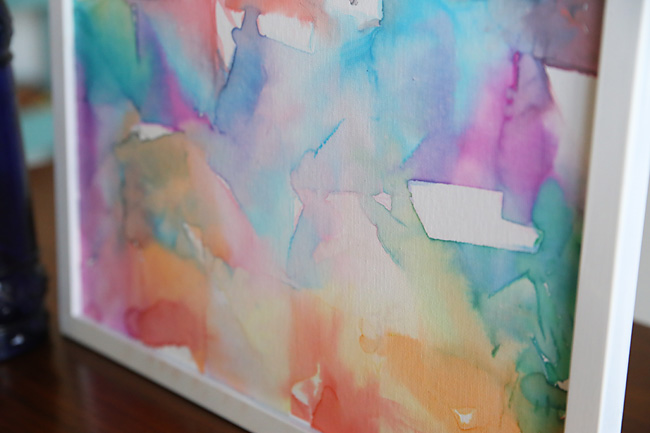
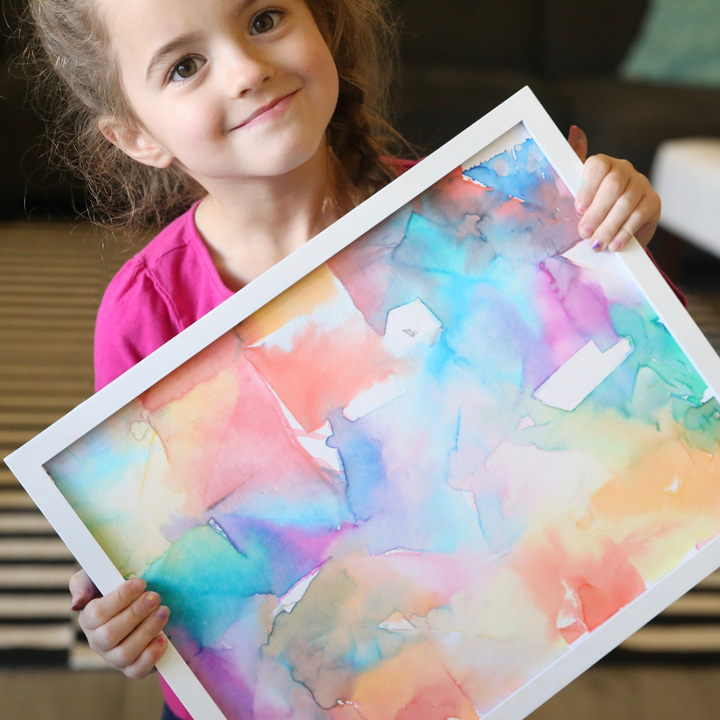
Doesn’t this look like something you could buy to decorate your home with?
It’s so easy that my five year old daughter was able to do the entire process all by herself!
Tissue Paper Art Supplies
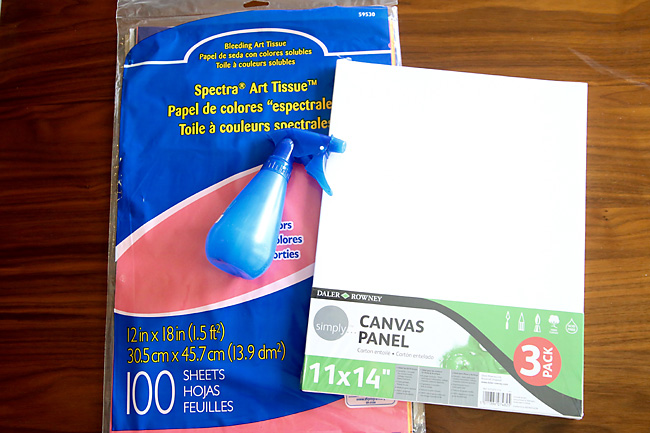
Cool, right? All you need to make tissue transfer art is tissue paper, a canvas, and a spray bottle.
I first tried this project with tissue paper from the dollar store and it didn’t work AT ALL. So I turned to Amazon and found this Bleeding Art Tissue (affiliate link). It bleeds through onto the canvas beautifully! We made three 11×14 canvases and have TONS of tissue paper left, so it will last us through lots of projects.
I found the flat canvas panels at Walmart for $5 for three 11×14 panels which I thought was really reasonable. The flat panels are nice because you can pop them into an inexpensive frame if you want. You can find canvas panels on Amazon – get twelve 8×10 panels for $13 here. If you want to do tissue paper art over and over (and we will!), you can also use watercolor paper.
Tissue Paper Art Instructions
The process for tissue paper art is simple: use the spray bottle to get the canvas fairly wet. Cut tissue paper into desired shapes (we used triangles) and place them on the canvas. You can put them in a single layer or overlap them for more color mix. Spray a little more water on top of the tissue paper, then wait 20 minutes. Remove the wet tissue paper and let the canvas dry completely.
The colors will bleed from the tissue paper onto the canvas, creating a pretty watercolor effect.
We found that the colors continue to blend and seep into the canvas for a little while after the tissue paper is removed, so the final project looks even cooler when it’s completely dry. I love the texture of the canvas panel – it really makes this look like a work of art! My daughter is thrilled with her artwork.
Here’s a video to show just how easy it is:
Tissue Paper Art Tips
- We didn’t use the 2 or 3 darkest colors in the tissue paper pack because I found they bled too much and overtook other colors, and we didn’t use the 2 lightest colors because they didn’t transfer very well.
- The color will bleed onto anything the wet tissue paper touches, so be sure to protect your work surface and realize you’ll end up with colored fingertips for a day or so.
For more kid art, check out these posts:
20 kid art projects pretty enough to frame

julie park says
Hello,
I am an art therapist. Your writing was very helpful. Thank you for sharing your experience and data.
Beth says
I need your help. I ordered the canvases from the affiliate link on Amazon from your blog and I got the bleeding tissue paper. I did everything exactly like it said but the color did not bleed into the canvas very well at all. it seemed like the surface of the canvas was not very porous and the water and color did not soak in very well. what do you recommend? Should I order different canvases?
Sara says
I saw in another post that spraying the canvas first before laying the tissue helps.