In today’s post: These 2-ingredient cinnamon ornaments are fun and easy for kids to make, and you’ll love the way they make your house smell!
Ok people, this here isn’t a new idea – cinnamon ornaments have been around for years – but if you haven’t tried making them yet you should. They’re easy to make and fairly inexpensive, so you can make new ones whenever you want, but they will also last from year to year. The best part is that they smell absolutely heavenly.
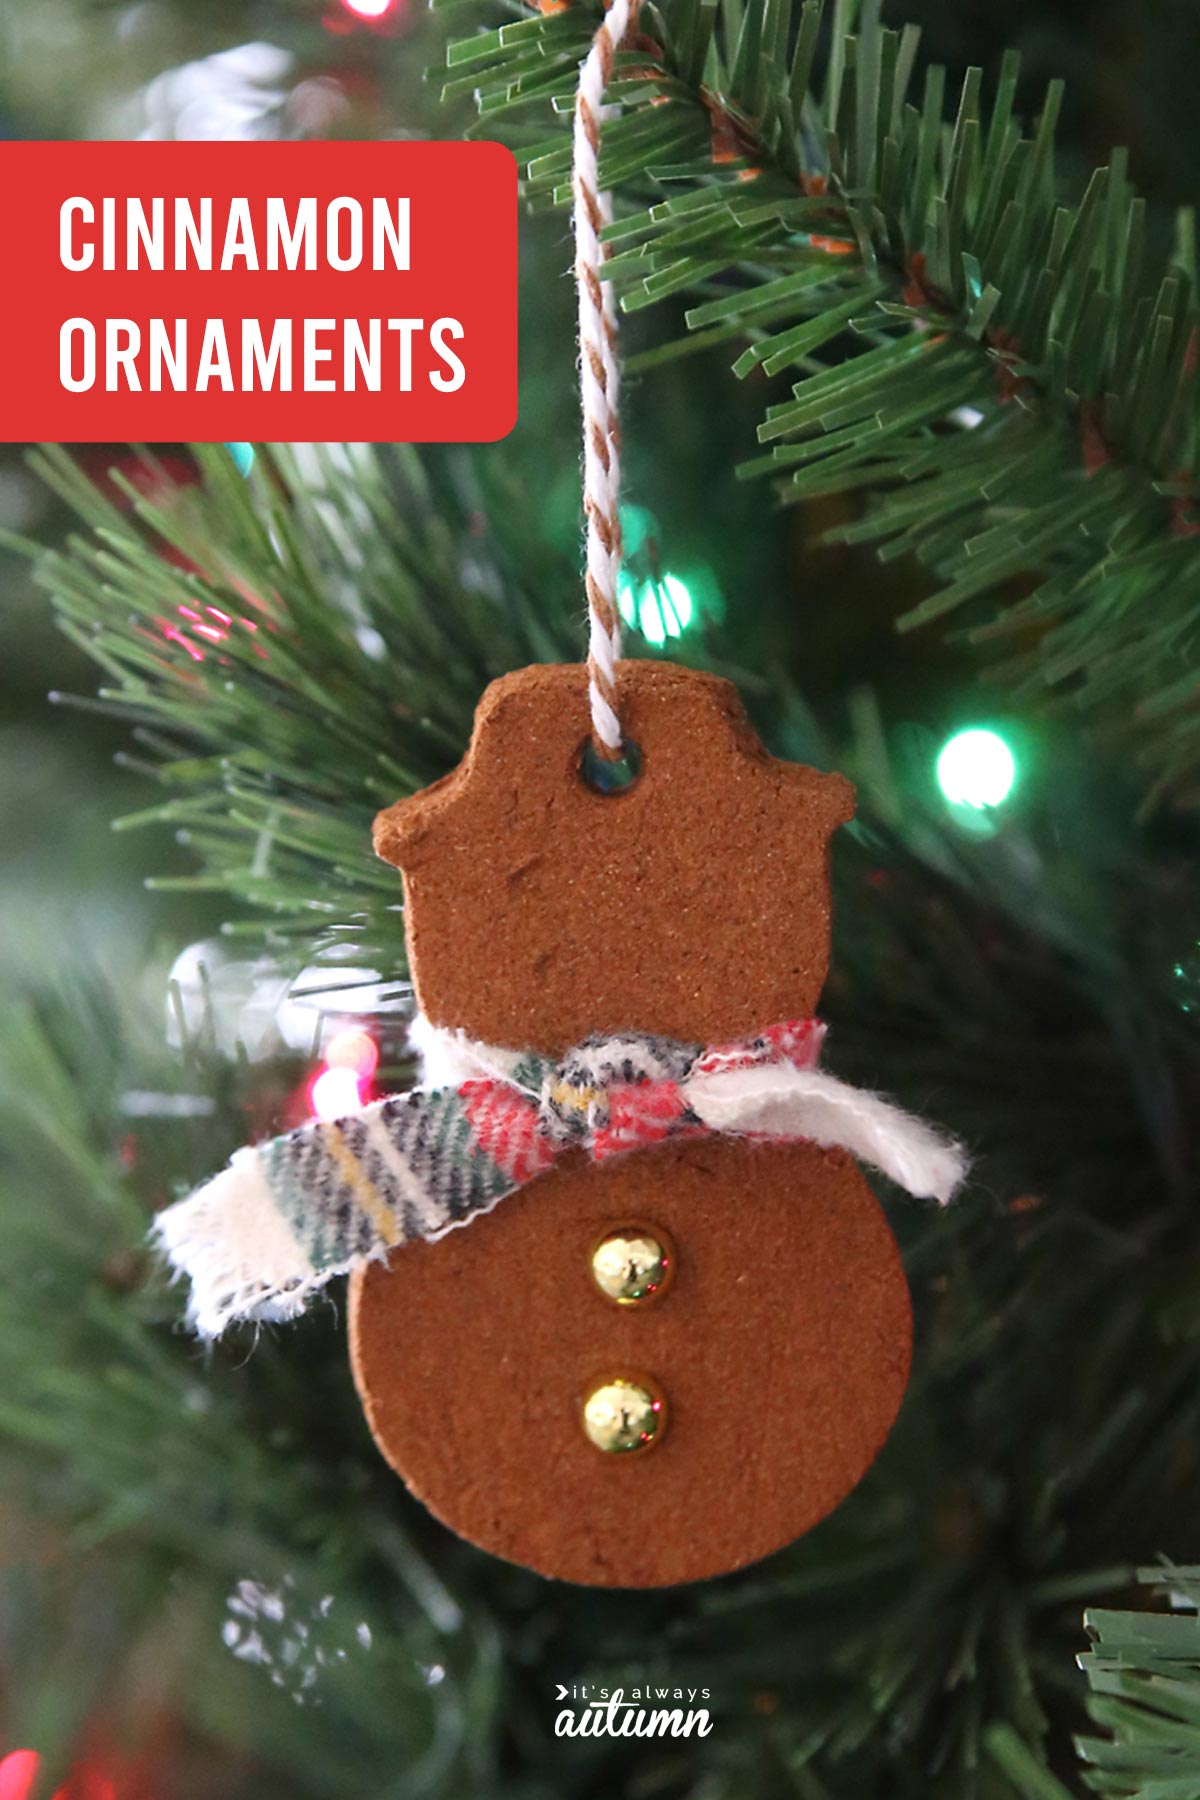
Easy Homemade Cinnamon Ornaments
This is one of those kid craft ideas that really is as fun and easy as it seems! They do take a while to bake, so plan to make them one day and decorate them the next.
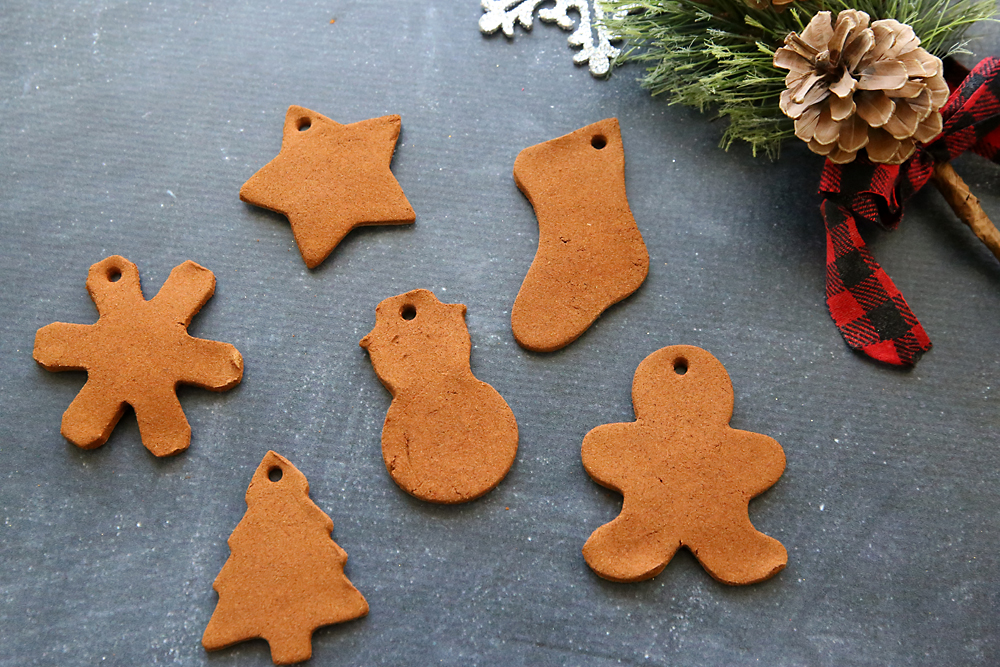
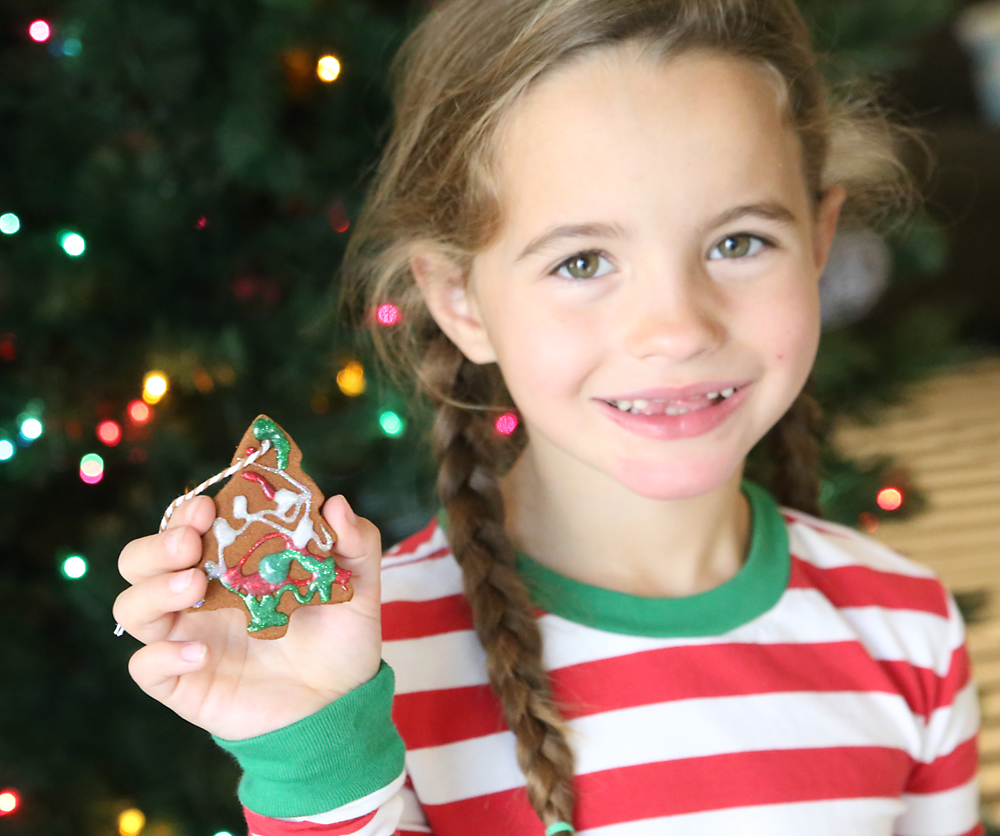
Or leave them plain! The pretty cinnamon color doesn’t really need embellishing…but if your kids are anything like mine they’ll be anxious to go to town with the glitter glue 😉
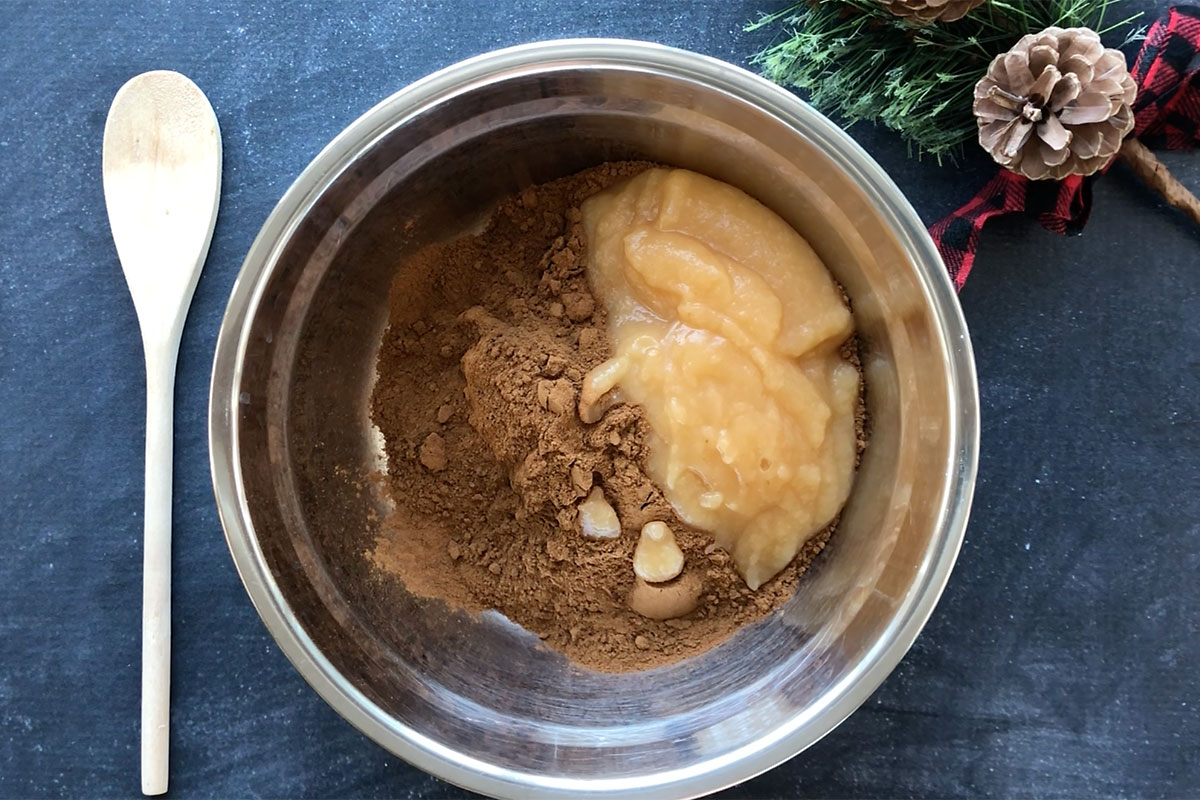
Cinnamon Ornament Supplies
You’ll need equal parts cinnamon and applesauce for these ornaments. I used about 1 and 1/4 cup of each and we made 18 ornaments using standard size cookie cutters. When you’re buying cinnamon, look for larger containers of the cheap generic brands – no need to pay more for the name brand. If you happen to live near a WINCO you can get cinnamon in bulk extremely inexpensively. Generic applesauce works great as well!
VIDEO
Here’s a quick video that shows the whole process, and written instructions follow:
Recipe source: McCormick
Mix Cinnamon and Applesauce
Mix the cinnamon and applesauce together in a large bowl. You will need to use your hands to get them fully incorporated. When completely mixed the dough should have a stiff cookie dough consistency – you want to be able to form it into a ball that holds together quite easily without it being too sticky to work with. Add more cinnamon or applesauce if needed to get that consistency.
Roll and Cut Dough
Next, use a rolling pin to roll out a third of the dough between two sheets of plastic wrap to a 1/4 inch thickness. Don’t go thinner than 1/4 inch or the cinnamon ornaments will be too difficult to handle and easy to break. Remove the top layer of plastic wrap and cut out shapes using cookie cutters.
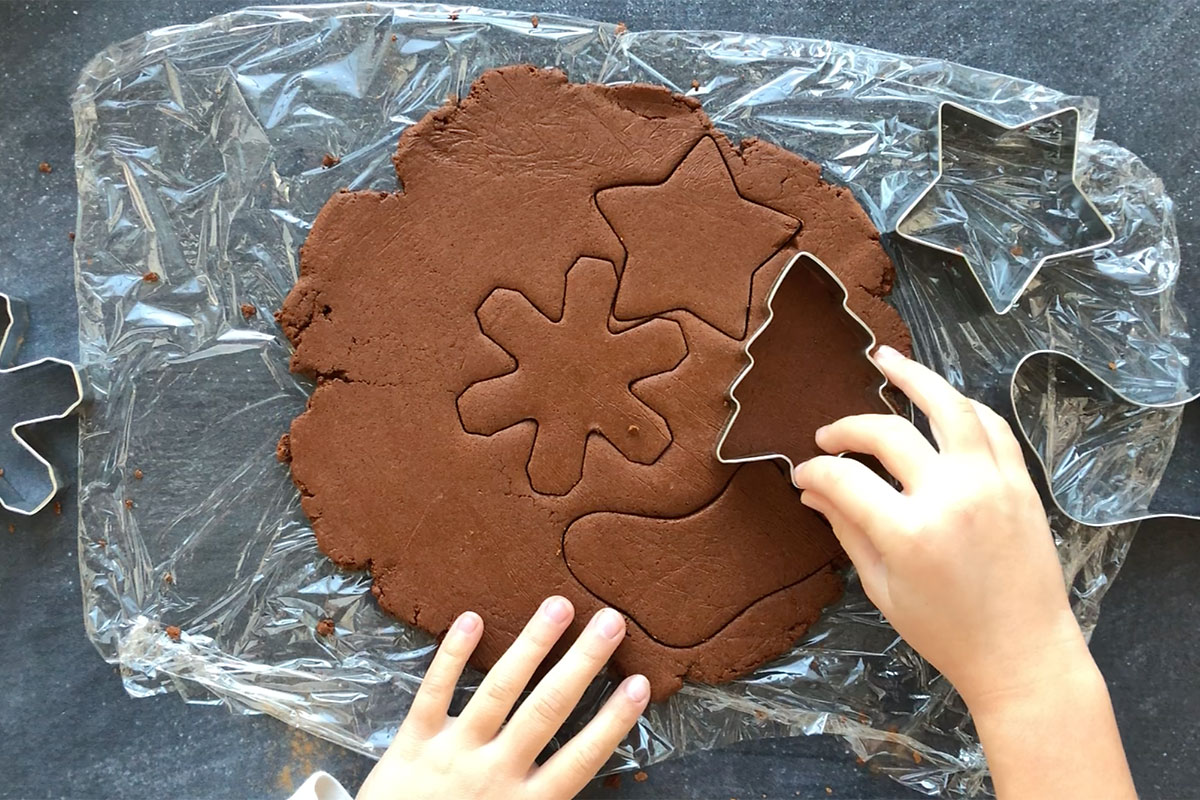
Add Holes for Ribbon
Move ornaments to a cookie sheet that is lined with a non-stick baking mat or parchment paper. If you don’t have either of those, place a cooling rack on top of your cookie sheet and place ornaments on that. Using a straw, poke a hole at the top of each ornament. If you’ve made smaller ornaments, you could also use a skewer or toothpick to poke a hole, ensuring it’s big enough that you’ll be able to thread twine through it.
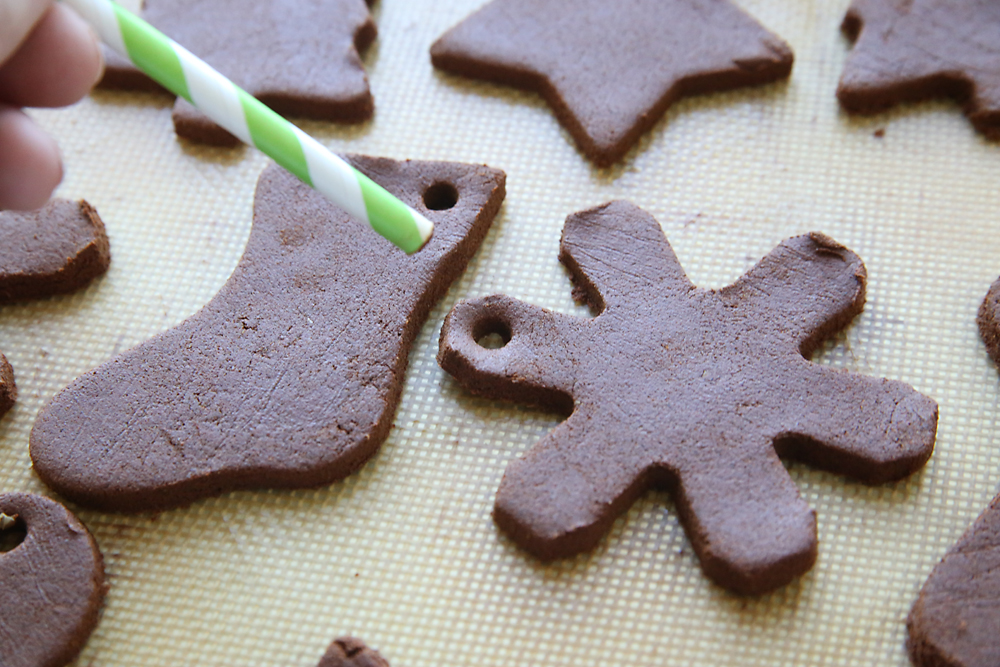
Bake the Ornaments
Bake the ornaments in your oven at 200 degrees for about two and a half hours, until they feel dry and hard. This is when your house is going to really smell fantastic!

Decorate + Hang
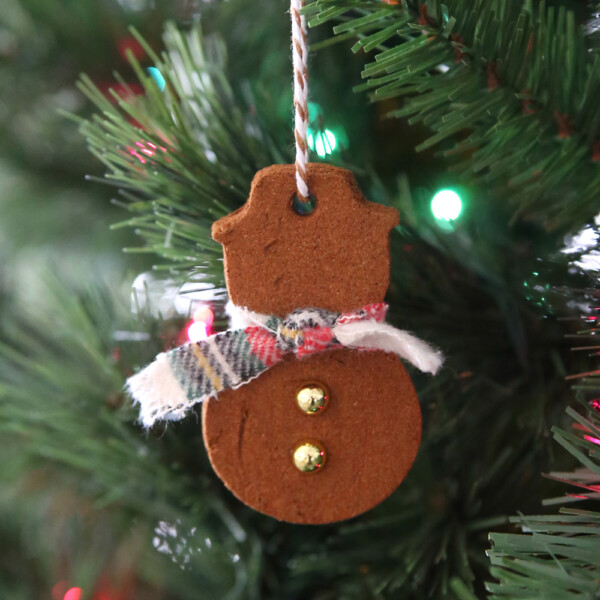
Once the ornaments are cool, you can start to decorate. We used puffy paint, glue and glitter, sticky backed gems, and a few other items from my craft stash.
Thread twine or ribbon through the hole at the top of each ornament and tie twine in a loop. Hang the ornaments on your Christmas tree and enjoy the cinnamon smell!
You can store ornaments and re-use them year to year. It’s best to store them tightly sealed in a plastic food storage container with a lid. This will keep them dry and protected so they should last year after year.
Cinnamon Ornaments
Ingredients
- 1 cup Cinnamon
- 1 cup Applesauce
- Decorations optional
Want more project ideas? Sign up to get my favorite easy crafts and recipes straight to your inbox!
Instructions
- Mix the cinnamon and applesauce together in a large bowl, using your hands if needed to bring them together in a stiff dough.
- Next, roll out a third of the dough between two piece of plastic wrap to a 1/4 inch thickness. Remove the top layer of plastic wrap and cut out shapes using cookie cutters.
- Move ornaments to a lined cookie sheet. Using a straw, poke a hole at the top of each ornament.
- Bake the ornaments at 200 degrees for about two and a half hours, until they feel dry and hard.
- Once the ornaments are cool, decorate the ornaments if desired. Thread twine or ribbon through the hole at the top and tie a knot.
Tips
We made a bunch of ornaments, but this little snowman was everyone’s favorite:
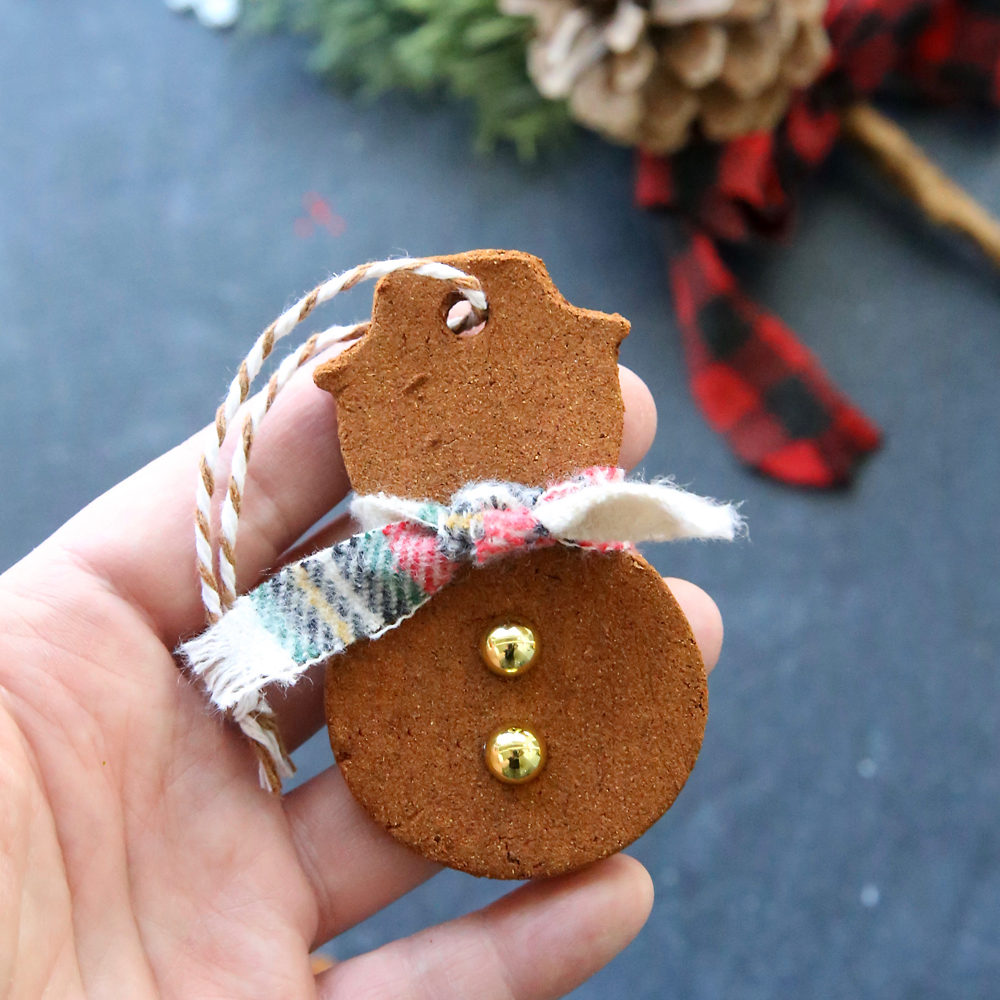
My kids LOVED making these, and every time I walk past the tree I can smell the cinnamon. Since they are completely dried, it’s ok to pack these up at the end of the season with the other Christmas decorations until next year. They’re pretty sturdy (although if you try to snap one in half you’ll be able to) and should last for years.
Looking for more Christmas fun? Check out these posts:
35 pretty DIY Christmas ornaments
20 fun Christmas treats to make with your kids





Amanda says
Thanks for sharing, excited to try this out! Can you let me know what the scarf and snowman buttons are made of?
Cindy says
Making these today! Can’t wait to put them on my tree!!
Cris says
I can smell the cinnamon now. Can’t wait to try tgem.
Tammi Schmorleitz says
I have made these ornaments many times. Each batch is different, depending on how wet your applesauce is. Keep adding one or the other until you can roll it out. Too dry, add a little applesauce. Too wet, add cinnamon. I also don’t use plastic wrap. I sprinkle cinnamon on my table like you would do with flour. And dust your rolling pin with cinnamon too. I put my ornaments either in the food dehydrator or just let them air dry. I turn them over now and then to let them dry on each side easier. The oven would be quicker i’m sure!
Marge says
Every time a rolled it it falls apart 🙁
I followed the directions perfectly and now I have nothing to show for it
Marlene Jones says
Me too. The dough wont hold together. I added more cinnamon….got crumbles. Add more applesauce its way to sticky. Dammit i need these ornaments