
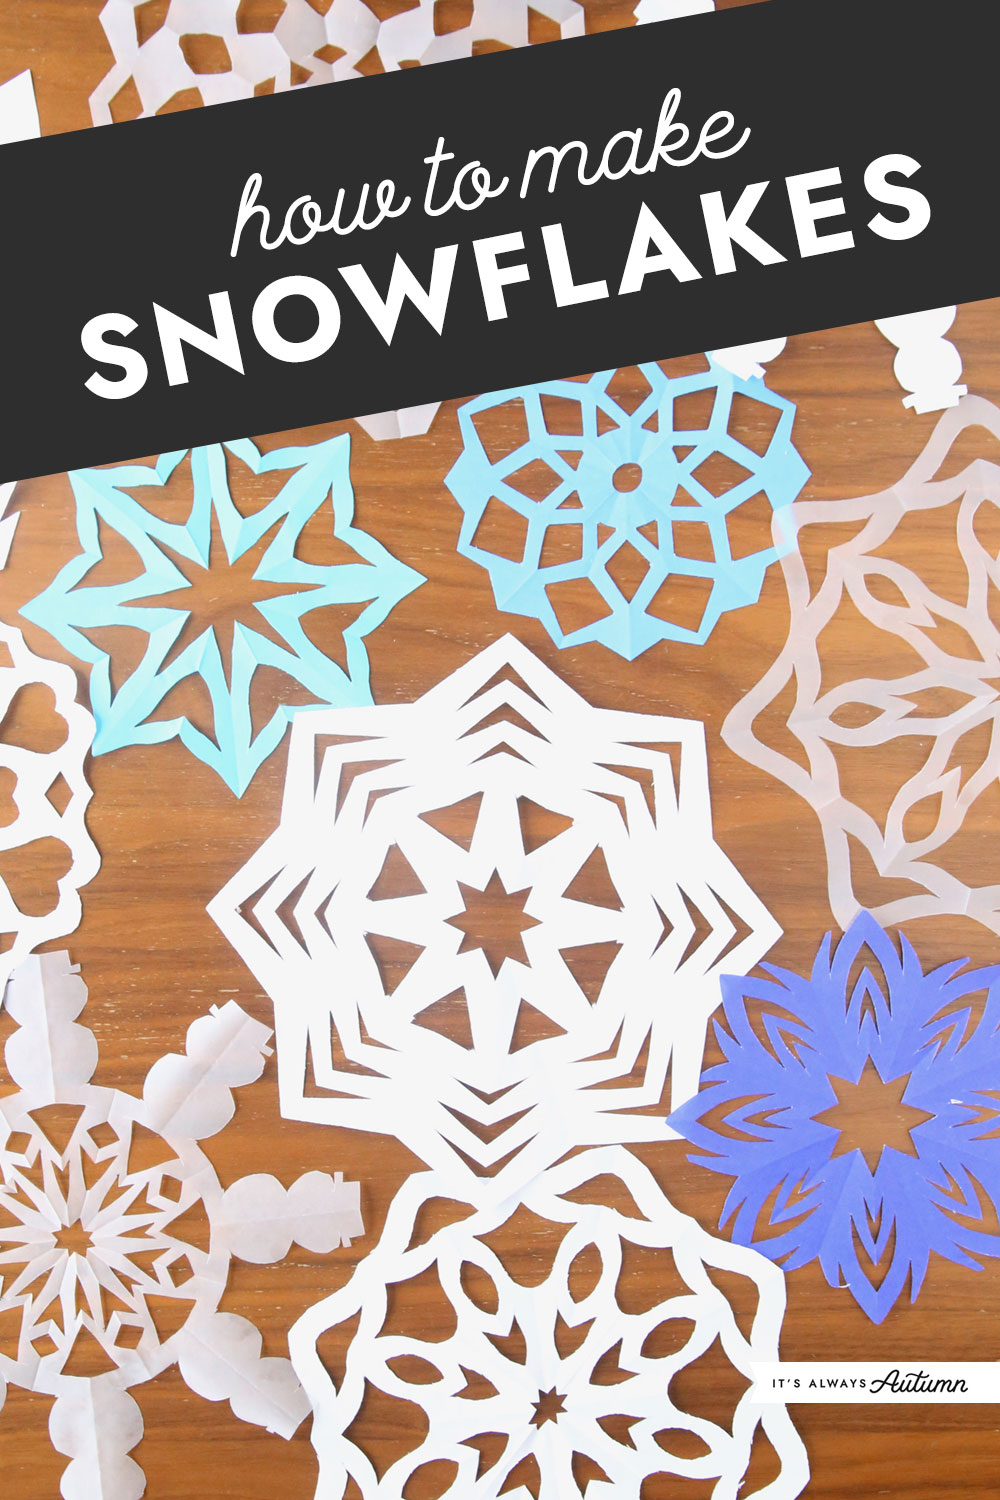
In today’s post: Learn how to make paper snowflakes with this easy step by step tutorial. Paper snowflakes make gorgeous winter decorations! Make your own designs OR download six different paper snowflake patterns.
Cutting out paper snowflakes is a favorite holiday tradition. We’re making it easy for you to start this tradition with your family with simple step by step directions plus tips on what kind of paper to use to make this craft easy enough for kids. We’ve included a video tutorial so you can see exactly how to make these cute Christmas decorations AND we’re giving you six paper snowflakes templates to get you started.
Looking for the free printable? Keep scrolling until you see the large scissors icon below!
Making Paper Snowflakes
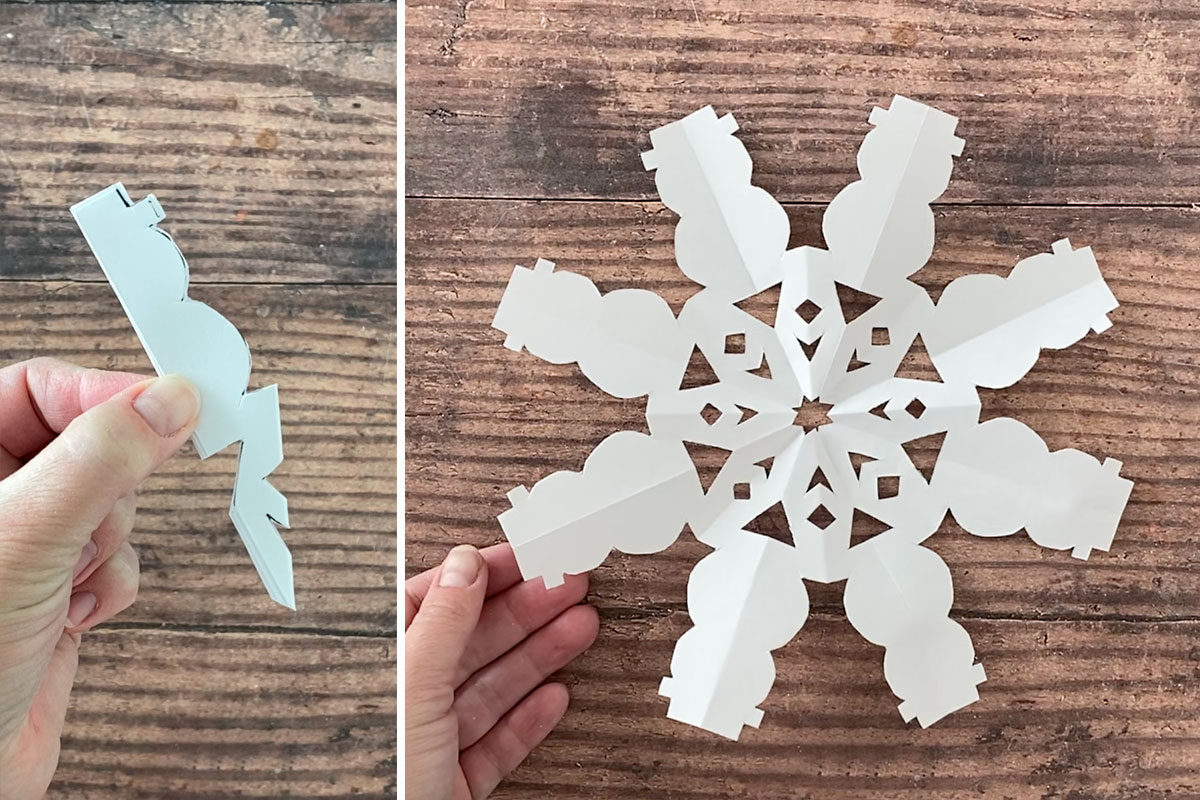
Cutting paper snowflakes is a great simple craft for kids – it’s quick, inexpensive, and easy enough for kids to do on their own, and the finished snowflakes are beautiful. These are what your snowflakes will look like if you use our printable templates:
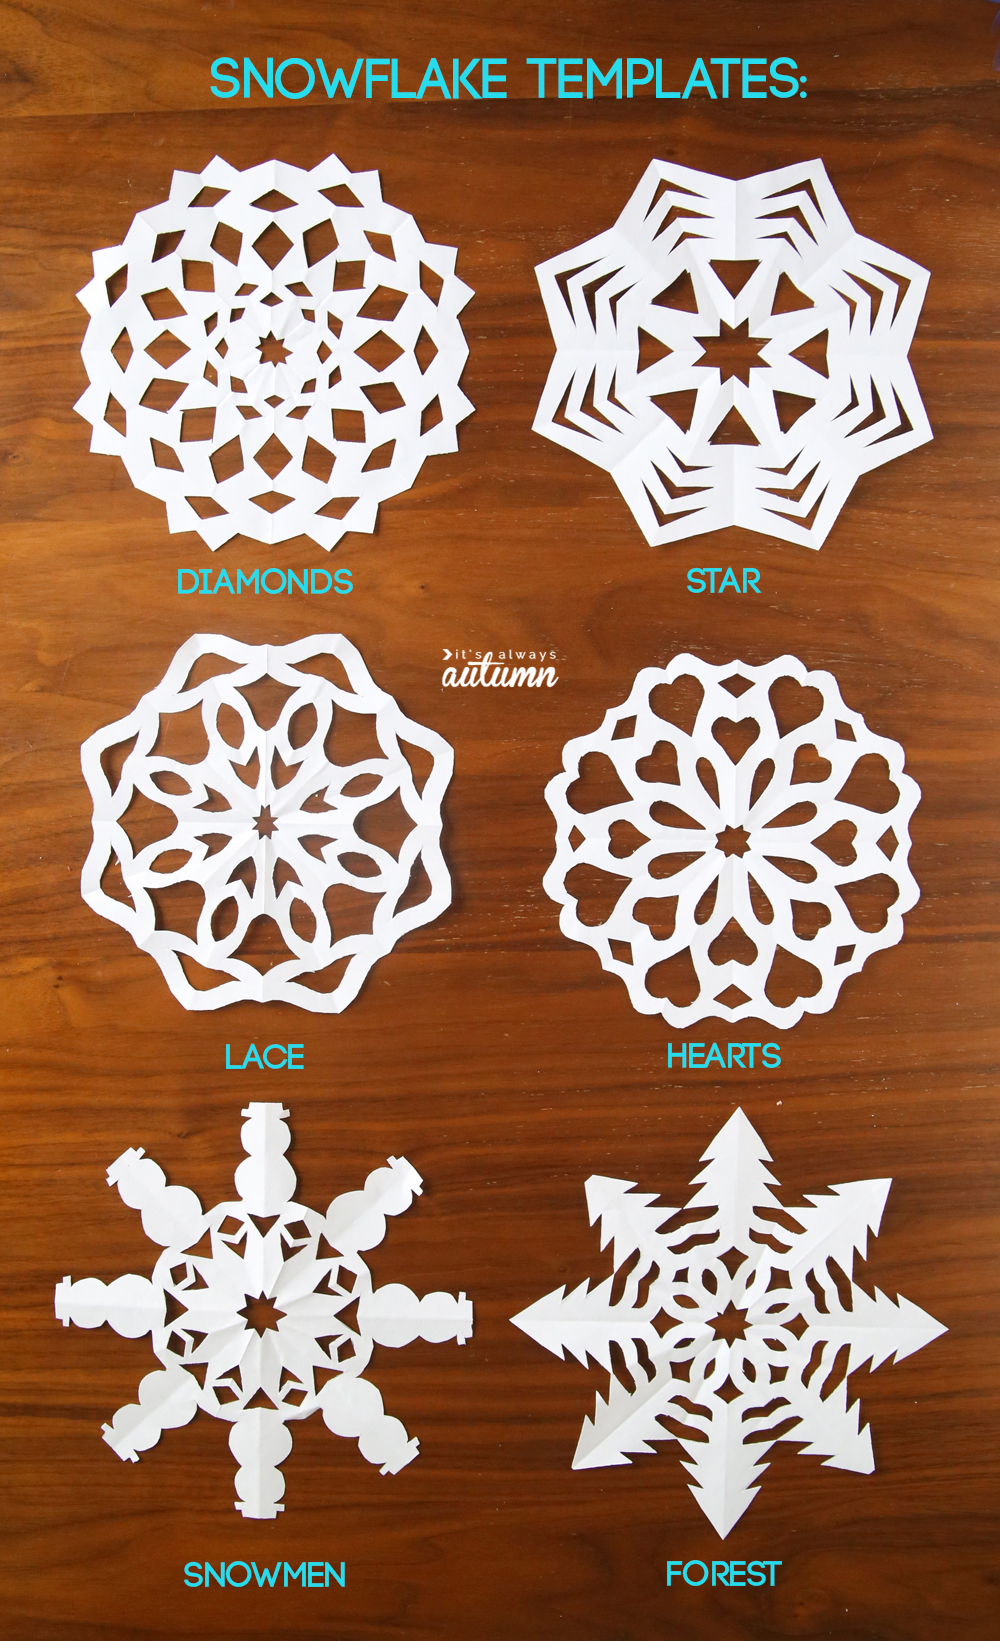
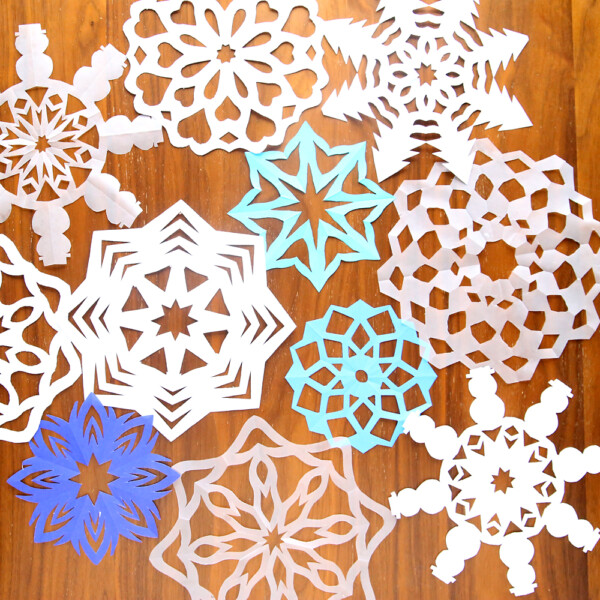
Paper snowflake patterns
The top two templates (diamonds and star) are the easiest to cut since they only use straight lines, and most school age kids should be able to handle cutting them on their own once you’ve taught them how. The middle ones (lace and hearts) are a little harder, while the ones on the bottom (snowmen and forest) will require some help from adults.
However, you don’t have to use these patterns! Half the fun of making snowflakes is folding the paper and cutting out whatever shapes you can think of, then unfolding the paper to see how it turns out! Follow the paper snowflakes tutorial below to learn everything you need to know.
How Many Side Does a Snowflake Have?
We all know that snowflakes have six sides, right? Well, these paper snowflakes have eight sides instead of six. That’s because it’s simpler (especially for kids) to fold paper into eighths than it is to fold paper into sixths. If you really want six sided snowflakes, visit this post: How to Make Paper Doily Snowflakes
Paper Snowflakes Supplies
- Paper: Each snowflake takes one sheet of paper. You can start with a square piece of paper if you’d like, but it’s not necessary. I recommend using tracing paper for cutting snowflakes, especially for kids. It’s a lightweight paper that’s easier to cut through than copy paper, although copy paper also works. We usually use white paper for snowflakes, but you’re welcome to use any colors you’d like. Origami paper will also work; just be aware that your finished snowflakes will be a bit smaller if you start with smaller paper and you may not be able to use the templates included in this post.
- Scissors: If you are using tracing paper or origami paper, any pair of scissors should work just fine for cutting the snowflakes. If you choose to use copy paper, you might want a nicer pair of sharp scissors to make cutting a little easier.
- Templates: Templates are absolutely not required for making snowflakes, but they can be fun to use. You can grab our templates below.
Video Tutorial
Watch this video tutorial to learn how to fold the paper and cut snowflakes. The video covers making snowflakes using the templates AND making snowflakes using your own designs. Written instructions follow the video.
Start Your Snowflake
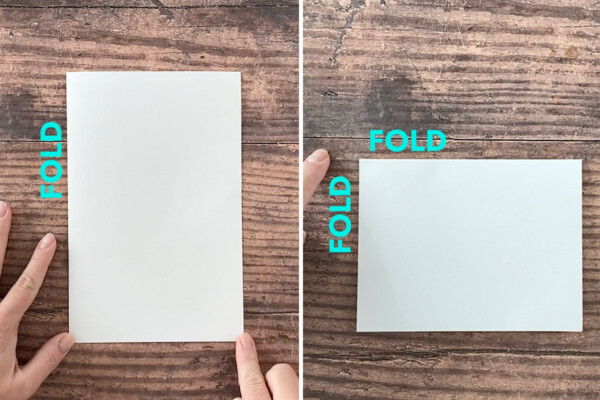
Begin with one sheet of paper. Fold it in half, making a tidy crease, and then fold it in half again, so it’s folded in quarters.

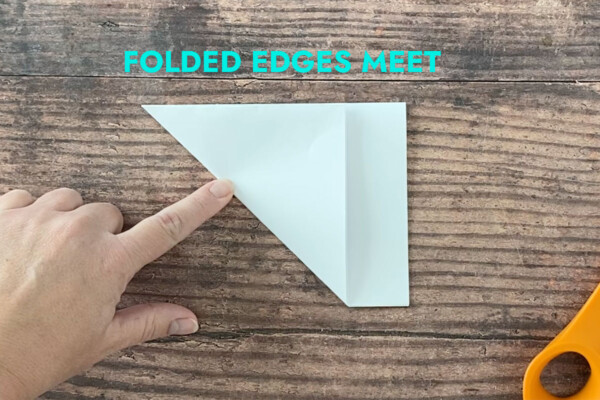
Create a Narrow Triangle
Locate the corner of the paper that’s where the two folded edges meet. You are going to fold again, twice, from this corner. Here’s what the first fold looks like:

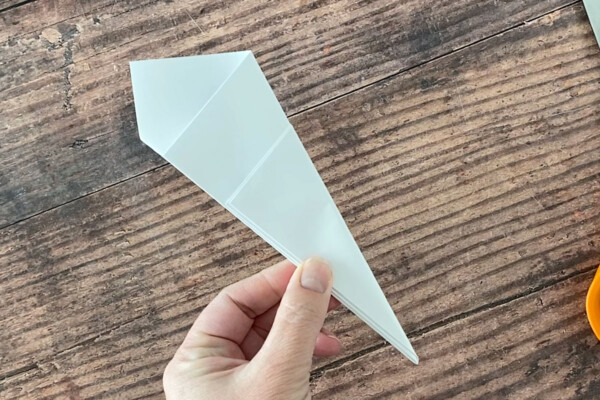
Then you will flip the triangle over and fold it again from that same corner. The resulting triangle will look like this:

Cutting the Snowflake
To make your own snowflake design (without a pattern), you’ll start by cutting all the way across the snowflake at the top to remove the excess paper. You can also cut across the tip of the snowflake at any angle you’d like to create a hole in the center of the snowflake.

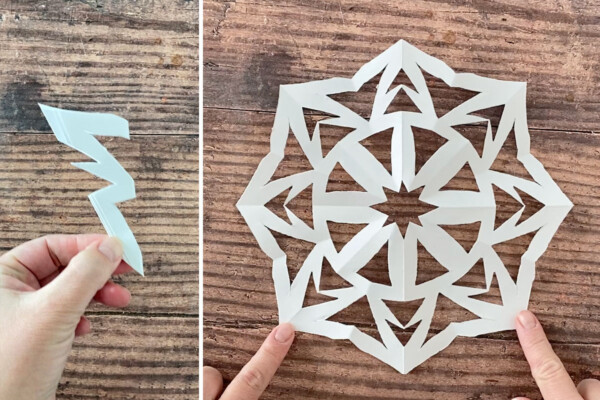
Now you can add more cuts in any shape you’d like to create a snowflake design. Cut across the top at some sort of angle or in a curve. Make cuts along either side of the triangle, but DO NOT cut all the way across the triangle again. When you’re done cutting, carefully open up the paper to reveal your finished snowflake.

Use a Template
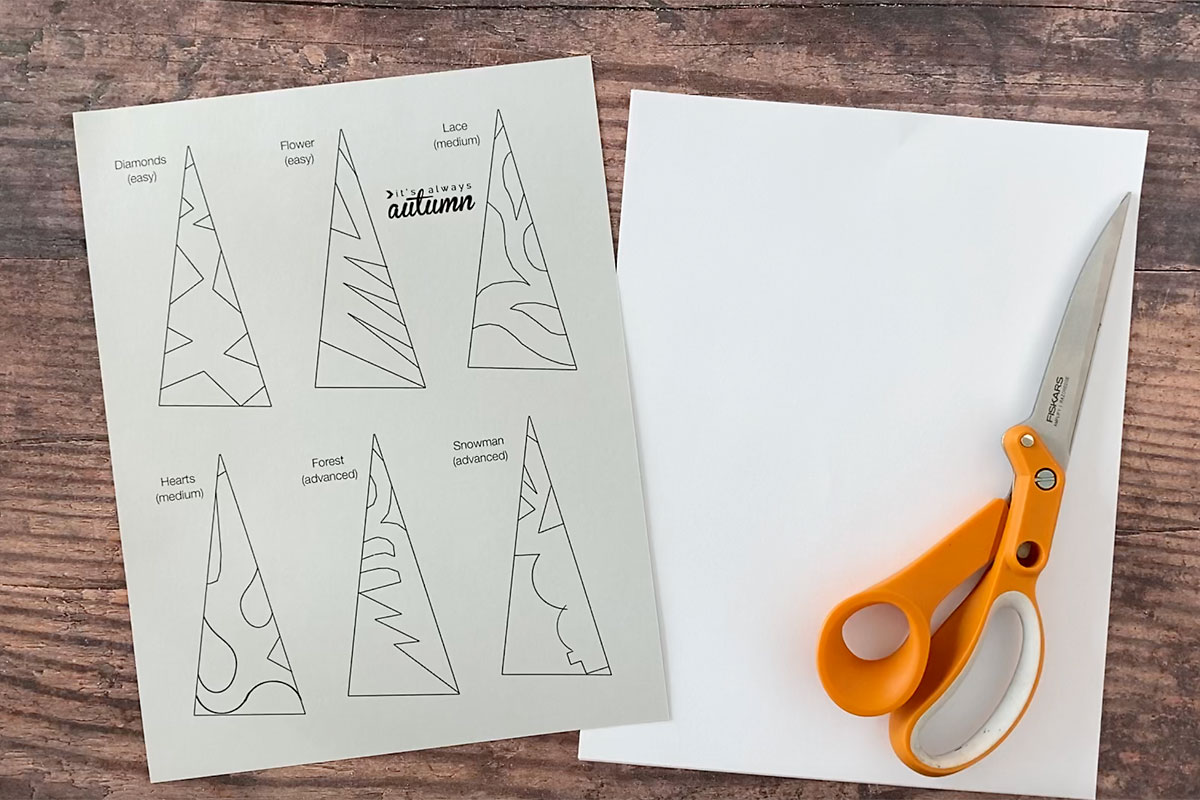
To use a snowflake template, begin by folded the paper as directed above. Then cut out one of the templates and trace it on the folded paper:
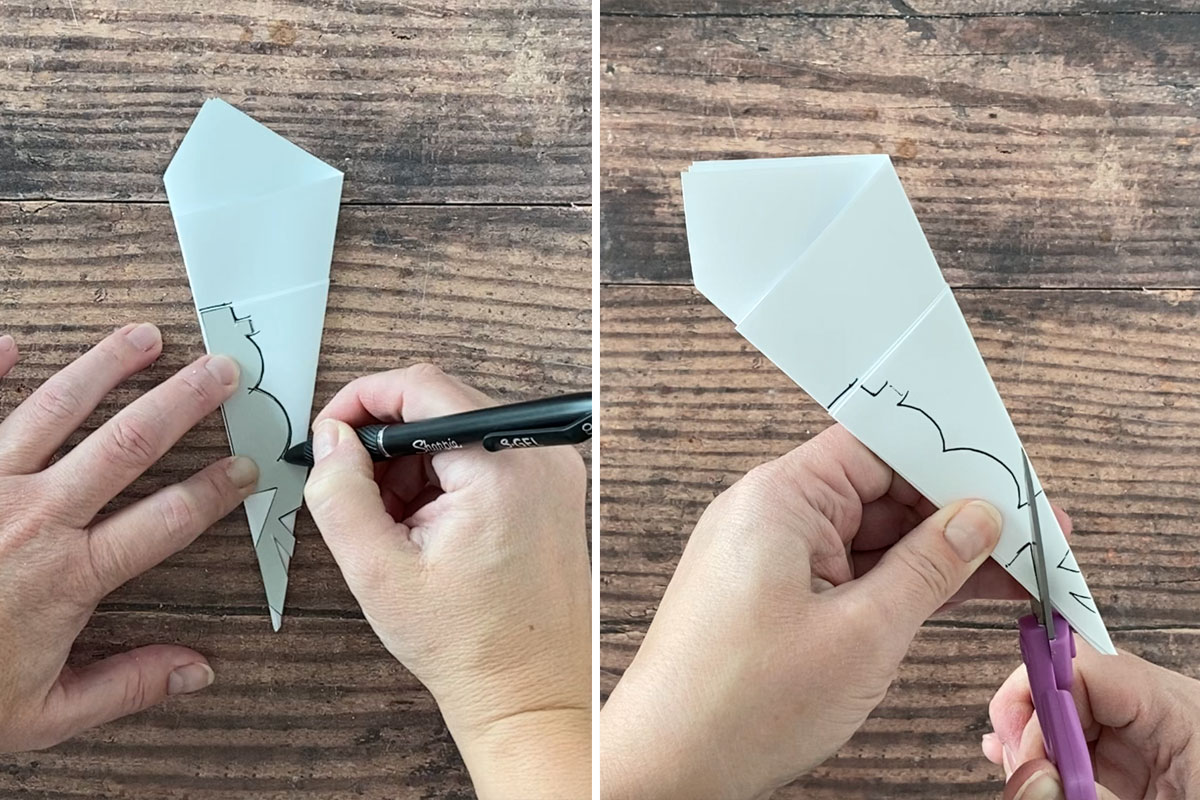
Cut along the traced lines, then open the paper to reveal the finished snowflake. Paper snowflakes can be ironed on medium heat to remove the creases and make them completely flat.
How to Make Paper Snowflakes
Supplies
- Paper lightweight paper such as tracing paper is recommended
- Scissors
- Templates optional
Want more project ideas? Sign up to get my favorite easy crafts and recipes straight to your inbox!
Instructions
- Fold a sheet of paper into quarters, creasing well.

- Bring the two folded edges together to create a triangle and crease well.
- Flip the paper over and fold again, from the same corner, to create a narrower triangle.
- Cut across the top of the paper as shown. Cut across the point of the triangle if desired to make a hole in the center of the snowflake.
- Make cuts from either side of the triangle to create designs. Cut across the top of the triangle at an angle or in a curve to create the edge of your snowflake. When you're done cutting, unfold the paper to reveal the finished snowflake.
- To use a template, print and cut out the template. Fold the paper as directed above, then trace the template on it.
- Cut along the marked lines, then unfold to reveal the snowflake design.


Tips
Looking for more fun Christmas projects to do with your kids? Check out these posts:
How to make cinnamon applesauce ornaments
How to make paper strip ornaments


Magda says
Super!
Louis says
awsome