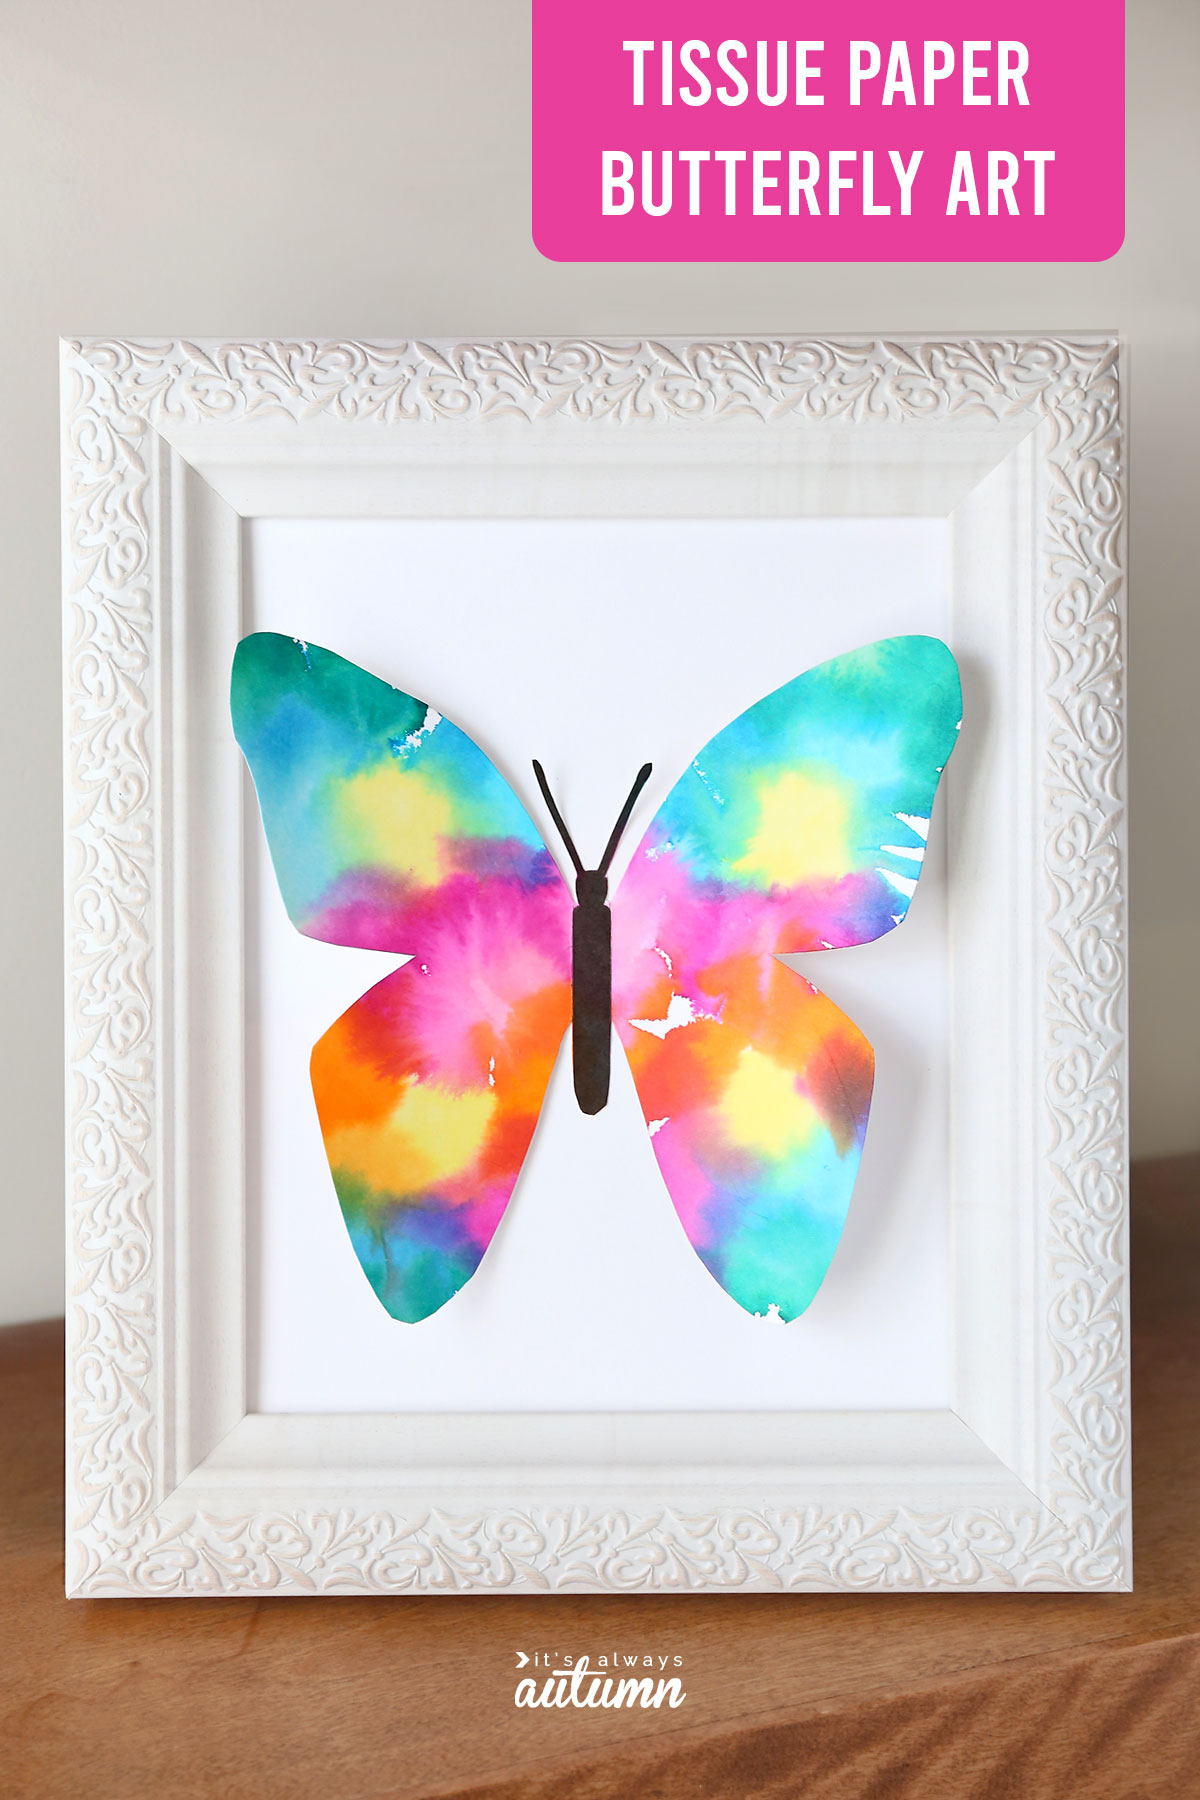
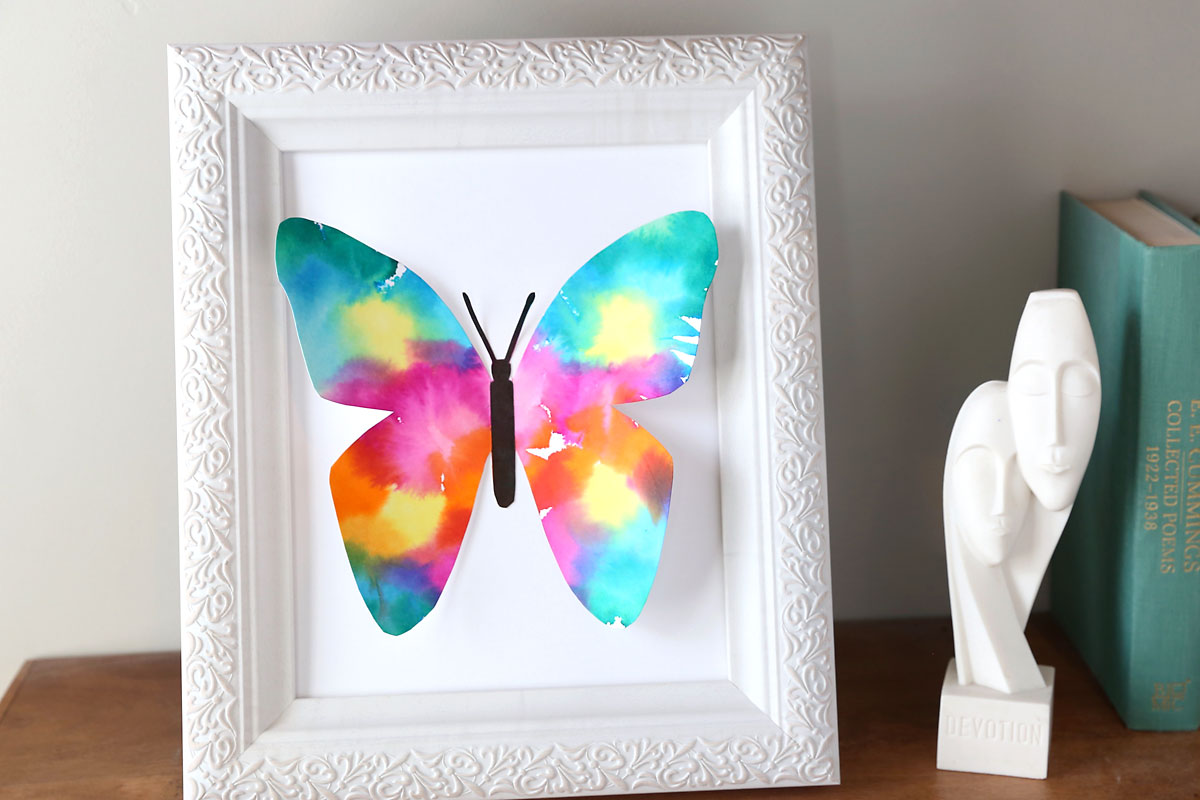
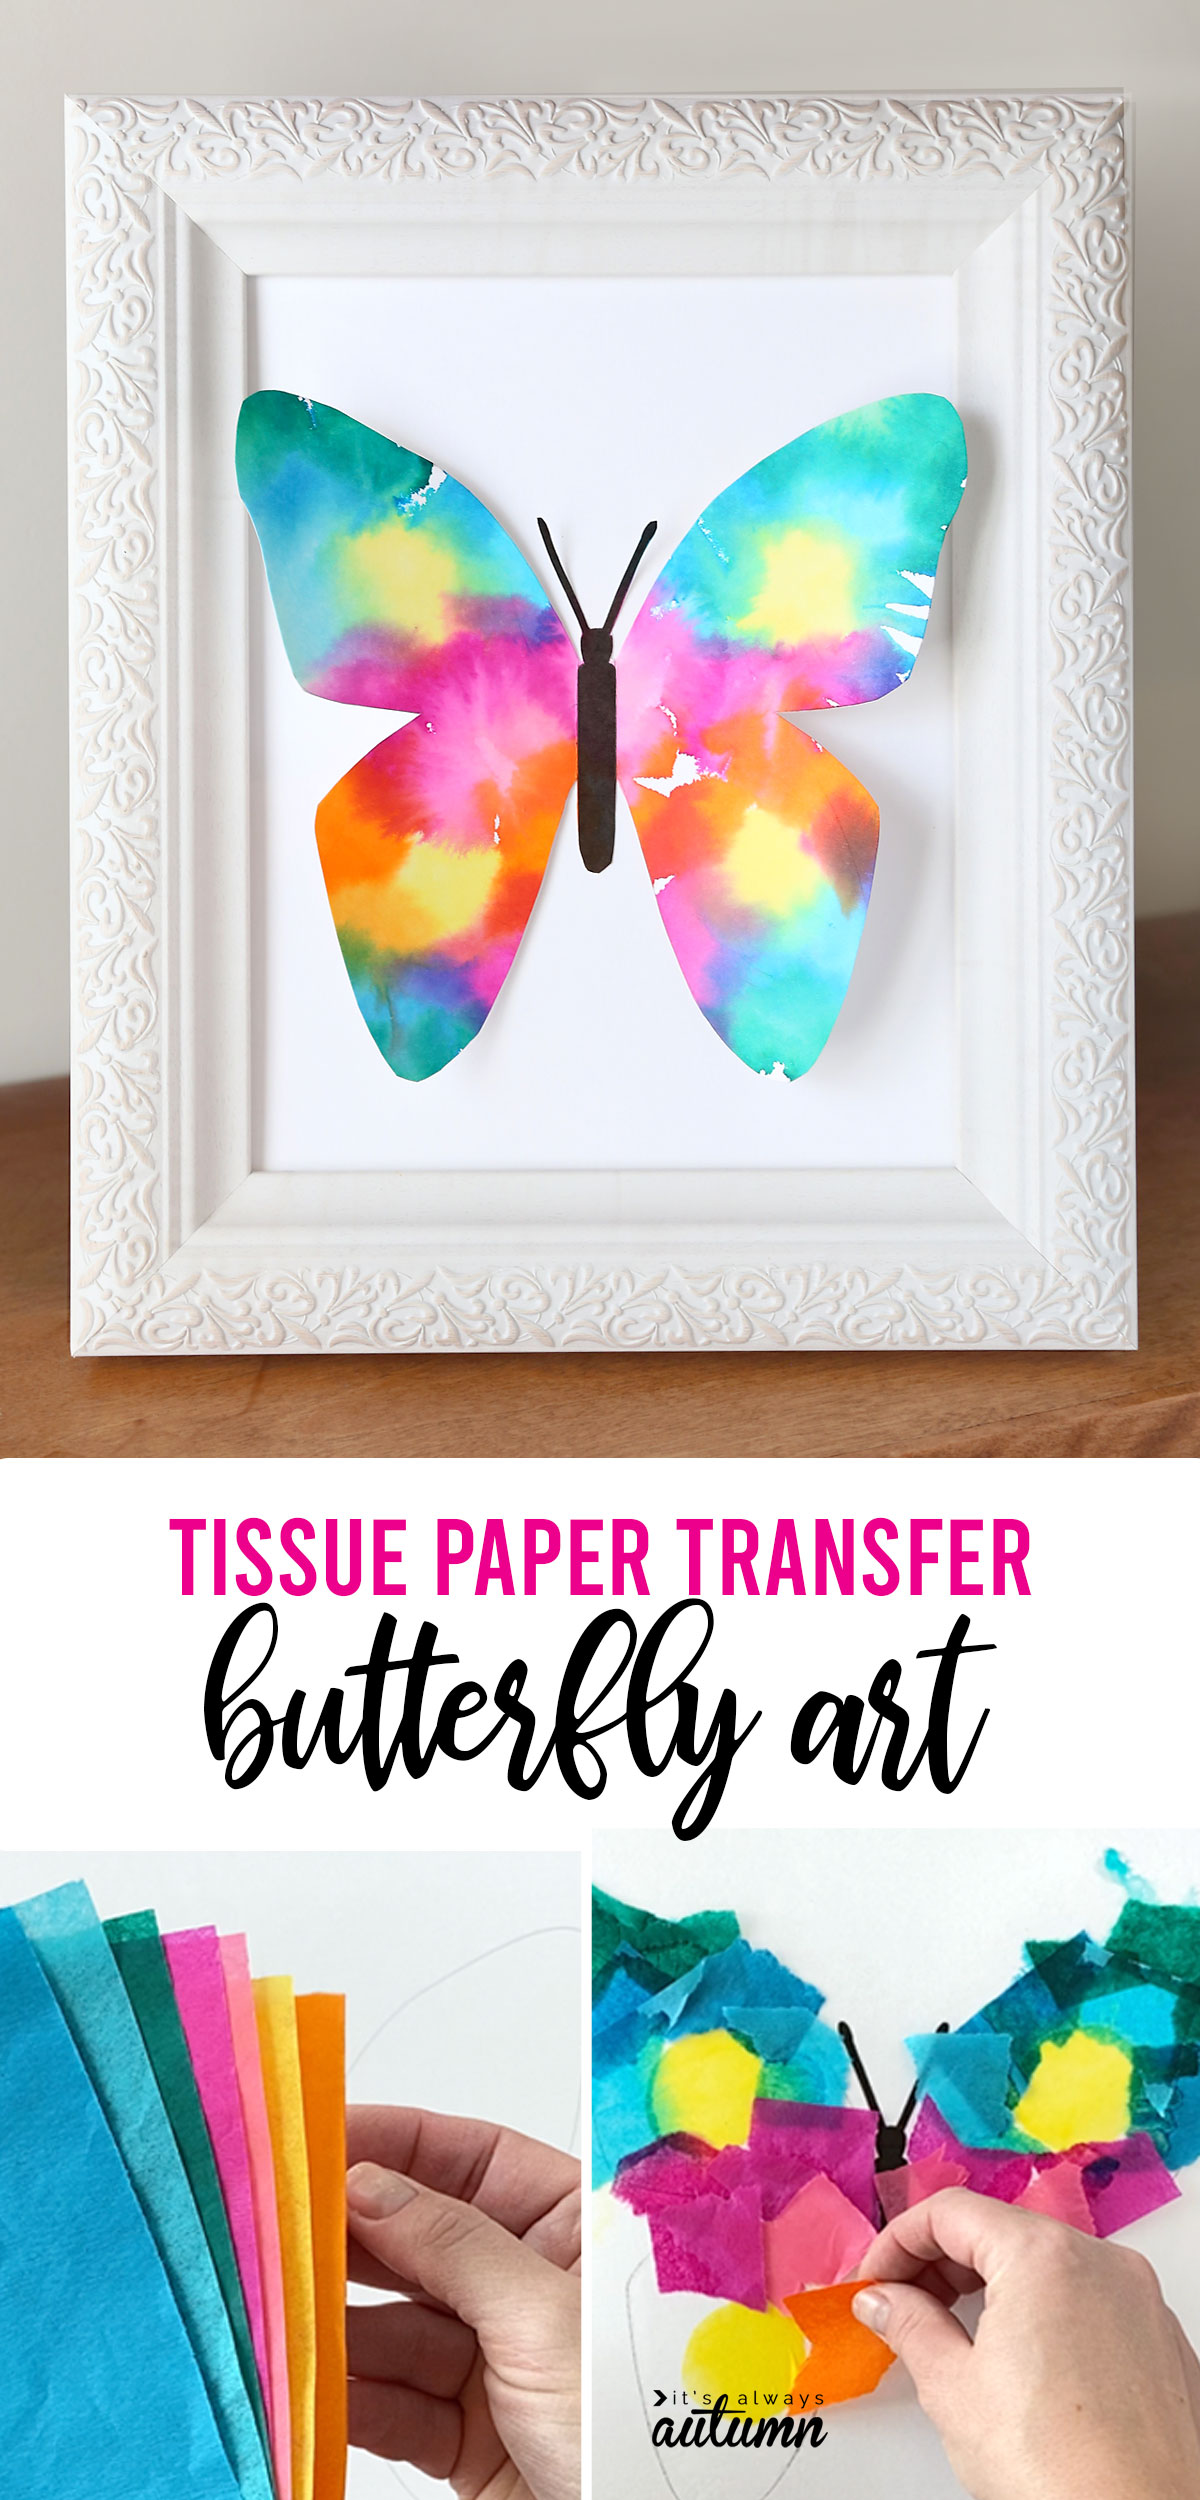
In today’s post: Kids (and adults) can make butterfly art that’s pretty enough to frame using this easy tissue paper transfer technique.
I’ve mentioned before that I’m not much of an artist. When I was a kid we used to play Pictionary a fair bit and it always ended in tears (mine) because no one had any idea what I was trying to draw. So when I find an easy art technique that turns out pretty, I use it over and over! Tissue paper transfer is one of my favorite easy art techniques, especially for young kids.
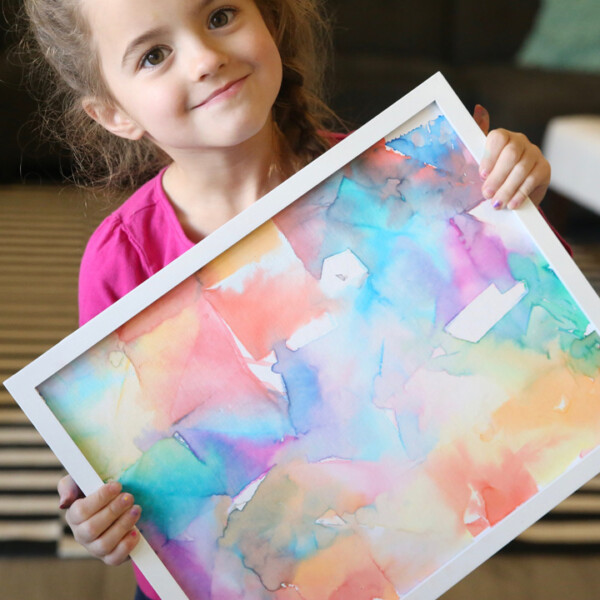
The concept is super simple: you get your surface wet, then place pieces of bleeding tissue paper on the surface. Spray the tissue paper with more water, and the color from the paper bleeds onto the surface, creating a really pretty blend of colors.
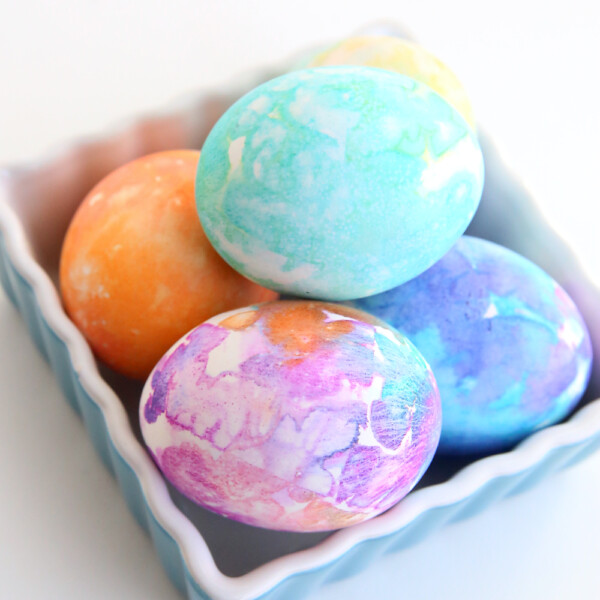
Check out Tissue Paper Transfer Art here, and Tissue Paper Easter eggs here
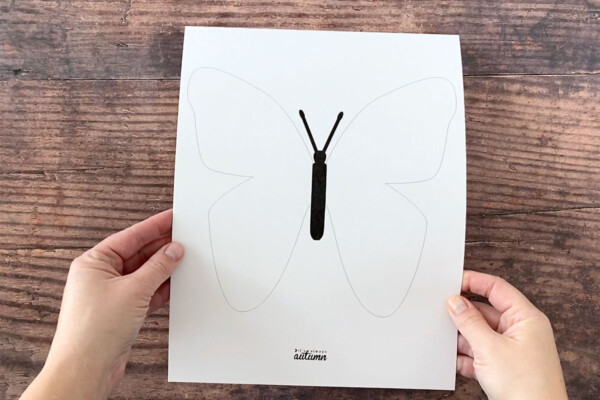
Today I’m sharing a butterfly template, so kids can use tissue paper to color the wings without having to draw anything on their own. It’s easy and fun and turns out pretty enough to frame!
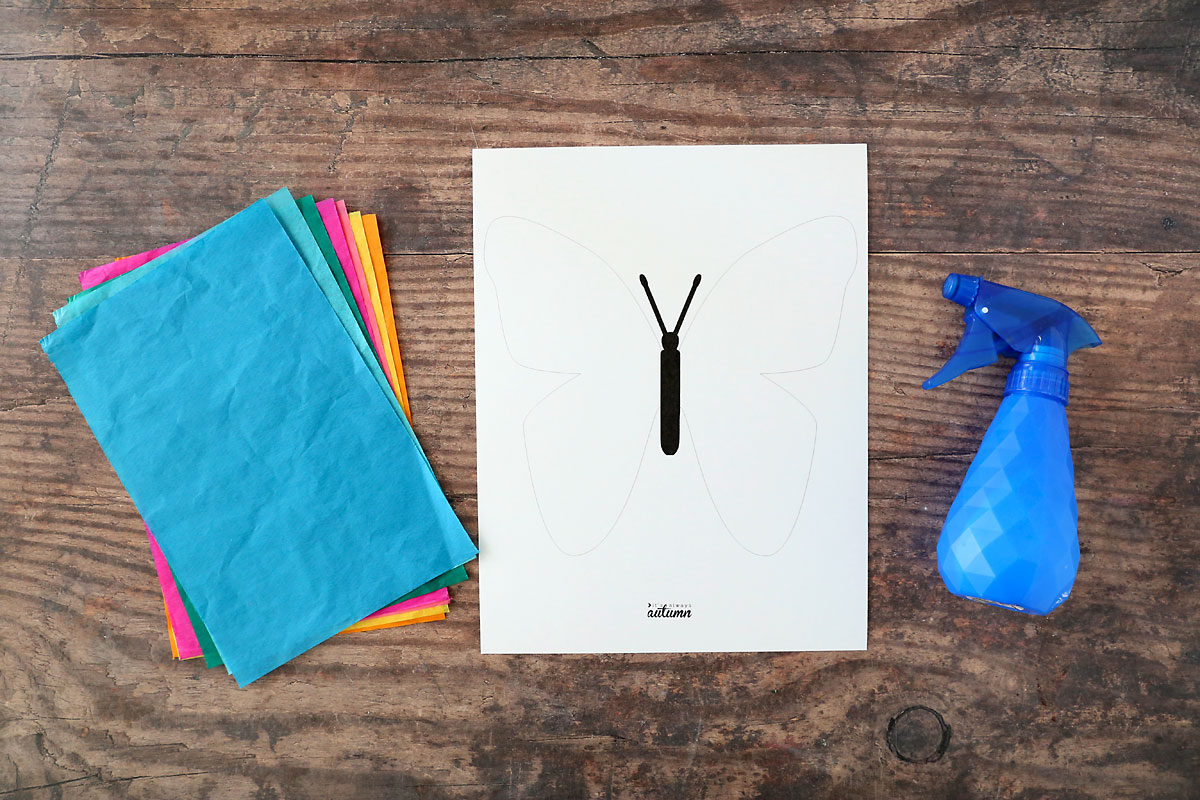
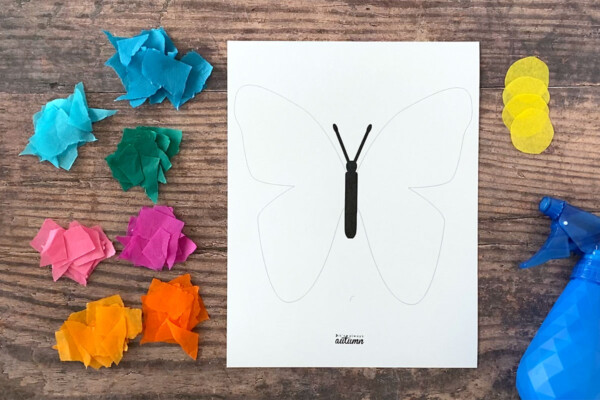
Butterfly Art Supplies
To make this easy art project, you only need a couple of supplies:
- White Cardstock
- Bleeding Tissue Paper (that is an affiliate link to the tissue paper on Amazon) – please be aware that this project WILL NOT work with normal tissue paper, so you must use bleeding tissue paper. One package will give you enough paper to make LOTS of different projects.
- Spray bottle and water
- Scissors
If you’d like to frame the finished project, you’ll also need a second sheet of cardstock, some adhesive, and an 8×10 frame.
Finally, you’ll need to download the butterfly template by clicking here.
How to Make Tissue Paper Butterfly Art
Watch this video to see how to make a tissue transfer butterfly. Printable instructions follow the video, and please read the tips for success that come after the instructions.
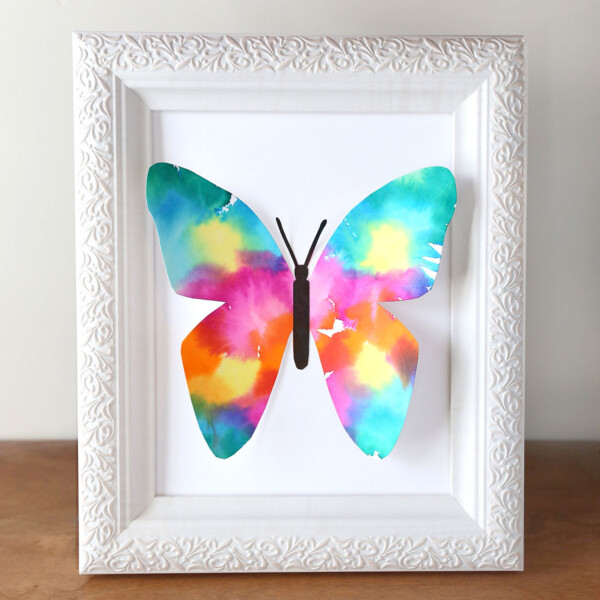
Tissue Paper Butterfly Art
Ingredients
- White Cardstock
- Butterfly Template
- Bleeding Tissue Paper
- Spray Bottle with water
- Scissors
Want more project ideas? Sign up to get my favorite easy crafts and recipes straight to your inbox!
Instructions
- Print the butterfly template onto a sheet of white cardstock (trim the cardstock if needed to fit into your printer). Print the template at 100% or full size.
- Choose 6-8 colors of bleeding tissue paper and tear them into small pieces. Cut one color into circles if desired.
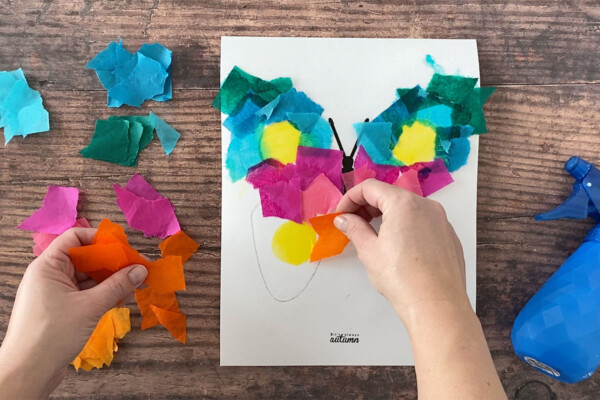
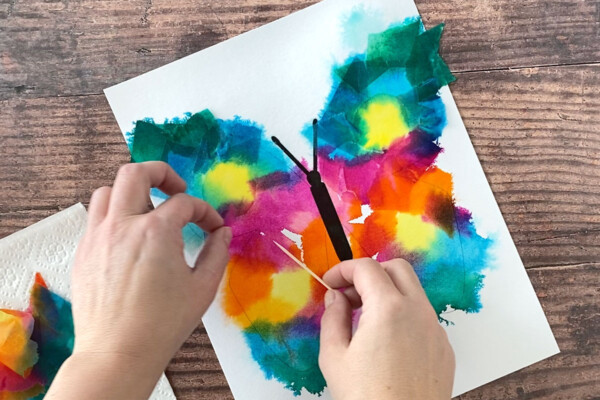
- Spray the cardstock with water, then begin laying pieces of tissue paper onto the butterfly. Completely cover both wings with different colors of tissue paper.
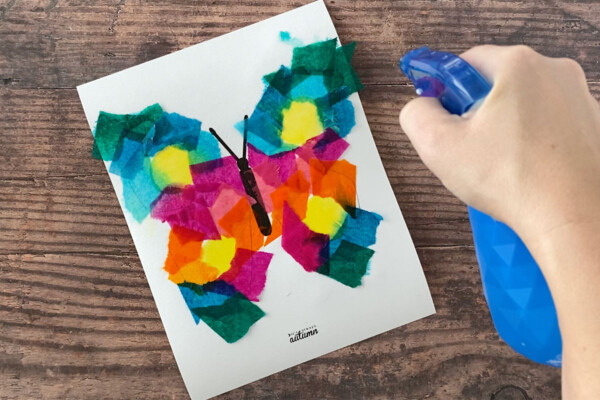
- Spray the tissue paper with water, and then wait 10 minutes.
- Remove the tissue paper and allow the butterfly to dry completely. A toothpick can be helpful in removing the paper.
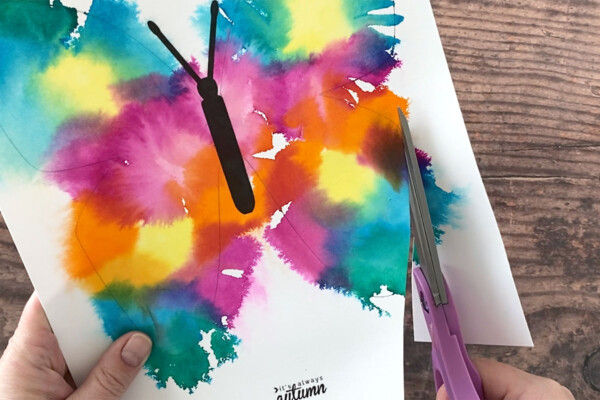
- Cut out the butterfly and fold the wings up.
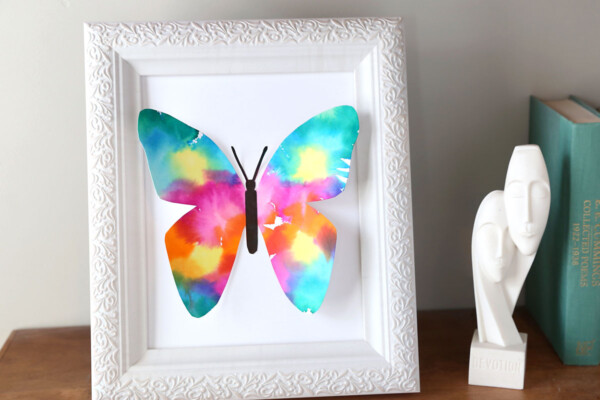
- Adhere just the body of the butterfly onto another sheet of cardstock. Trim that cardstock to 8x10 first if you'd like to frame it.
Tips
Tips for Success
Make sure your project is successful by keeping these tips in mind:
- Protect your work surface with newspaper, a piece of poster board, or a plastic bag or tablecloth to make sure you don’t get color from the tissue paper on it. Be aware that children will likely get color on their fingers during this project.
- The tissue paper will start bleeding as soon as it gets wet. So let kids rip the paper into circles or squares, and then move the tissue paper pieces away from the cardstock template before you spray the template.
- You can leave the wet tissue paper on the cardstock for longer than 10 minutes. Colors may get darker if you do.
- After you remove the tissue paper, let the butterfly dry completely before you cut it out. That means leaving it for an hour or longer, then coming back later to cut it out. If you don’t let it dry completely, it may tear as you are cutting it.
- This art project is appropriate for kids of just about any age, but small children will require help to cut out the butterfly. If cutting out the head and antennae are too difficult, just cut them off and use a black pom pom and black pipe cleaner to make your own head and antennae.


Violeta says
Hi! I wanted to drop a quick message to let you know that I featured your awesome tutorial on Crafts on Display. You can check it out here – https://craftsondisplay.com/paper-crafts/tissue-paper-butterfly-art-28322/
All the best,
Violeta
David Seof says
If you have more than one bouquet of https://showbox.run/ flowers, an hourglass vase might not be the best option– you’ll have a hard time fitting a larger quantity of flowers through the vase’s narrow neck.