
We just got a Chick-fil-A in town and I’m beginning to discover why every mom in the country loves that place so much. It’s clean, the employees are helpful and friendly, my daughter loves the play place, and the food is actually good! Since it’s so cold out here, it’s a great place to hang out for an hour or two: my daughter plays and I try to get some work done on my laptop. But since my laptop doesn’t fit in my purse (and I don’t really want to jam it in there with the crayons, kleenexes, and who-knows-what-else ends up in the bottom of my purse anyway), I needed a little tote to carry it in. And because I am who I am, I made myself a laptop tote out of a thrifted sweater and a thrifted belt. That’s what I do.
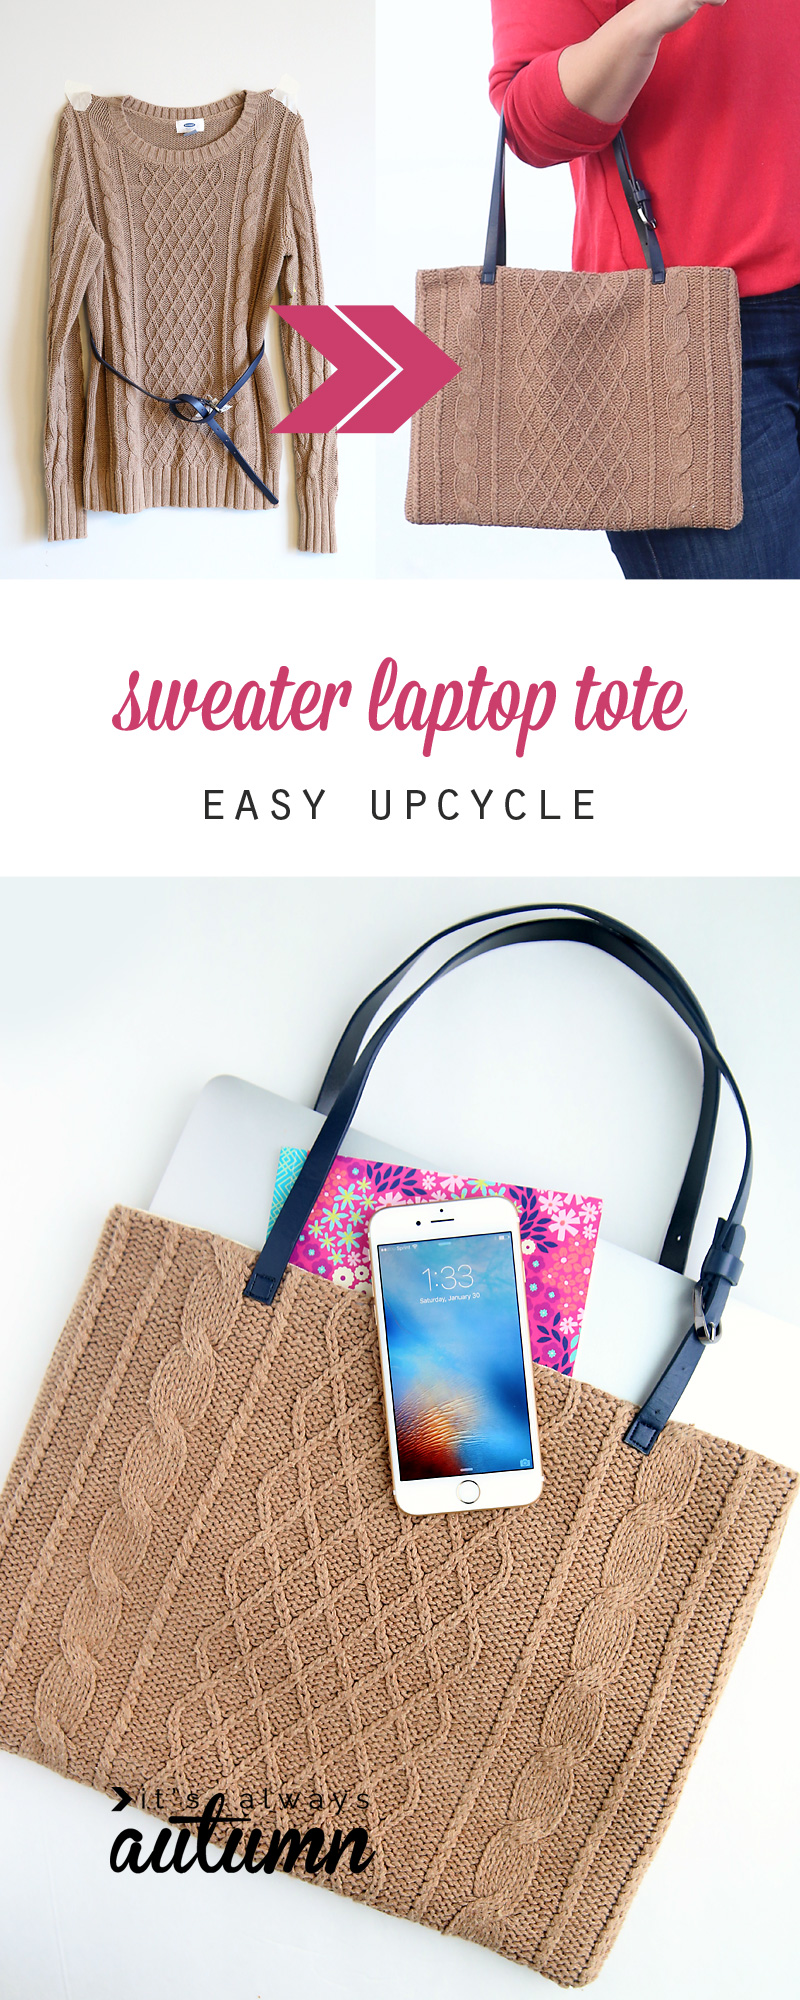
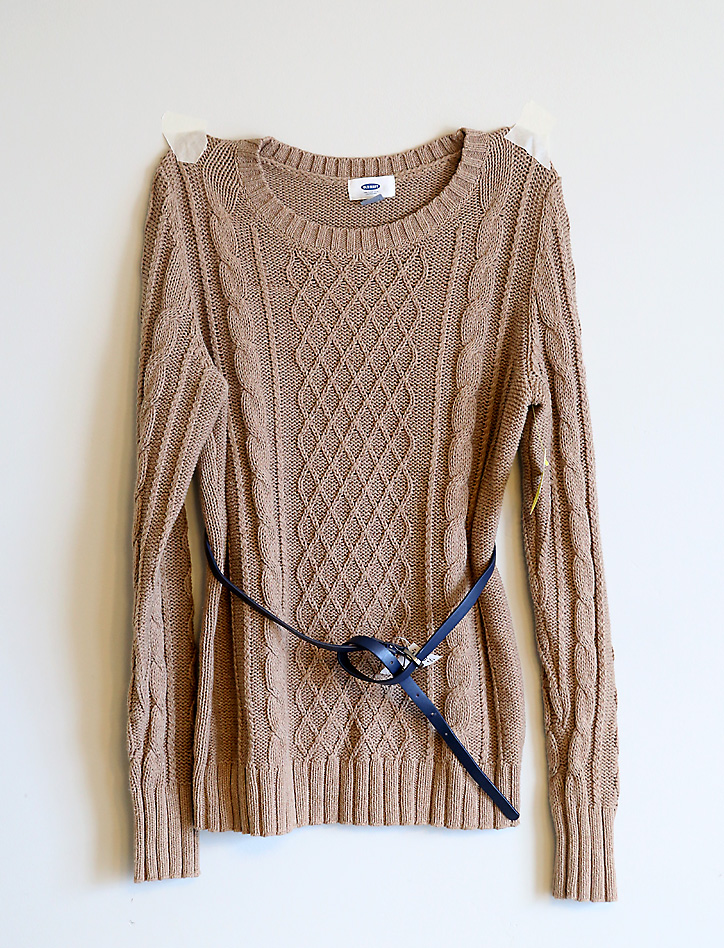
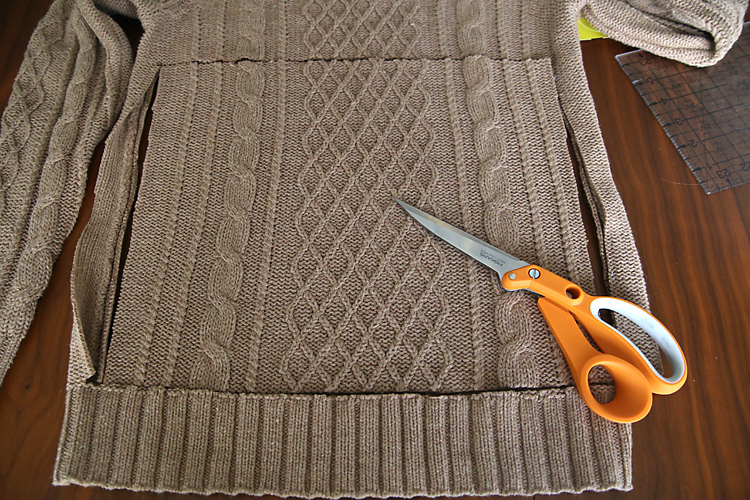
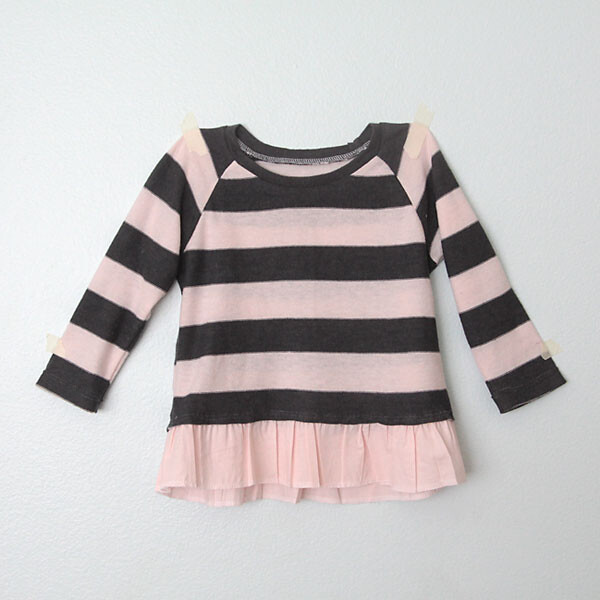
Yep, that’s right. I started with this (which I scored for $4.50 at the thrift store on half off day):
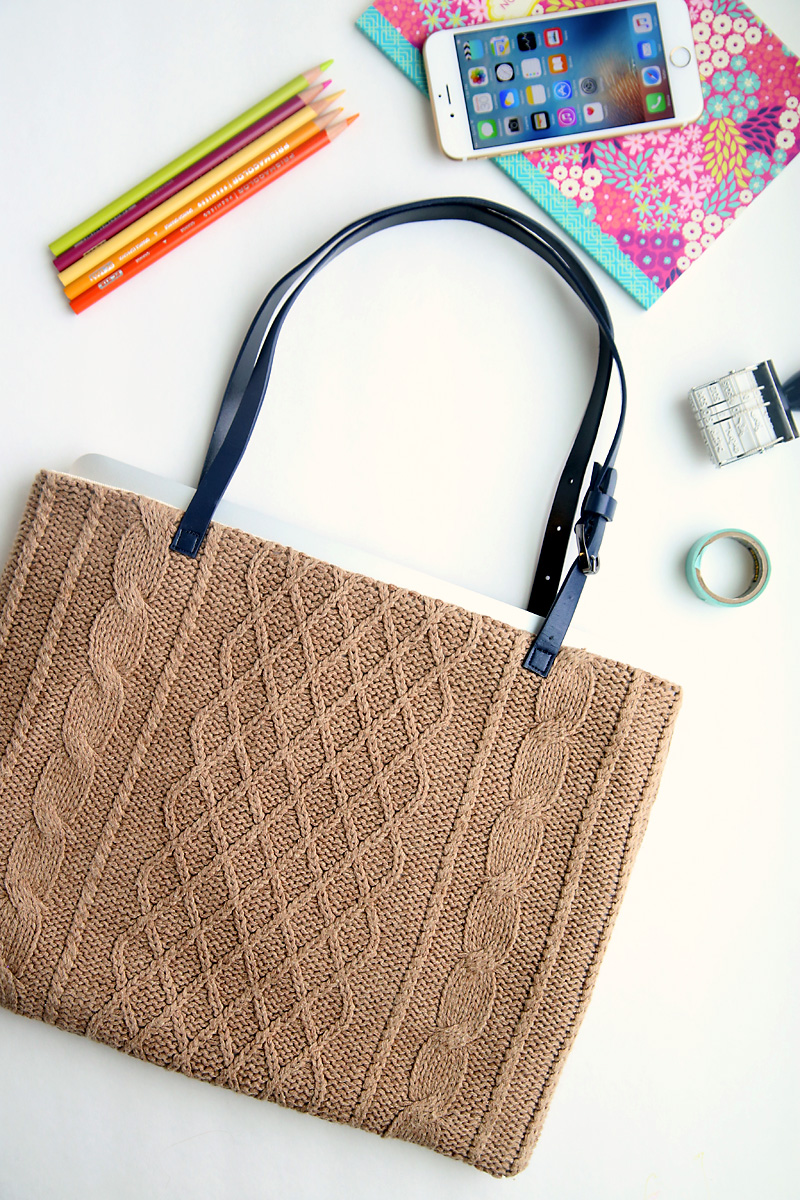
And ended up with this:
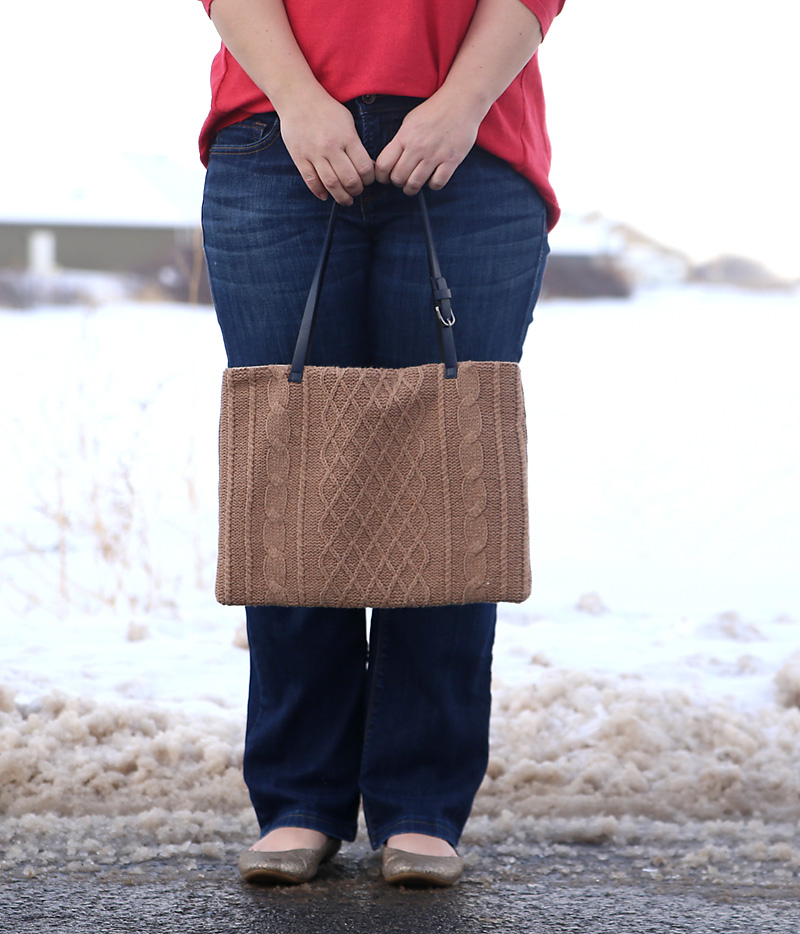
A cute little tote perfectly sized to my laptop. I can throw a planner in there to and be ready to work wherever I end up.
Here’s how to make a DIY sweater laptop tote:
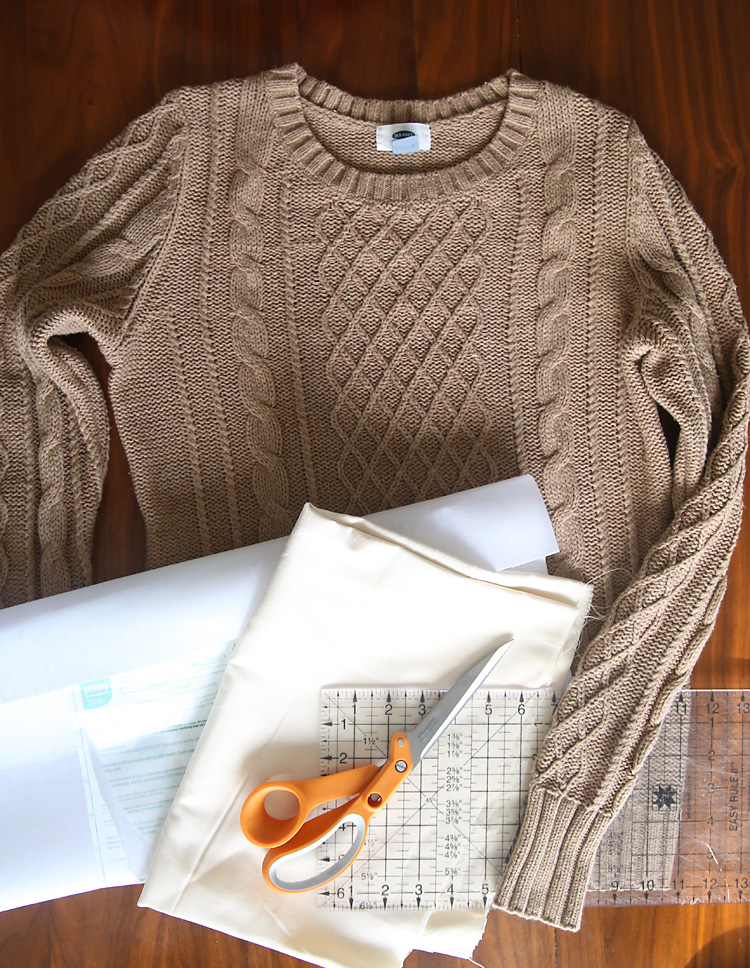
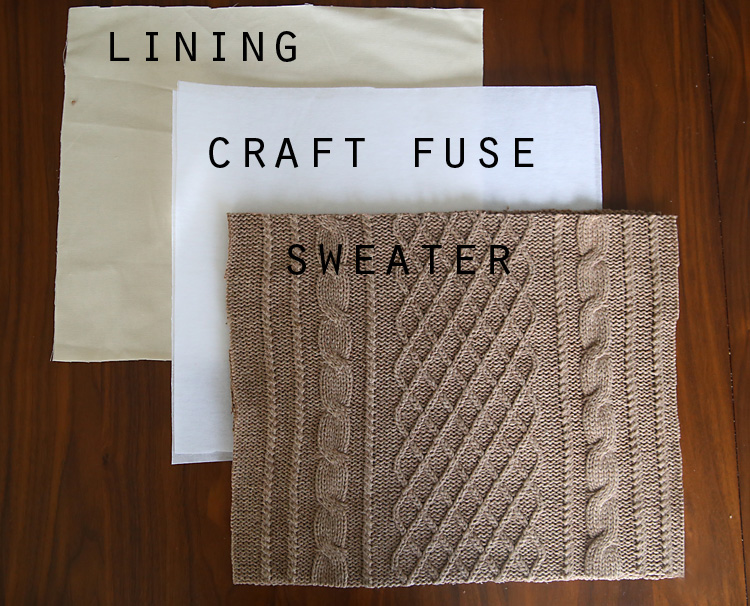
You will need: a sweater, 1/2 yard of fabric for lining, 1 yard of craft fuse interfacing, and a long belt.
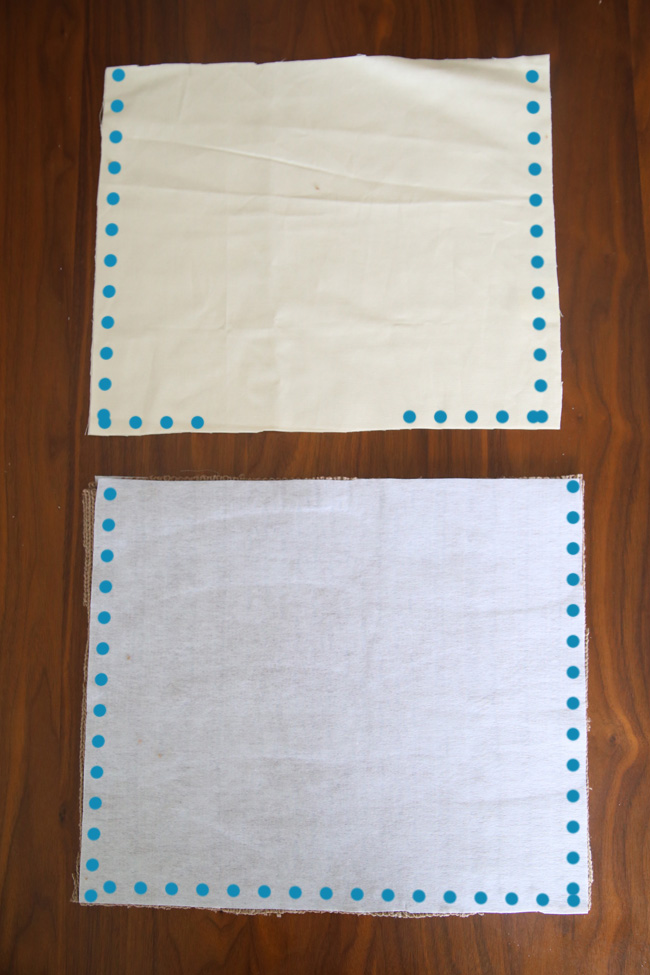
Cut two rectangles of each: sweater fabric, lining fabric, and craft fuse. To get dimensions, measure your laptop, then add 2.5 inches to the width and height.
When cutting your sweater, make sure it is laid flat and that no parts of it are stretched out. Also make sure any pattern is centered before cutting.
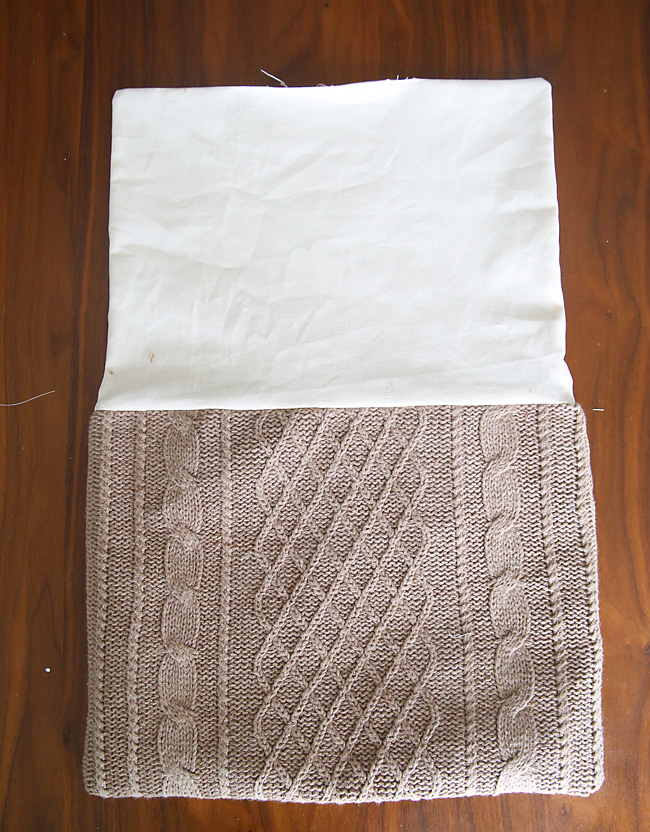
Iron the shiny side of the craft fuse onto the wrong side of each sweater piece. This will make the sweater sturdy enough to use as a tote and prevent it from stretching out of shape. If you want it super sturdy, you can cut 2 more pieces from craft fuse and iron them onto your lining fabric as well. You could also add pockets to the lining at this point if you want to. (I did neither.)
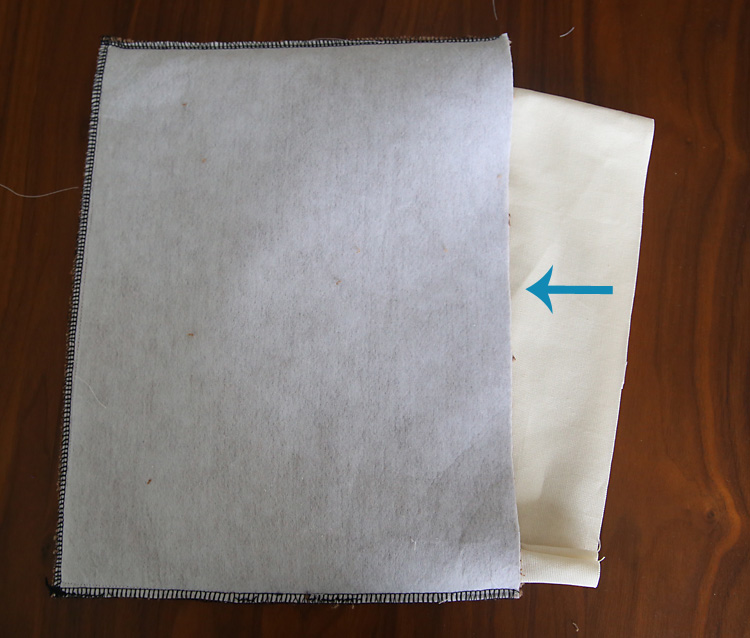
Place the sweater pieces right sides together and sew around the sides and bottom, using a 1/2 inch seam allowance. Place the lining pieces right sides together and sew the sides and bottom, leaving a 5-6 inch opening across the bottom, as shown below.
Whenever I sew with sweaters, I prefer to use my serger because it finishes the edges. If you’re sewing on a sewing machine instead, sew with a straight stitch, then trim the seam allowance. Then sew along the edge with a zigzag to finish. Trim away the seam allowance on the lining piece as well, using pinking shears if your fabric frays a lot.
Turn the lining piece right side out, and place it inside the sweater piece, which is still inside out, so right sides are together. Match up the raw edges and pin well. Sew all the way around the raw edges, again using 1/2 inch seam allowance.
Turn the sweater piece and lining piece right side out through the opening in the lining. Stitch the opening closed.
Then tuck the lining into the sweater tote and press along the top very well. You can topstitch here if you like (I didn’t).
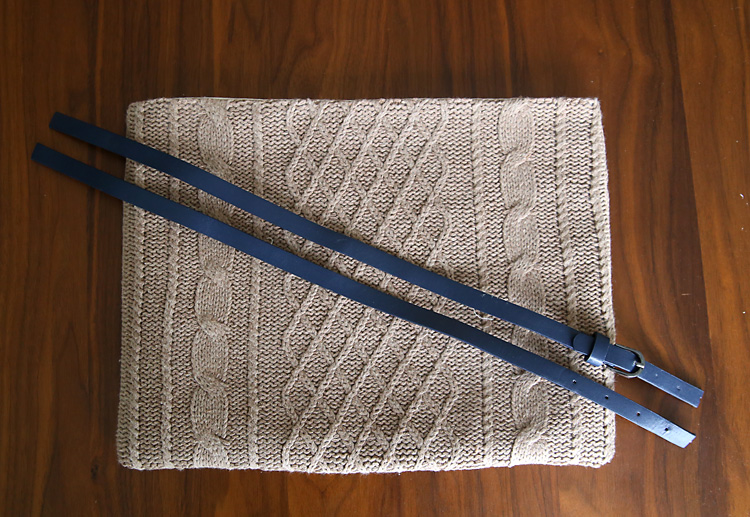
For the straps, I buckled the belt, and then cut it into two pieces of equal length. I then decided where I wanted the straps to attach to the tote and sewed them on carefully, using a leather needle (any heavy duty needle would probably work for this). I just made a square of stitching at the ends of each strap.
And that’s it! My new laptop tote is ready to go. See you at Chick-fil-A!
alice says
Great idea!This laptop tote looks gorgeous,I am gonna to make one with my knit blouses.
grandmalikestosew.com says
That bag looks great! It is such a simple way to make a trendy item. I’m surprised that I haven’t seen anything like it before. Thanks for sharing!
christina says
This is super cute and I’m half tempted to make one. You made the tutorial sound really easy! Thanks for explaining how to finish the edges if you don’t have a serger! I have a very basic (verrrrry) sewing machine and am always fearful of taking on projects. You made it look pretty easy!