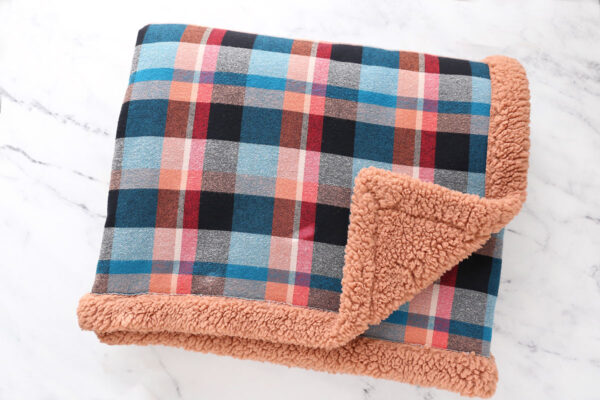
For the past couple of years I’ve been wanting to make a super cozy sherpa lined flannel blanket, but it’s always seemed like a lot of work! It’s hard to find flannel wide enough to make a blanket with, and even if you figure that out you still have to figure out how to attach it to a bottom layer of sherpa. I always just figured it was more work than it was worth.
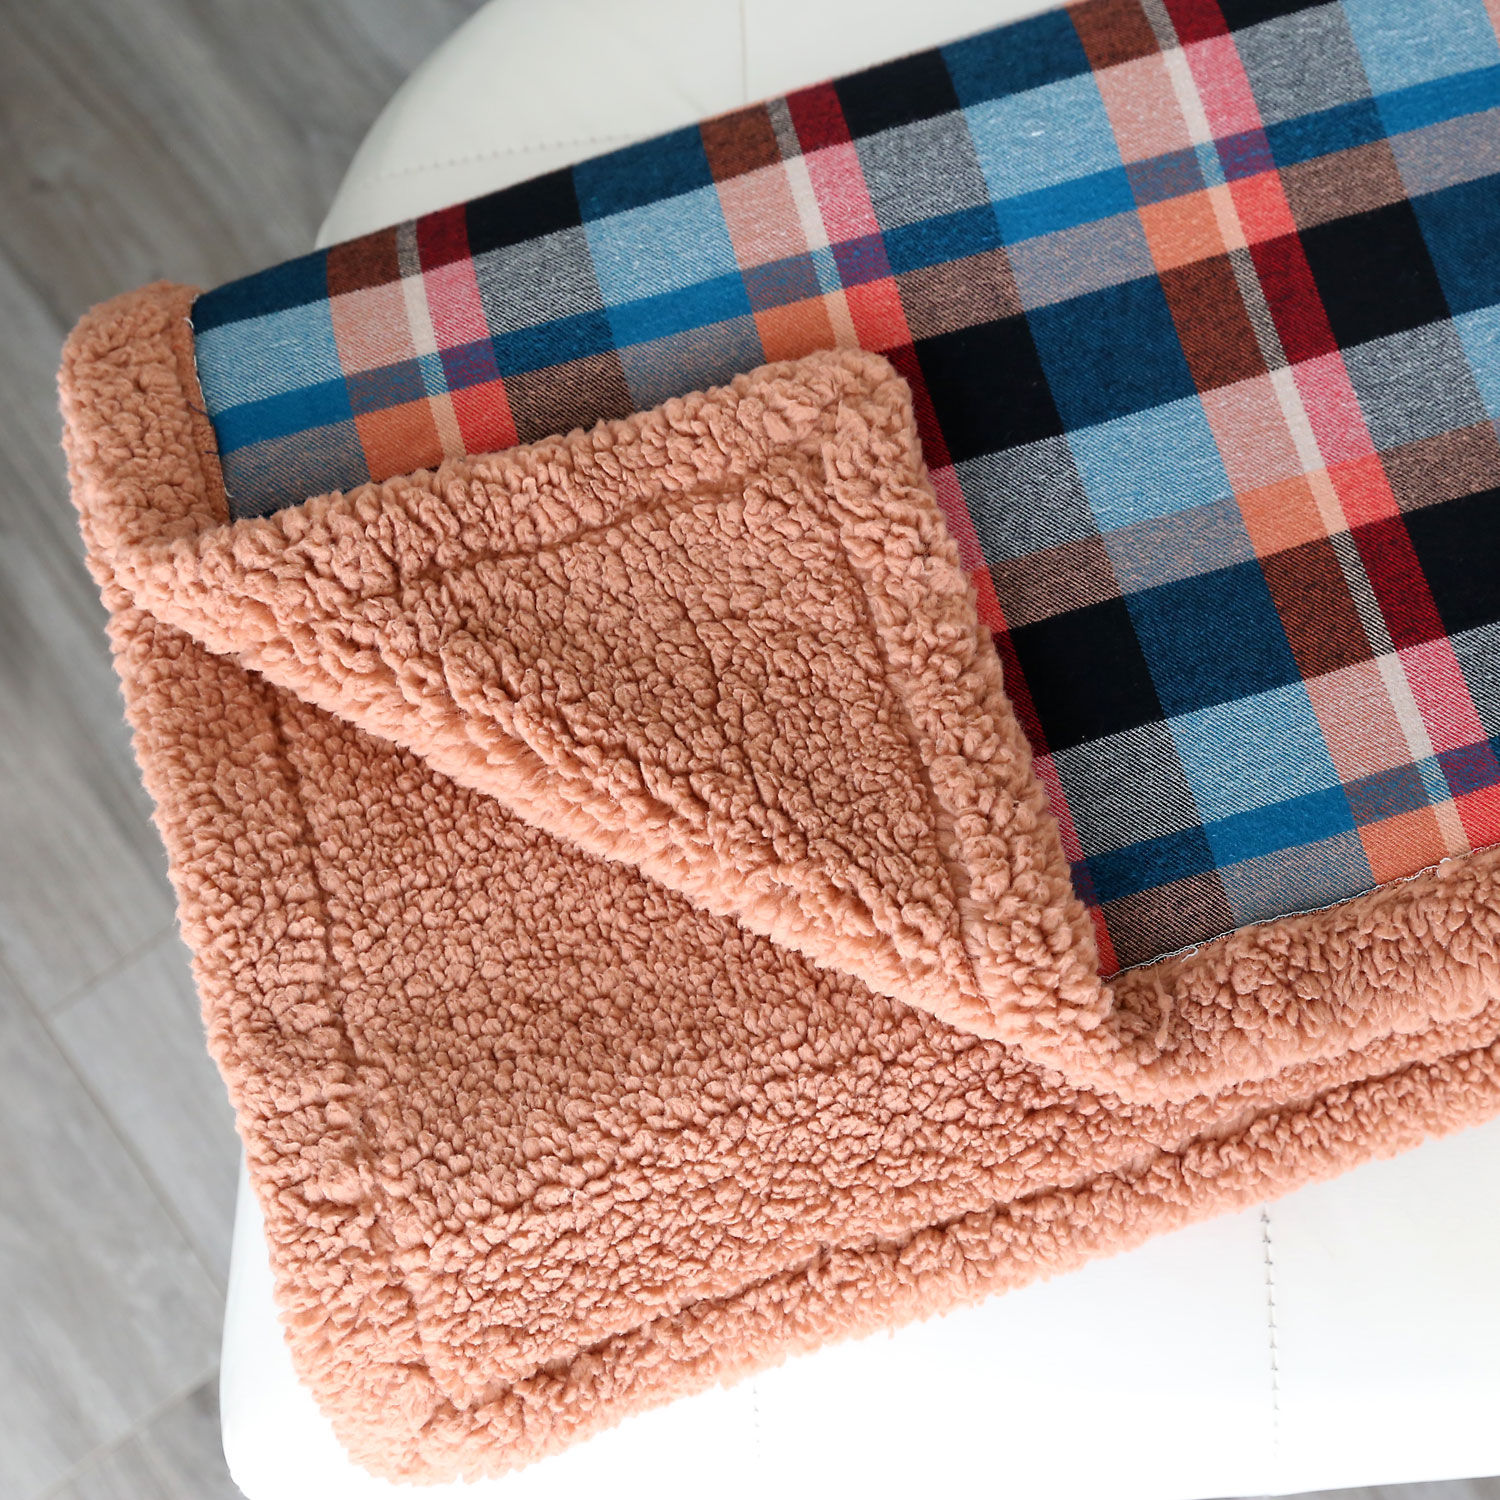
Until last week! I was at Jo-Ann and saw they now sell fabric that is flannel on top fused with a gorgeous sherpa underneath. It comes in a couple different gorgeous plaids that I immediately fell in love with. And making a blanket with it is ridiculously easy – all you have to do is finish the edges. We’re talking a couple long rows of straight stitches and you have an ultra snuggly blanket your kids are going to fight you for.
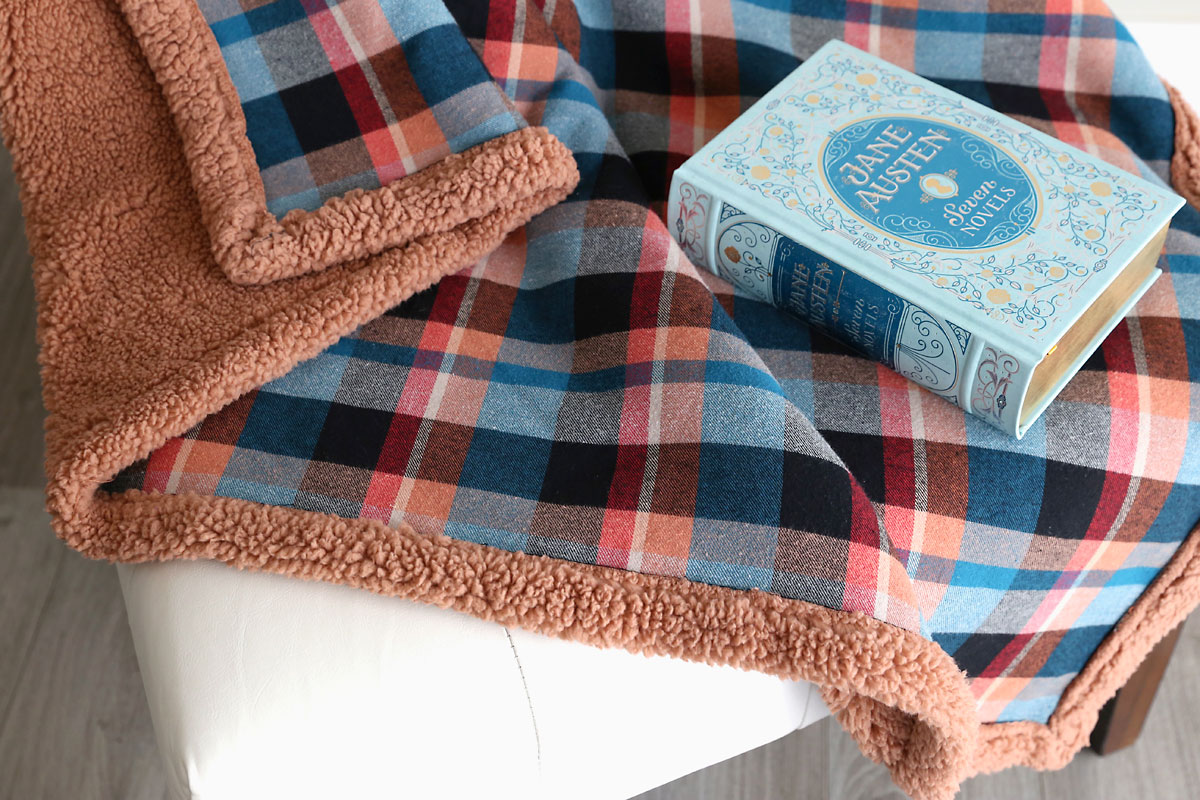
Supplies
You only need two things to make this gorgeous blanket:
- 2 yards of Sherpa Backed Flannel (found at Jo-Ann)
- Thread that matches the sherpa
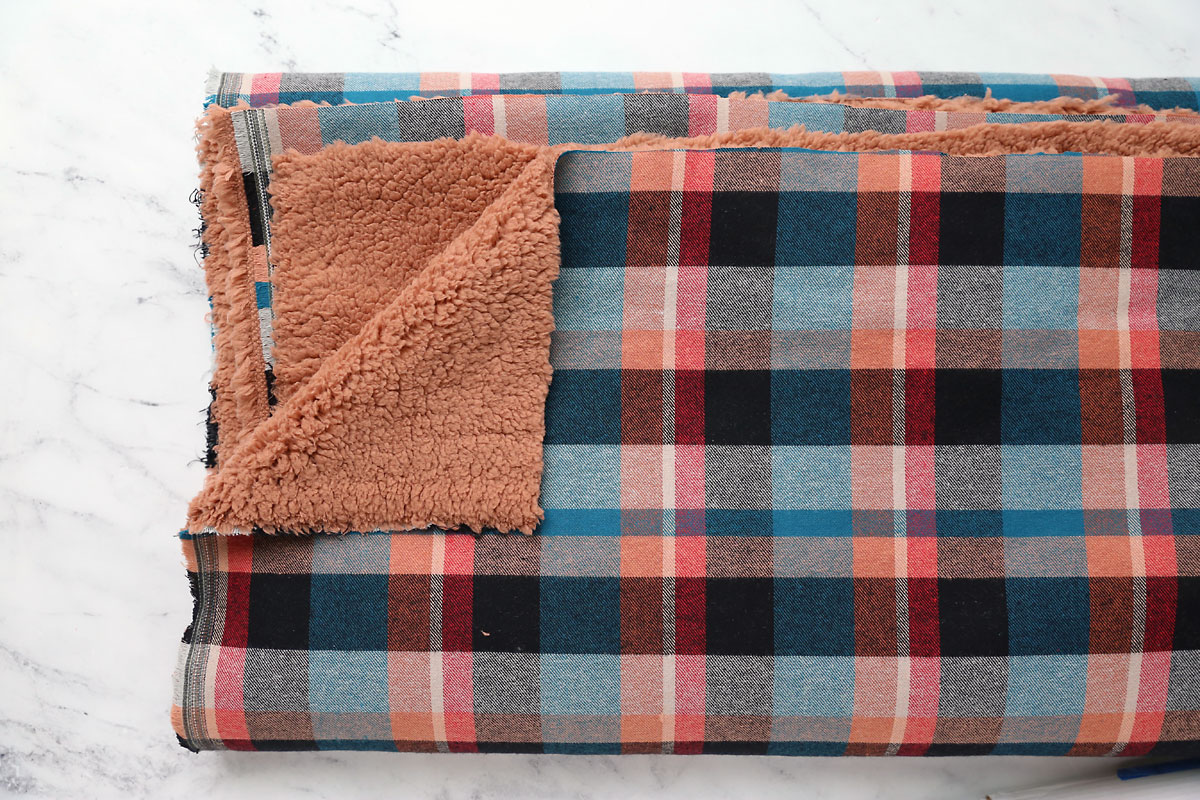
What Size Blanket?
This fabric is 55 inches wide, and I purchased 2 yards (which is 72 inches long). You will need to trim both cut edges to get the straight, and then you turn up all the edges about an inch and a half, so the finished blanket will end up about 50 inches wide and approximately 6 inches shorter than the length you purchase. So my finished blanket is 50 inches wide and 64 inches tall.
This fabric is quite expensive at $35/yard. I purchased it with a 50% off coupon, so the total for two yards was $35. I think it’s worth it for how beautiful it turned out!
How to Make a Sherpa Lined Flannel Blanket
This is an easy sewing project you can complete in about an hour using your sewing machine and a universal sewing machine needle. All you have to do is finish the edges of the fabric, which we will do by simply turning them up and securing with a straight stitch. I originally tried using a zigzag stitch but realized a straight stitch looks better and is faster and easier. And because the flannel is fused to the sherpa it doesn’t fray!
Please note: I usually recommend washing fabric before you start sewing, but for this project it’s easiest to sew first, and then wash the finished blanket.
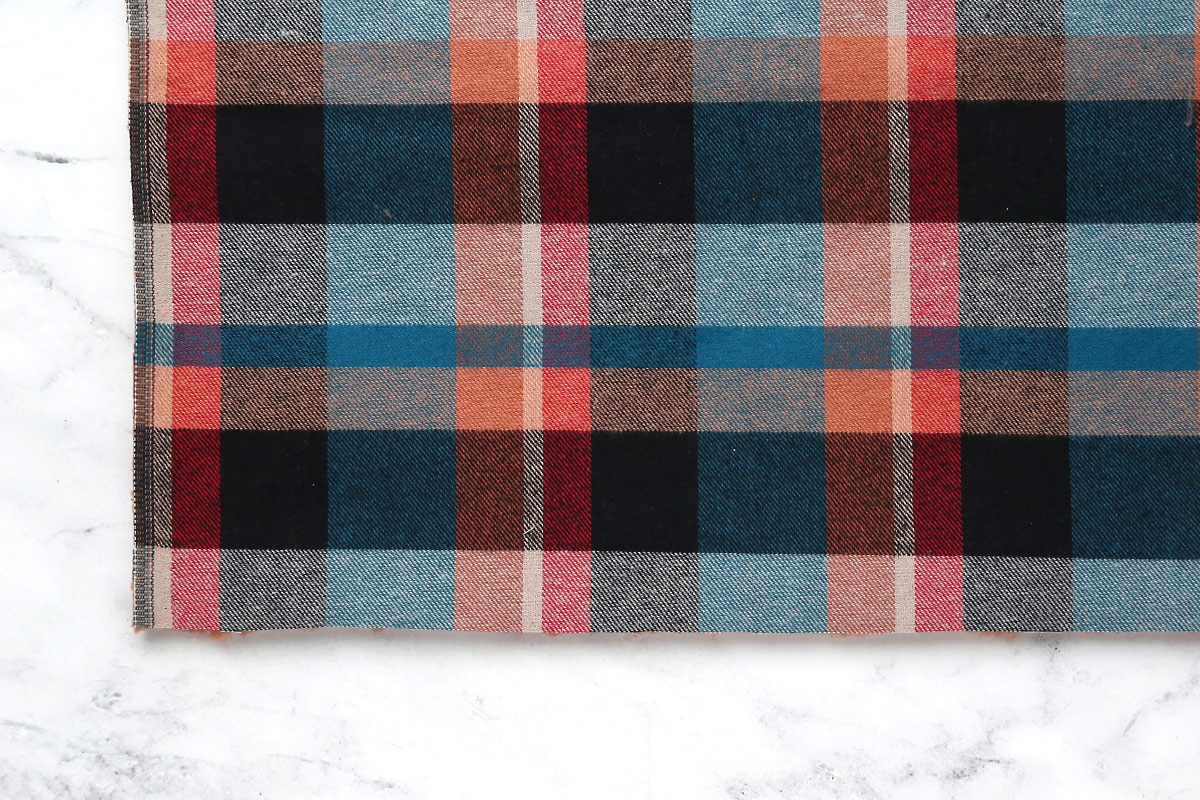
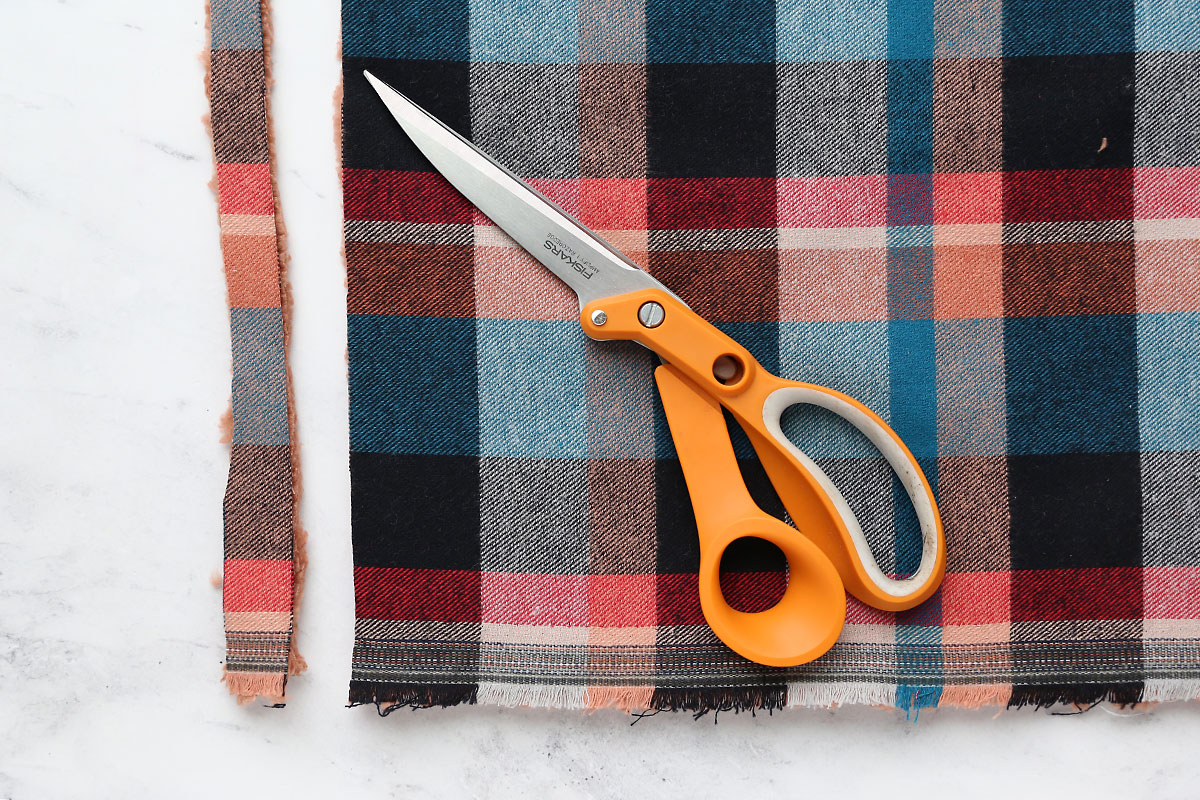
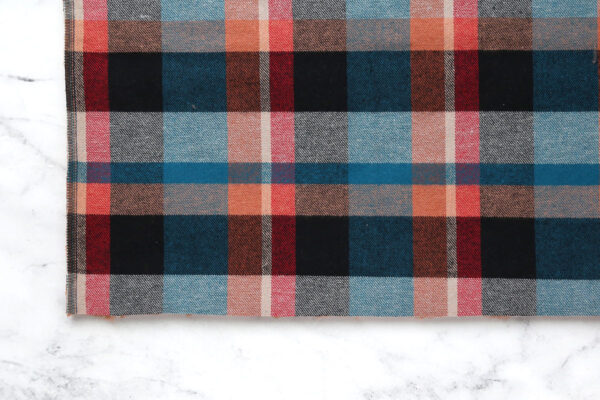
Next you’ll trim down the selvedge edges, which are the long edges that look a little frayed, as you can see in the photo above. You won’t need to cut as much off here; just trim off the frayed portion and make sure to cut straight along the plaid. This is what the fabric will look like once it’s been trimmed and evened up:
Turn up Edges and Pin
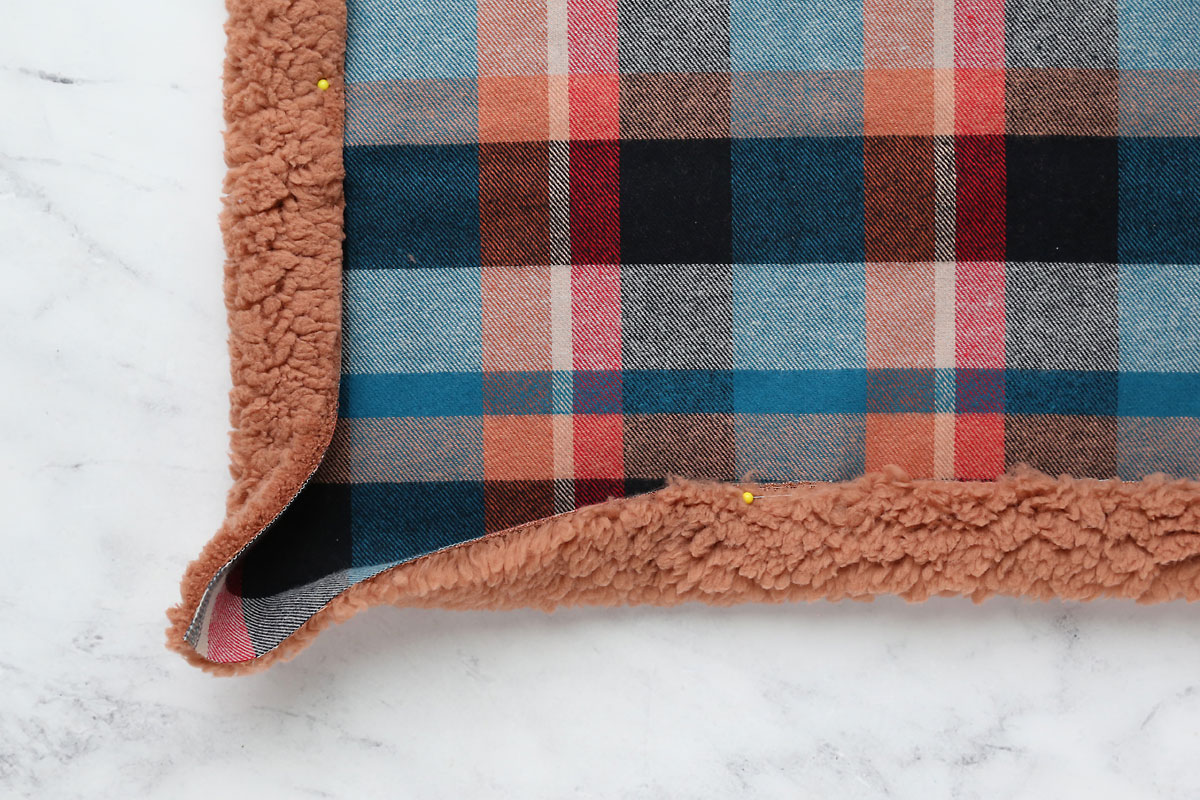
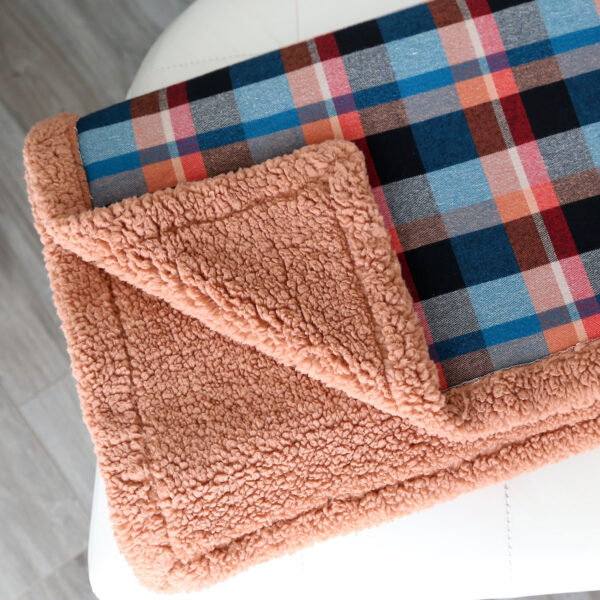
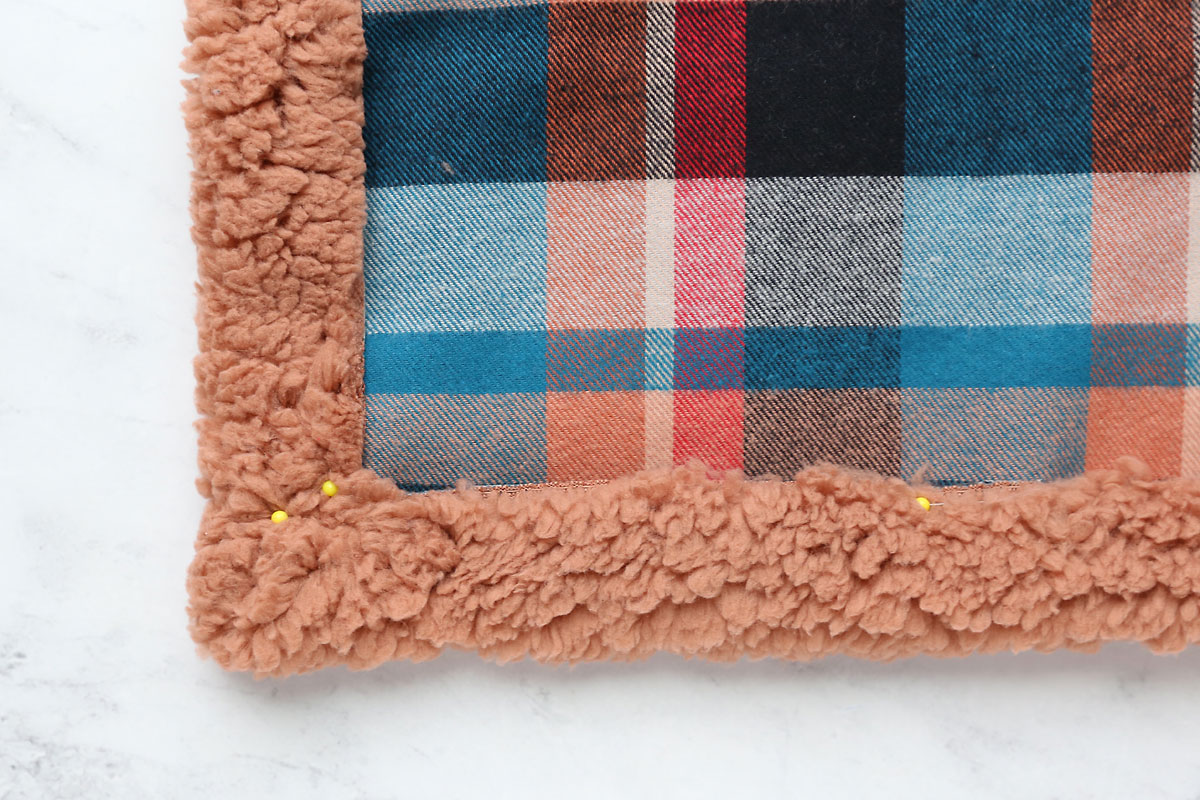
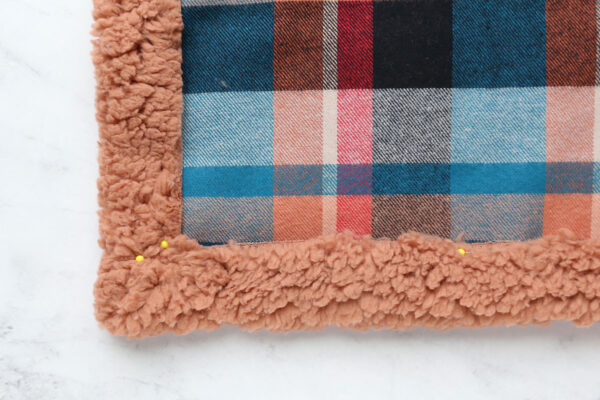
Now it’s time to turn up the edges of the fabric and pin them in place. Doing this will create a sherpa border around the front (flannel) side of the blanket that looks very cute. Lay the fabric down on a flat surface with the flannel side facing up. Turn the edges up 1.5 inches and pin in place, leaving about 6 inches on either side of the corner unpinned.
Sew to Finish the Edges
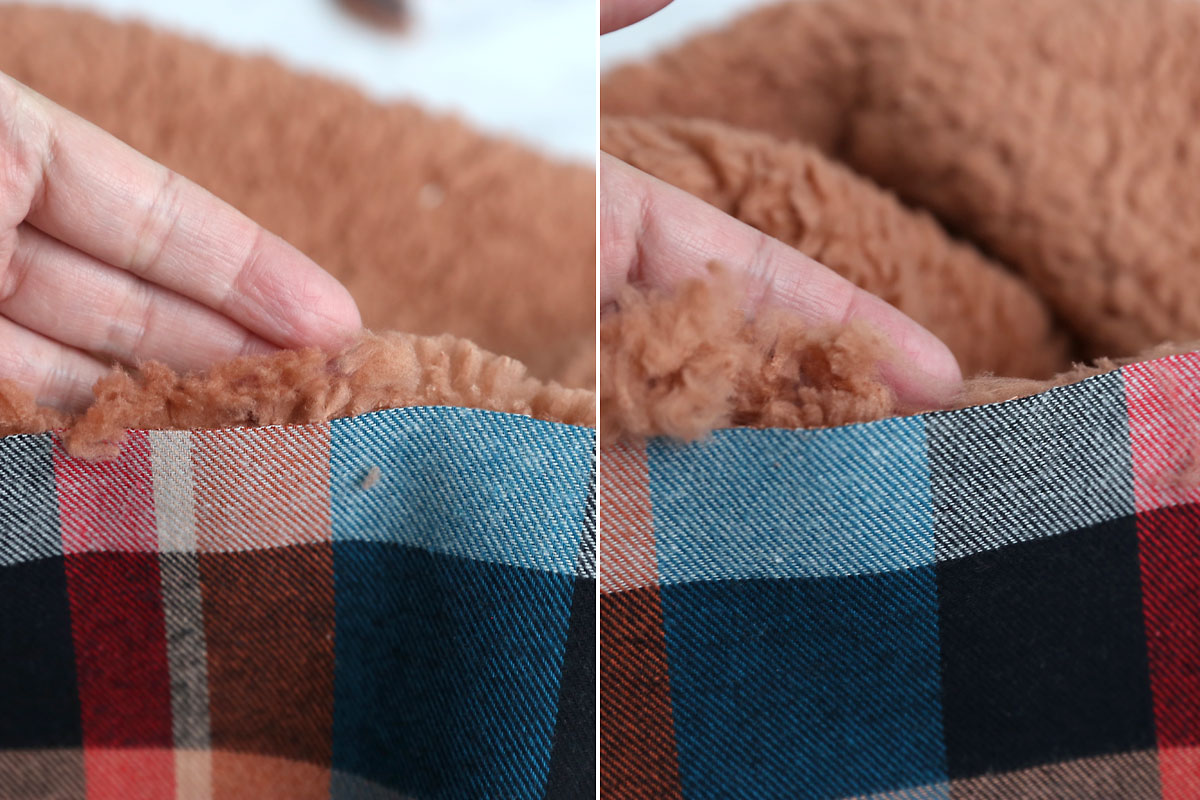
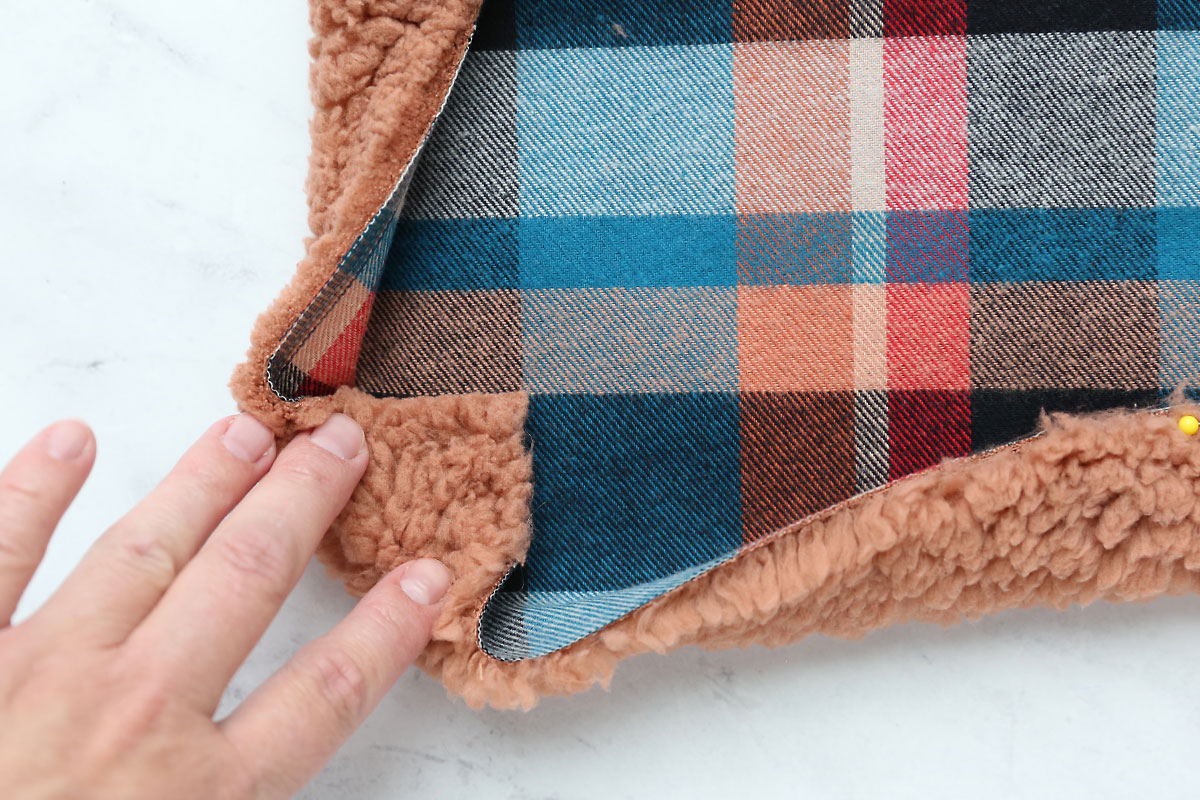
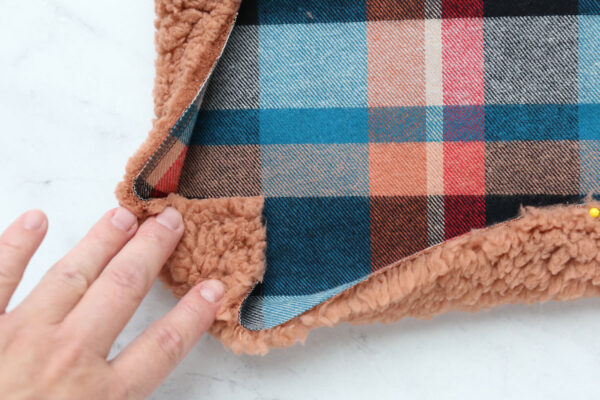
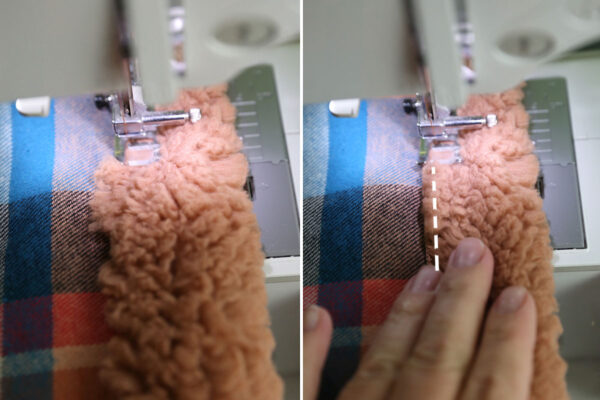
Place the fabric on your sewing machine with your needle positioned about 1/8 to 1/4 inch inside the raw edge. You may see that some of the sherpa is still extending past the cut edge of flannel, like the first photo below. Just brush the sherpa to the right and begin to sew a straight line using a straight stitch.
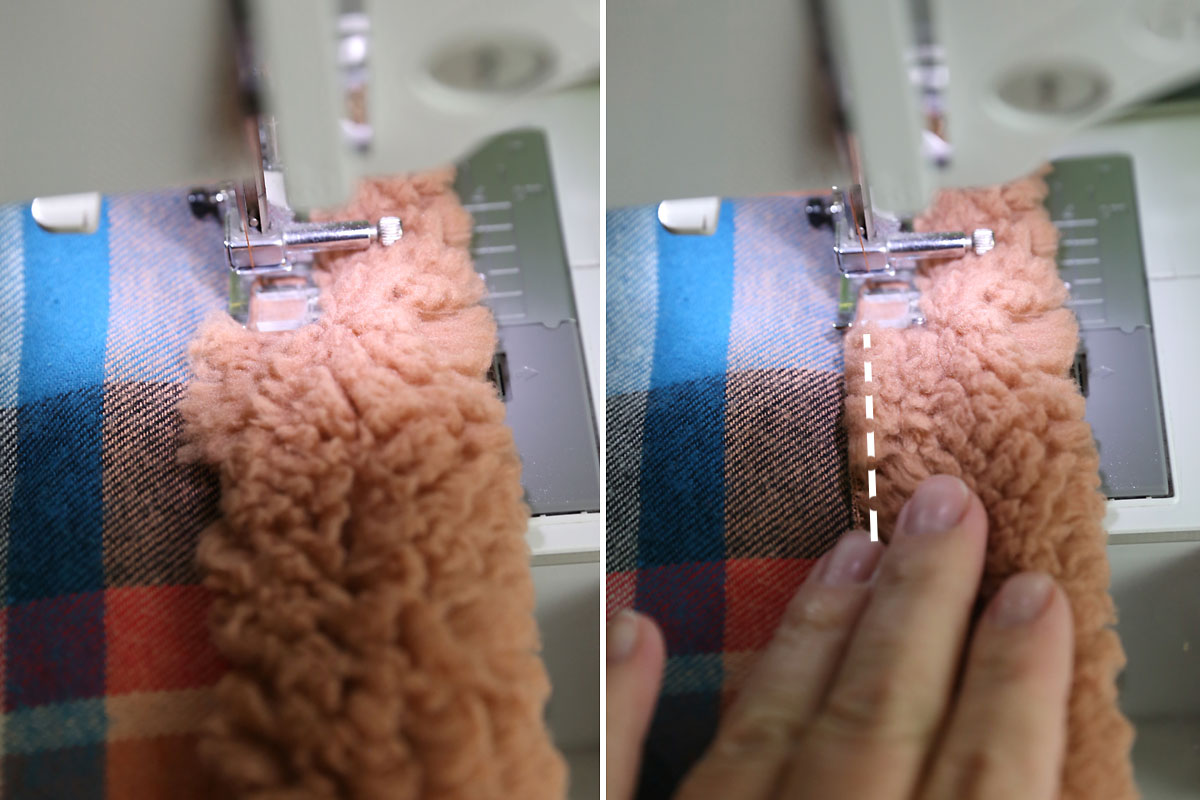
Because the fabric is thick, you will likely need to gently pull the fabric behind the presser foot with your left hand while keeping it feeding straight with your right hand. Or use a walking foot if you have one. (Note: I did try this first using a zig zag and due to the nature of the sherpa the straight stitch ended up looking better – and it’s quicker and easier!)
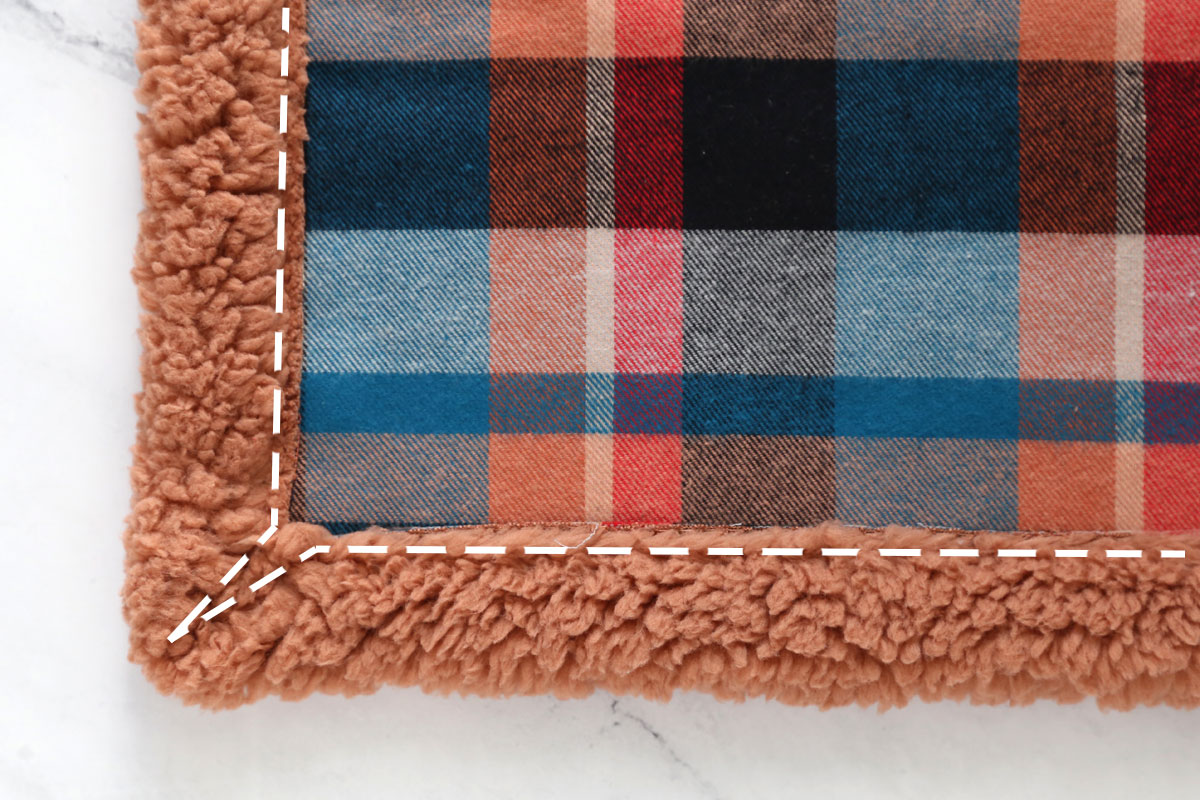
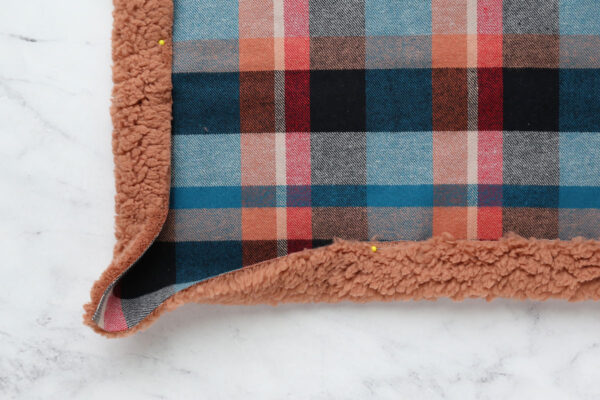
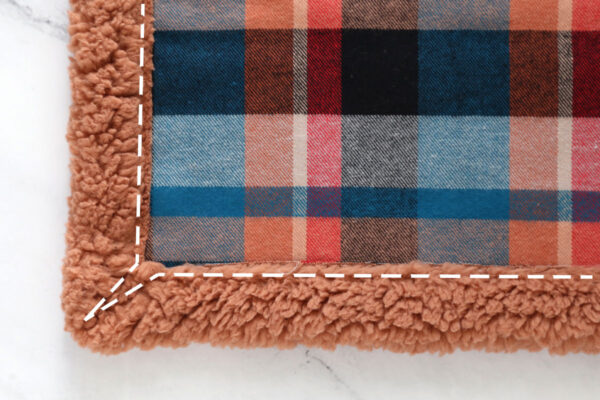
Continue sewing all around the blanket, taking care to find and remove pins as you get to them – they tend to get a little lost in the thick sherpa. When you get to a corner, put the needle down and lift the presser foot to turn the fabric 45 degrees to sew down nearly to the corner. Then put the needle down and lift the presser foot to turn it around again and sew back out of the corner, as shown in the photo below:
When you get back to where you started, backstitch to secure then trim your threads. Sewing done!
Wash and Dry the Blanket
At this point you can wash and dry the blanket if desired. Sherpa can get a little matted with repeated washings, so follow these tips to keep it soft and fluffy:
- Wash the blanket alone on a gentle cycle using cold water. Use just a small amount of detergent and add some white vinegar where you would normally put fabric softener. Using vinegar instead of fabric softener helps keep the sherpa soft and fluffy.
- Dry on delicate (low heat) and use the “nearly dry” setting if you have one, or if not, remove the blanket from the dryer as soon as it’s dry.
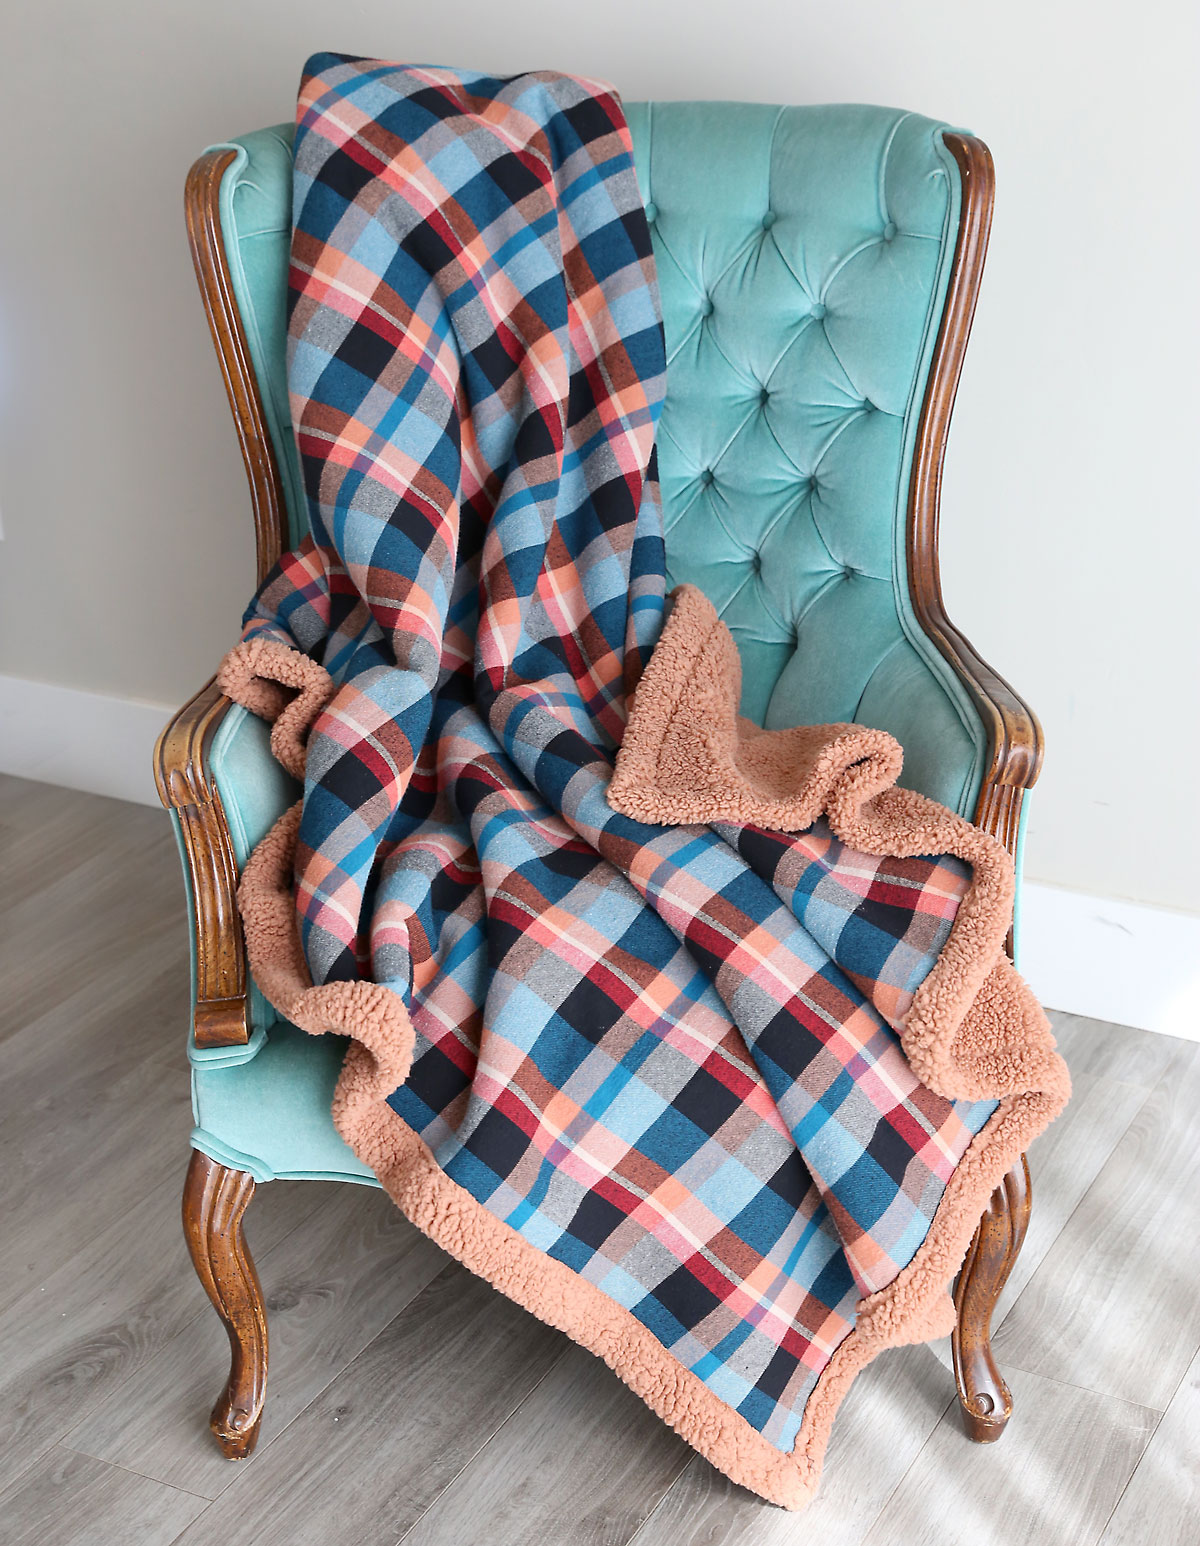
Flannel and Sherpa Blanket
Supplies
- 2 yards Sherpa Backed Flannel
- Thread that matches the sherpa
Want more project ideas? Sign up to get my favorite easy crafts and recipes straight to your inbox!
Equipment
- Sewing Machine
Instructions
- Trim all four sides of the fabric to make sure the edges are straight and lined up with the plaid. Gently pinch the edge of the fabric and slide your hand down it to remove any loose fuzzies from the sherpa.
- Turn up each edge 1.5 inches and pin, leaving 6 inches around each corner unpinned.
- Fold in the corner at a diagonal, matching where the edges will be turned up to.
- Fold in the edges over the corner to create a mitered corner and pin.
- Place the fabric on your sewing machine and line the needle up about 1/8 to 1/4 of an inch from the raw edge. Smooth the edge of the sherpa to the right.
- Sew all the way around the blanket. At each corner, sew down to the corner then turn around and sew back up to the raw edge.
- When you get to where you started, backstitch to secure, then trim the threads. Wash the blanket on delicate, cold water, with a small amount of detergent and white vinegar instead of fabric softener. Dry on low heat just until dry.



Whitney Traylor says
I made one for a baby shower, my kids fawned over it so now I’m making two more for Christmas presents. I love your blog, thanks for everything you do!
Kat says
It’s really very lovely.
Donna says
Hi Autumn & all,
This is great with one BIG caveat – the sherpa fleece picks up and hangs onto every little or large bit of detritus that it encounters. I love how it feels, at first. But at our house there are little wood bits from guinea pig bedding, fir needles, dust bunnies, hair, and who knows what all else. Every last bit of whatever we’ve got winds up stuck to the sherpa fleece and it does not come out; the sherpa fleece doesn’t let go! Washing helps but does not cure the problem. So, no more sherpa fleece for us. I’m back to regular fleeces or all flannel or the (expensive) Cuddle Down stuff. Just sayin’.
Autumn says
Thanks for the info!