
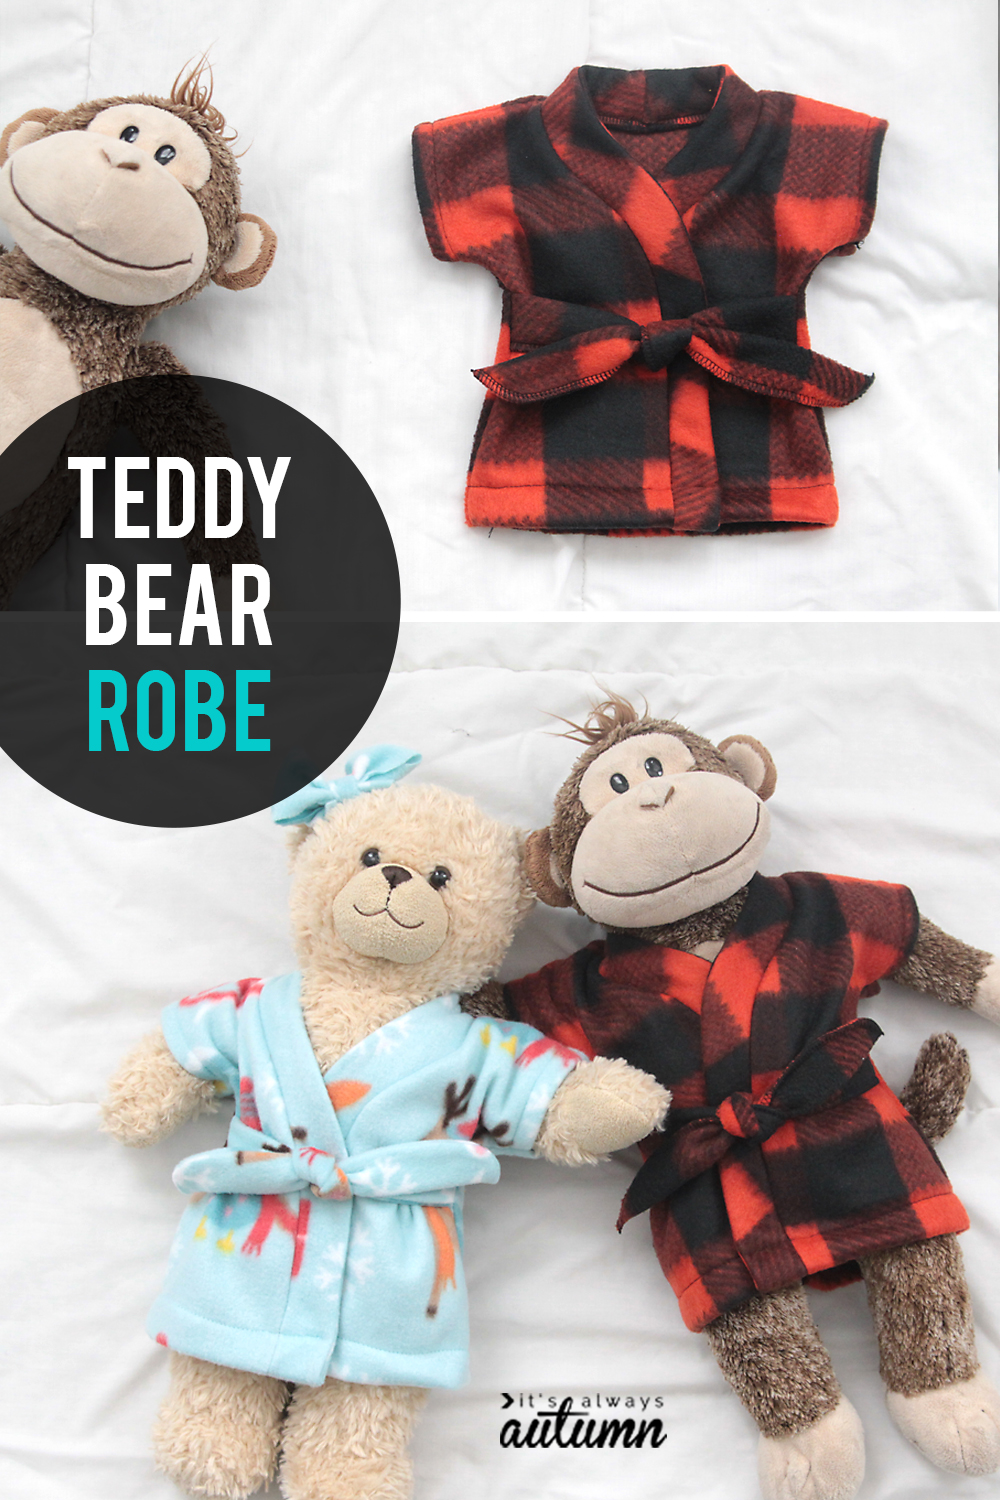
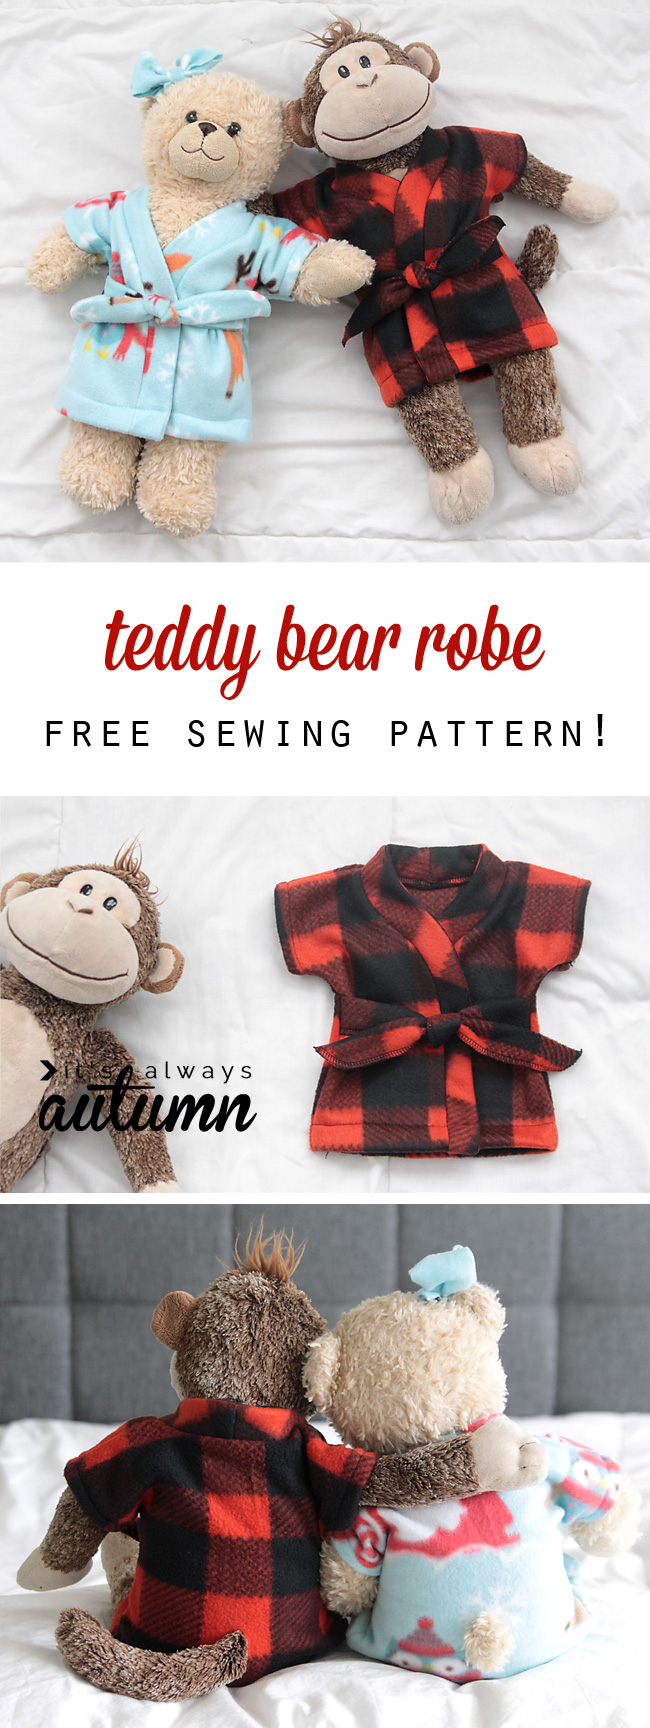
In today’s post: Download a free sewing pattern for adorable teddy bear sized robes. Great handmade Christmas gift idea!
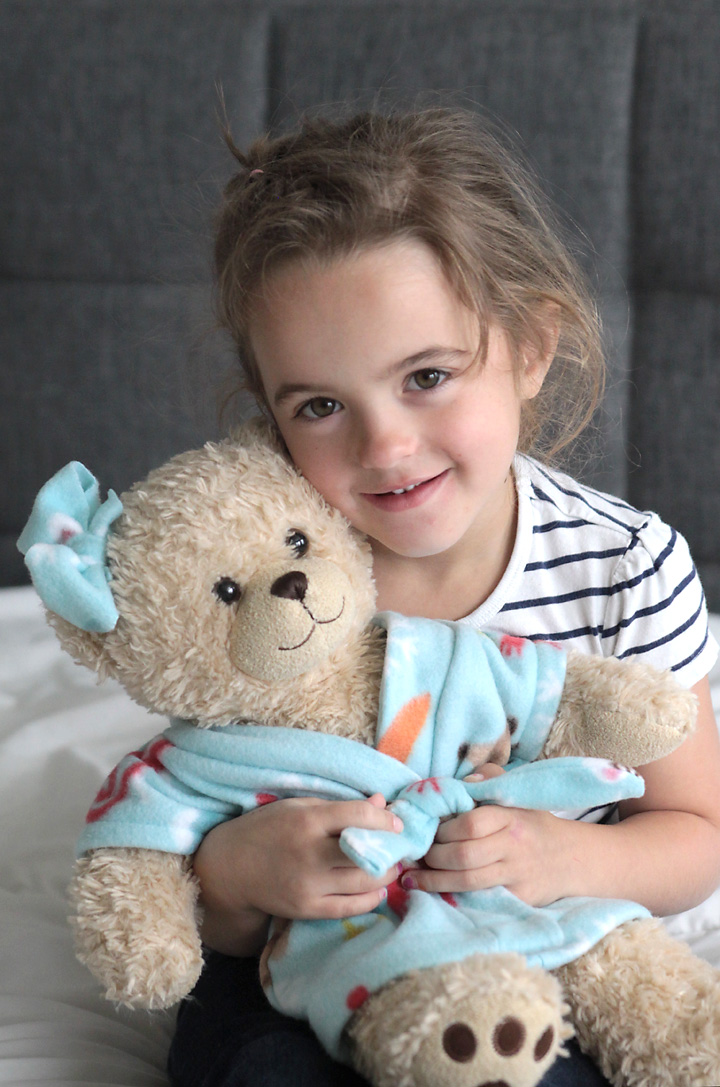
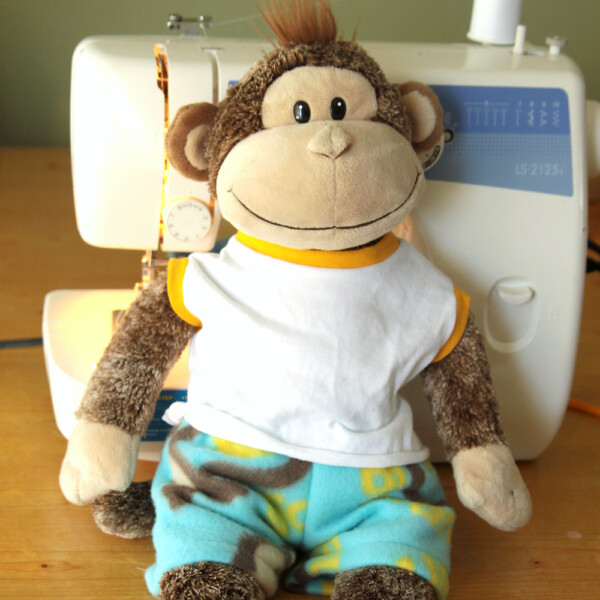
I mentioned a few weeks ago how much my kids love pajamas (and shared a bunch of free jammie patterns). Well, if there’s anything they love more than new pajamas for themselves, it’s new pajamas for their stuffed animals. A few years ago I made a cute fleece robe for one of the Build-a-Bears at our house and it was received with much joy, so I decided to make a free printable pattern so you too can delight your child with an adorable sleepy robe for his or her favorite animal.
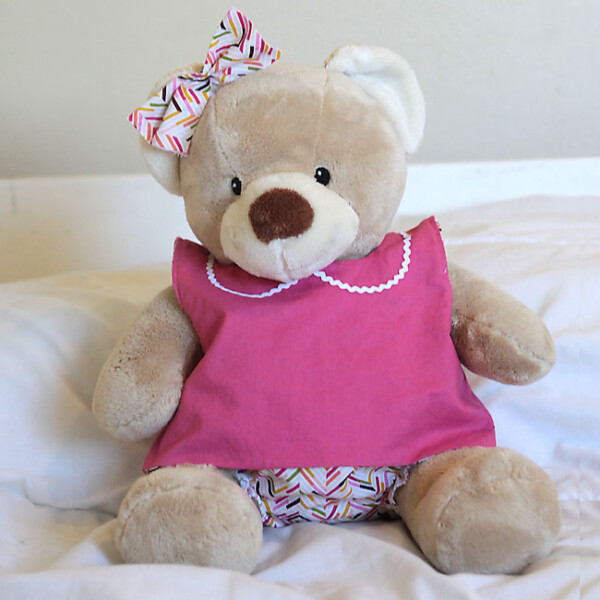
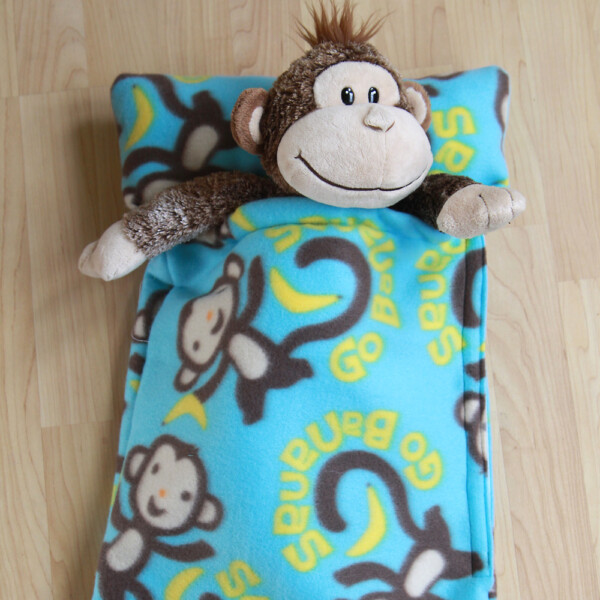
NOTE: I’ve also shared a free pattern/tutorial for stuffed animals pajamas and a stuffed animal sleeping bag – you could make the whole set and have an amazing Christmas or birthday gift for your kids or grandchildren!
This is a fun little sewing project because it only takes about half a yard of fleece, which you can get on sale for two or three dollars, and around half an hour of sewing time once the pieces are cut out. I actually made two in 33 minutes today, so if you’re making multiples you’re going to get really fast at putting them together.
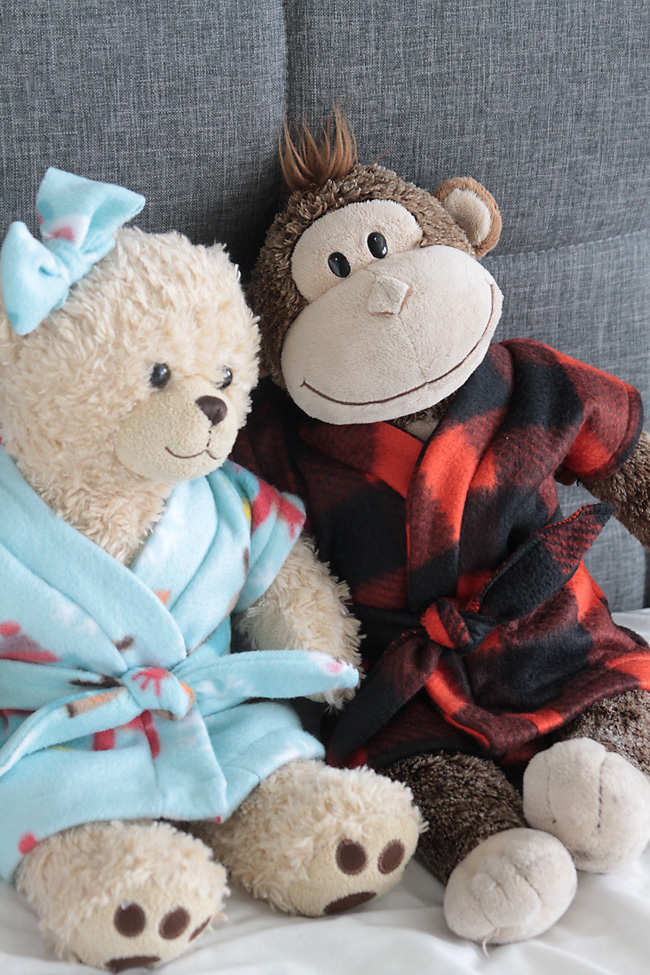
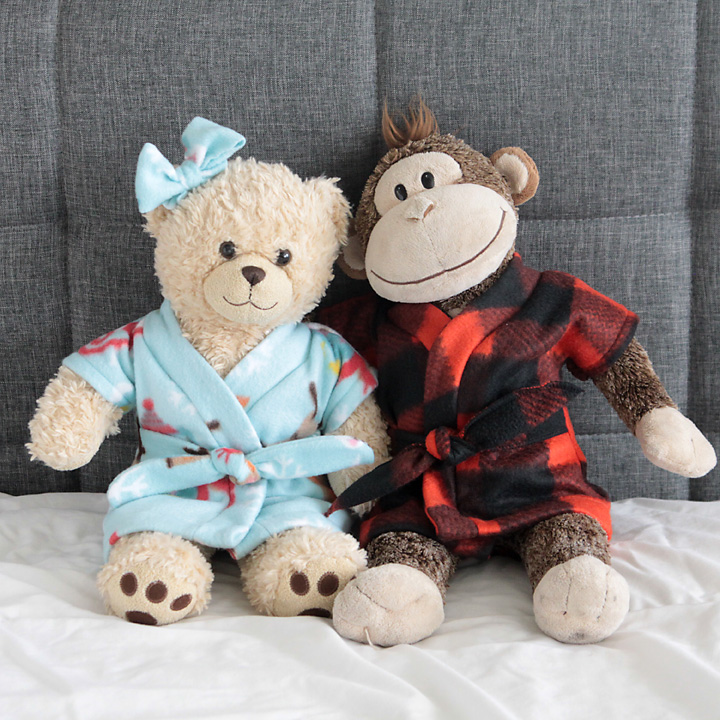
Three dollars and 30 minutes? I think that’s worth it for something quite this cute:
This robe should fit all Build-A-Bear sized stuffed animals. The front will overlap a little more on skinny animals and not quite as much on fatter animals, but it will still work. It should fit non BAB teddy bears as well as long as they are about the same size (about 15-18 inches tall).
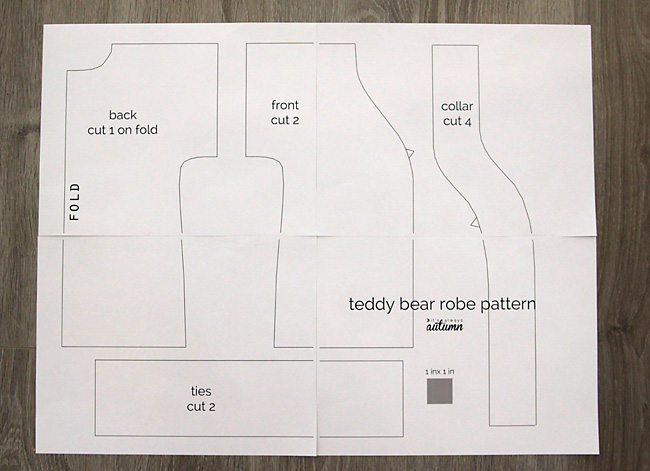
Download the free teddy bear/stuffed animal robe pattern here. Print the pattern out at 100% or full size and make sure the test square measures exactly 1 inch by 1 inch. Butt the pages together as shown below without trimming anything. Tape the pattern together and cut out.
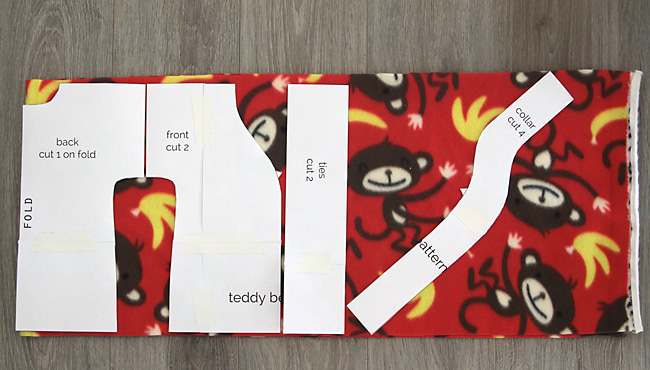
You’ll need half a yard of fleece for this pattern. You actually can make it from 1/3 of a yard, it’s just a bit of a squeeze. You can see how I laid out the pieces on 1/3 of a yard below (the collar piece will get cut out, moved over, and cut out again to get 4 total pieces). Make sure the ties are cut out going up and down on the fabric, otherwise they’ll get stretched out. A 3/8 inch seam allowance is included on all pieces.
Here’s how to sew the teddy bear or stuffed animal robe together:
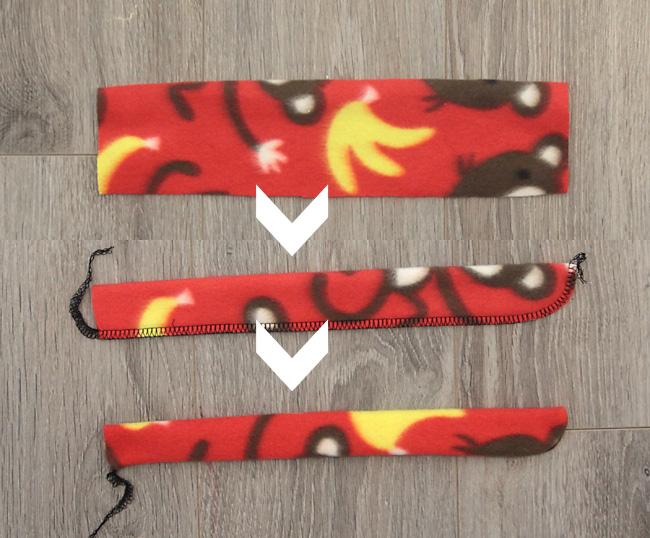
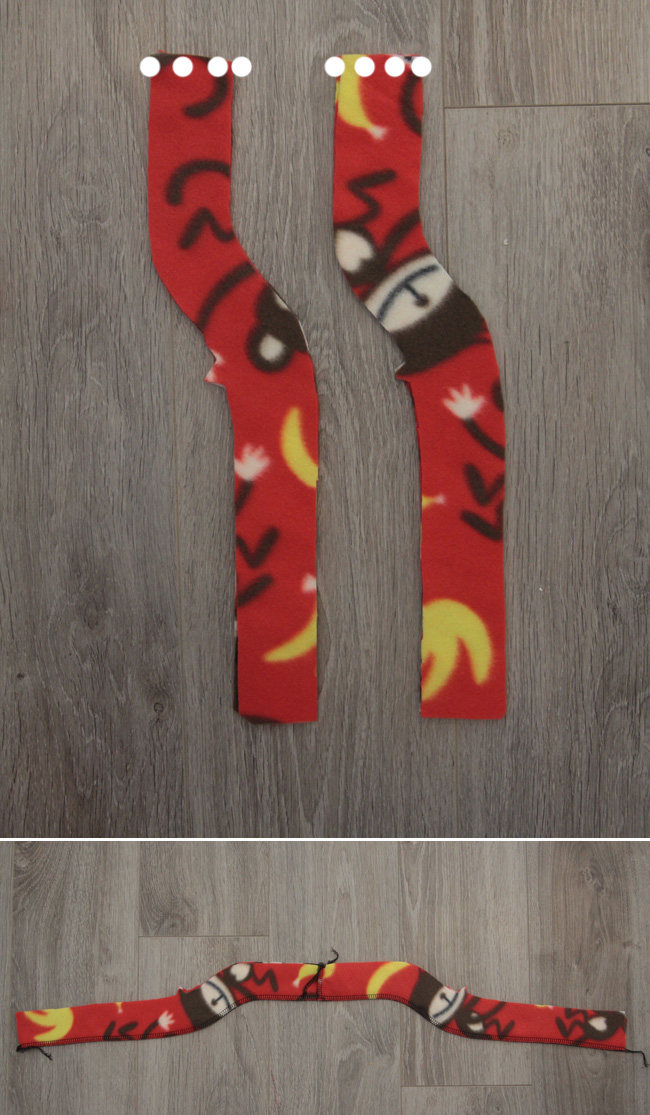
Start by folding each tie piece lengthwise RST and sewing down one long side and curving at the end to sew one short side shut as well. Then turn each tie right side out to enclose the seam. (If you have a serger, turning is optional – I actually like how the ties look with the serger stitching down one side.)
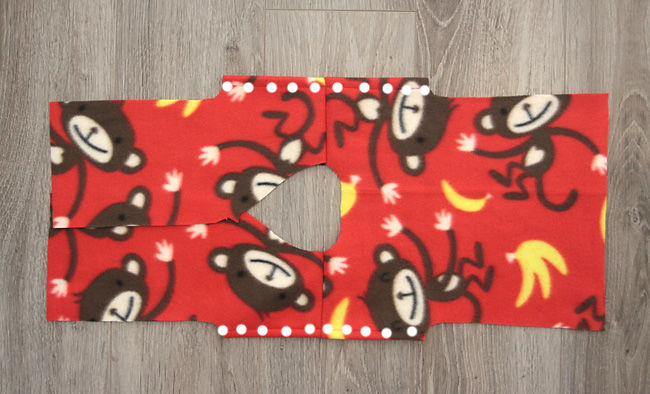
Next, place both front pieces onto the back piece, lining everything up at the shoulders, RST. Sew along the shoulders.
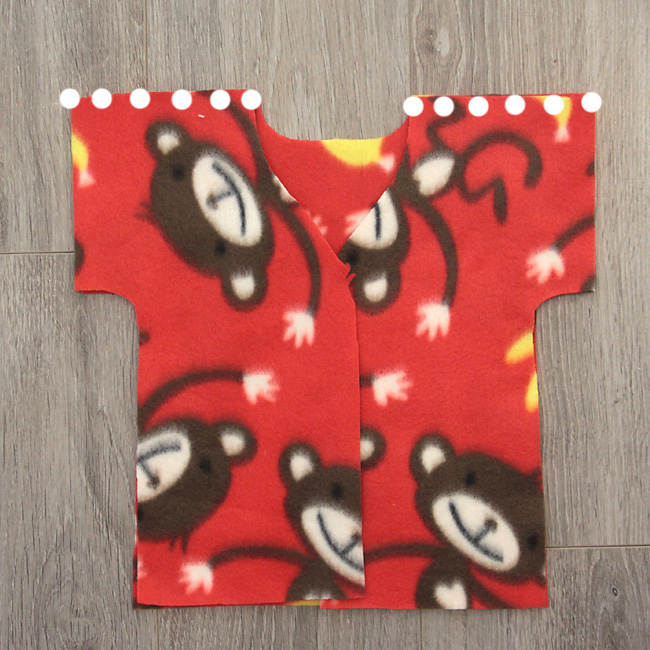
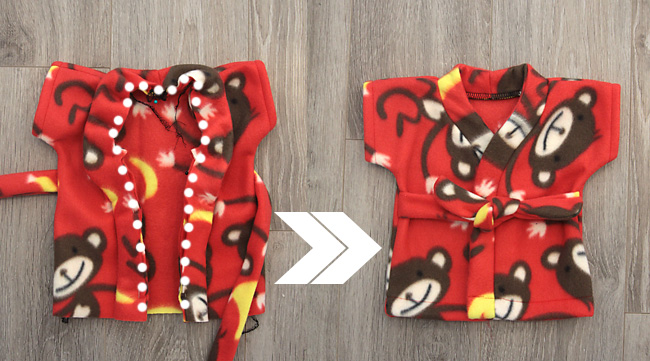
Open up at the shoulders and press with a warm (not hot) iron. Fold under each sleeve half an inch and sew to hem, as shown with the dots below.
Take your tie pieces and pin or baste them just below the sleeve on the back of the robe, as shown by the dots below. The raw edge of the ties can overhang the side of the robe by half an inch or so, and the finished edge should point in toward the center of the robe.
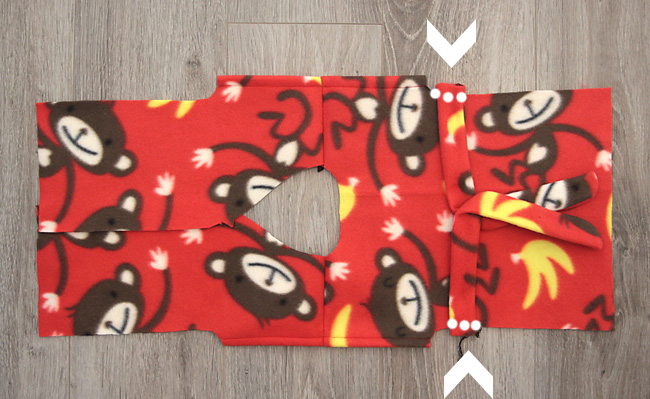
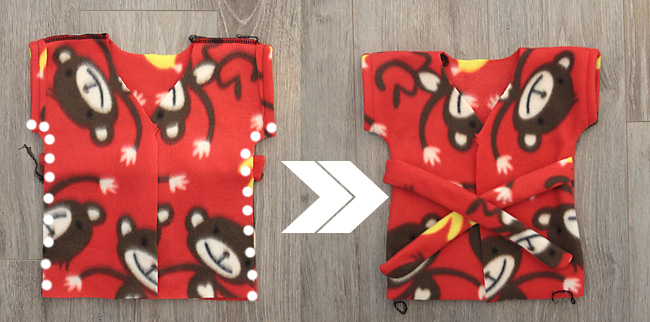
Fold the front pieces of the robe back down, matching up the side seams. Sew the side seams as shown below, catching the ties in the side seams. Trim any excess, and turn the robe right side out.
Next, we’ll attach the collar. You should have 4 collar pieces, or two sets of mirror image pieces. Sew each set together across the top short edge (top is marked on the pattern).
Now open up the collar pieces and place them right sides together. Sew along the edge that does not have notches. Turn right side out and press.
Next we’ll attach the collar to the robe. Match and pin the notches. Match the seam in the collar to the center back neck of the robe and pin. Continue to pin the rest of the collar to the robe, easing it to fit. The collar piece will curve out where the robe piece curves in, but don’t worry – it all works out. Sew the collar to the robe as shown by dots below. Then flip it away from the robe and press.
Turn up the bottom edge of the robe about 1 inch and sew to hem.
The final step is to snip a little hole for the animal’s tail to come through.
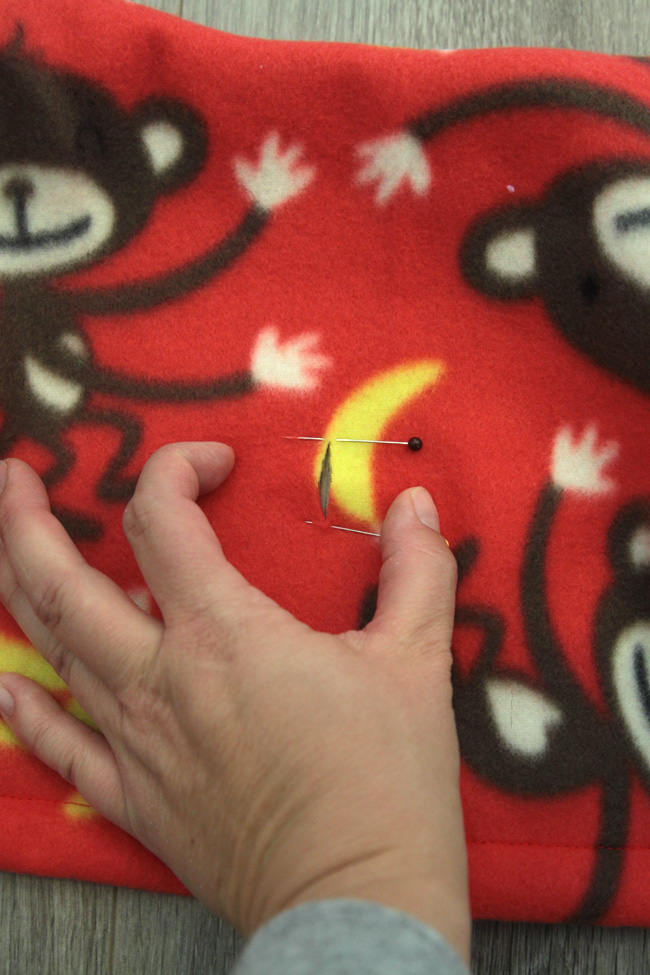
Stuffed animals have tails in different spots (even Build a Bears are not consistent), so it’s best to try the robe on the intended animal and mark where the tail is. However, if you don’t have the animal you’re sewing for handy, there are marks on the back pattern piece showing the best place for a tail hole. You can use a button hole here, but I find that the fleece holds up just fine with a vertical hole as shown above.

And that’s it! It may seem like a lot of steps, but it’s really pretty simple. Especially considering quite how adorable it turns out 🙂
Nini says
Beautiful, thanks for sharing!!
Would you happen to have a teddy bear vest pattern you can share?
Autumn says
Sorry, I don’t!