
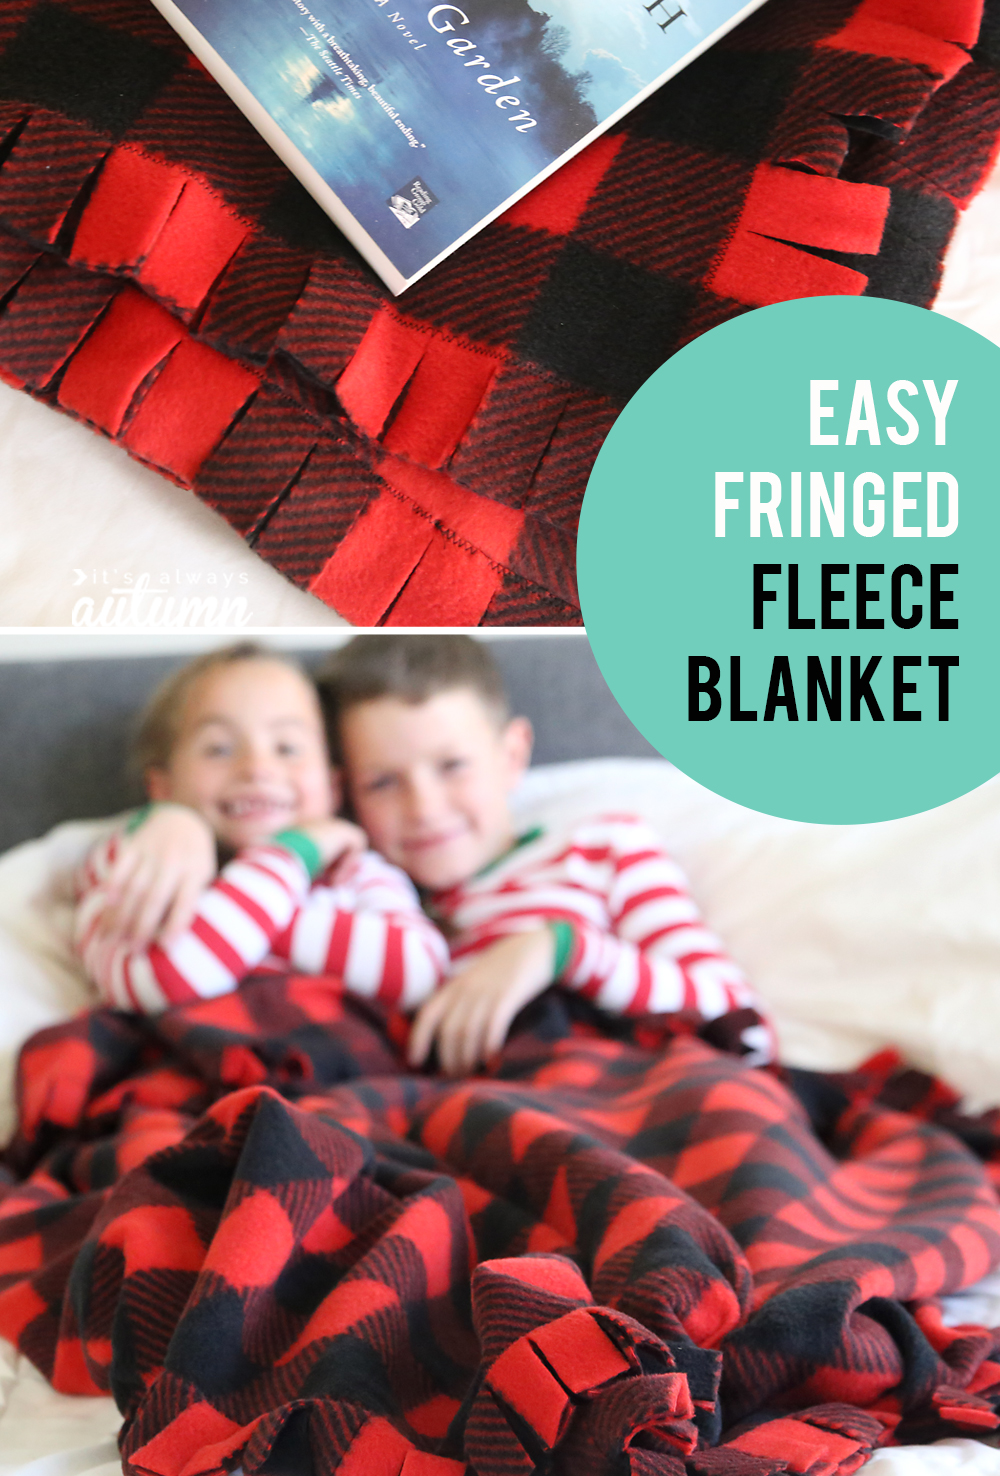
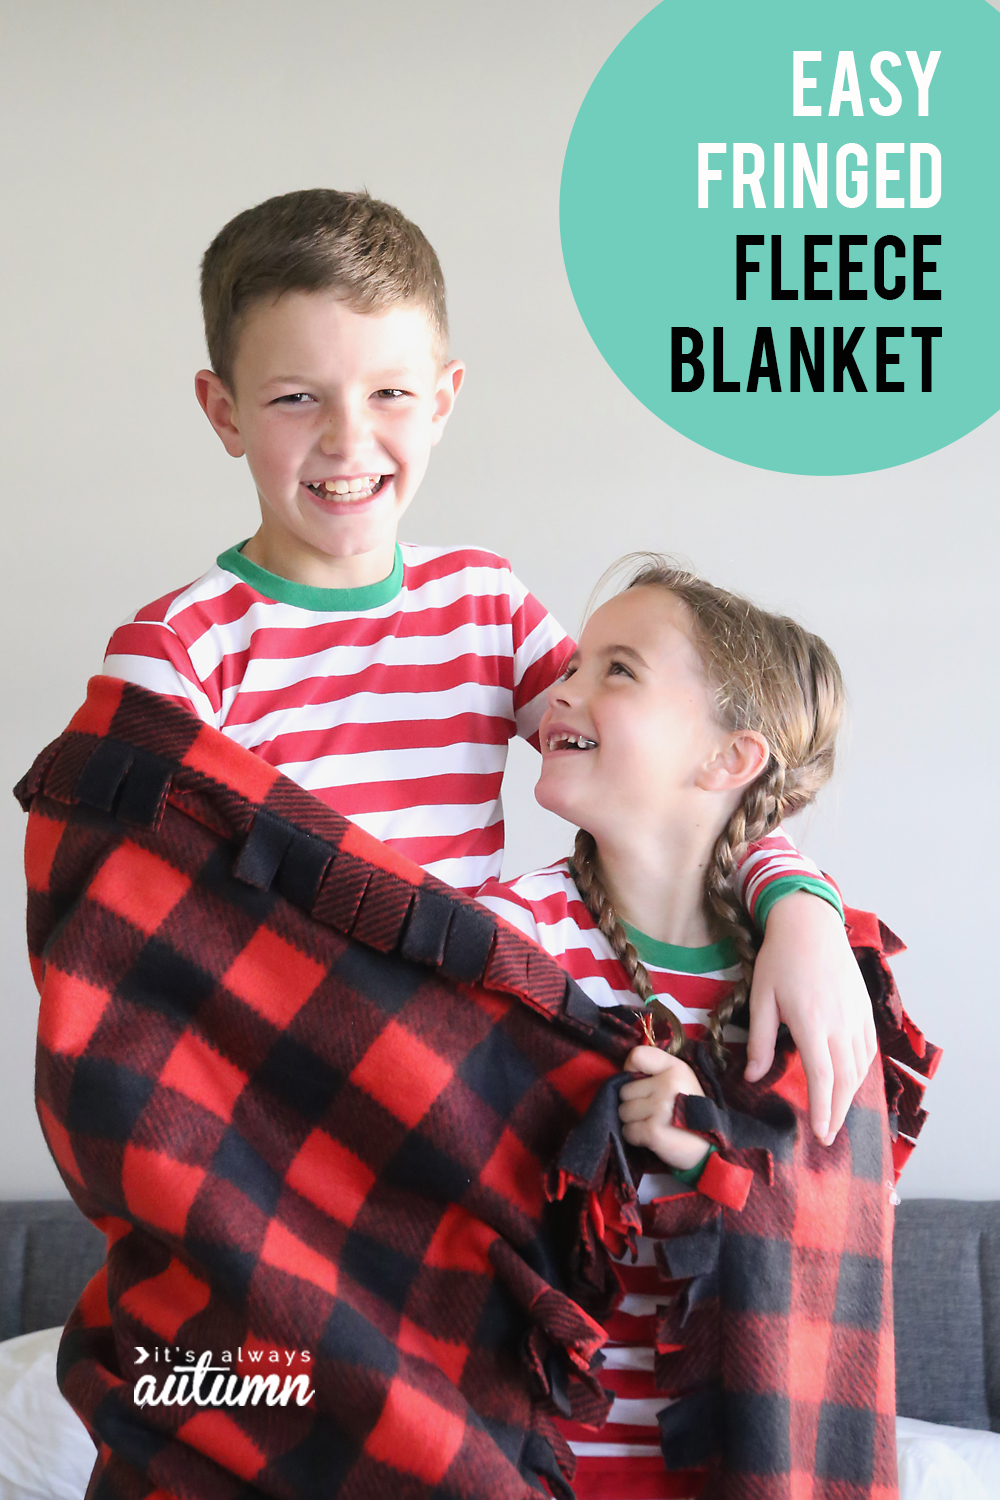
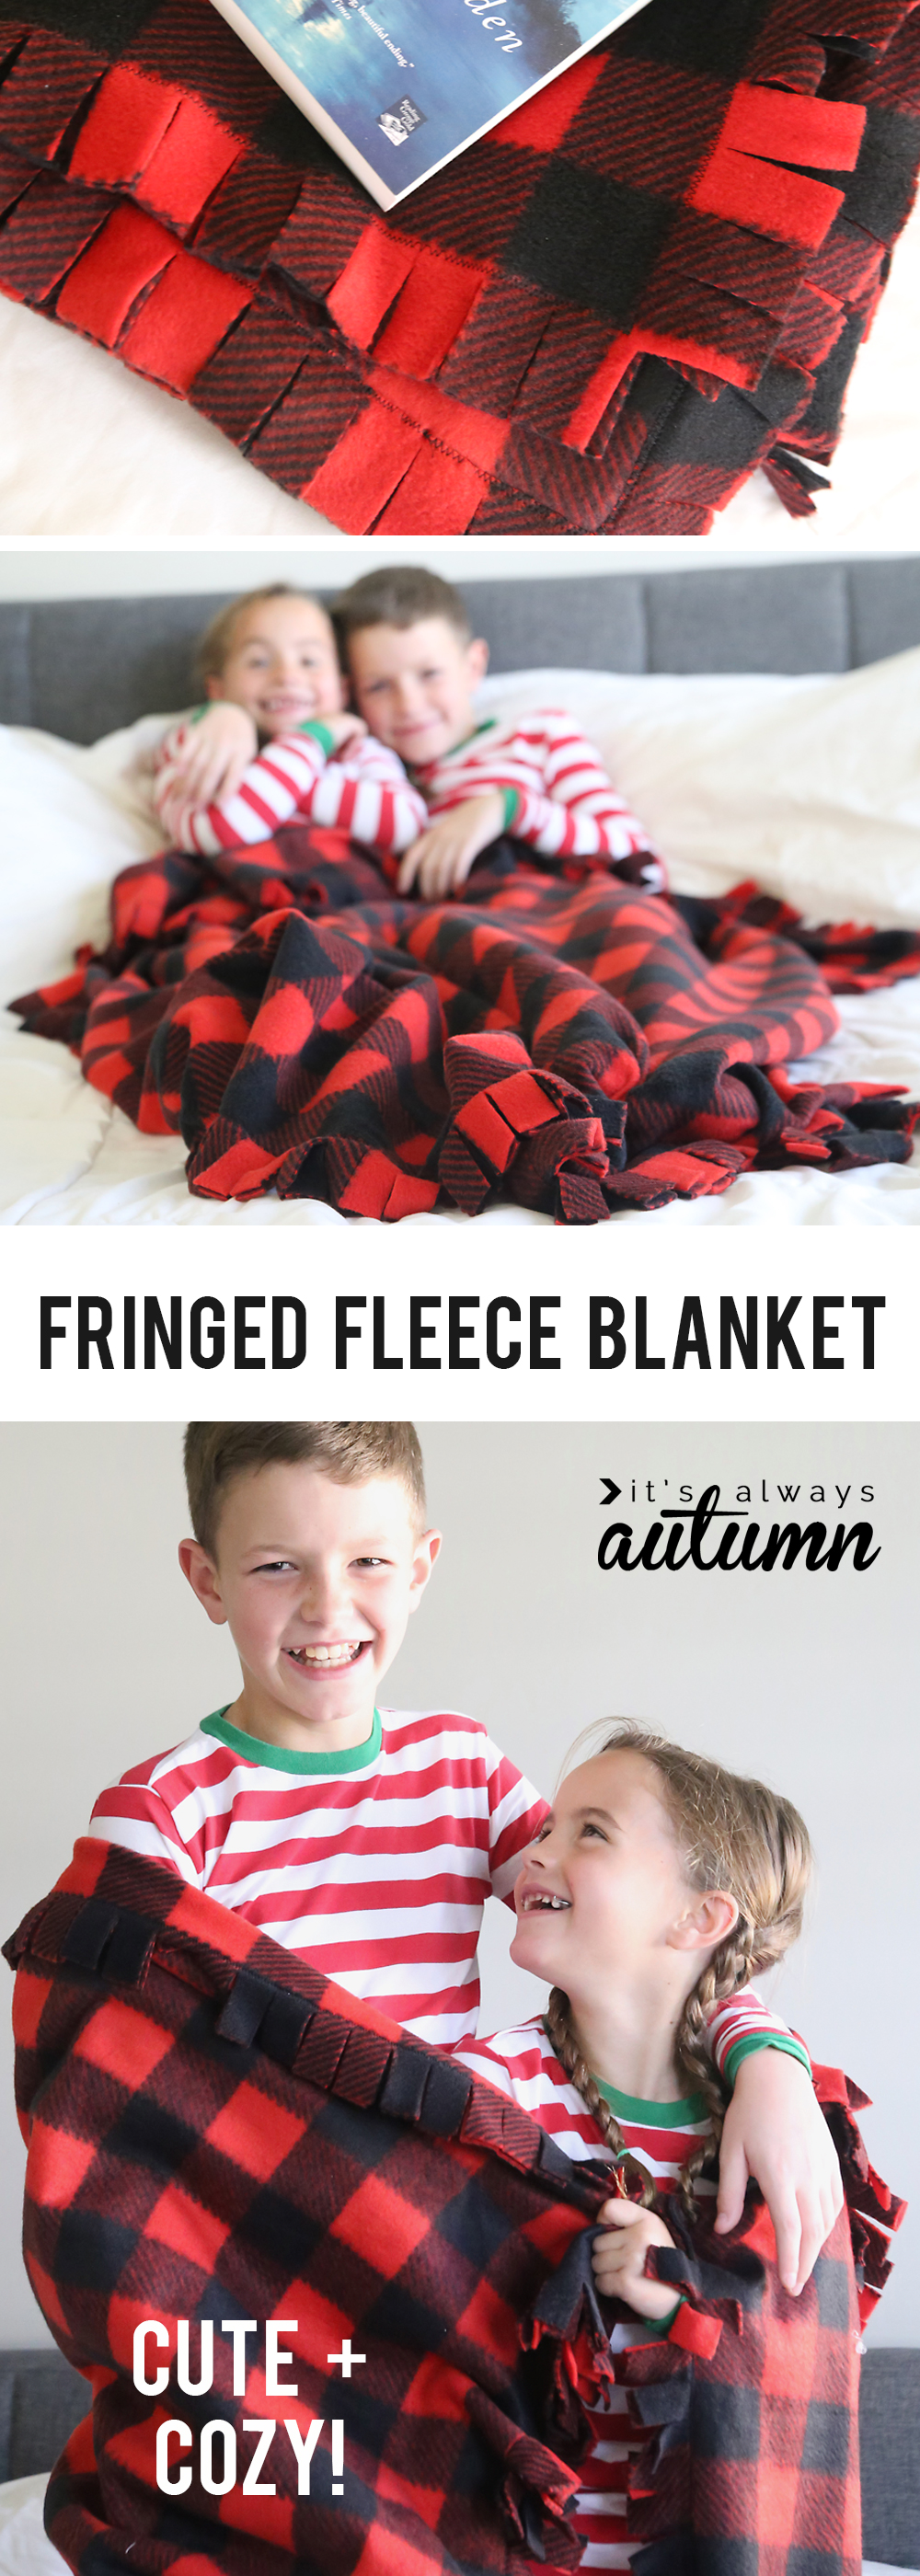
In today’s post: Learn how to make an easy fleece blanket with a pretty fringed edge. Makes a gorgeous DIY gift!
There are about a thousand tutorials out there for how to make a fleece blanket, and close to 99% of them involve cutting the edges and trying knots all the way around the blanket. That method is very easy and doesn’t involve sewing, but it does involve, well, knots. And I don’t think knots are super comfy on a blanket I’m trying to snuggle up with.
I’ve found an alternate method that finishes the edge of the blanket with a double layered fringe that I think is both prettier than a knotted or braided edge AND more comfortable. It does take basic sewing, but if you’re comfortable with that you can make one in under an hour for a really pretty DIY gift.
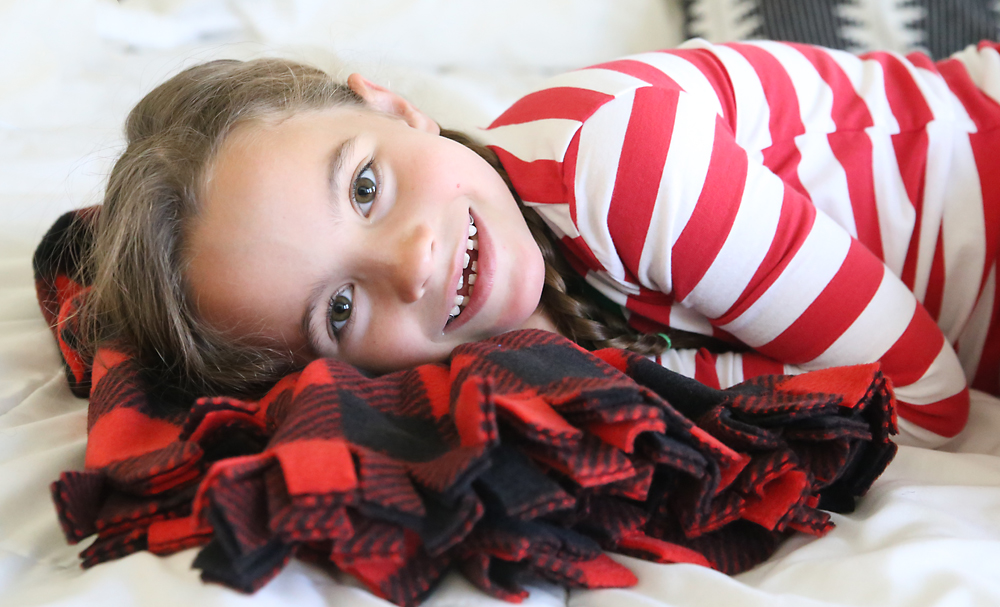
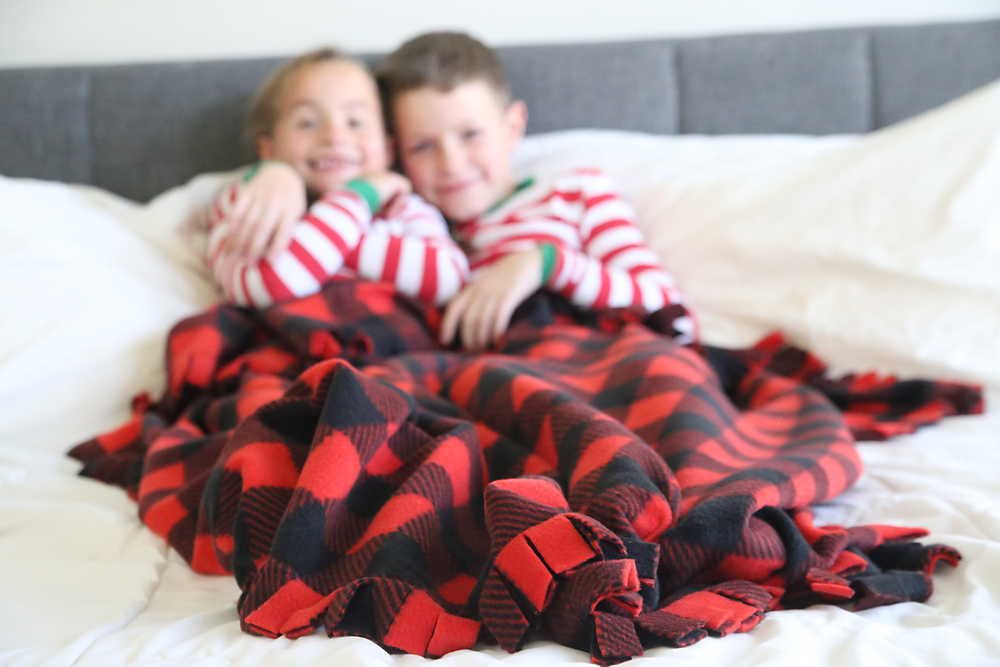
Because everyone can use an extra snuggly blanket! These are great for taking to games, snuggling up on the couch, or even keeping in the car just in case.
You can find SO MANY cute fleece prints now, you might as well make one for everyone on your list!
For another fleece blanket option, check out my ultra-luxe fleece blanket tutorial.
How to make an easy fleece blanket with a fringed edge
This quick video shows the process, and written instructions follow.
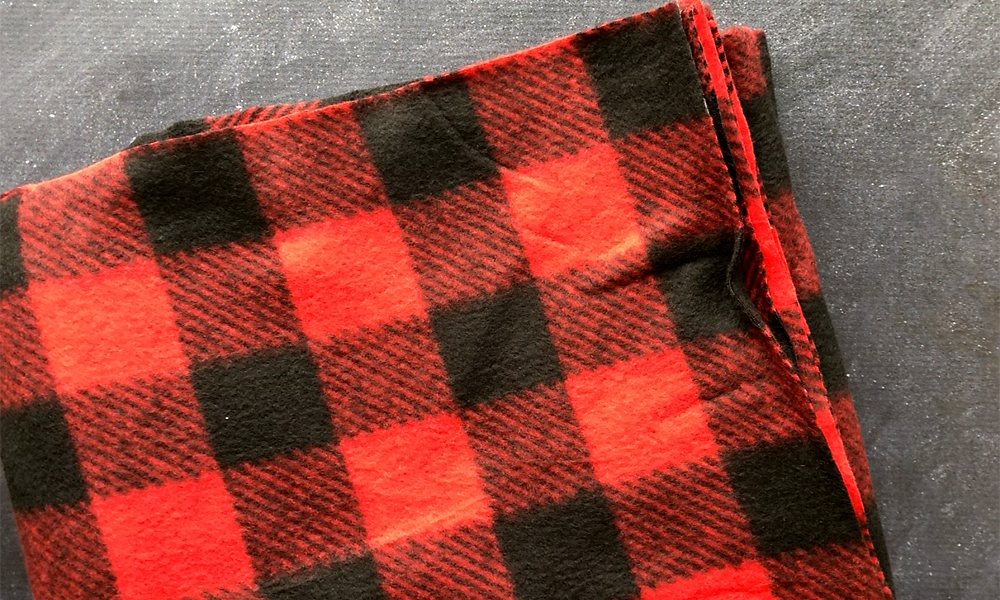
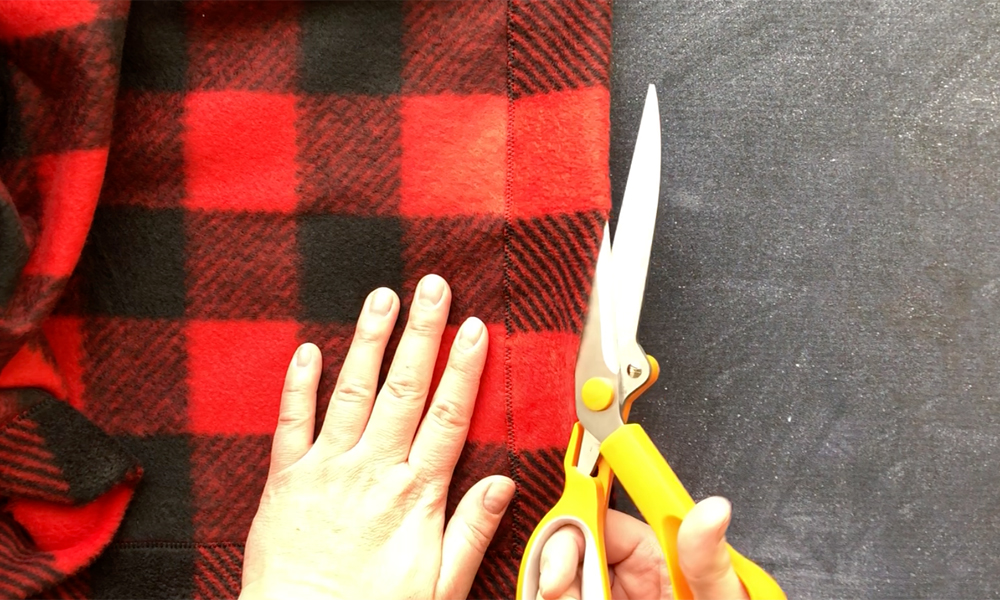
You’ll begin with 1.5 yards of fleece fabric (or use 2 yards for a larger blanket). Trim edges to make sure they are even and straight.
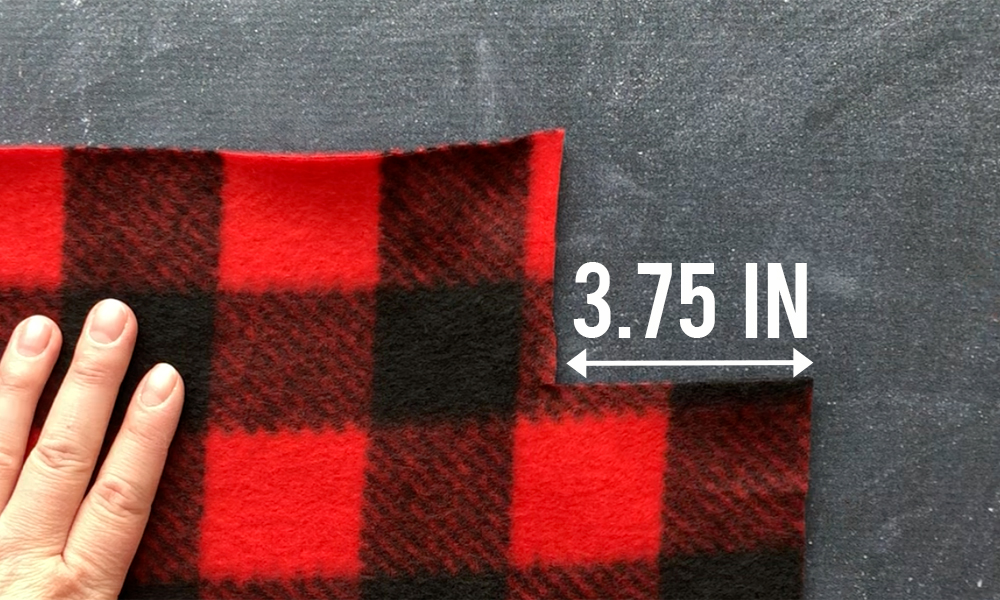
Cut a square measuring 3.75 x 3.75 inches from each corner of the fleece.
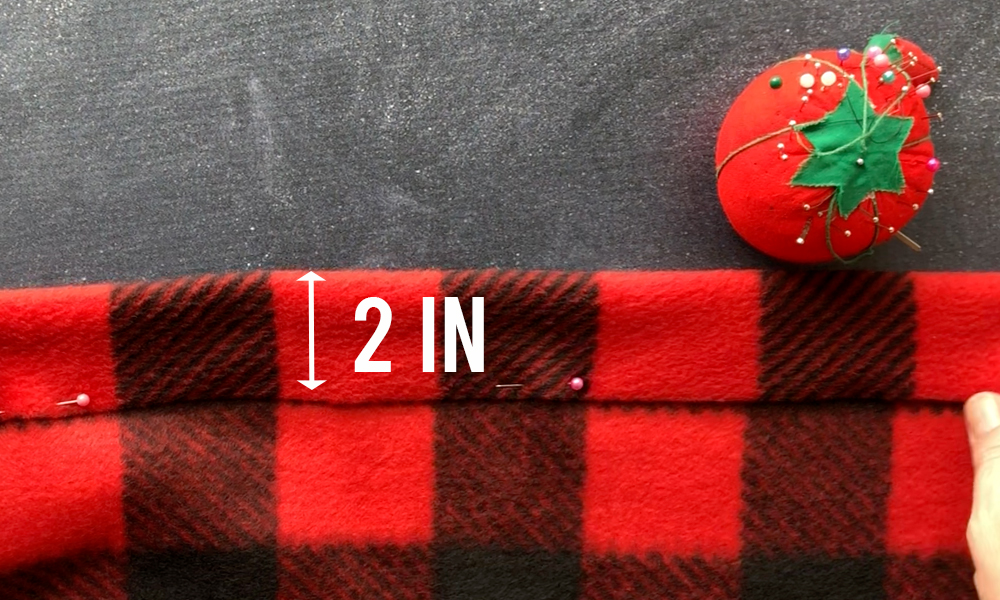
Next, turn down one edge 2 inches and pin. If your fleece has a “right” and “wrong” side, be sure the wrong sides are touching inside the area that is turned down. Repeat along all edges. The portion that is turned down will overlap slightly at the corners.
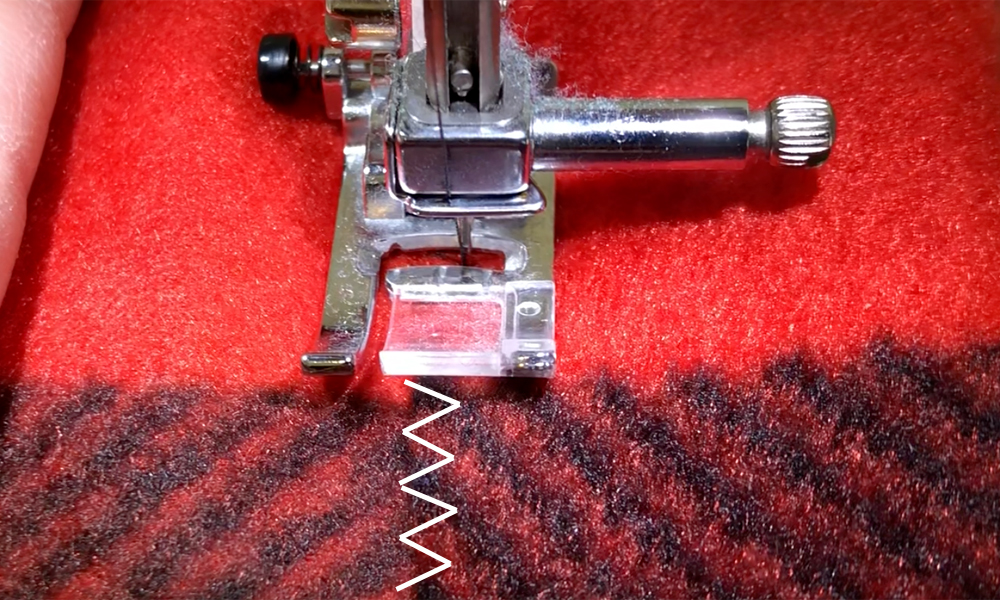
Sew a zigzag stitch all along the the edges that have been turned down. Ideally your zigzag stitch should completely encase the raw edge, as shown below:
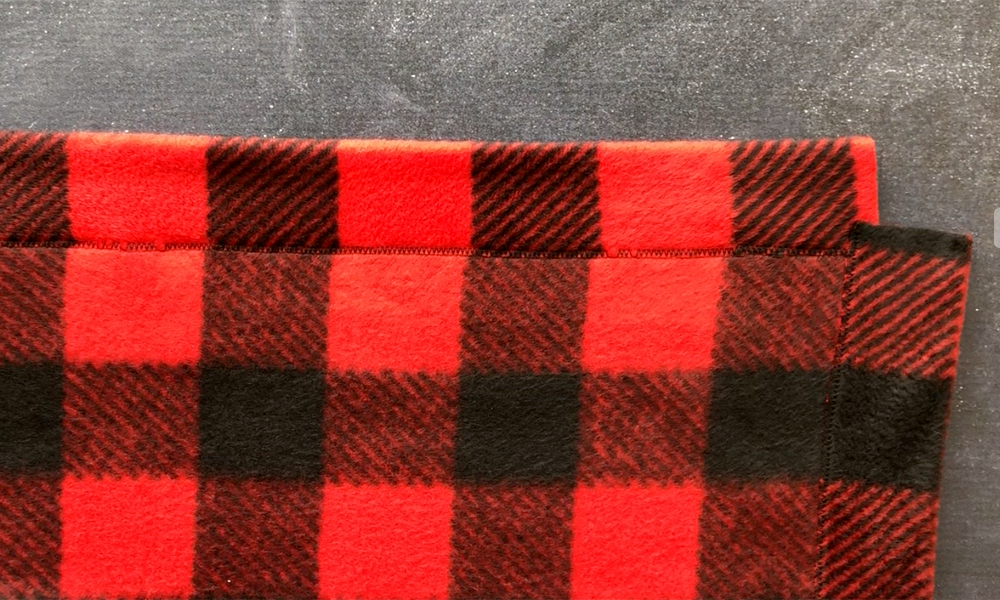
Backstitch a bit at each corner, then raise the presser foot and pivot, continuing until you have sewn along all four sides. It will look like this:
If your fleece has gotten a little stretched out as you sewed you can hit it with some steam from your iron to get it back into shape. Do not place a very hot iron down on the fleece, however, as it can melt.
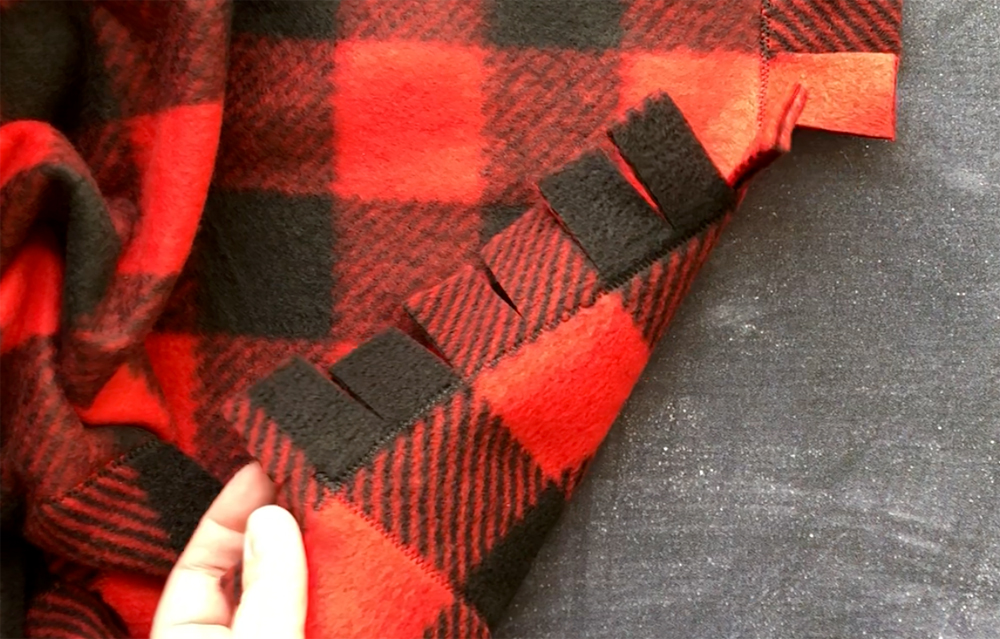
Next, cut along the fold on all four sides. This gives you a double layered border all the way around the quilt.
Make cuts 1 inch apart all along the border. Cut in close to the zigzag but do not cut through the stitching.
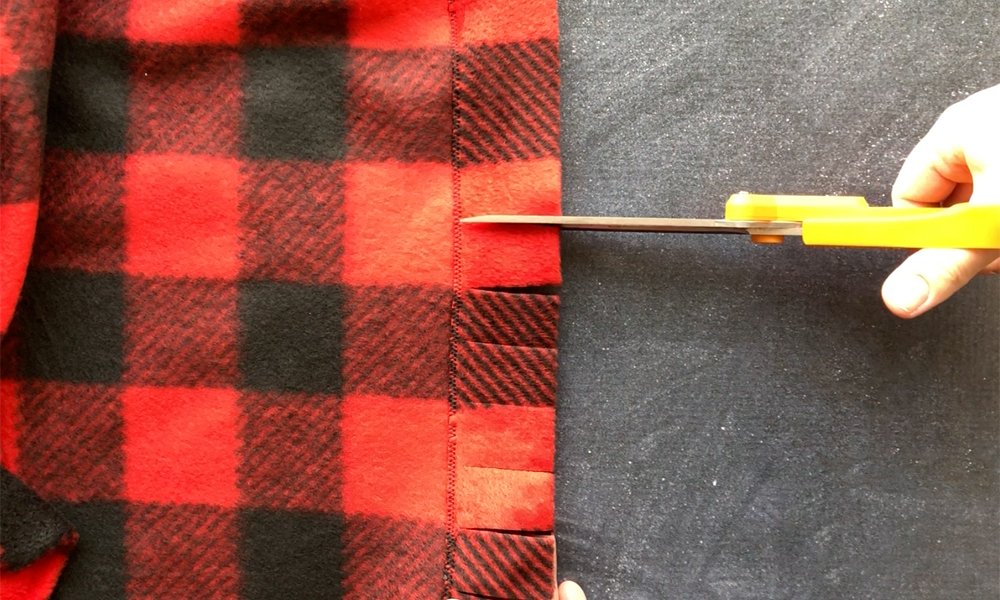
Now you have a pretty double layer of fringe all the way around the blanket!
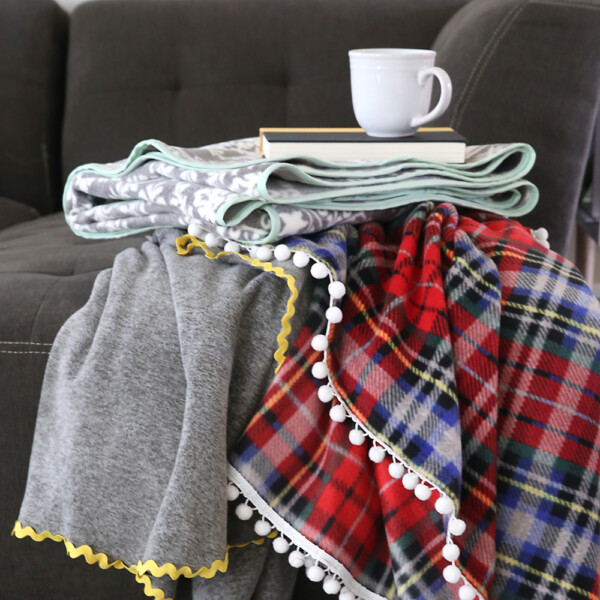
Fold it up, tie it with a big ribbon, and give it to someone special!
Looking for more Christmas sewing ideas? Check out these posts:
Ultra-luxe DIY fleece blankets
25 coolest things to sew for kids
21 free patterns and tutorials for kids’ pajamas
Rhonda says
Does blanket get turned once sewn or are right sides facing out on top and bottom side?
I am not sure if you used just one layer of fleece or 2
I assume one because of step you mentioned wrong sided touching for fringe seam
Autumn says
Yes, just one layer of fleece, no turning and sewing.
EMILY says
Love this blanket! It is so easy. Thank you.
Kara Anderson says
My daughter and I are making blankets for charity. This was by far the fastest, simplest, AND it came out so cute! Thank you for the tutorial!
Autumn says
Thank you so much! What a great thing for you and your daughter to do together.
Rebecca says
Sooooooo much easier, less expensive and time-consuming. It means I can use that Deluxe fleece when it’s on sale!!! Smart, very smart!!!!!!
Chris says
Soooo much better (and quicker) than tying and cutting….thanks! I’ve actually taken two pieces of fleece right sides together and sewed them together. Leave an opening to turn and then sew 1-1/2 inch border around the perimeter. No fringe but surely quicker than cutting and tying all those knots. Thanks!
Rebecca says
Another great idea. I did that also. It’s so much more interesting to try different.