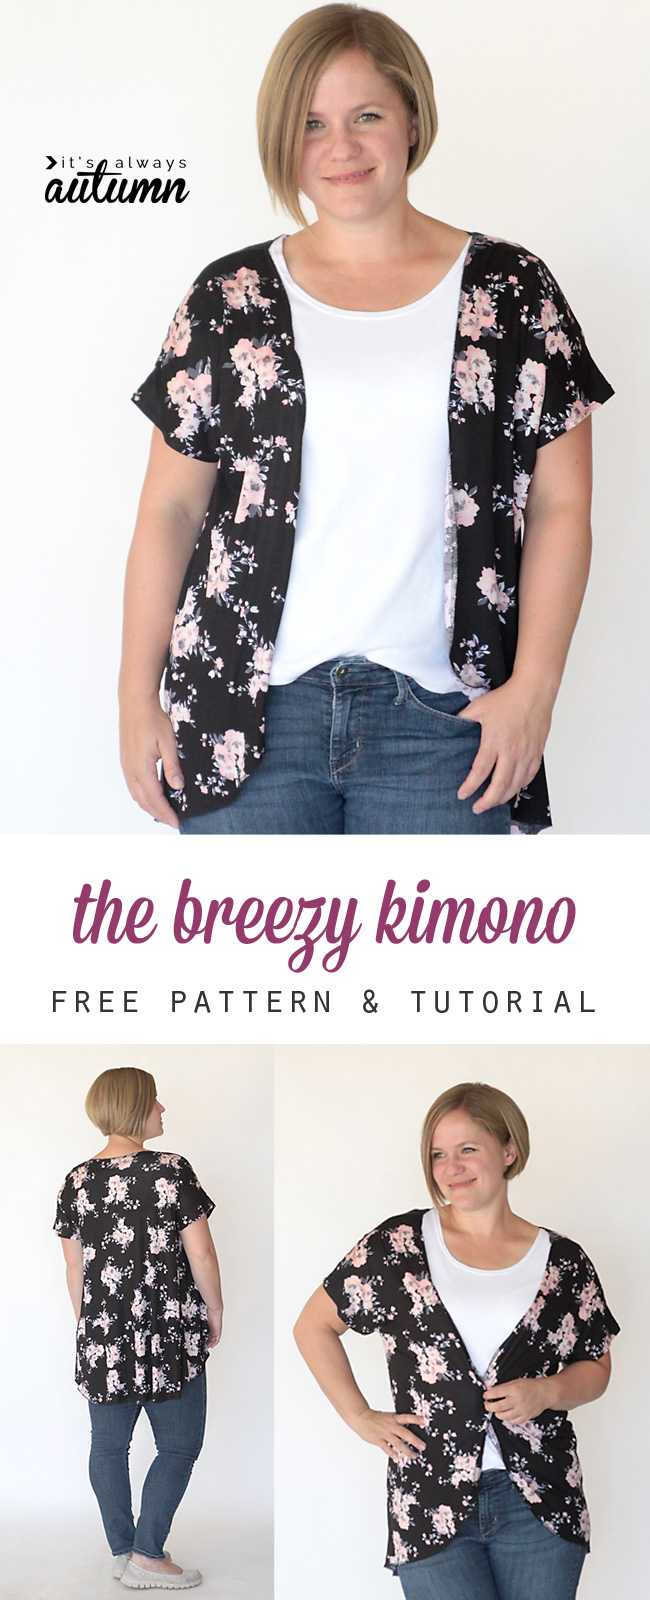
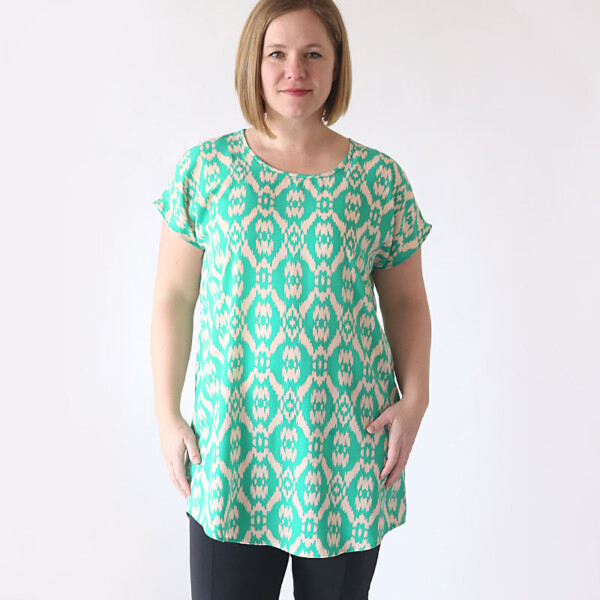
So I’ve been terrible at replying to comments lately (insert your favorite excuse about being busy here), but I read every single one of them. A few weeks ago one of my readers left a comment on the breezy tee blouse suggesting I cut it up the middle to make a simple kimono. Genius! Thanks to Kristie, the breezy tee kimono was born.
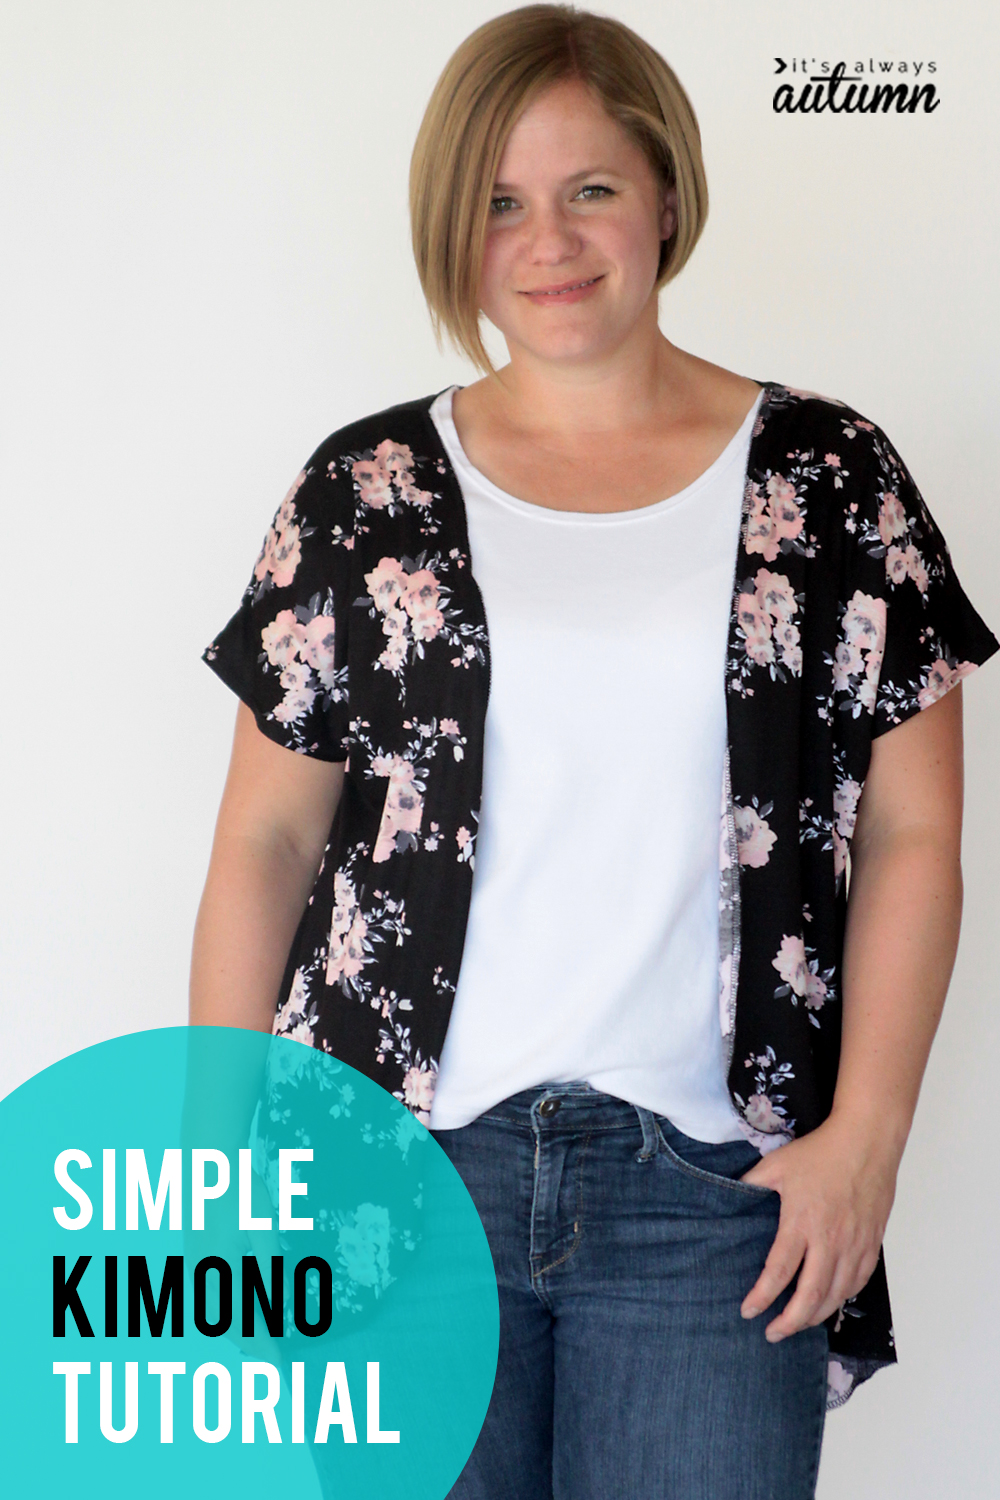
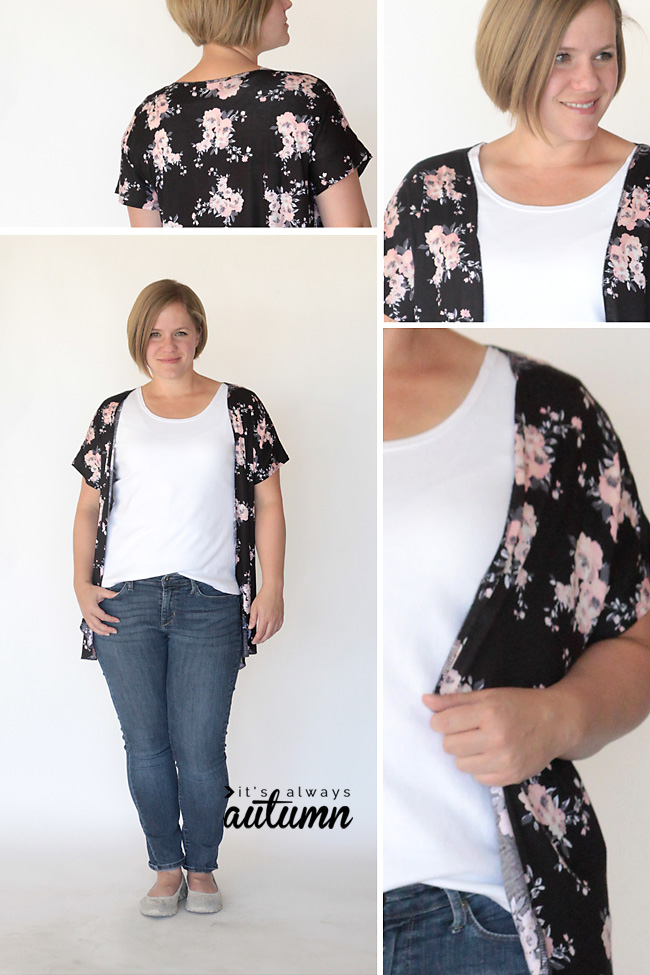
This kimono is seriously easy to sew with a quick adaptation to the free breezy tee pattern (in size L only), and can be make with just one yard of fabric, which makes my frugal soul happy. That means my new kimono cost me about $7. Score. It’s super soft and relaxed, which makes it comfy, but the pretty floral print makes it feel a little more dressy than just jeans and a tee.
Here’s how to make one:
Start with 1 yard of 55-60 inch wide fabric. I used a soft jersey knit from Girl Charlee, but you could use a woven if you wanted. Just make sure it’s soft and flowy.
Download the free breezy tee pattern from this post and print it out at 100%. Don’t trim the pages, just tape them together and cut out the pattern as directed in that post. Make sure the test square measures 1 inch by 1 inch.
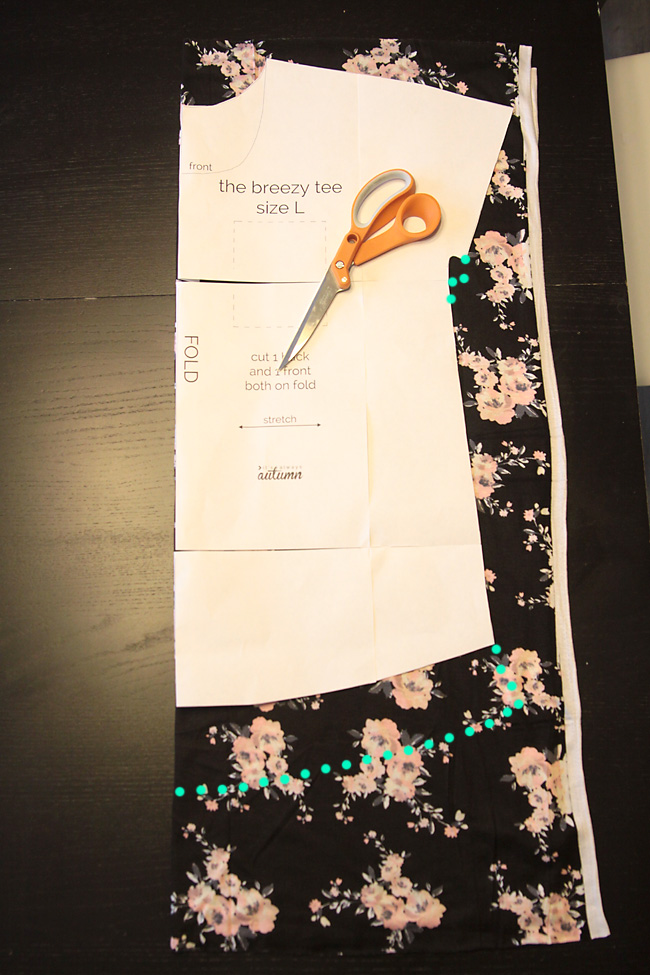
For the kimono, you’ll want to cut out 2 of the pattern piece, both on the fold. Cut the back neck for both pieces. Make 2 changes: cut the pieces a few inches longer, and cut the arm hole an inch or two lower, as shown by the dotted lines below. I cut the pieces about 4 inches longer than the pattern and I like the finished length on me (I’m 5′ 3″). If you’re taller, you may want to cut them even longer.
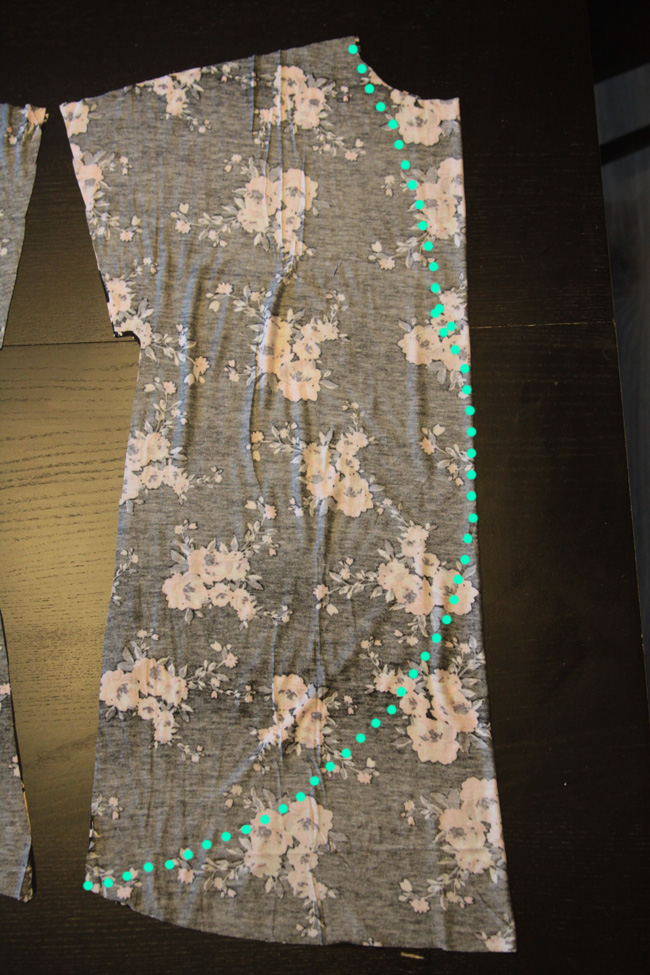
Now you’ll have two matching pieces (that look like the photo you see below). Set aside one piece to be the back, then cut the other piece as shown by the dots to make two front pieces:
You now have one back and two front pieces. Start sewing it together the same way you would for the original breezy tee (see that post for more photos). Sew the front pieces to the back at the shoulder seams, then press those seams open. Fold the sleeve portion under and hem it (I use a double needle). Then sew down the side seams.
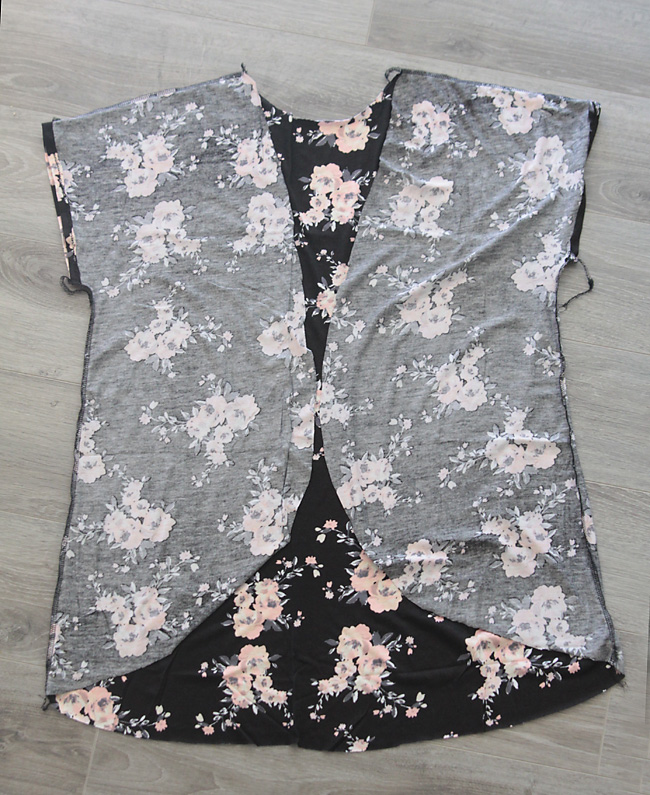
The kimono will now look like this:
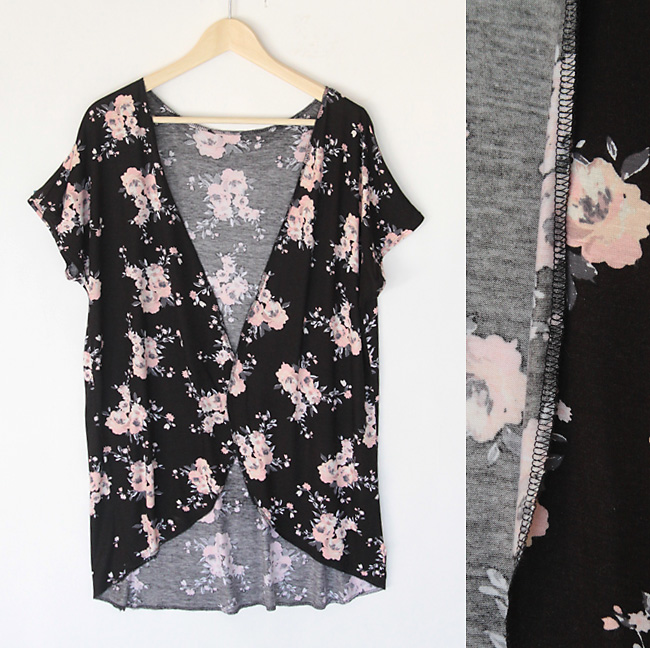
All that’s left is to finish the raw edge all the way around. I have a serger, so I just serged the edge to finish it off, which is so easy it’s almost like cheating – you can see the serged edge on the right photo below. I don’t usually leave things with a serged edge, but my fabric was very soft and very stretchy, so I worried that if I tried to turn it under and hem I’d end up with wonky edges. If you don’t have a serger and you’re using a soft, stretchy knit, consider using knit stay tape or one of the other options discussed in this post on hemming knits. If you’re using a woven, finish the edge with bias tape or by turning it under once and sewing.
All done! A cute, breezy kimono to wear during the last few days of warm weather–although I think it would look cute with a long sleeve black tee under it for winter. What do you think?




Alexander Barlow says
Great post
Rebecca says
Oh, are you awesome!!!!
katherine collins says
Wow, I finally found a pattern that works. Thank you so much for your excellent skills
Wendy says
Just wanted to say that I love all your posts and patterns. So easy to follow and modify for a variety of styles. I am pretty new to sewing still but I am having a great time trying to recreate these styles. Thanks again for the free tips and patterns for me to practice with!