
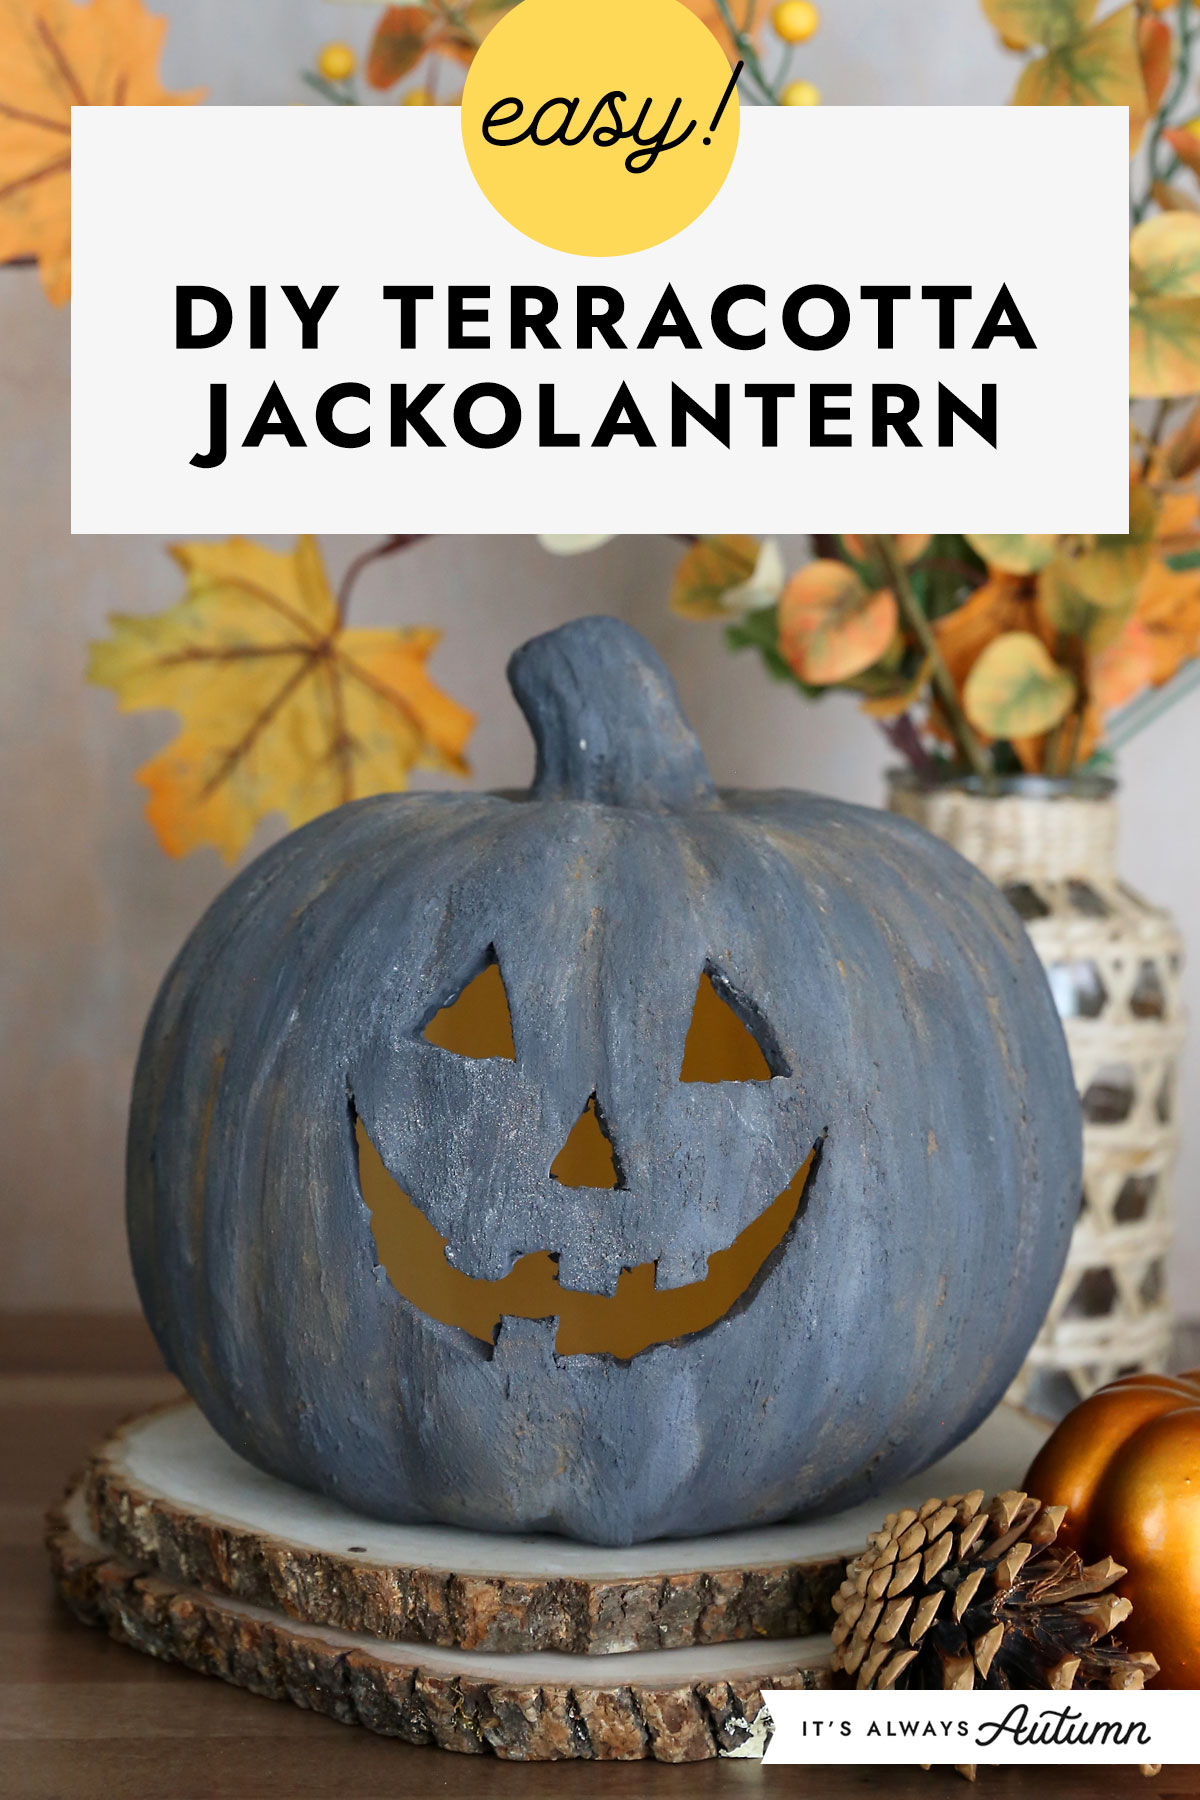
In today’s post: Learn how to turn basic craft pumpkins into DIY Terracotta Jack-o-Lanterns inspired by Pottery Barn. This is an easy Halloween craft for adults you can complete in about an hour of hands on time.
Easy Halloween Craft
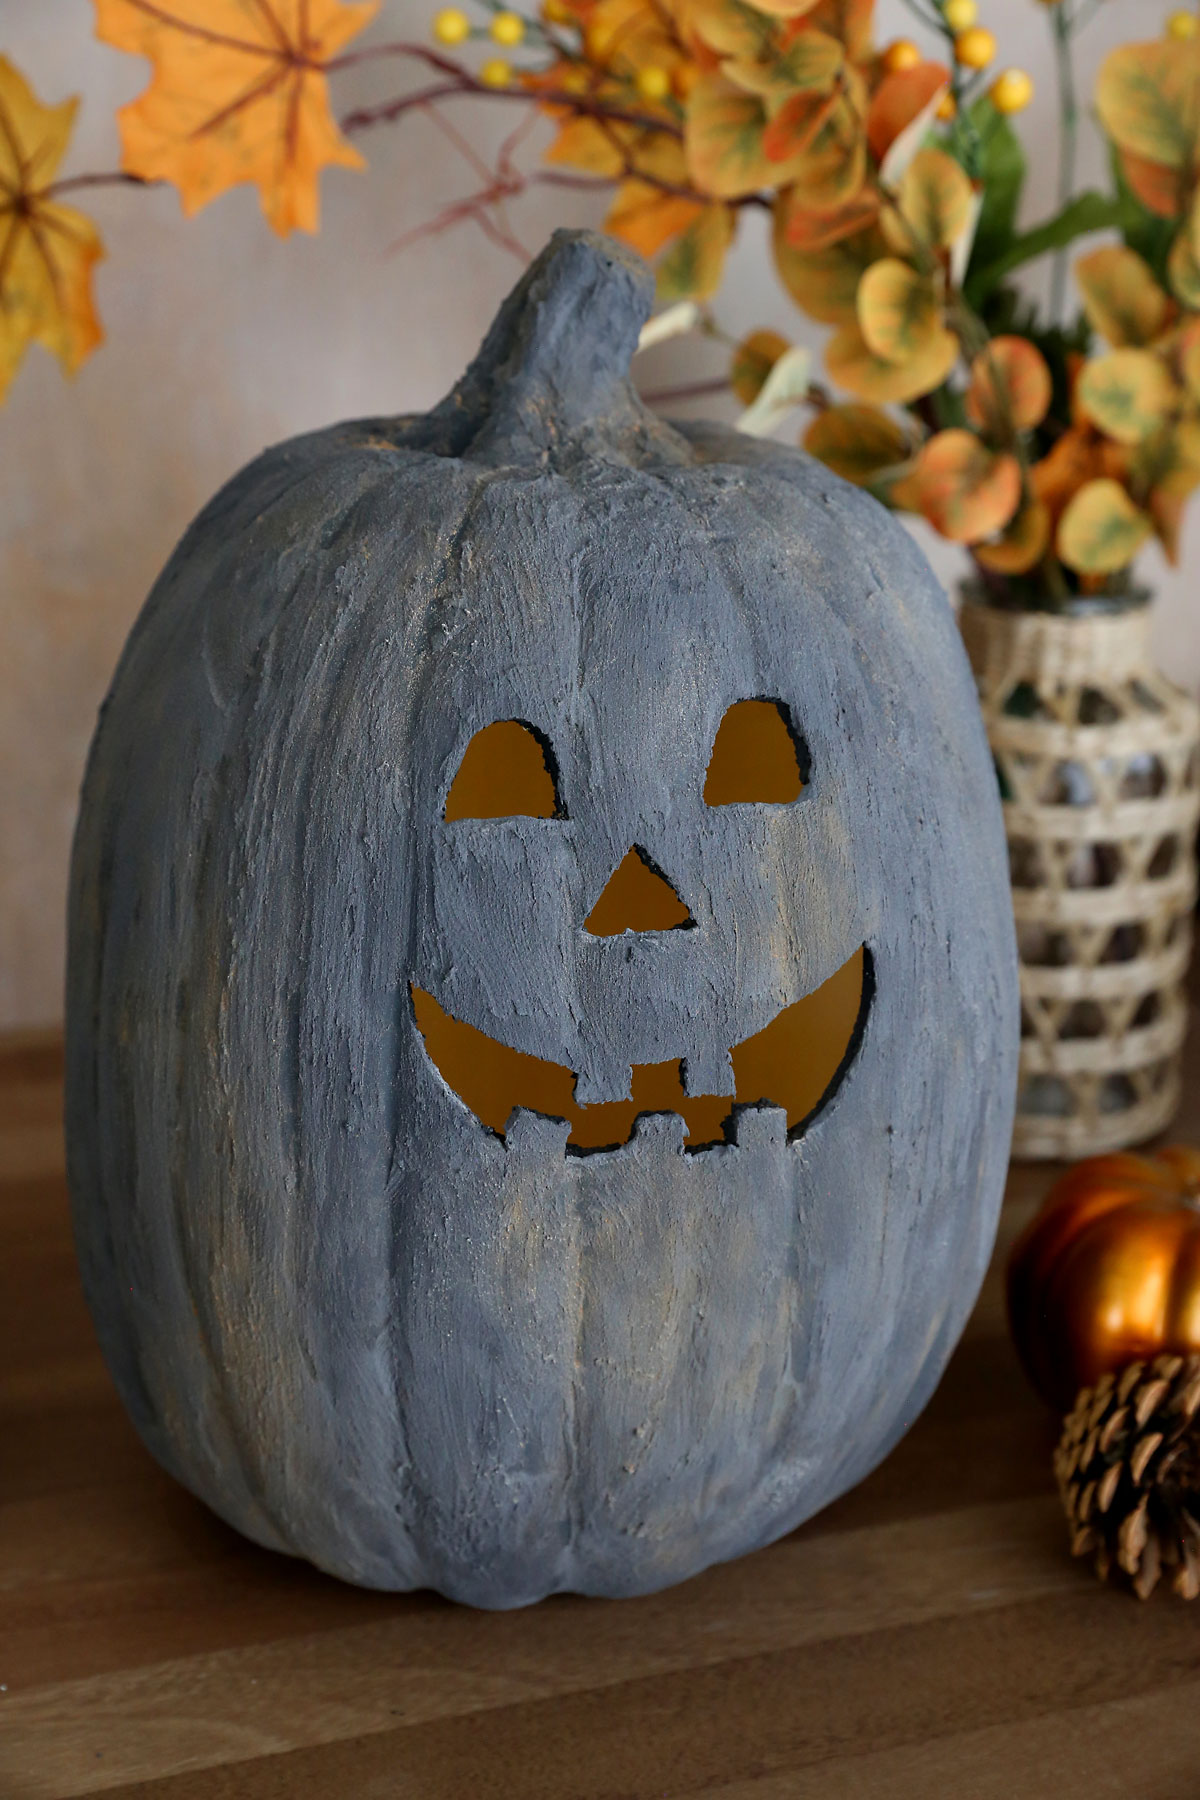
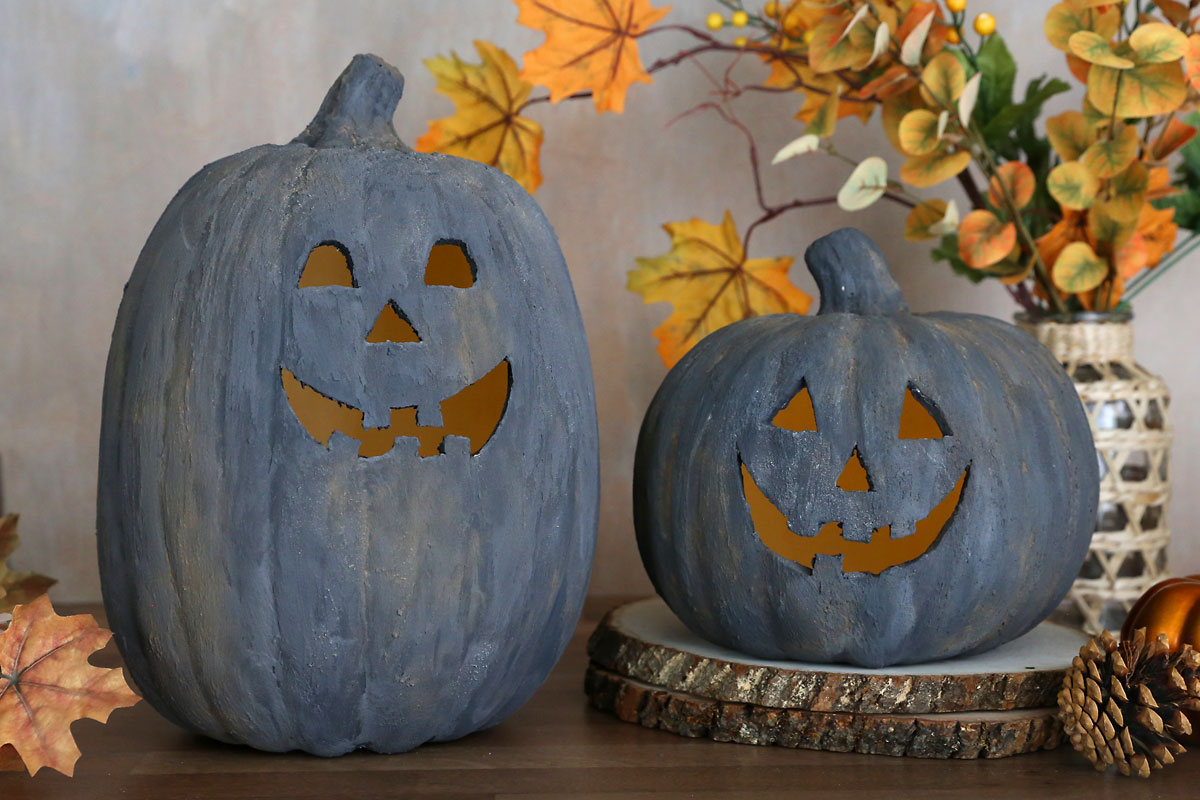
It’s time for another Pottery Barn dupe for a fraction of the price! Today we are working on making our own version of these gorgeous terracotta pumpkins. Their version of the large pumpkin is over a hundred dollars, but our DIY version can be made for about twenty bucks!
Supplies
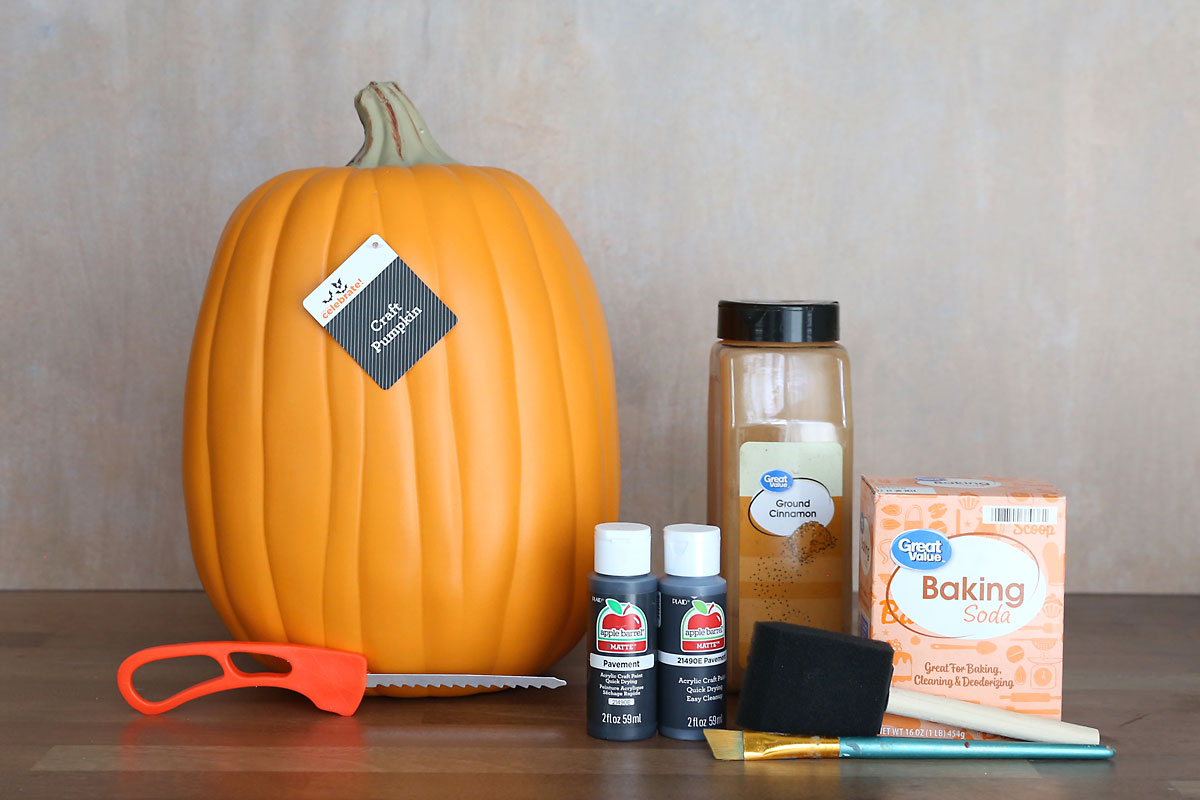
Here’s what you need to make cute DIY terracotta jackolanterns:
- Craft Pumpkins: You will need carveable craft pumpkins like these ones from Michael’s (the ones shown in my post are from Walmart but I can’t find a link to them). Be sure you are getting a carveable craft pumpkin NOT a styrofoam pumpkin. The pumpkins I used were $10 and $15 at Walmart; if you get them at Michael’s on sale the prices should be similar.
- Acrylic Paint: I used the small bottles of acrylic craft paint from Walmart in the color “pavement”, which is a very dark grey. You’ll mix the paint with baking soda, so choose a shade darker than you want your final project to be. I used close to three small bottles of paint between the two pumpkins.
- Cheap Paintbrushes: I applied the paint with a cheap foam paintbrush. You’ll also want a small paintbrush for painting the inside of the cutout face.
- Baking Soda: This is used to get the textured look of terracotta.
- Cinnamon: This is used to get the color variation in the dark terracotta.
You will also need a sharp knife of some sort to carve the craft pumpkin. I used a little knife that comes in a pumpkin carving kit. It’s also helpful if you have a small paper or plastic cup handy.
How to Make Terracotta Jackolanterns
Carve a Face
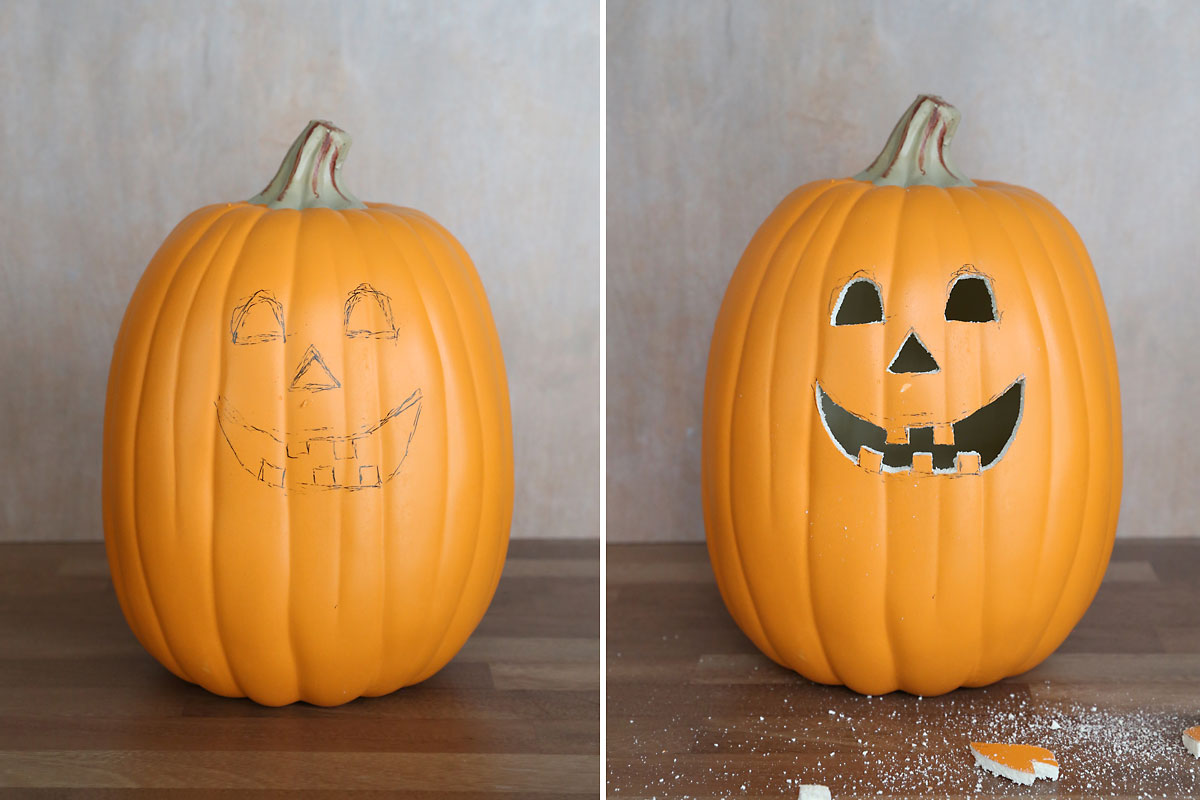
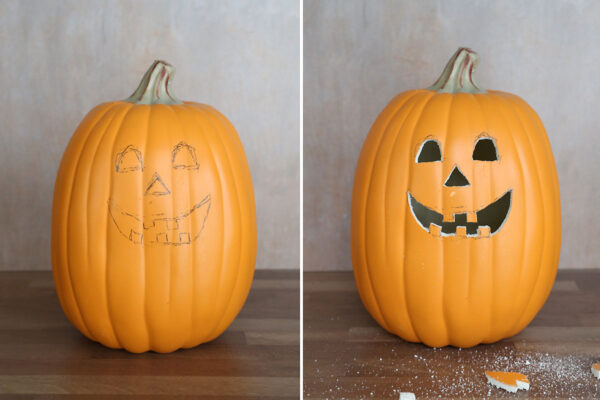
You’ll start by drawing a face on the front of your craft pumpkin. You can look at the Pottery Barn version to get ideas. Once you like the face, carve it out. You’ll also want to cut a hole in the bottom of the pumpkin so you can add a light. Make this hole about the same size as the bottom of a small plastic cup to make painting easier.
Paint the First Coat
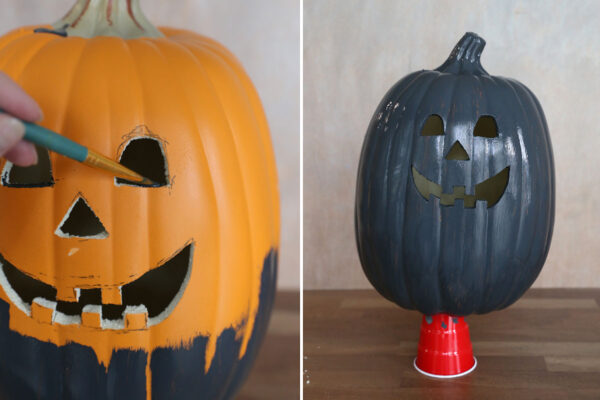
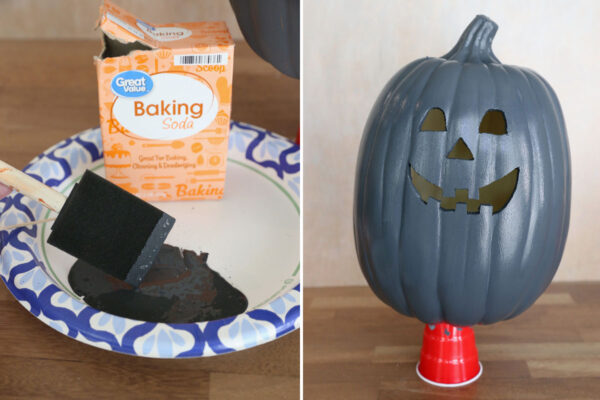
Tap the pumpkin over a trash can to get all the debris out of it. Then apply your first coat of paint. This coat will go on a little streaky; that’s just fine. I found it was easiest to hold the pumpkin upside down and paint the bottom of it, then to wedge the bottom of a plastic cup in the hole at the bottom of the pumpkin. That creates a stand for the pumpkin so you can paint the top of it without waiting for the bottom to dry first.
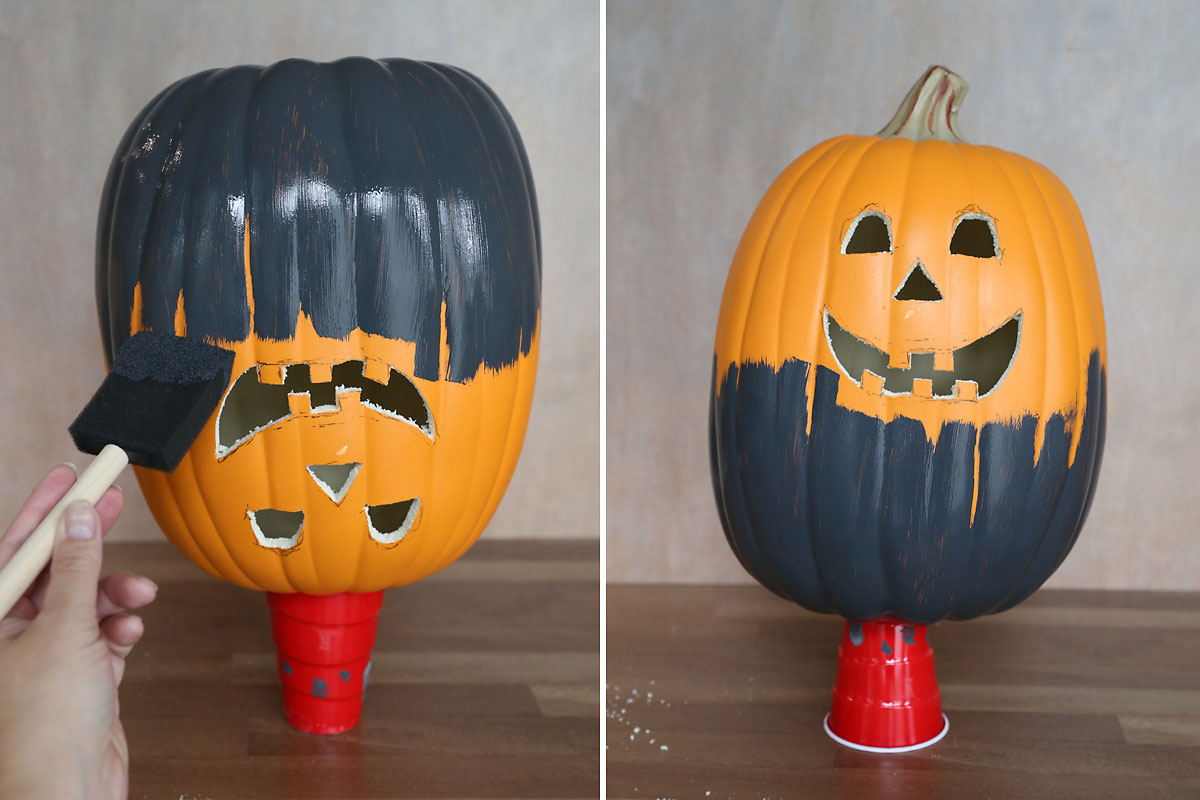
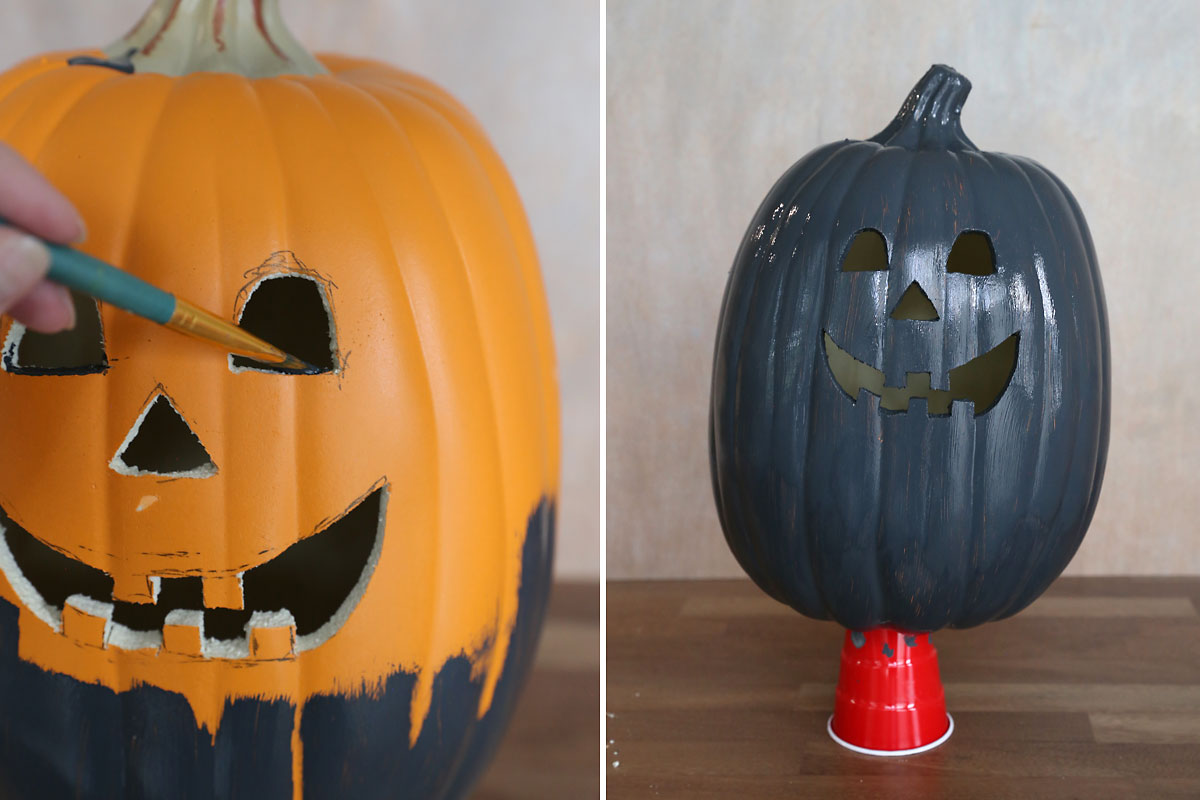
Use a small paintbrush to paint the cut edge of the face. Allow the paint to dry completely. You can use a hair dryer to speed the process.
Apply the Second Coat
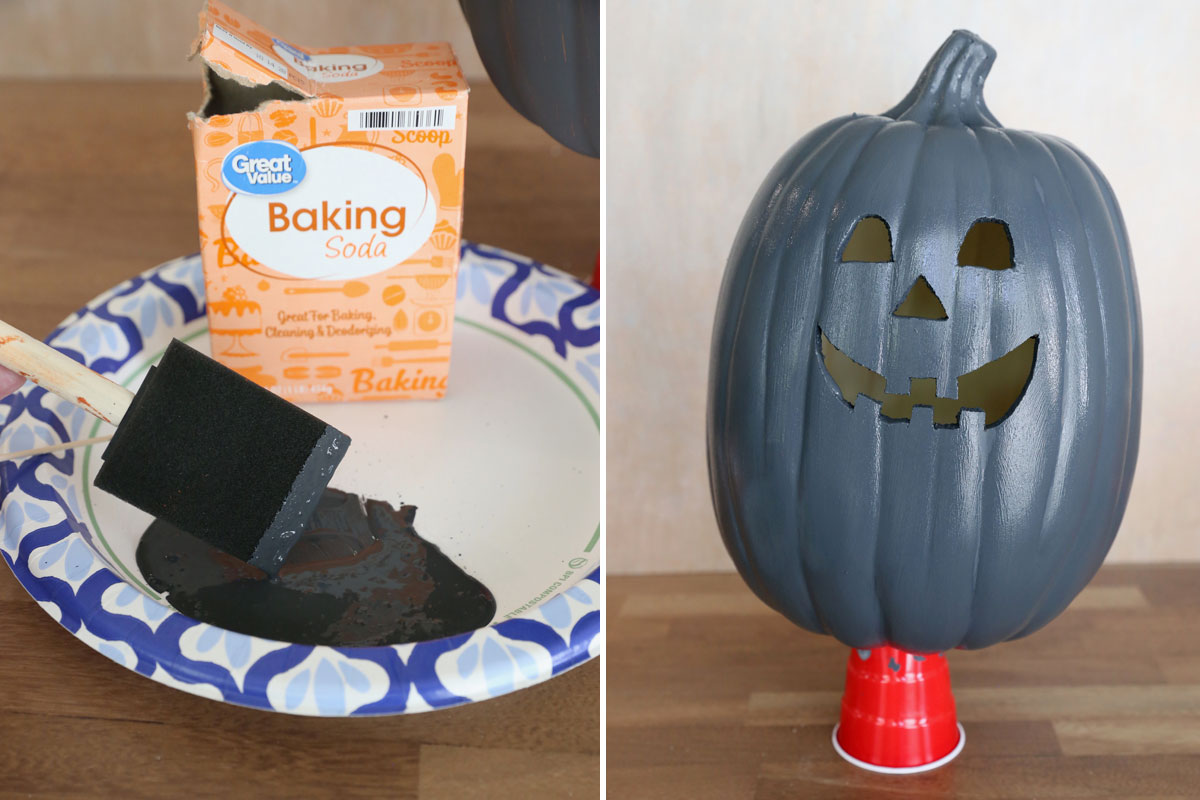
Once the paint is dry, it’s time for the second coat. This time, mix some baking soda into the paint to thicken it up a bit. You don’t need a lot of baking soda – you aren’t looking for texture yet – just a bit to thicken the paint so the second coat will give you good coverage. Let this coat dry completely.
Apply the Texture Coat
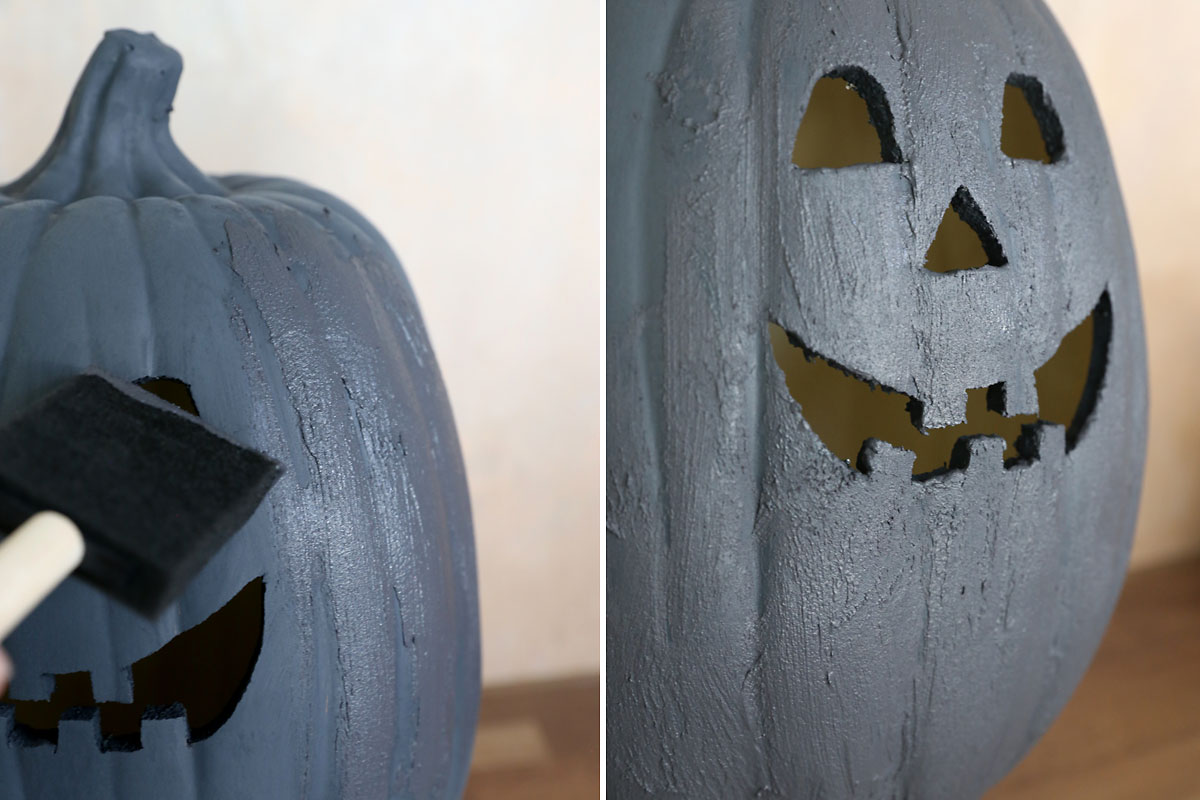
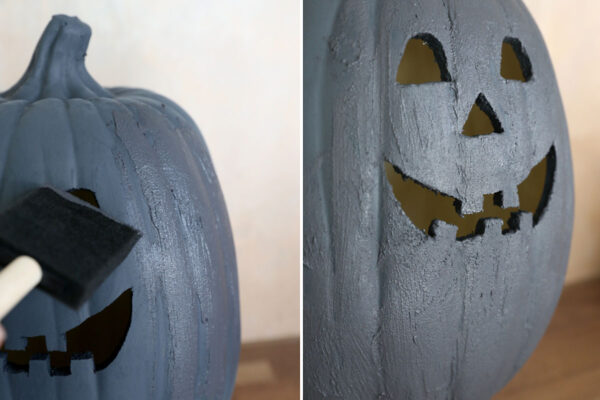
Here’s where it gets fun! Once the second coat is completely dry, you’ll apply the third and final coat of paint. Squeeze a fair bit of paint out onto a paper plate, then stir in a lot of baking soda (more baking soda than paint). Keep stirring until it’s well combined. You are looking for a fairly thick texture here, like a cross between a pudding and a paste. Use the paintbrush to apply the thickened paint to the pumpkin. You should see that as you brush it on it creates a lot of texture; if it doesn’t, stir in some more baking soda. Apply the texture coat of paint all over the pumpkin. You can let it dry a little and then brush over it again to create even more texture if you like. You can also dab the paintbrush against the pumpkin in spots to create some rougher areas. Allow this coat to dry completely.
Finish with Cinnamon
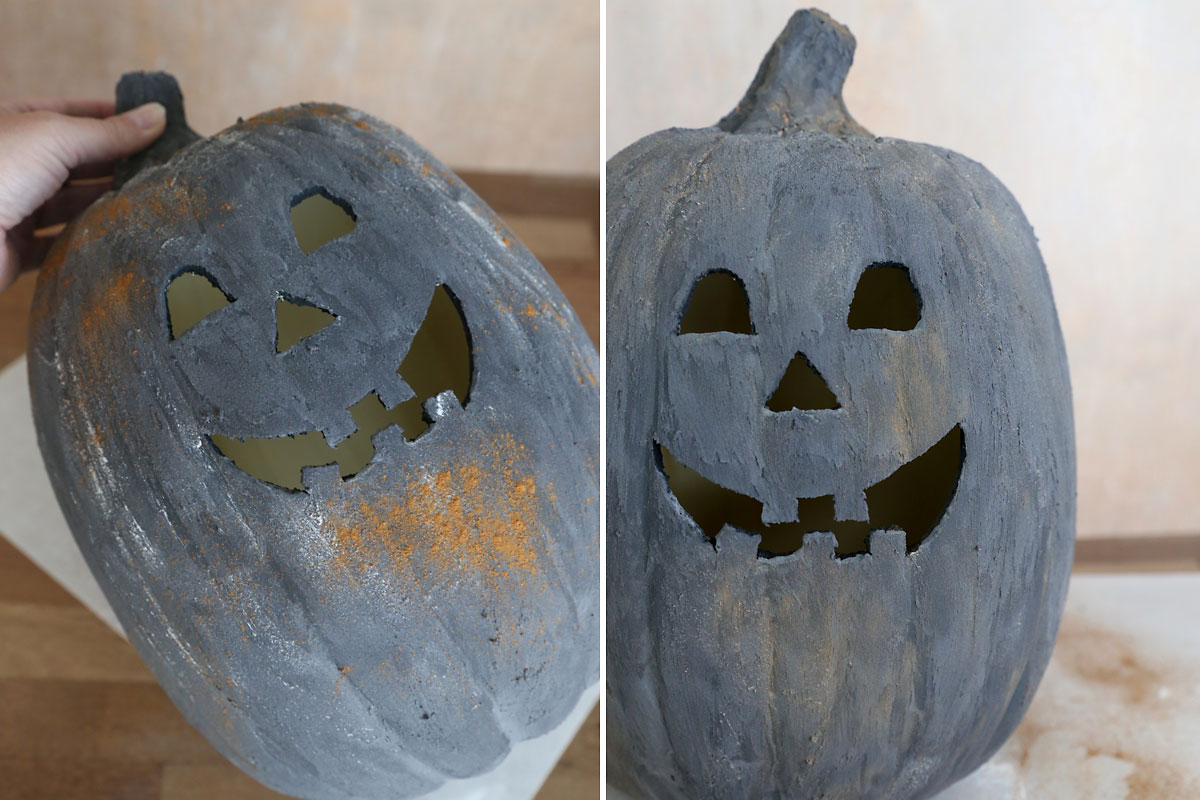
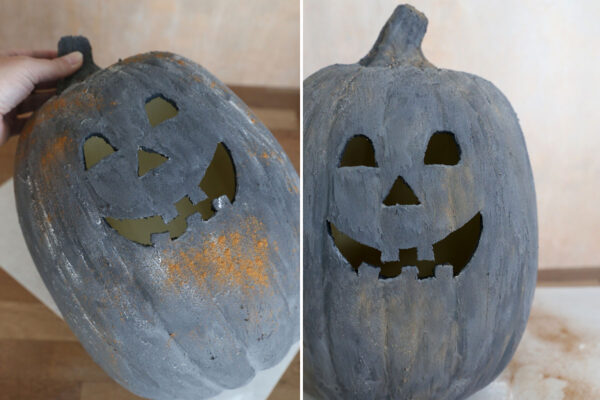
Once the paint is completely dry we have one more finishing touch. The Pottery Barn pumpkins have a fair bit of color variation in them. We can get a similar color variation with baking soda and cinnamon. Sprinkle baking soda over some areas of your jack-o-lantern, then use the small paintbrush to work it into the texture and brush off excess. Repeat with cinnamon in other areas.
Display
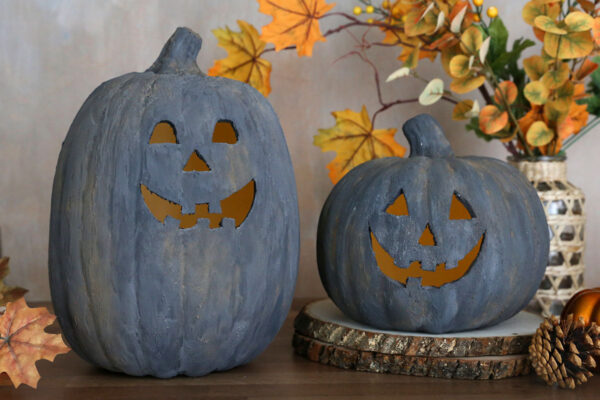
Your DIY terracotta Jack-o-lanterns are now ready to display! They look adorable on a shelf or mantel with other Halloween decor. Use a battery operated light inside them (I like these tea lights on a timer from Amazon). NOTE: If you plan to display them outside, be sure to place them somewhere they won’t get wet, and you may want to coat them with a matte poly spray.
DIY Terracotta Jack-O-Lanterns
Supplies
- Carveable Craft Pumpkin
- Acrylic Paint very dark gray, "pavement" color
- Foam Paintbrush + Small Paintbrush
- Baking Soda
- Cinnamon
Want more project ideas? Sign up to get my favorite easy crafts and recipes straight to your inbox!
Equipment
- Craft Knife for carving
Instructions
- Draw a face on the front of your pumpkin and carve it out. Also cut a small hole at the bottom of the pumpkin so you can add a battery operated light.

- Paint the entire pumpkin with the dark gray paint and allow it to dry completely. You can use a hair dryer to speed drying.
- Mix a little baking soda into more of the dark gray paint to thicken it slightly, then use that to paint a second coat on the pumpkin. This coat should give you good coverage. Allow to dry completely.
- Mix paint with quite a bit of baking soda until you get a thick mixture, between a pudding and a paste. Use the paintbrush to apply this mixture all over the pumpkin. You should see it leaving texture as you paint it on; if it doesn't, mix in more baking soda. To get even more texture you can let the paint dry slightly then brush over it again, or dab the paintbrush to create rough areas. Allow this coat to dry thoroughly (overnight is best).
- Sprinkle baking soda over some areas of the pumpkin and use a paint brush to work the soda into the texture of the paint and brush off excess. Repeat with cinnamon to add a darker color in other areas.
- Display with battery operated lights inside.

Leave a Comment