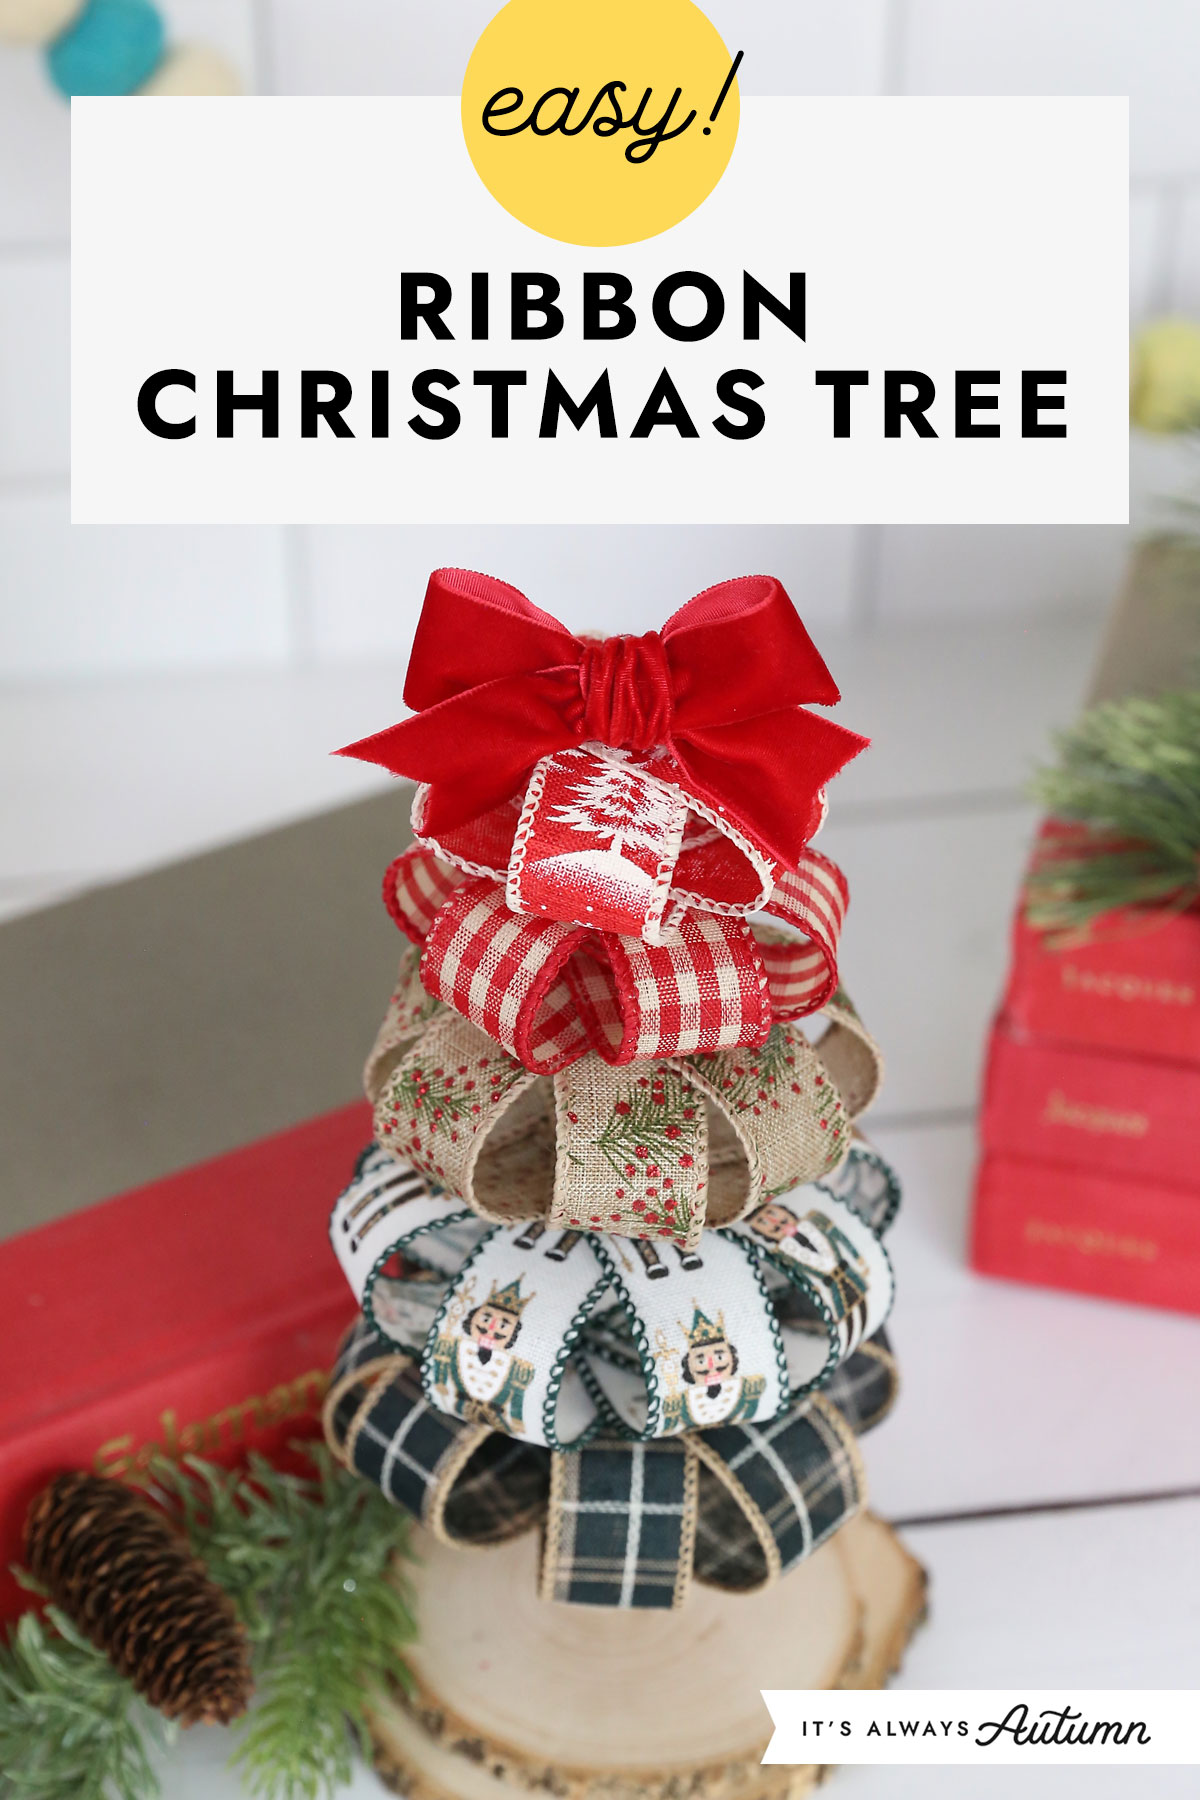
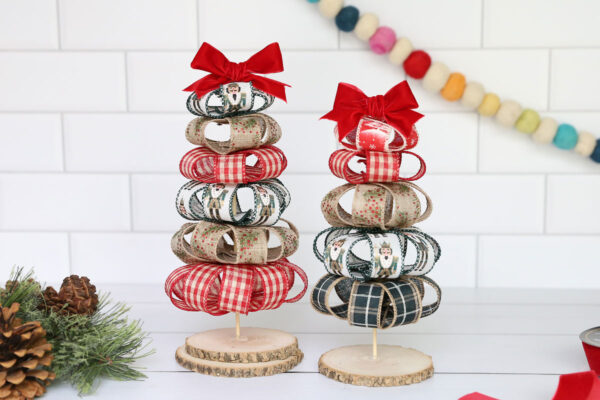
In today’s post: Make these cute ribbon Christmas trees with just three supplies! This is an easy Christmas craft for adults or kids you can make in under half an hour.
Easy Christmas Craft Idea
Today’s craft is easy and fun to personalize with your favorite colors and patterns of ribbon! I love all the cute Christmas ribbons I’ve seen in craft stores this year and it’s always fun to find a new way to use them. Ribbon Christmas trees don’t require many supplies and don’t take long to make – these would be perfect for a craft night with friends!
Supplies
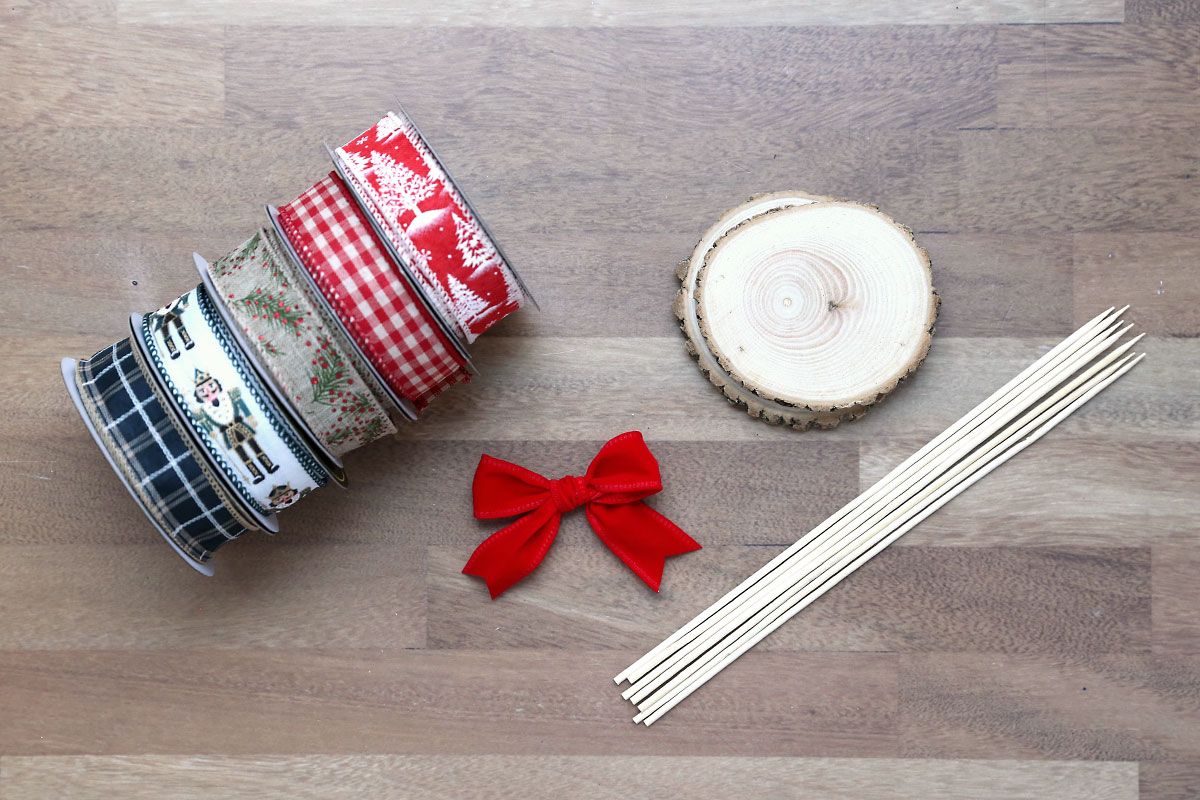
Here’s what you need to make ribbon Christmas trees:
- Wood Slice: this acts at the base for your ribbon tree. I used wood slices that are 3-4 inches across.
- Bamboo Skewer: this will be the trunk of the tree. I used 9.75 inch skewers.
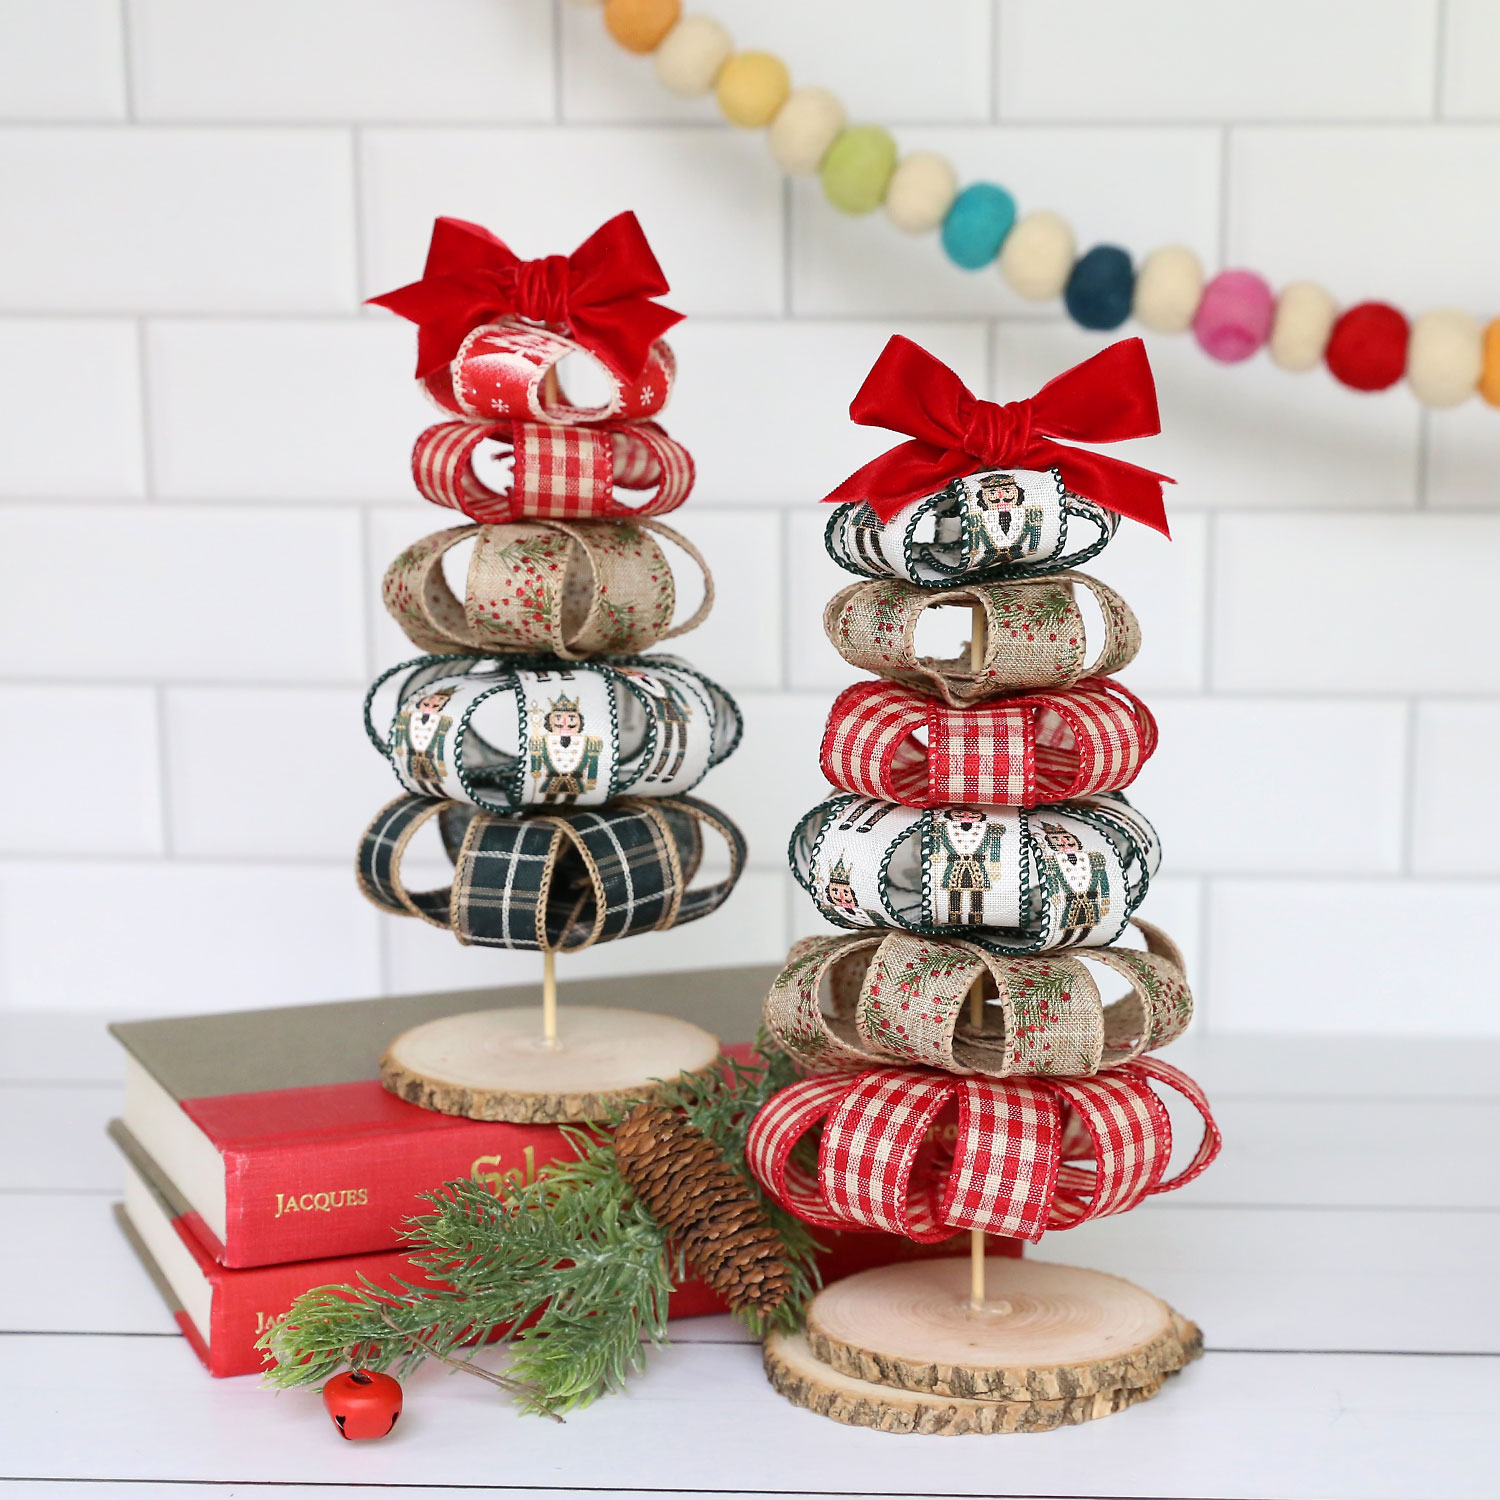
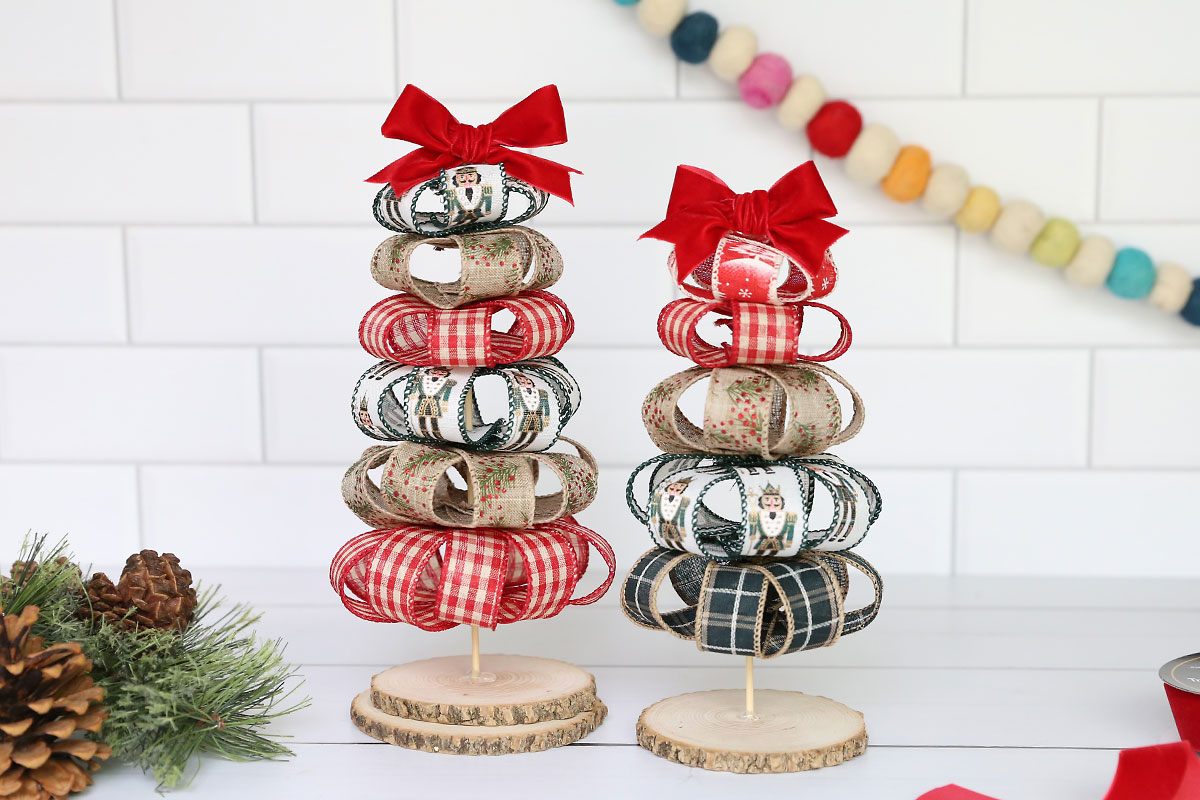
- Ribbon: I used 1 inch wide wired ribbon to create these trees. For one tree I used three different colors of ribbon, for the other I used five different ribbons.
- Topper: You’ll top your ribbon tree with a small bow, star, or other mini tree topper.
how to Make a Ribbon Christmas Tree
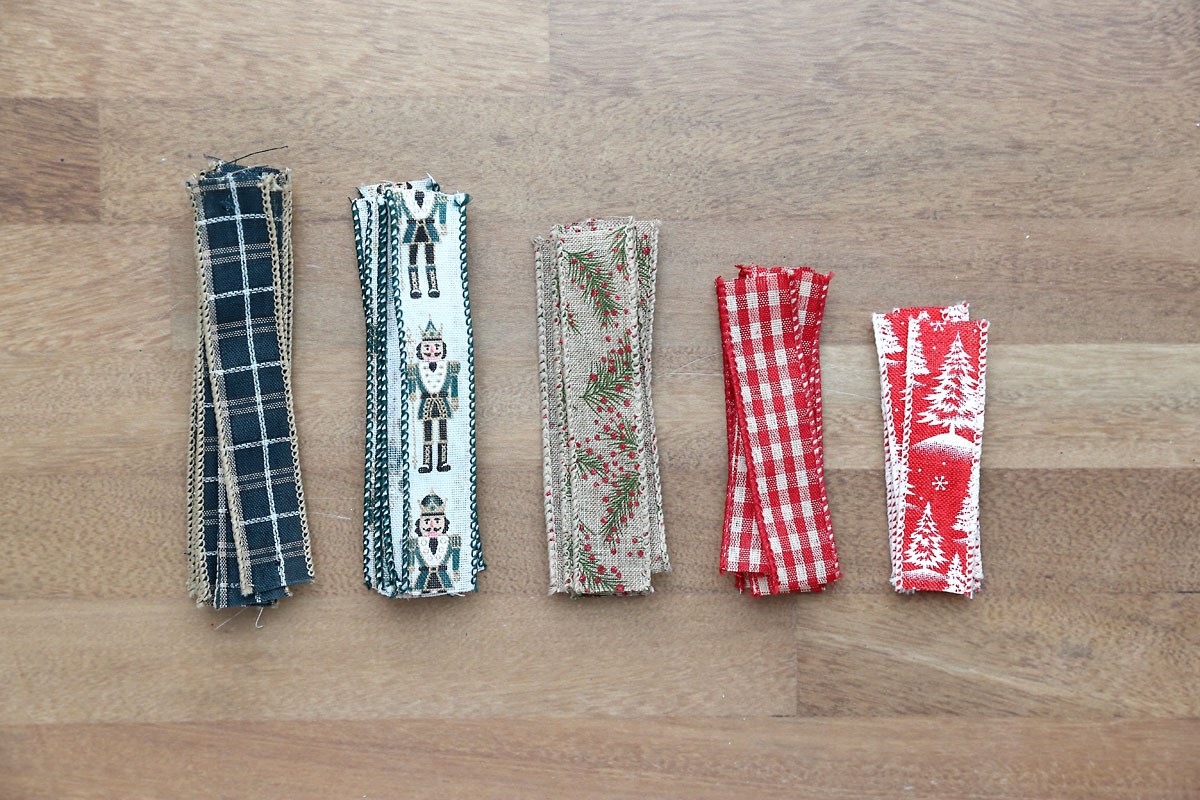
Cut the Ribbon
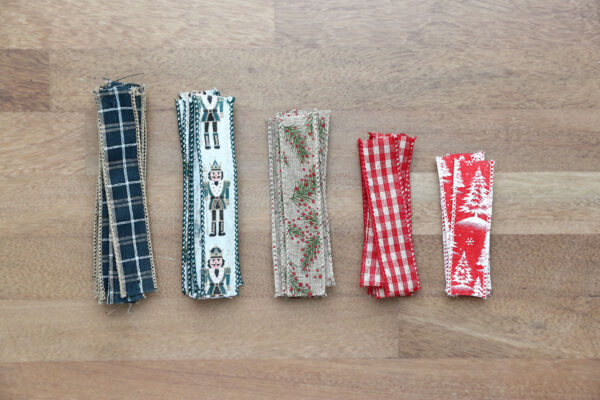
You’ll begin by cutting the ribbon for your tree. Decide which ribbon you want to use on each layer of the tree. For a six layer tree like the taller one you see in my photos, you will need to cut:
- ten pieces at 6 inches
- nine pieces at 5.5 inches
- eight pieces at 5 inches
- seven pieces at 4.5 inches
- six pieces at 4 inches
- five pieces at 3.5 inches
For a smaller tree that has five layers instead of six, do not use the 6 inch pieces of ribbon. You can use different ribbons for each layer, alternate ribbons, or even make each tree with just one type of ribbon.
Glue trunk to base
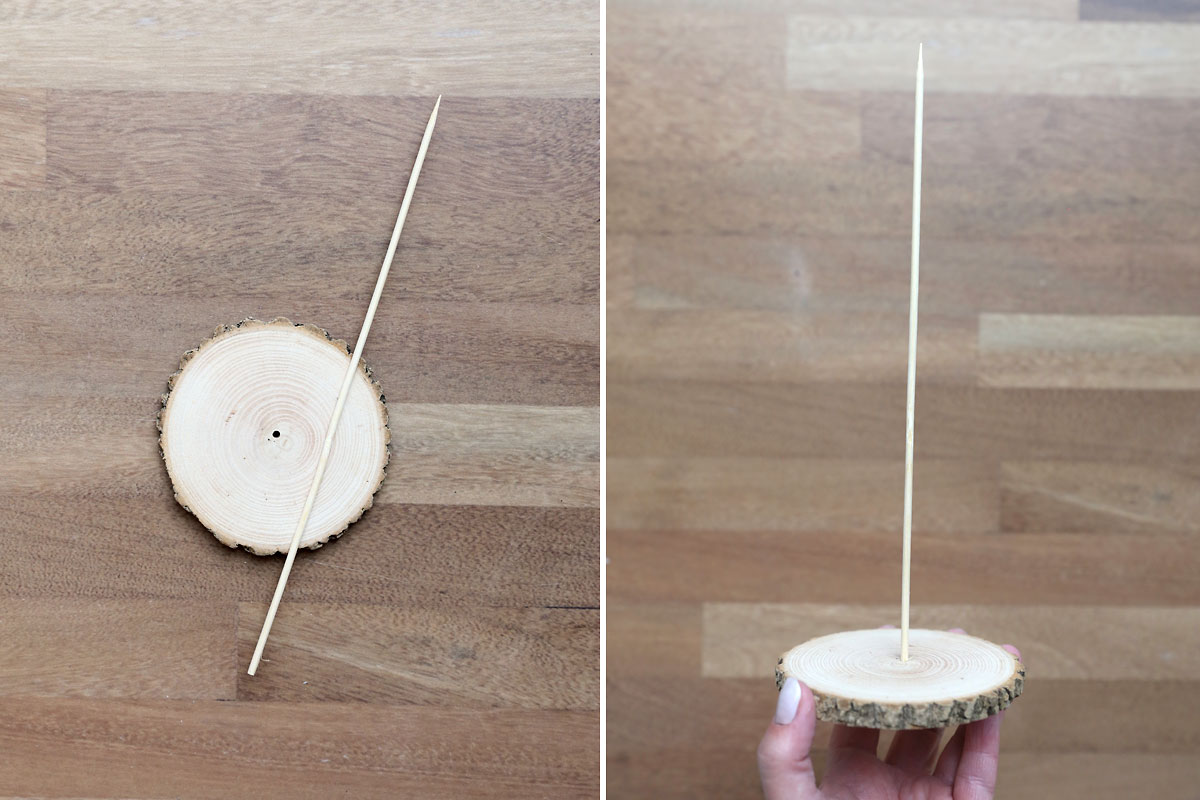
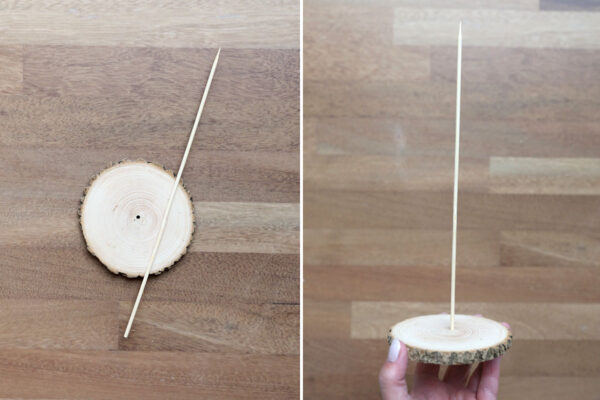
The bamboo skewer will act as the trunk of your tree, and the wood slice will be the base. Drill a small hole in the center of the wood slice, just large enough for the flat end of the skewer to fit inside. Use hot glue to secure the skewer in the hole, making sure the skewer sticks straight up.
Begin adding ribbon
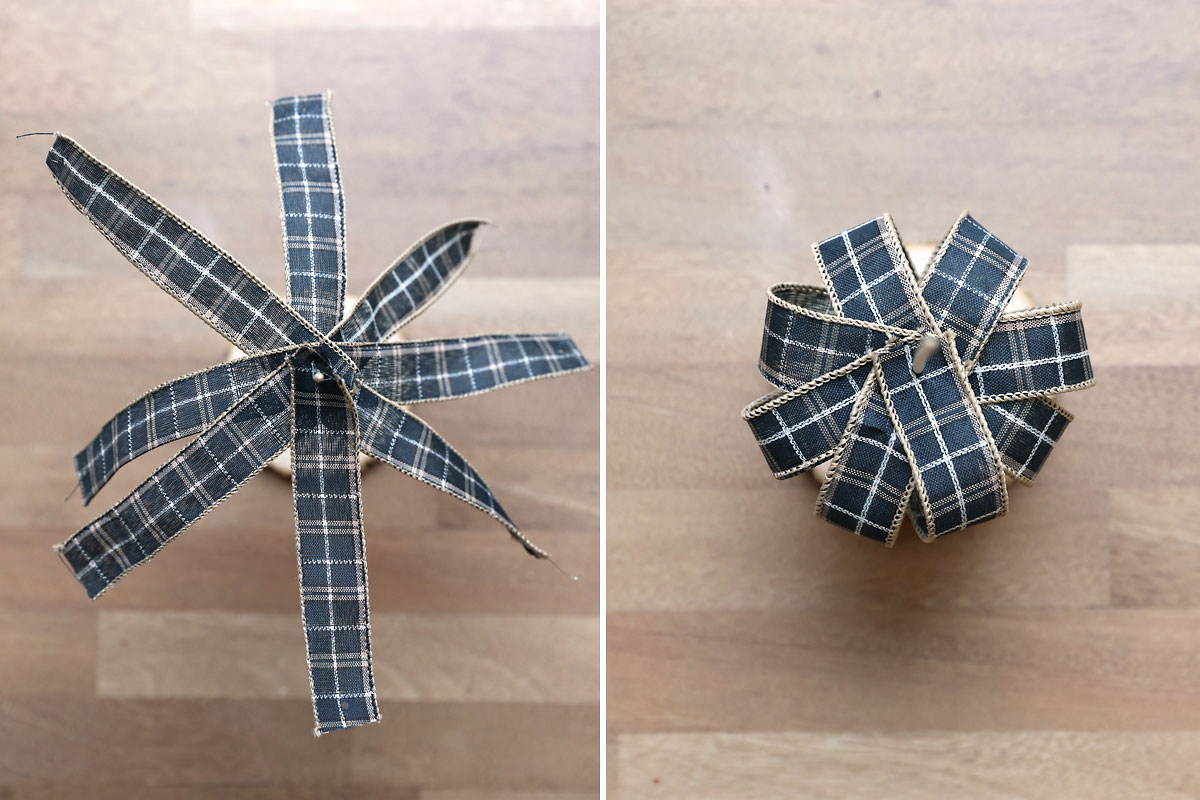
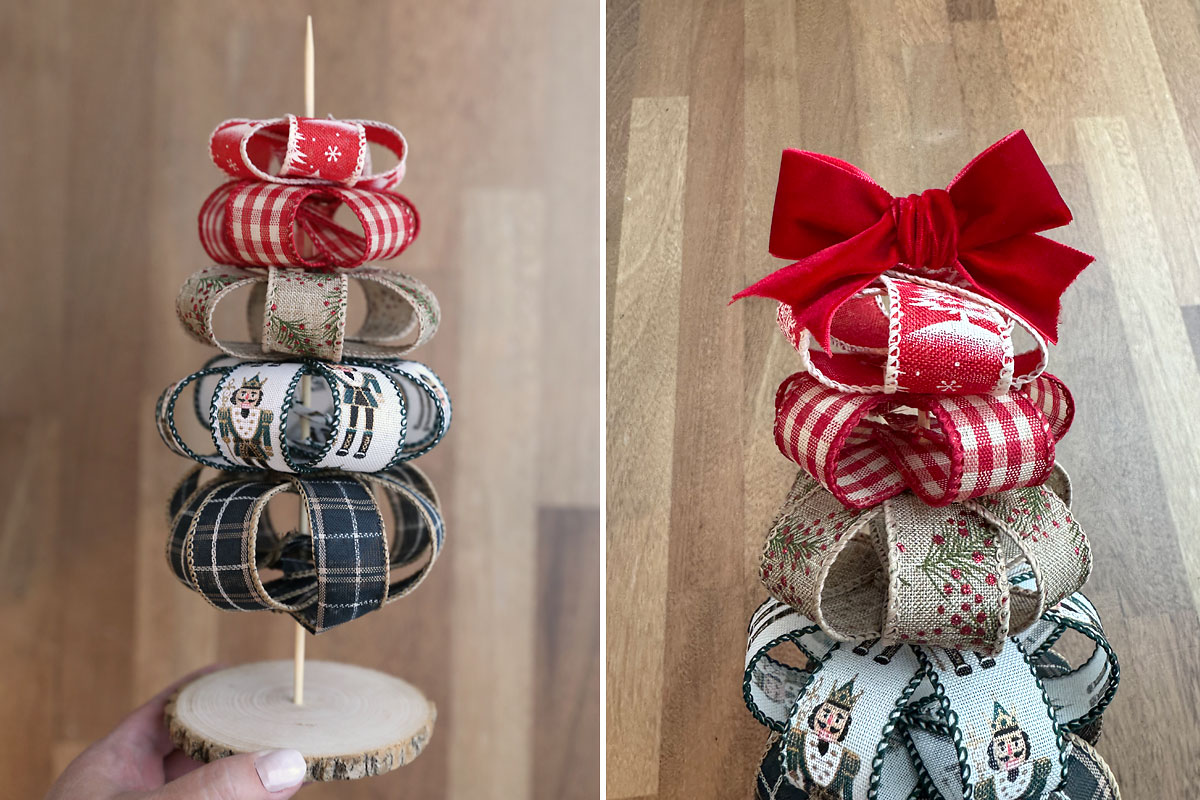
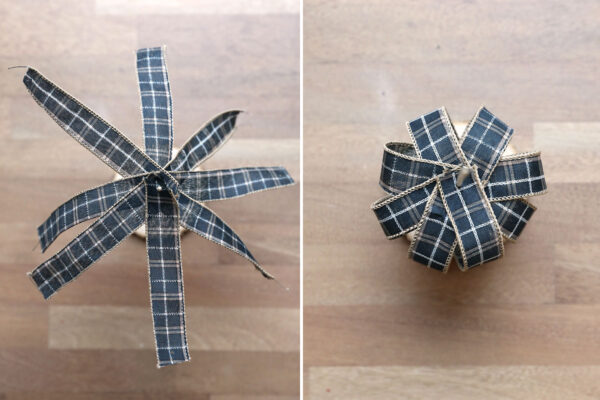
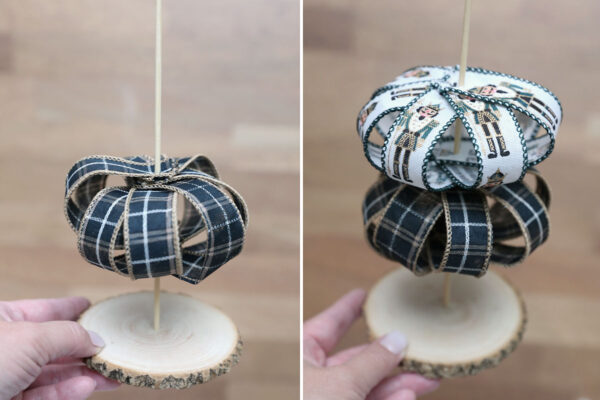
Start with the longest pieces of ribbon, and place them over the top of the skewer one by one, poking the skewer through the ribbon about half an inch from one end. Fan the ribbon pieces out as shown in the first photo below. Once you’ve added all the ribbons for that layer, grab the ribbon you placed on first and fold it over, pressing its other end over the skewer. Repeat with all the rest of the ribbons until it looks like the second photo below. Then slide the ribbons down the skewer.
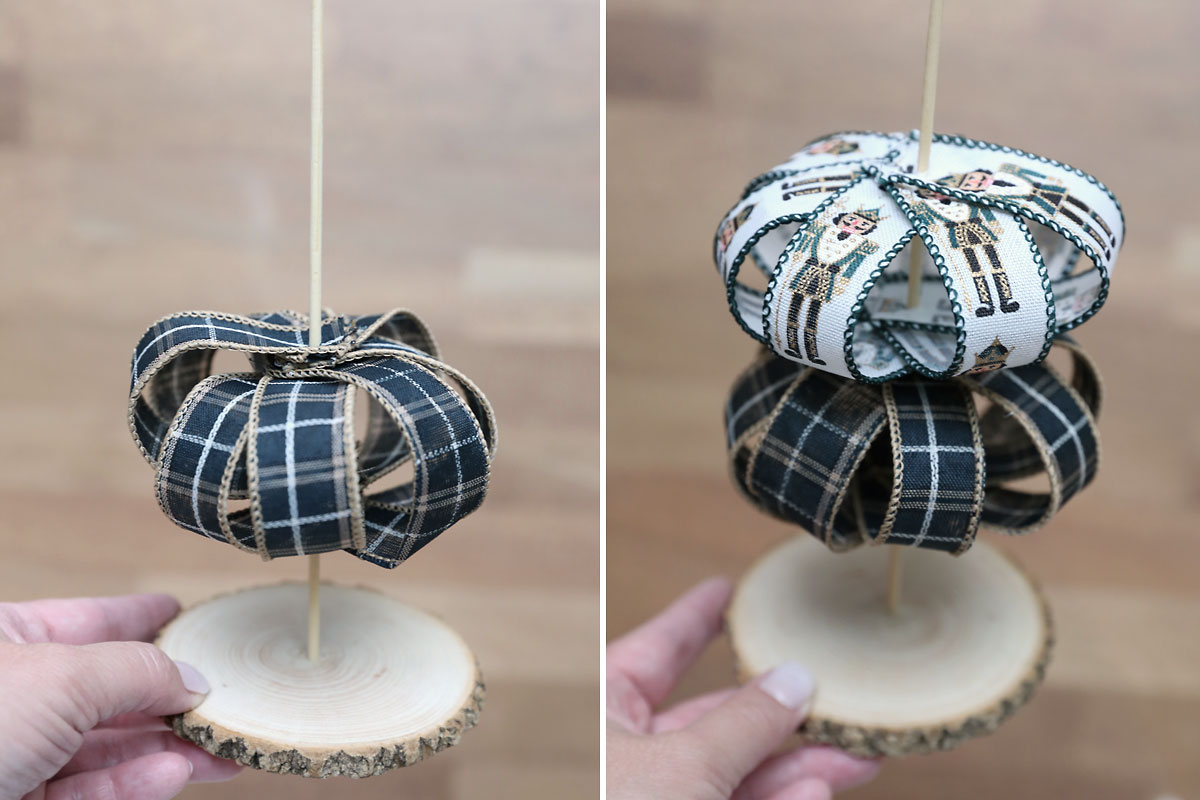
Repeat this process with the next longest ribbons, then the next, etc.
Finish with a Topper
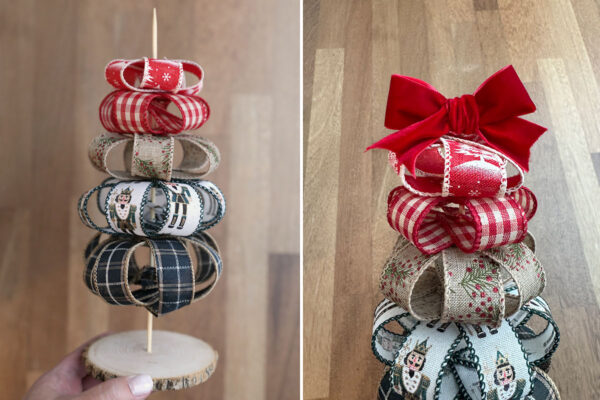
Continue adding the ribbon, working from longest to shortest. When you’ve added as many layers of ribbon as you like, trim the skewer about half an inch higher than the final layer of ribbon (if you use six layers you won’t need to trim the skewer). Glue on a ribbon bow, a small star, or other small item to top the ribbon tree.
Display
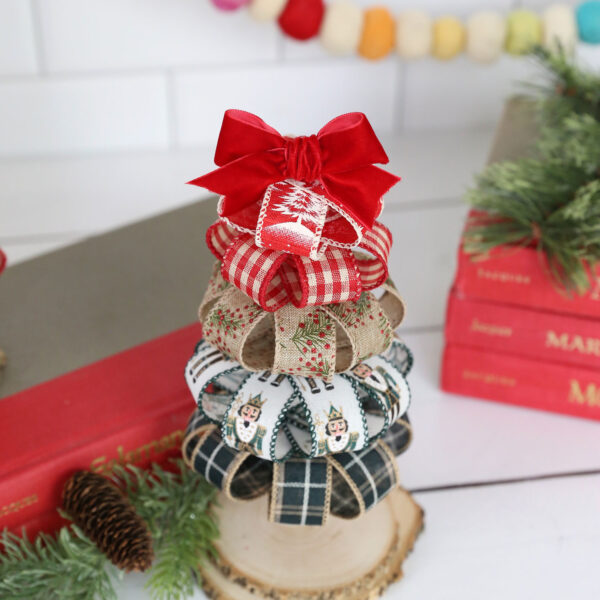
Now your ribbon tree is ready to display! It looks cute if you make multiple trees at different heights and display them together with other Christmas decor items.
DIY Ribbon Christmas Trees
Supplies
- 1 Wood Slice 3-4 inches diameter
- 1 Bamboo Skewer 9.75 inches long
- 1 inch wide Wired Ribbon in various colors
- Bow, small star, or other mini tree topper
Want more project ideas? Sign up to get my favorite easy crafts and recipes straight to your inbox!
Instructions
- Cut ribbon to the lengths noted in the "tips" below

- Drill a small hole in the center of the wood slice and hot glue the flat end of the skewer in the hole, ensuring the skewer stands up straight.
- Start with the longest set of ribbons. Place each one over the skewer, poking the skewer through the ribbon about half an inch from one end. Fan the ribbons out as shown. Starting with the first ribbon, fold it over and place the other end of it over the skewer. Repeat with all the ribbons in order.
- Move this layer of ribbons down the skewer, then repeat the process with the next longest set of ribbons.
- Continue adding ribbon layers until you have used all your ribbon. Trim the skewer about half an inch above the top layer of ribbon, then hot glue on a bow or other mini tree topper.
- Display.
Tips
- ten pieces at 6 inches
- nine pieces at 5.5 inches
- eight pieces at 5 inches
- seven pieces at 4.5 inches
- six pieces at 4 inches
- five pieces at 3.5 inches
Leave a Comment