
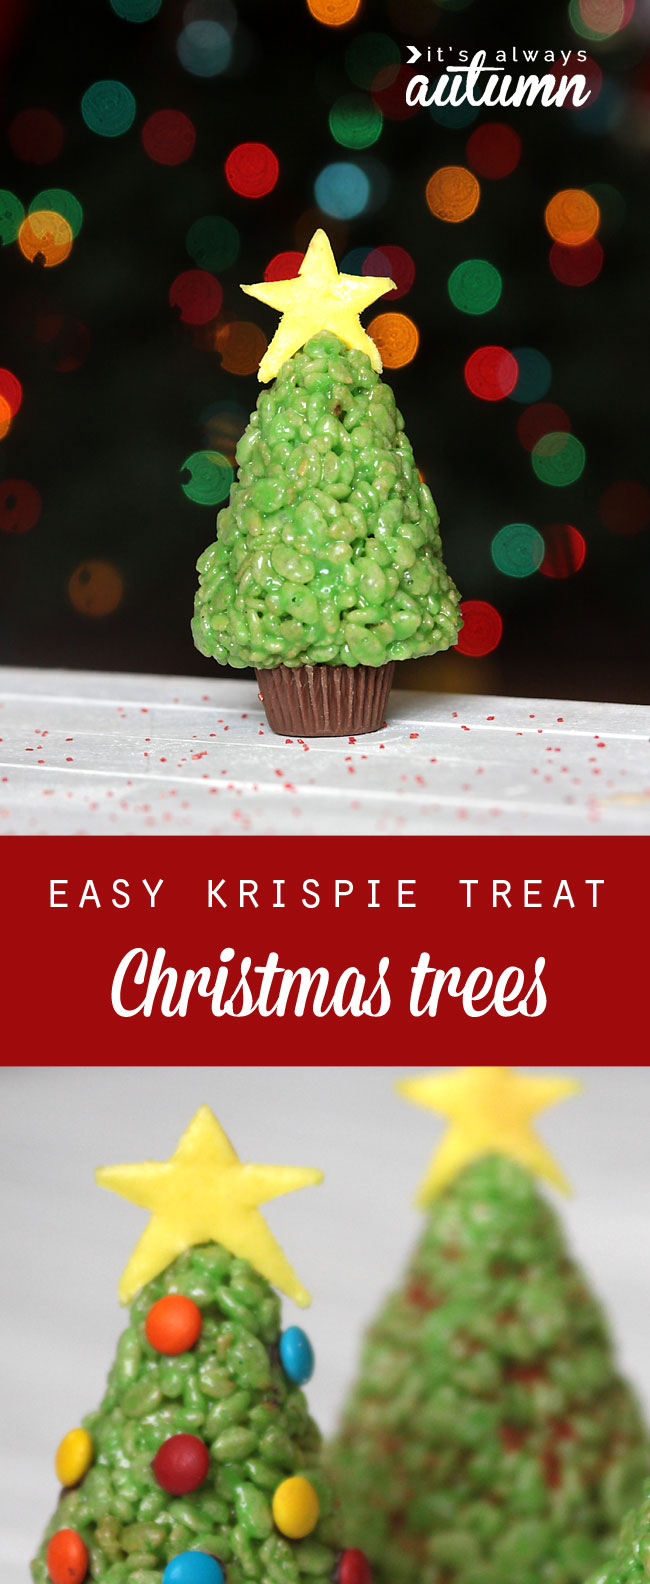
Over Thanksgiving break the kids wanted to make something fun to get in the mood for Christmas. I decided to go with something easy that I knew they’d enjoy making (and eating). We made these cute Rice Krispies treat Christmas trees that I’d seen on the cover of a magazine last year. I thought I’d share a few tips in case you’d like to try making some with your kids.

You’ll follow the normal rice crispies treats recipe – you can usually find it on the box of crispies or bag of marshmallows. You’ll also need green food coloring, mini Reese’s cups, starburst (to make the stars) and M&Ms or sprinkles to decorate the trees.
Once you’ve melted the marshmallows and margarine together, stir in enough food coloring to get a bright green color, then stir in the rice crispies as directed. Let the mixture cool enough to handle, and spray your hands generously with non-stick spray. Scoop out a large spoonful of rice crispie mixture onto your hand and start rolling it to form a ball. It’s extremely sticky at first, but after rolling for a few seconds it will start to hold together and pull away from your hands.
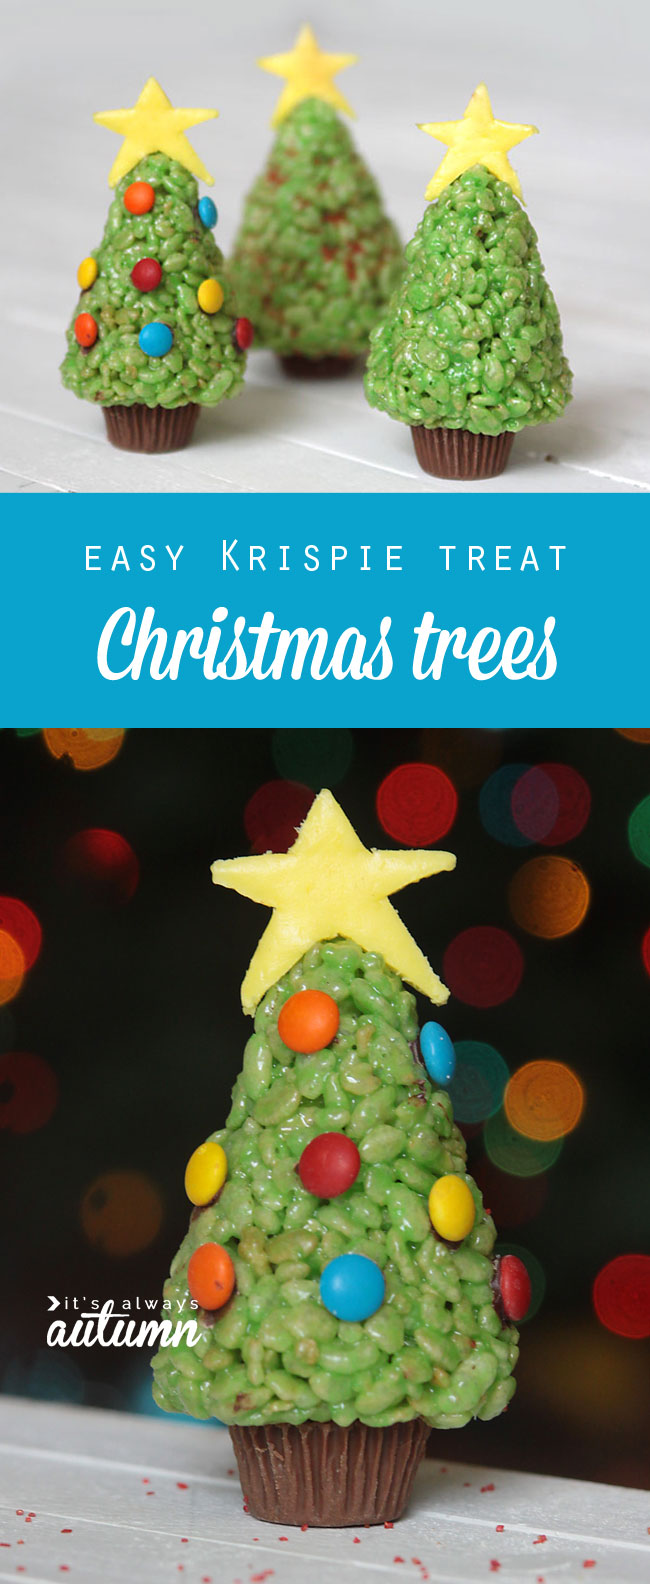
At that point you can gently shape the ball into a cone. Make sure to pat the bottom as flat as possible. If you want to decorate with sprinkles or mini M&Ms, do so right away while the tree is still quite sticky, then place the trees on a plate to cool. If the decorations simply are not sticking because your tree is already too cool, you can use a little frosting or melted chocolate to “glue” the decorations on.
Once they are completely cool, use a little frosting or melted chocolate to “glue” the Reese’s cup to the bottom. For the star, flatten out a yellow Starburst and use a sharp knife to cut a star shape, then set it on top of your tree – it will be sticky enough to stay by itself.
We got about 10 trees from one batch of Rice Crispies treats. Have fun!

Leave a Comment