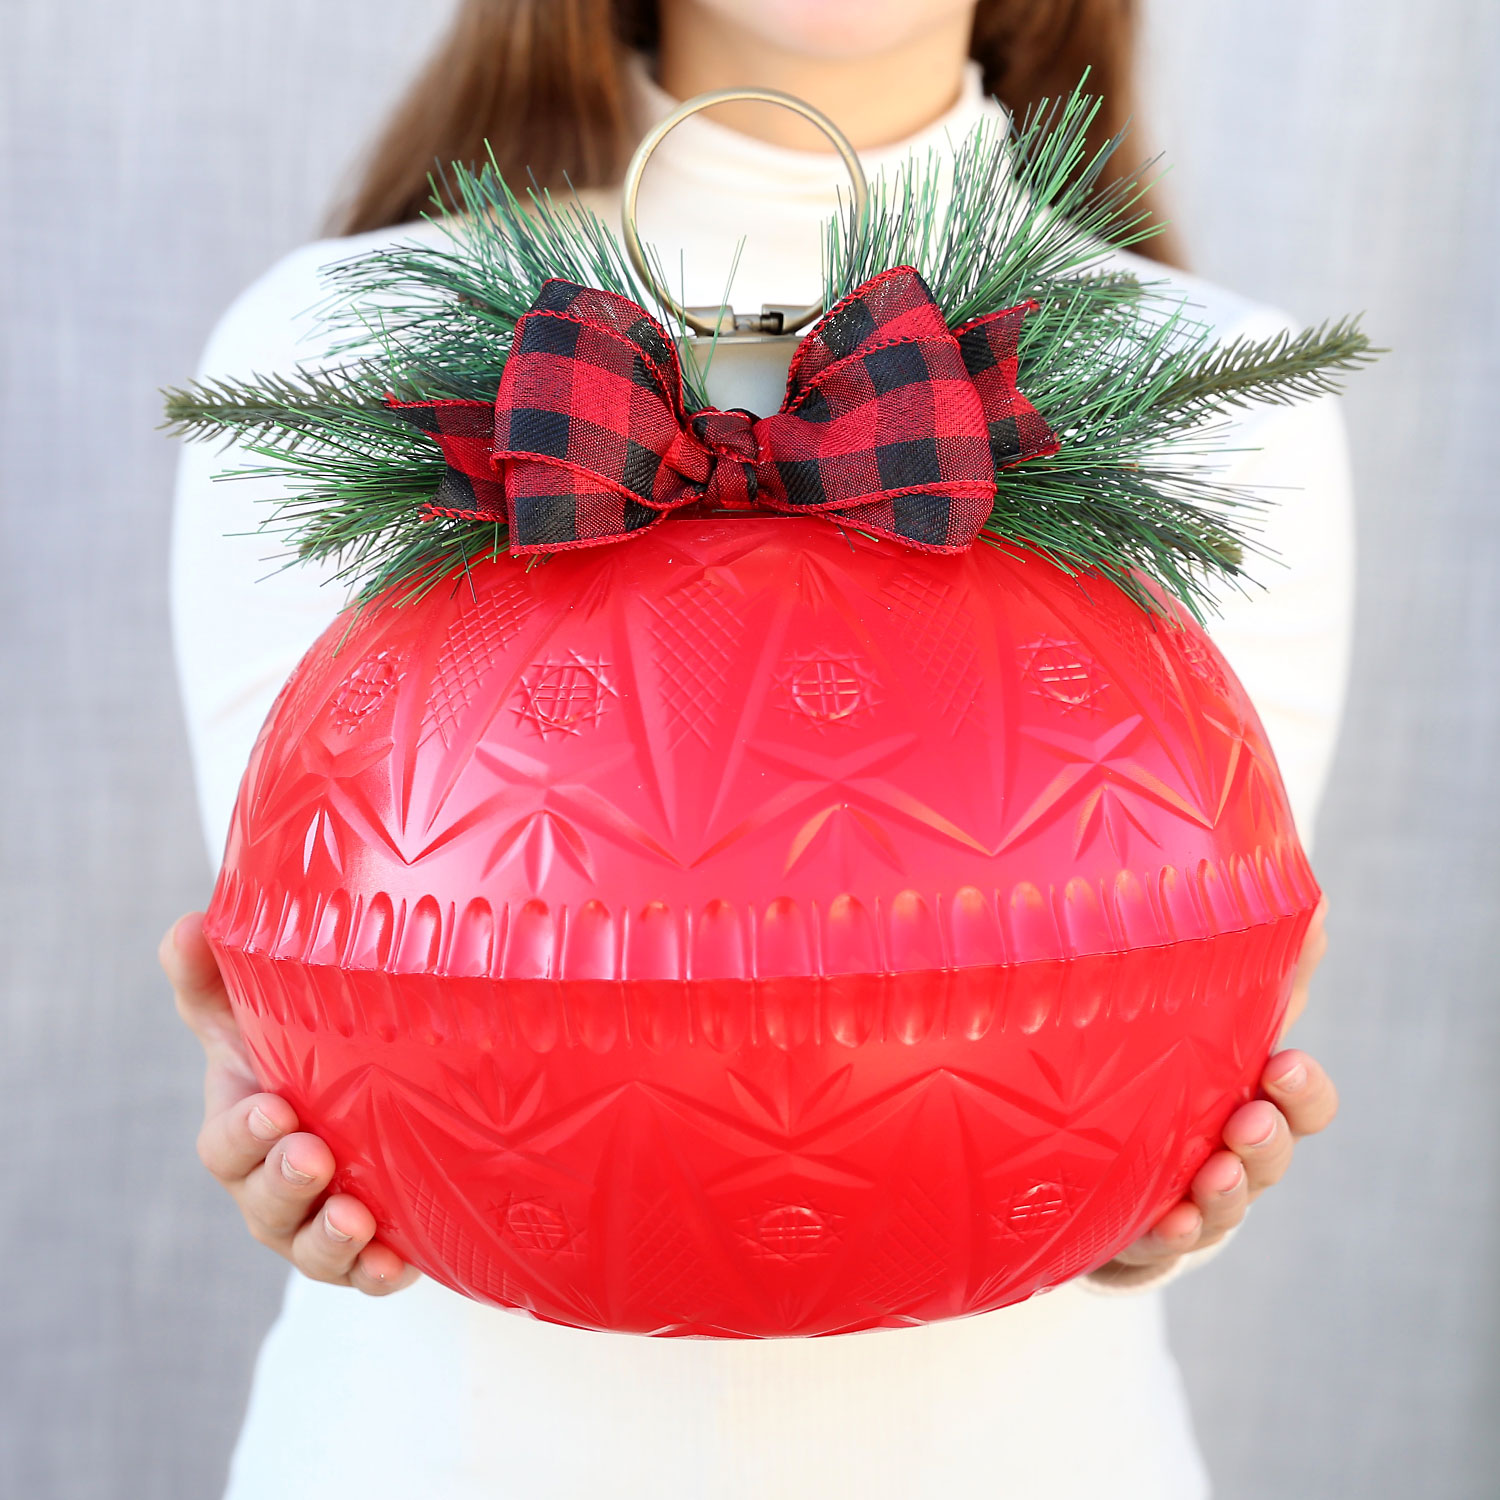
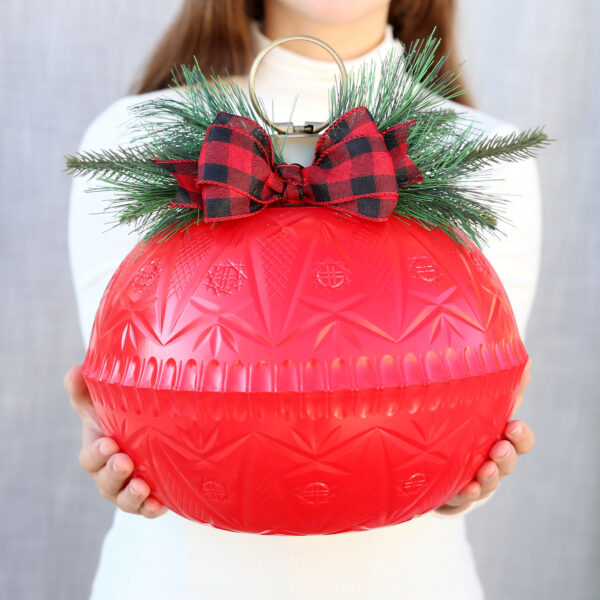
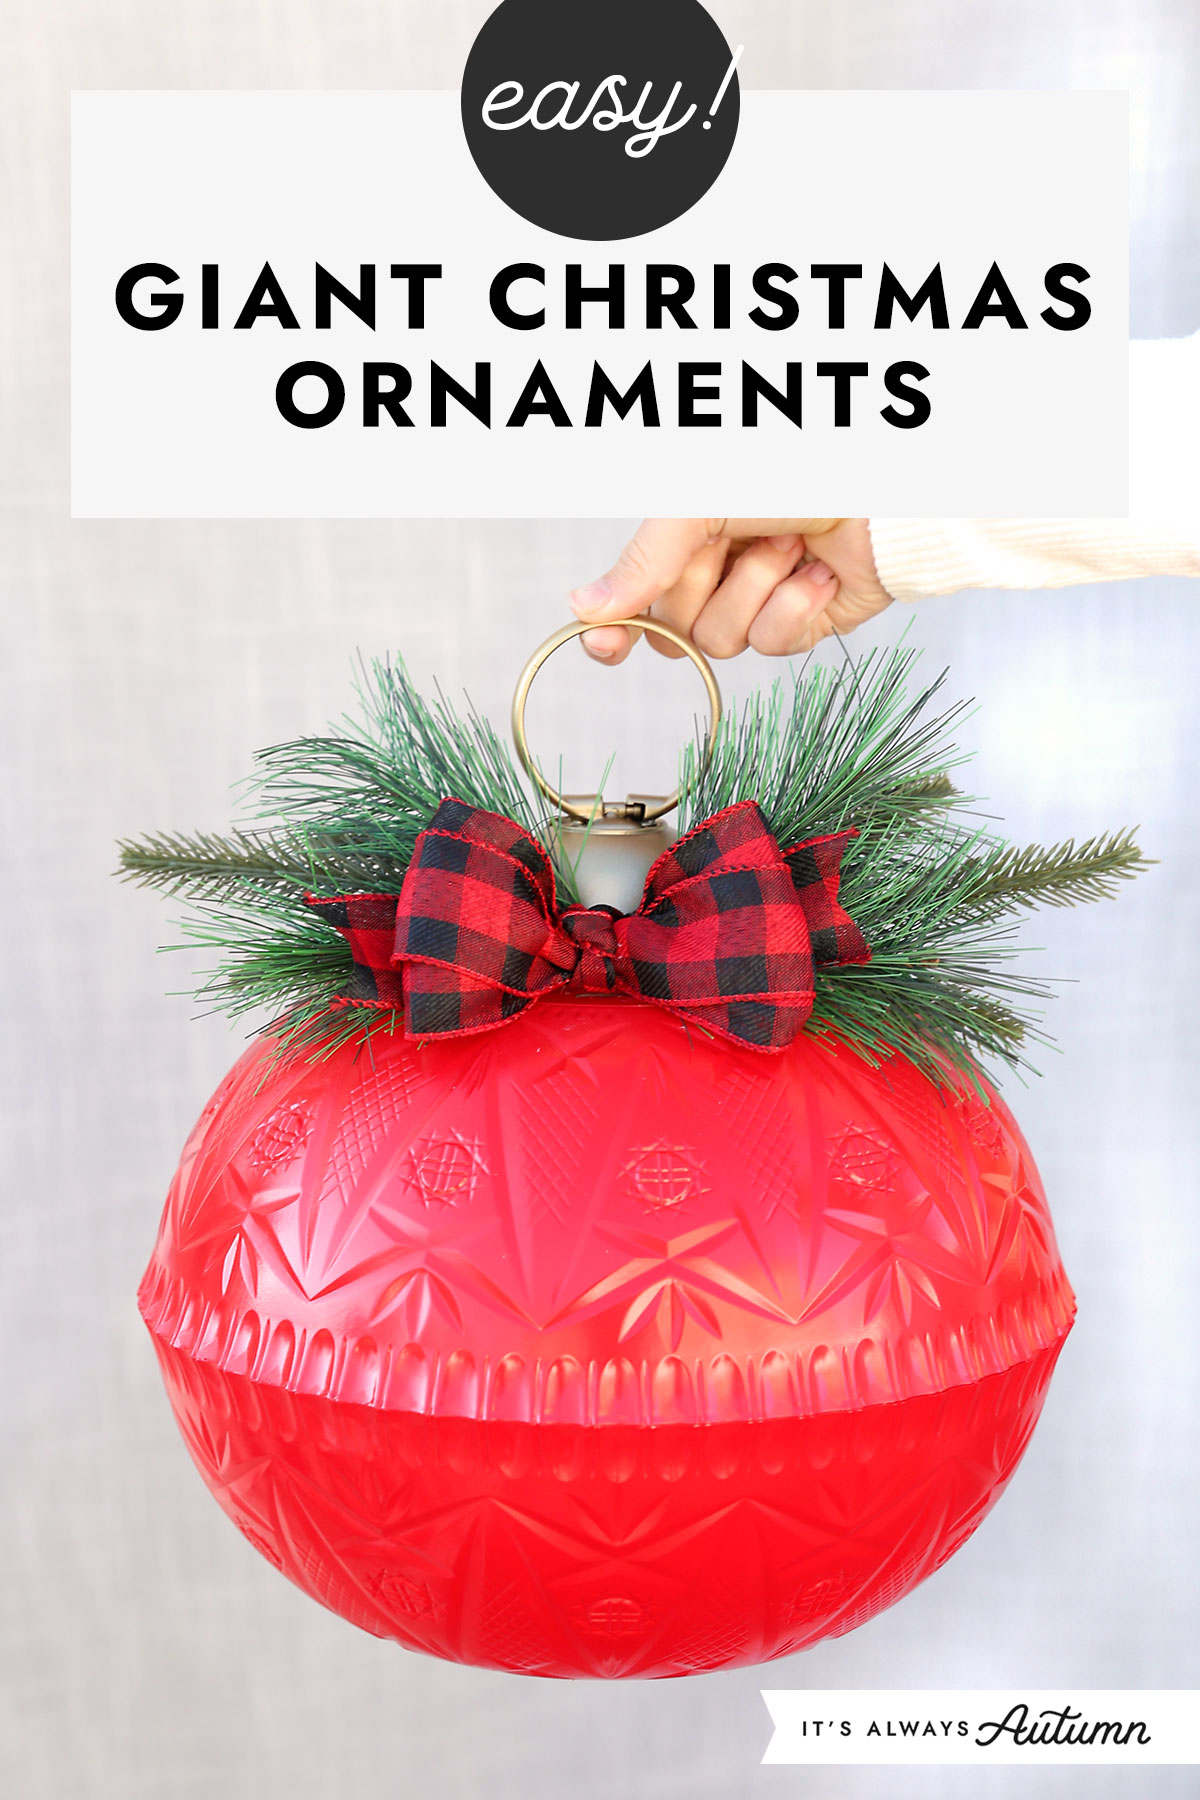
I’ve seen so many variations of this craft online lately and I know why people are loving it: these giant Christmas ornaments turn out really cute! The fun pattern on them looks so fancy you’d never believe each ornament is made from two Dollar Tree punch bowls glued together.
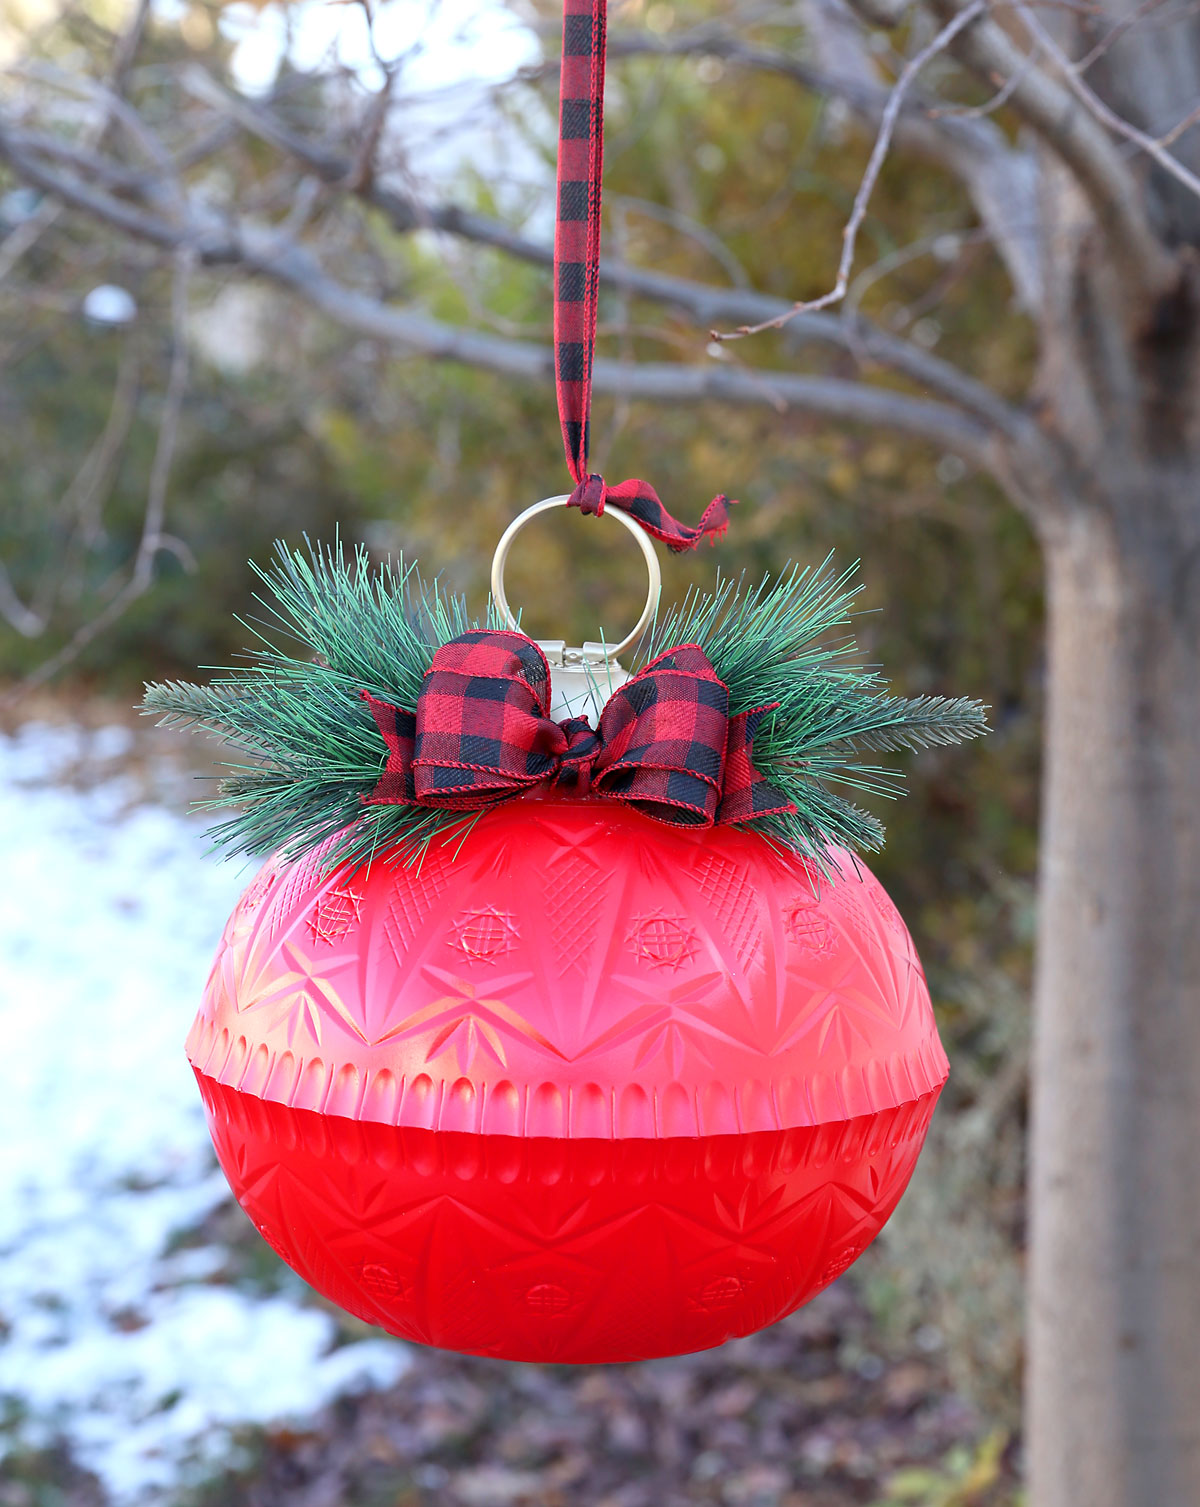
These giant ornaments will look adorable as a holiday centerpiece or set out next to your fireplace or Christmas tree. They also look absolutely beautiful hung outside – although I have not had mine long enough to attest to how they hold up out in the elements. They are glued together with E6000 which creates a permanent bond so they *should* last well (I’m just not sure if being out in the cold affects the glue, so you may want to display them inside instead).
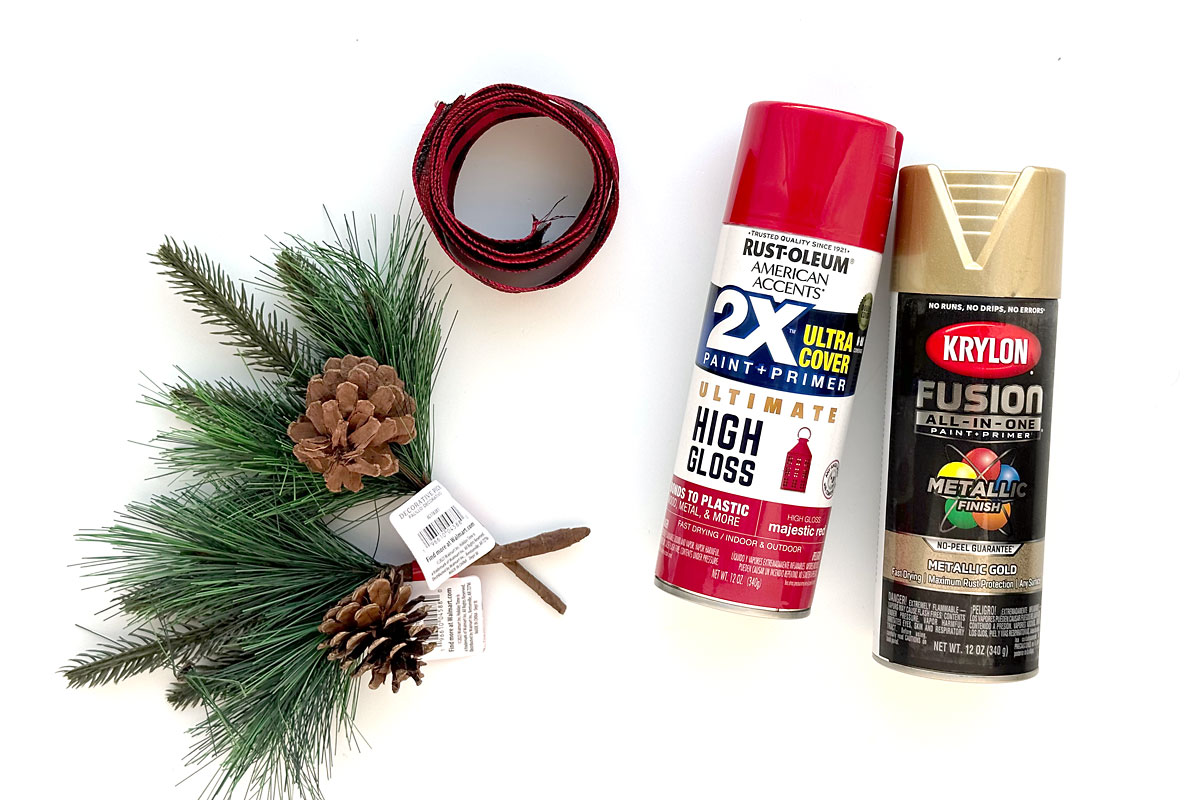
Then you will also need a couple of supplies for decorating the bowls. This is what I used:
- E6000 glue AND hot glue. You CANNOT only use hot glue – it will not hold well enough – so the E6000 is a necessity. You can find it at Walmart or any craft store.
- 2 small Christmas Greenery picks (found at Walmart)
- Christmas ribbon
- Red Spray Paint: I used a high gloss spray paint + primer that specifically said it’s good for both indoor and outdoor use
- Gold Spray Paint: I used a metallic finish gold spray paint to paint the “hanger” portion of the ornament. You could also use black or silver spray paint here if you have some on hand. I’ve even seen versions that paint the hanger portion red as well as the rest of the ornament so you don’t have to buy two kinds of paint.
Finding the Punch Bowls
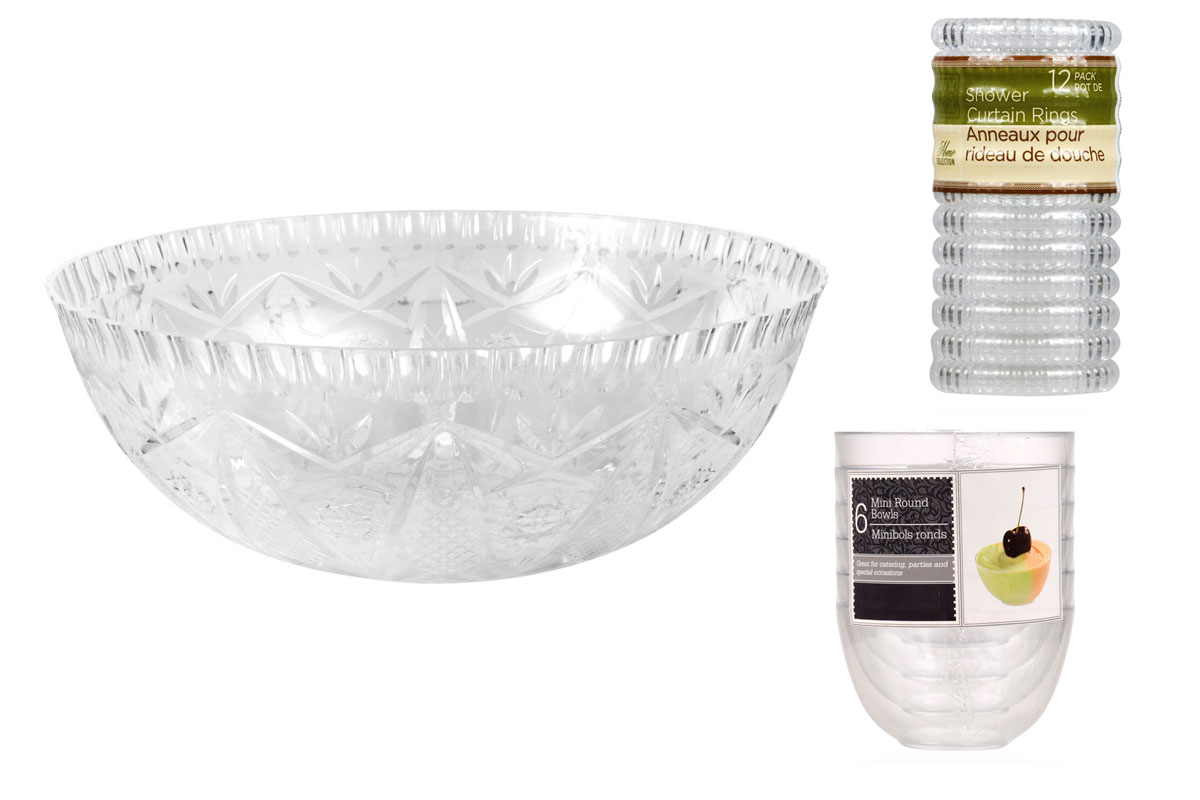
Because this craft has been popular this year, it’s been hard to find the crystal cut plastic punch bowls in Dollar Tree stores! Additionally, they tend to prioritize getting Christmas items stocked right now, so your store may be out of stock of these bowls. You can order them online, but be prepared to wait about two weeks to receive your order. If that’s too late for this year, remember to pick some up next time you see them so you can make this fun Christmas craft next year instead!
How to make Giant christmas Ornaments
This is an easy Christmas craft for adults that doesn’t take tons of hands on time; however you will have to complete it in a couple of different stages so the glue and paint can dry. It’s probably best to plan to work on this project over the span of 2-3 days. You could certainly do it faster than that but the paint and glue will hold up better if they both have plenty of dry time.
Glue Bowls Together
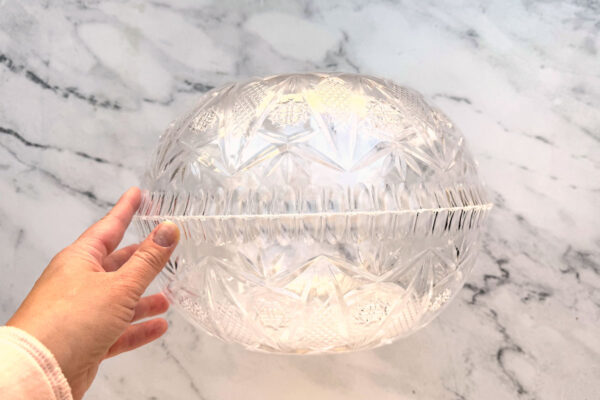
You will begin by gluing two punch bowls together to create the ornament. You MUST use E6000 glue for this step. Place the first bowl down on a surface where you’ll be able to leave it for a couple of hours.
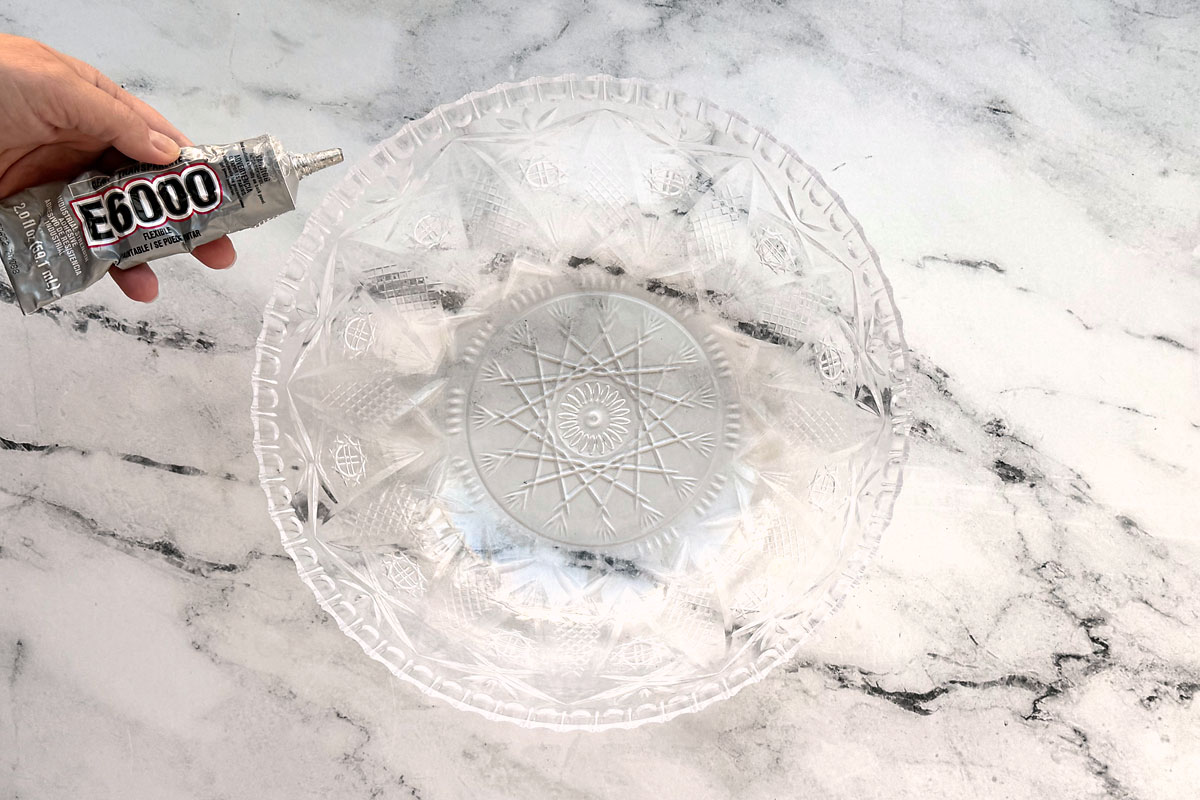
The bowls have a small rim around the outside edge. Place E6000 glue all along this rim. I placed a dot of glue on each spot where the rim is a little wider and then pulled the glue along the narrow spots.
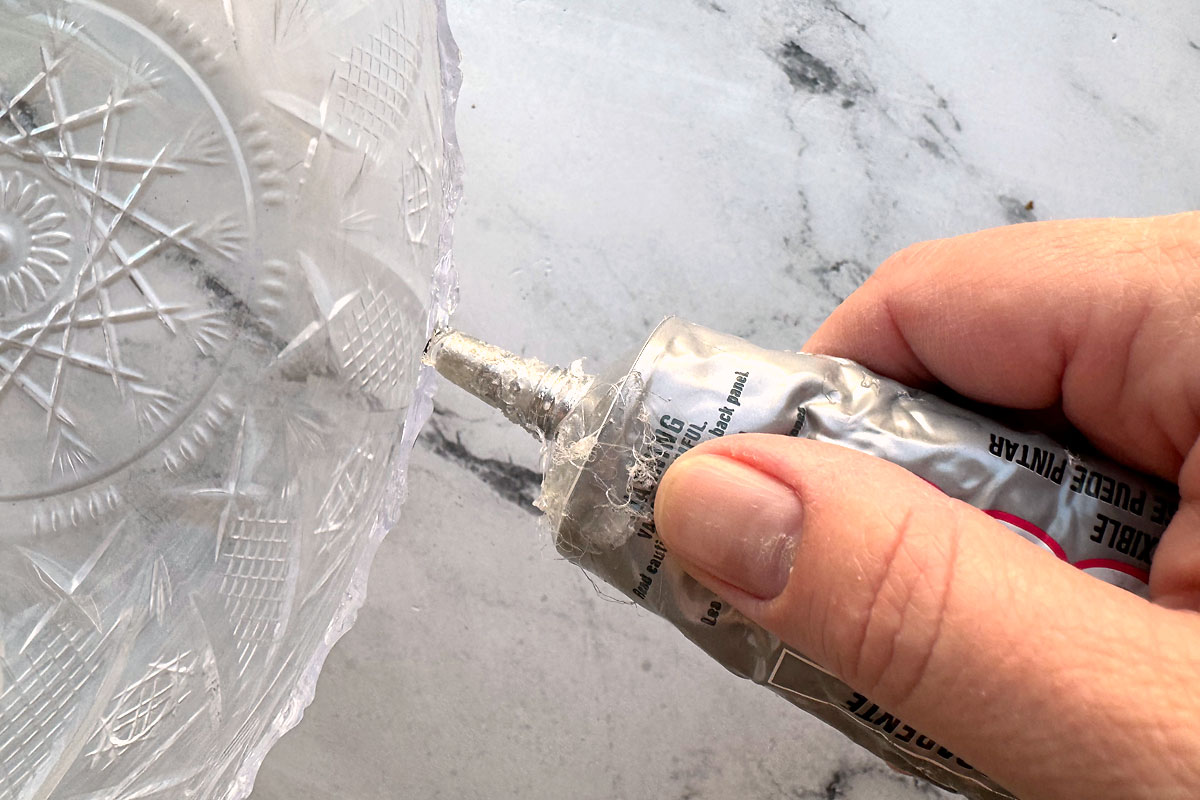
Once you’ve gone all the way around, invert the second bowl and place it on top of the first, matching up the pattern on the bowl rims. Make sure you aren’t squeezing the top bowl out of shape as you place it on the bottom bowl. Once you have both bowls lined up, you can gently wipe off any glue that has squeezed out. Then leave the bowls without touching them for at least two hours (4+ hours is best). Move on to gluing together the hanger.
Glue the Hanger Together
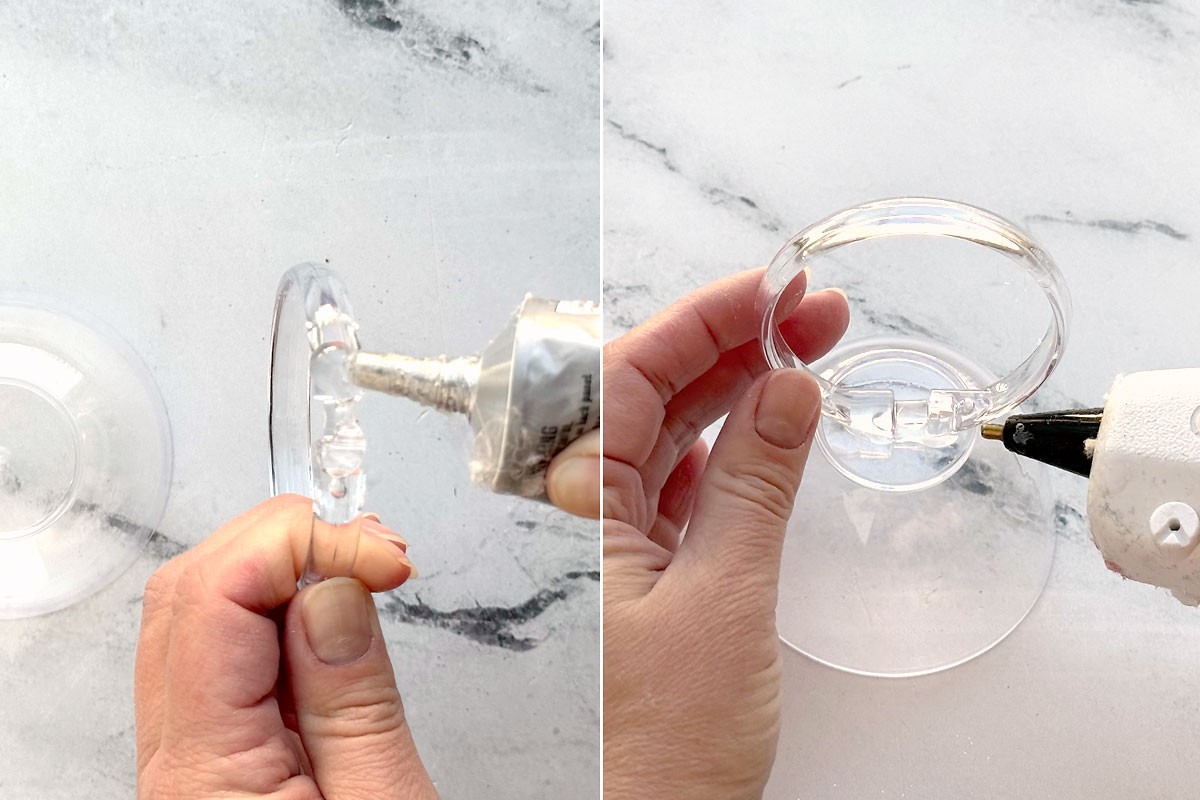
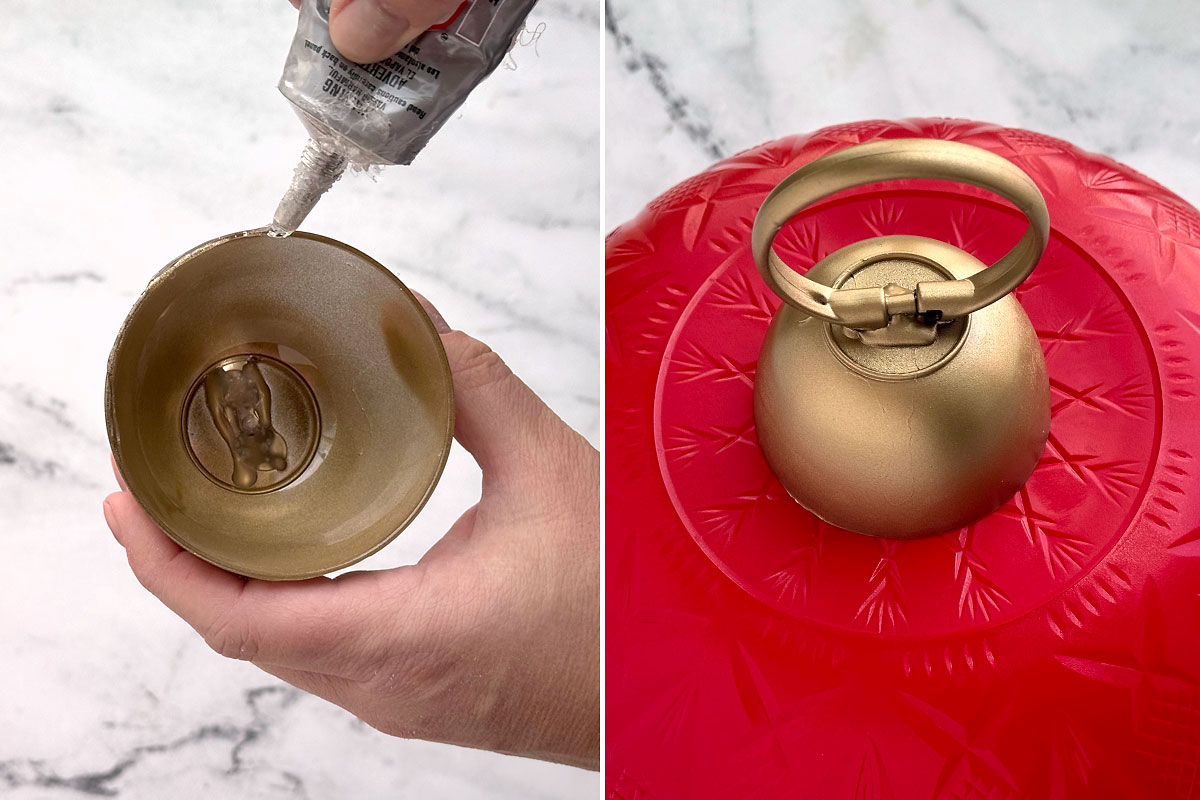
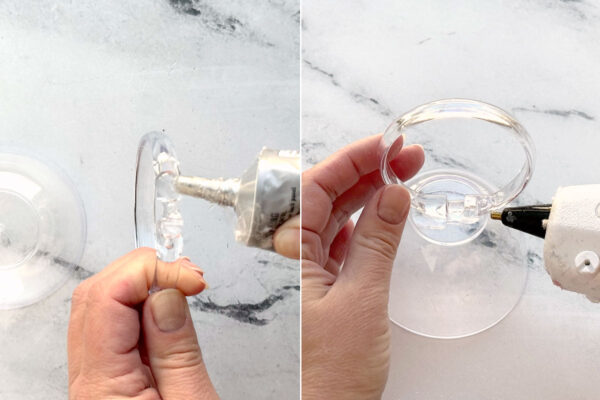
Next you’ll make a “hanger” that goes on the top of the ornament. You’ll need a hot glue gun as well as the E6000 for this step. The hanger is made from a mini plastic bowl and a plastic shower curtain ring. Invert the bowl. Make sure the shower curtain ring is closed, then place a generous amount of E6000 on the bottom edges of the ring. Place the ring down on the bowl, as shown below. Note that the E6000 will not immediately hold the ring in place, so hold it in place with one hand, then use the other hand to add hot glue where the two items touch. The hot glue will give an immediately bond so the shower curtain ring doesn’t fall down, while the E6000 will provide a longer lasting bond. Let the glue cure for at least 2 hours (4+ is best).
Paint
Now it’s time to paint the ornament and hanger. I tried a couple different ways to paint these and using spray paint is by far the easiest. Plus spray paint that’s made for outdoors and plastics is surprisingly durable. I placed the ornament on top of a red plastic cup on a sheet of cardboard outside. (Be aware that if it’s super cold out you’ll need to spray paint in your garage instead.)
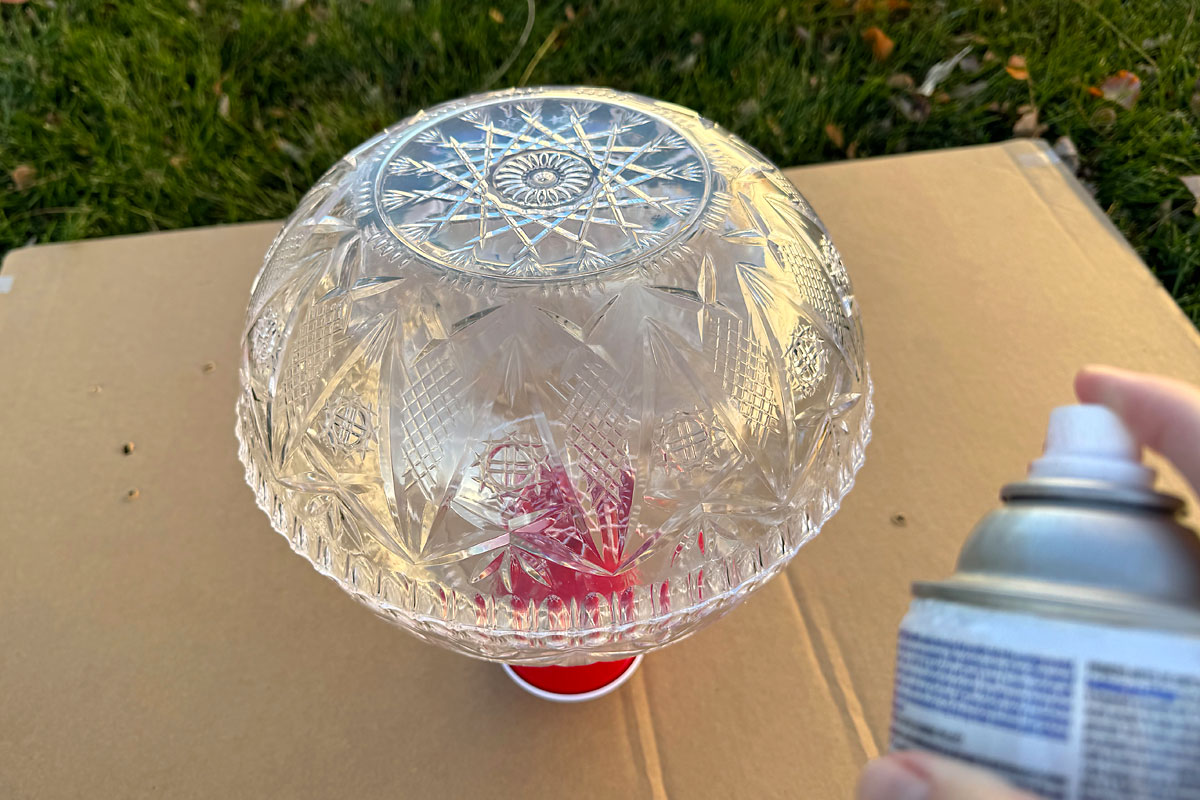
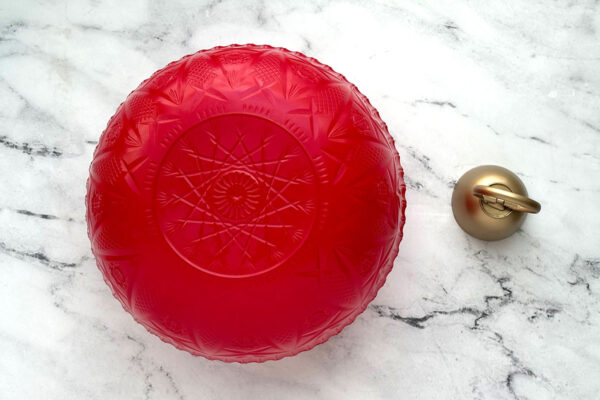
Spray paint the ornament in thin coats, allowing it to dry in between each coat. Make sure you are spraying the underside of the bowl as well as the top. I did three coats of red paint. Since I was painting outside and it wasn’t too cold it only took 10 minutes to dry in between each coat. After the third coat was dry I flipped it over and painted the small blank circle where it had been sitting on the cup.
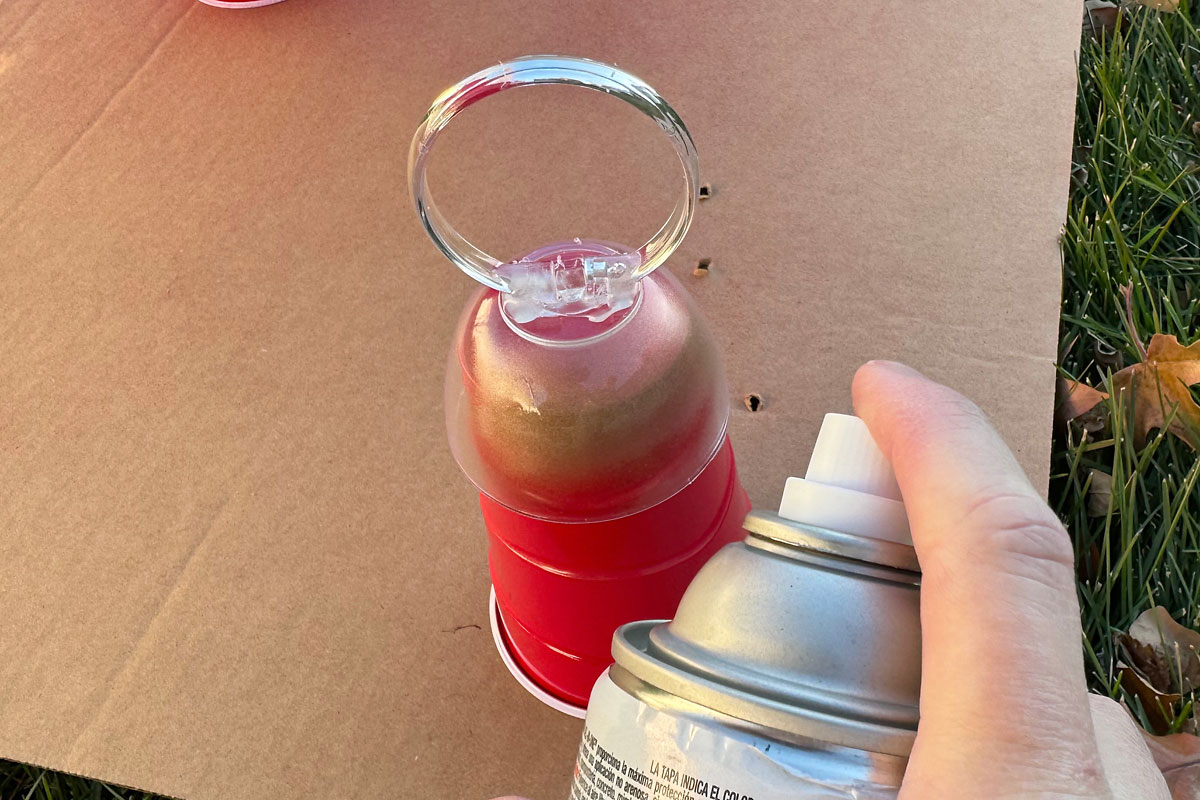
You also need to spray paint the hanger gold. Again, use thin coats so the paint doesn’t drip and do 2-3 coats total until it looks fully covered.
Glue on the Hanger
The spray paint will be dry to the touch within an hour or so, but it’s best to let the paint fully dry and cure overnight before continuing.
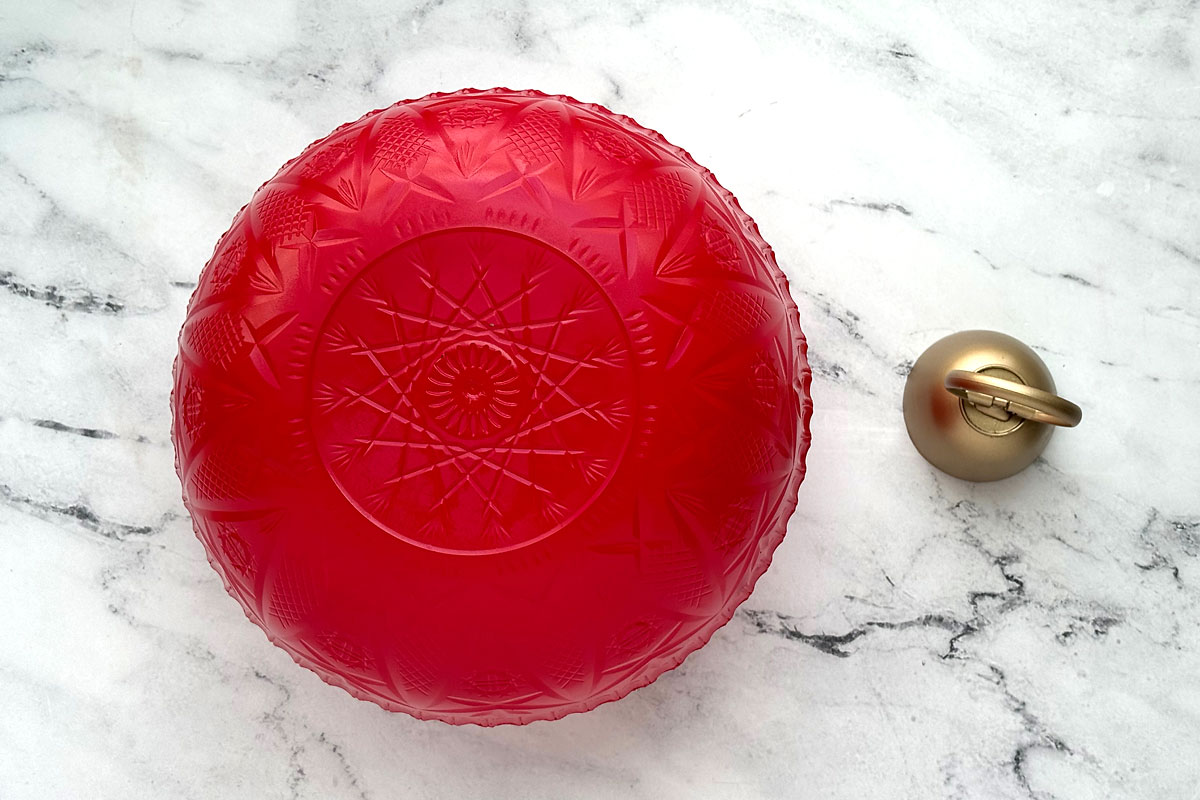
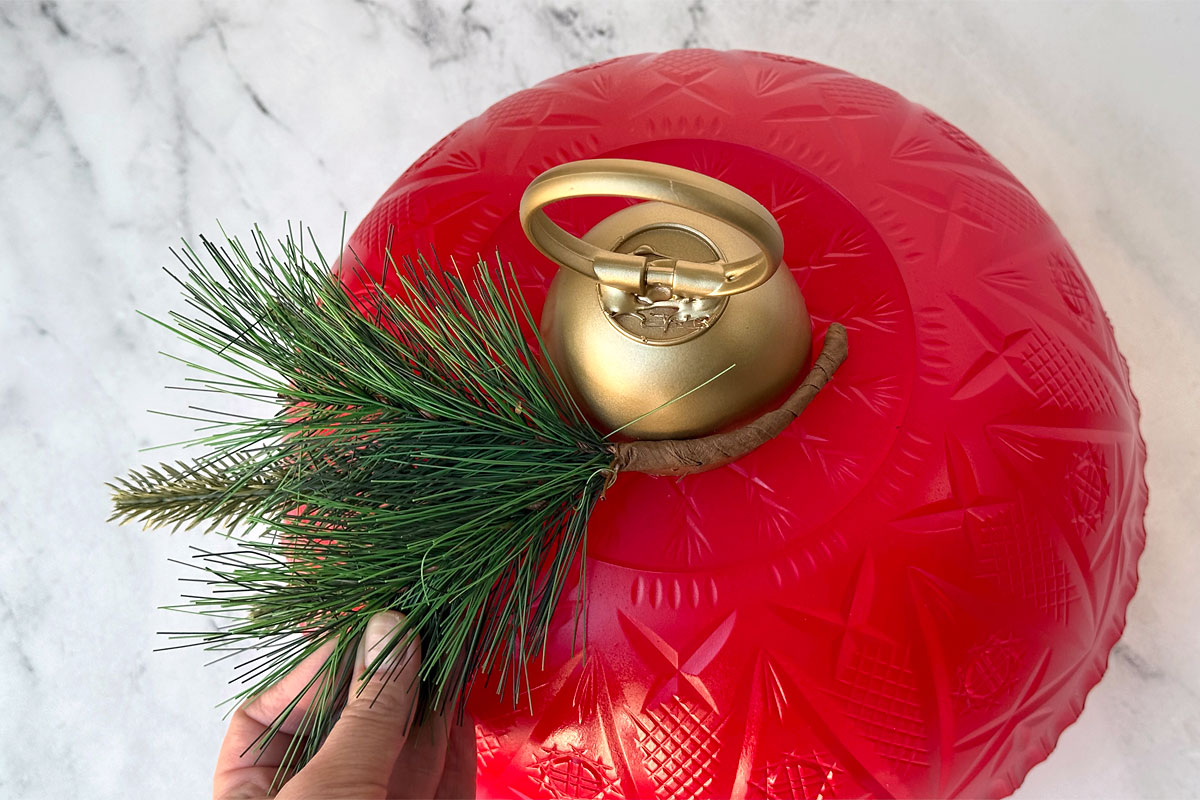
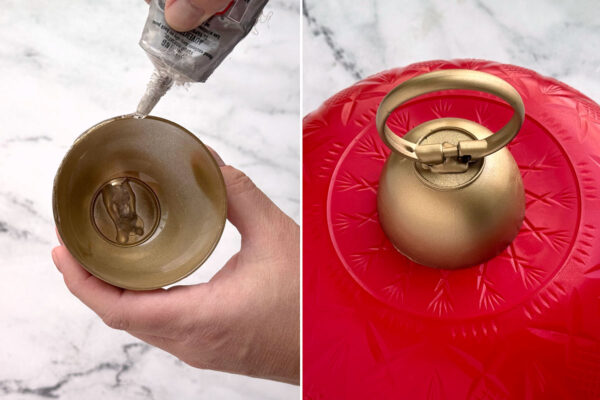
Once everything is fully dry, you can glue the hanger to the top of the ornament. Place E6000 glue all around the edge of the mini bowl, then invert it and center it on top of the ornament. All it to dry to about an hour before decorating and at least a full 24 hours before hanging.
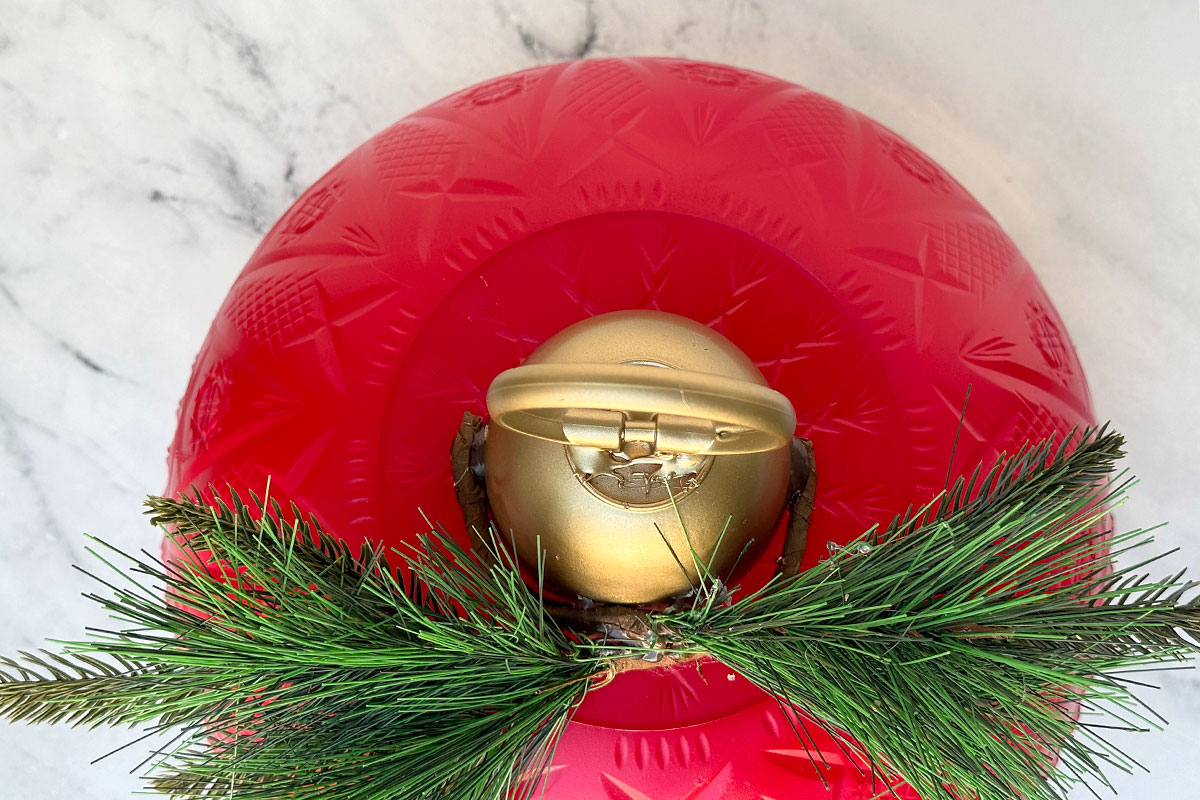
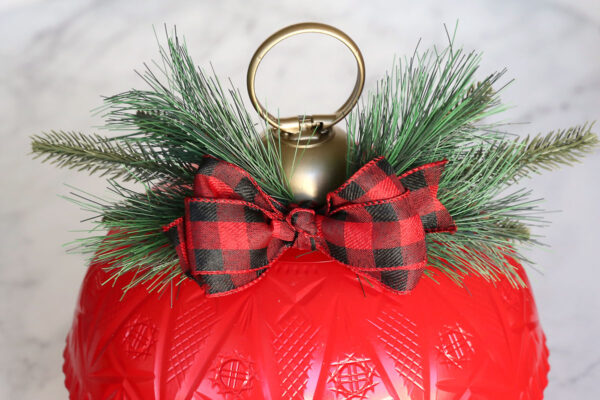
Then I did the same with the other pick and hot glued them both in place.
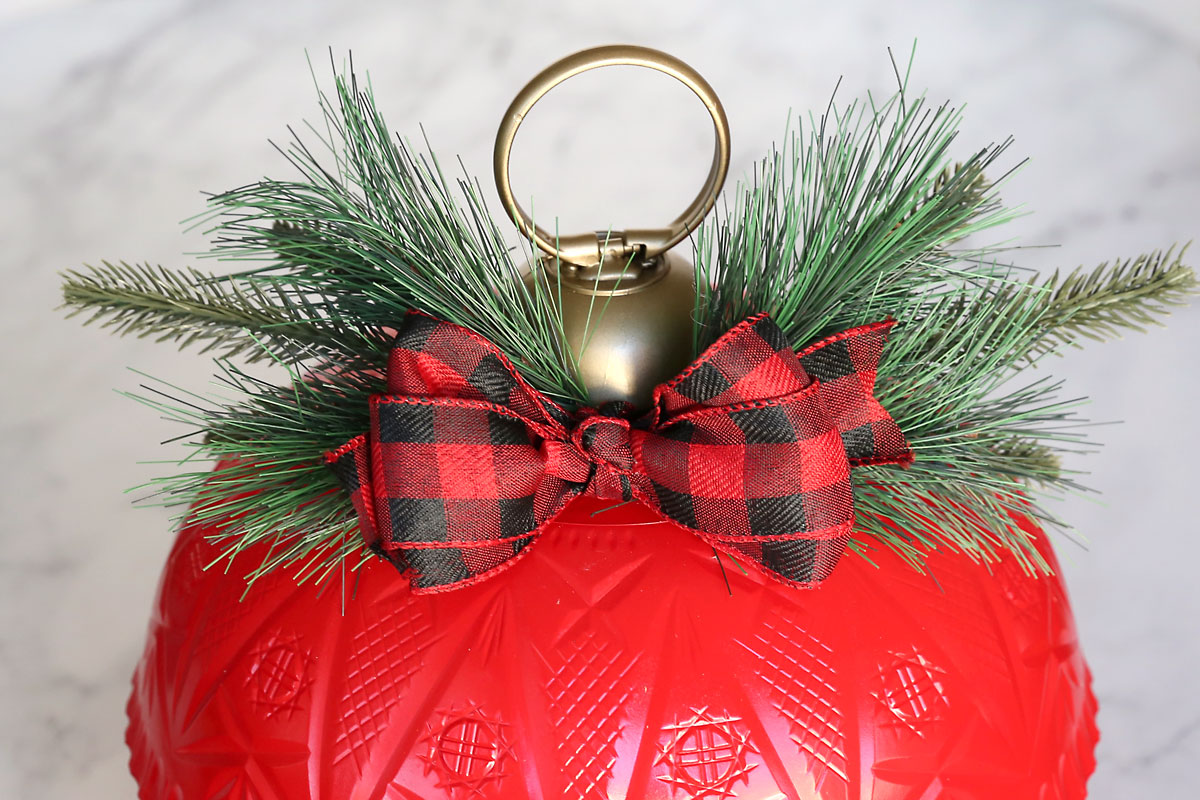
Then to finish off the ornament I glued a bow on the front where the greenery picks overlap:
DIY Giant Christmas Ornaments
Supplies
- 2 Crystal Cut Plastic Punch Bowls from Dollar Tree
- 1 Mini Plastic Bowl
- 1 Plastic Shower Curtain Ring
- Red Spray Paint + Primer indoor/outdoor
- Gold Spray Paint
- Ribbon
- Christmas branch picks
Want more project ideas? Sign up to get my favorite easy crafts and recipes straight to your inbox!
Equipment
- E6000 Glue
- Hot Glue Gun
Instructions
- Place E6000 glue all the way around the top rim of one punch bowl. Invert the other punch bowl on top of it, lining up the edges. This creates the ornament. Allow to dry at least 2 hours, preferable 4+.
- Glue the shower curtain ring to the bottom of the mini plastic bowl, using both E6000 glue and hot glue. This creates a hanger for the ornament. Allow to dry at least 2 hours, preferable 4+.
- Spray paint the ornament red, using thin coats and allowing it to dry between coats. Spray paint the hanger gold, using thing coats and allowing it to dry between coats. Allow paint to dry overnight.
- Use E6000 to glue the hanger to the top of the ornament. Allow to dry at least one hour before decorating and 24 full hours before hanging.
- Decorate as desired.

Leave a Comment