
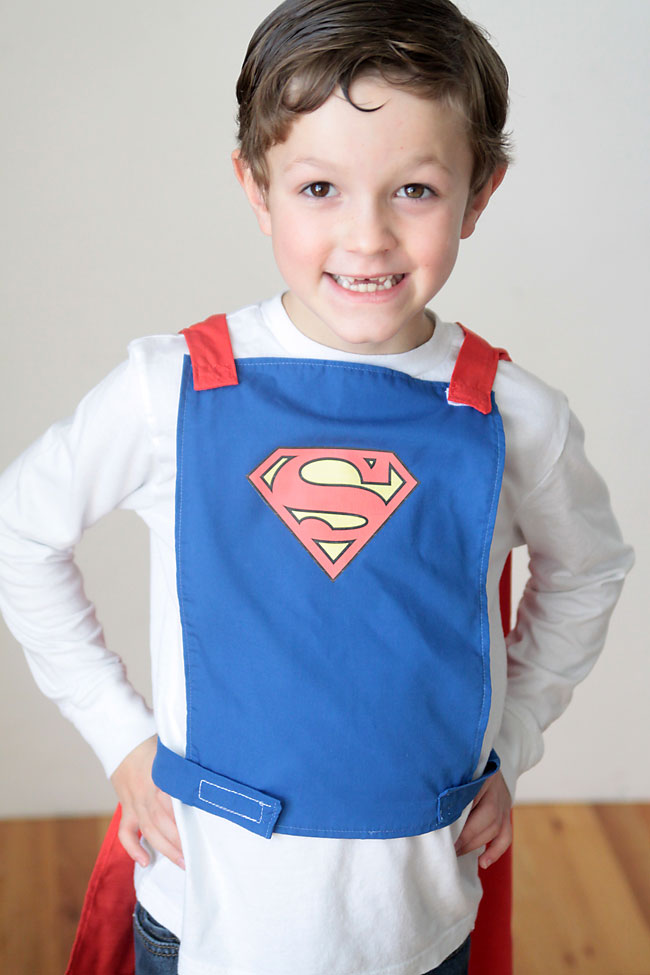
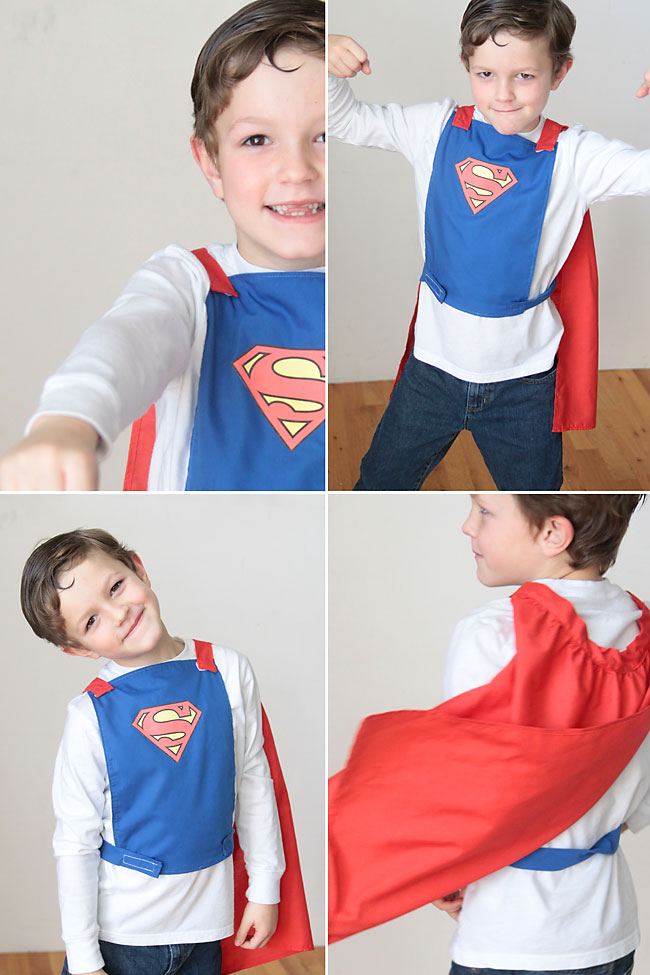
There are lots of tutorials online for superhero capes, with good reason – it’s amazing how much fun kids can have with them. But I always worry about anything that ties around a child’s neck – other kids don’t realize that if they grab hold of a cape the wearer can end up hurt. So when my friend showed me this “no-choke” cape she’d made for her son I decided immediately I wanted to make a few. The cape attaches to a front section with velcro, which is secured around the waist. If anyone pulls on the cape it will just come undone and no one will get choked or hurt. Plus, adding the front piece allows for a little extra personalization, like the Super Man logo I added on this cape:
It’s a little more involved than just making a cape, but it’s all straight lines and simple sewing, so even a beginner should be able to handle this. And it’s more fun than a plain cape! It’s the perfect project for a special handmade birthday or Christmas gift.
I made two of these capes, one in size 6/7 and one in size 3t/4t. I’m including dimensions for both sizes. If you want to make a cape for a 5 year old, just split the difference between the two sizes. Also, please note that I’ve only tried these on my own children, so I cannot guarantee they are standard sizes. Use your best judgement and alter to fit your own child’s measurements if needed.
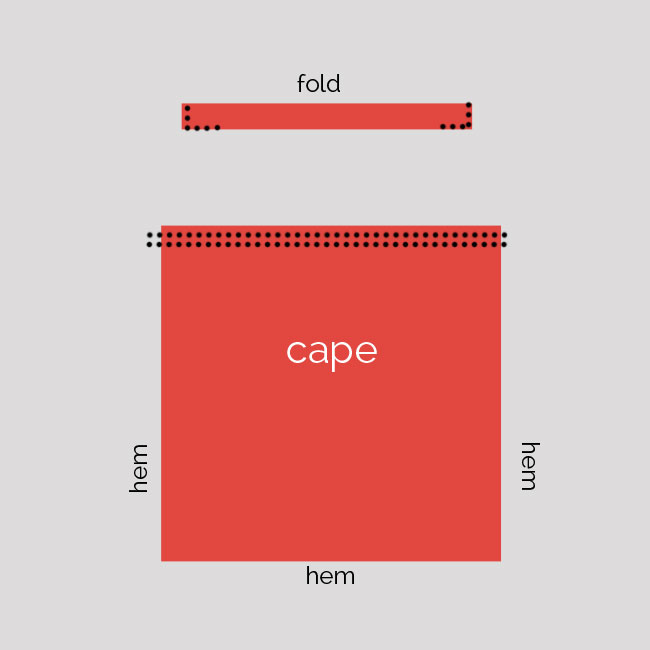
Here are the pieces you’ll want to cut out. I used broadcloth, which is very inexpensive and doesn’t wrinkle as much as quilting cottons do. Dimensions are in inches.

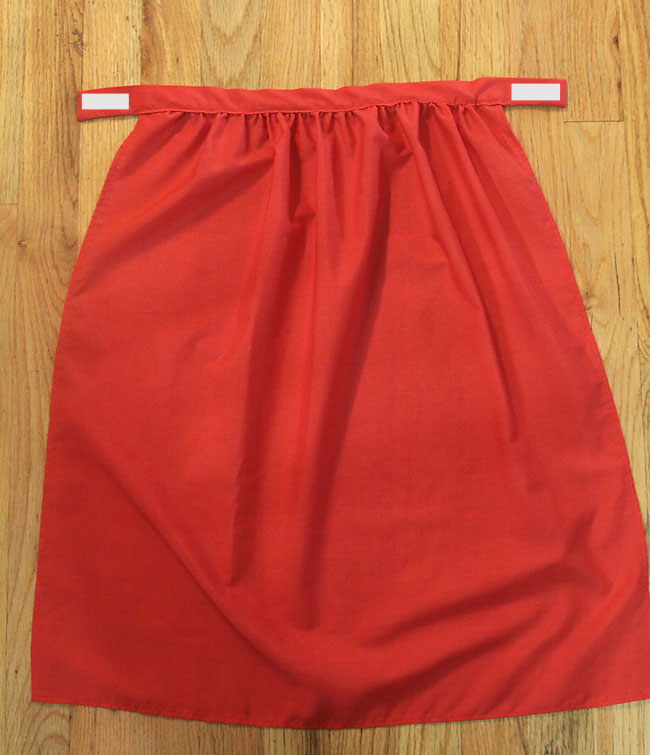
Step 1: Hem 3 sides of the cape, by turning each edge over 1/4 inch and then another 1/4 inch and pressing. Sew with a straight stitch. Next, sew two rows of basting stitches along the 4th side of the cape (long stitch length, low tension). Also, fold the cape top in half lengthwise and sew as shown below, using 1/4 inch seam allowance and backstitching at the beginning and end.
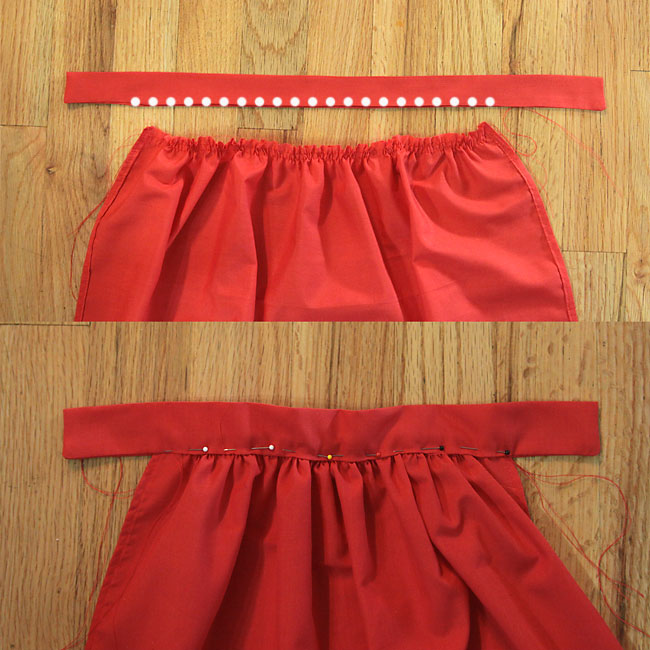
Step 2: Turn the cape top right side out and press. In the photo below, the white dots show where there’s an opening you can slide the cape into. Pull the bobbin thread of the basting stitches to gather the cape, until it fits inside the cape top. Slide it in, pin well, and stitch together (2nd photo below).
Step 3: Sew a piece of velcro (scratchy side) onto each end of the cape top, as shown below.
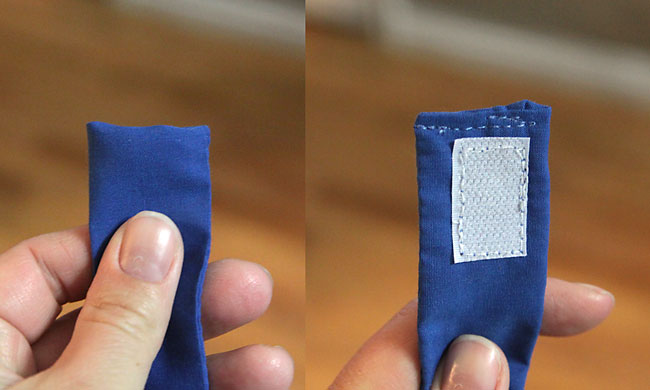
Step 4: Hem all four sides of the front piece. Fold the strap in half lengthwise and sew, as shown below, creating a tube that’s open on one end.
Step 5: Turn the tube right side out, and fold the raw edges in. Sew closed and sew a piece of velcro (scratchy side) to the end of the strap.
Step 6: Sew the other end of the strap onto the front piece, as shown below. Sew 3 pieces of velco (fuzzy side) to the corners of the front piece, as shown below.
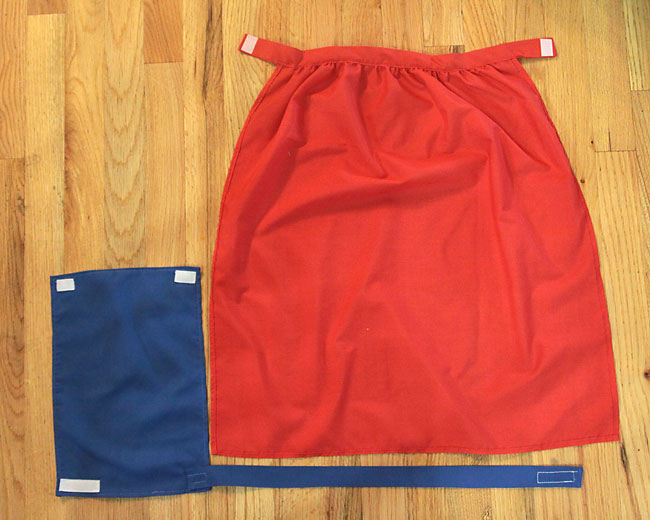
To wear, velcro each side of the cape top to each side of the front piece. Place over head. Wrap the strap around the waist and velcro in place. I used fairly long pieces of velcro on the strap and where it attached to the front piece so the size would be adjustable as my son grows.
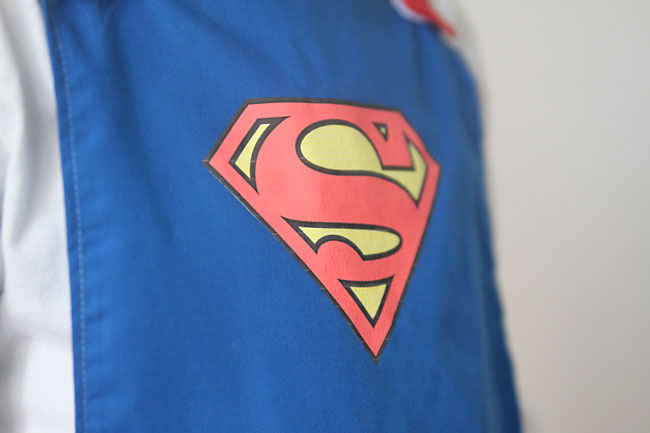
Finally, I printed out a Super Man logo on some iron-on paper, and ironed it onto the front of the cape:
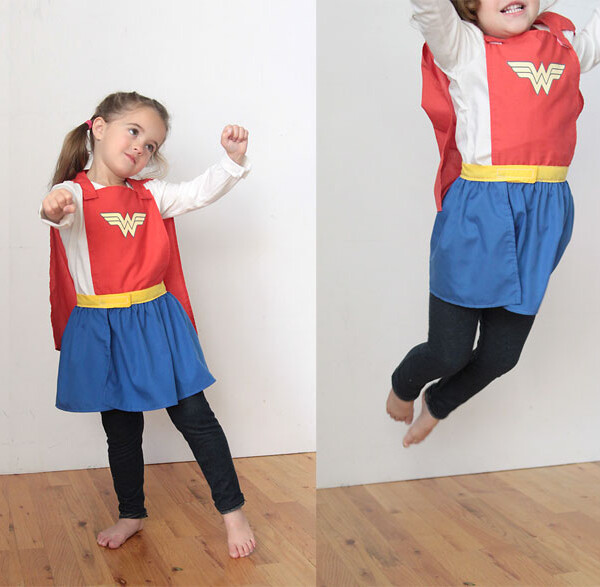
It worked great! I didn’t think my son should get to have all the fun, so I created another superhero cape with a skirt for my daughter – look for that tutorial tomorrow!


Sandra Lomeli says
Autumn, you are amazing!!!! I have been struggling with capes for some Ancient Roman and Greek costumes and I used the instructions above for the Superman that you posted and they came out amazing! I put Velcro along the shoulder and it worked.
Thank you so much!
Sandra
gail Feinberg says
Wonderful idea!
Gemma says
Brilliant design and tutorial, made this for my 4 year old, and he absolutely loves it. I am also very proud of it, it is really very effective. Thank you.