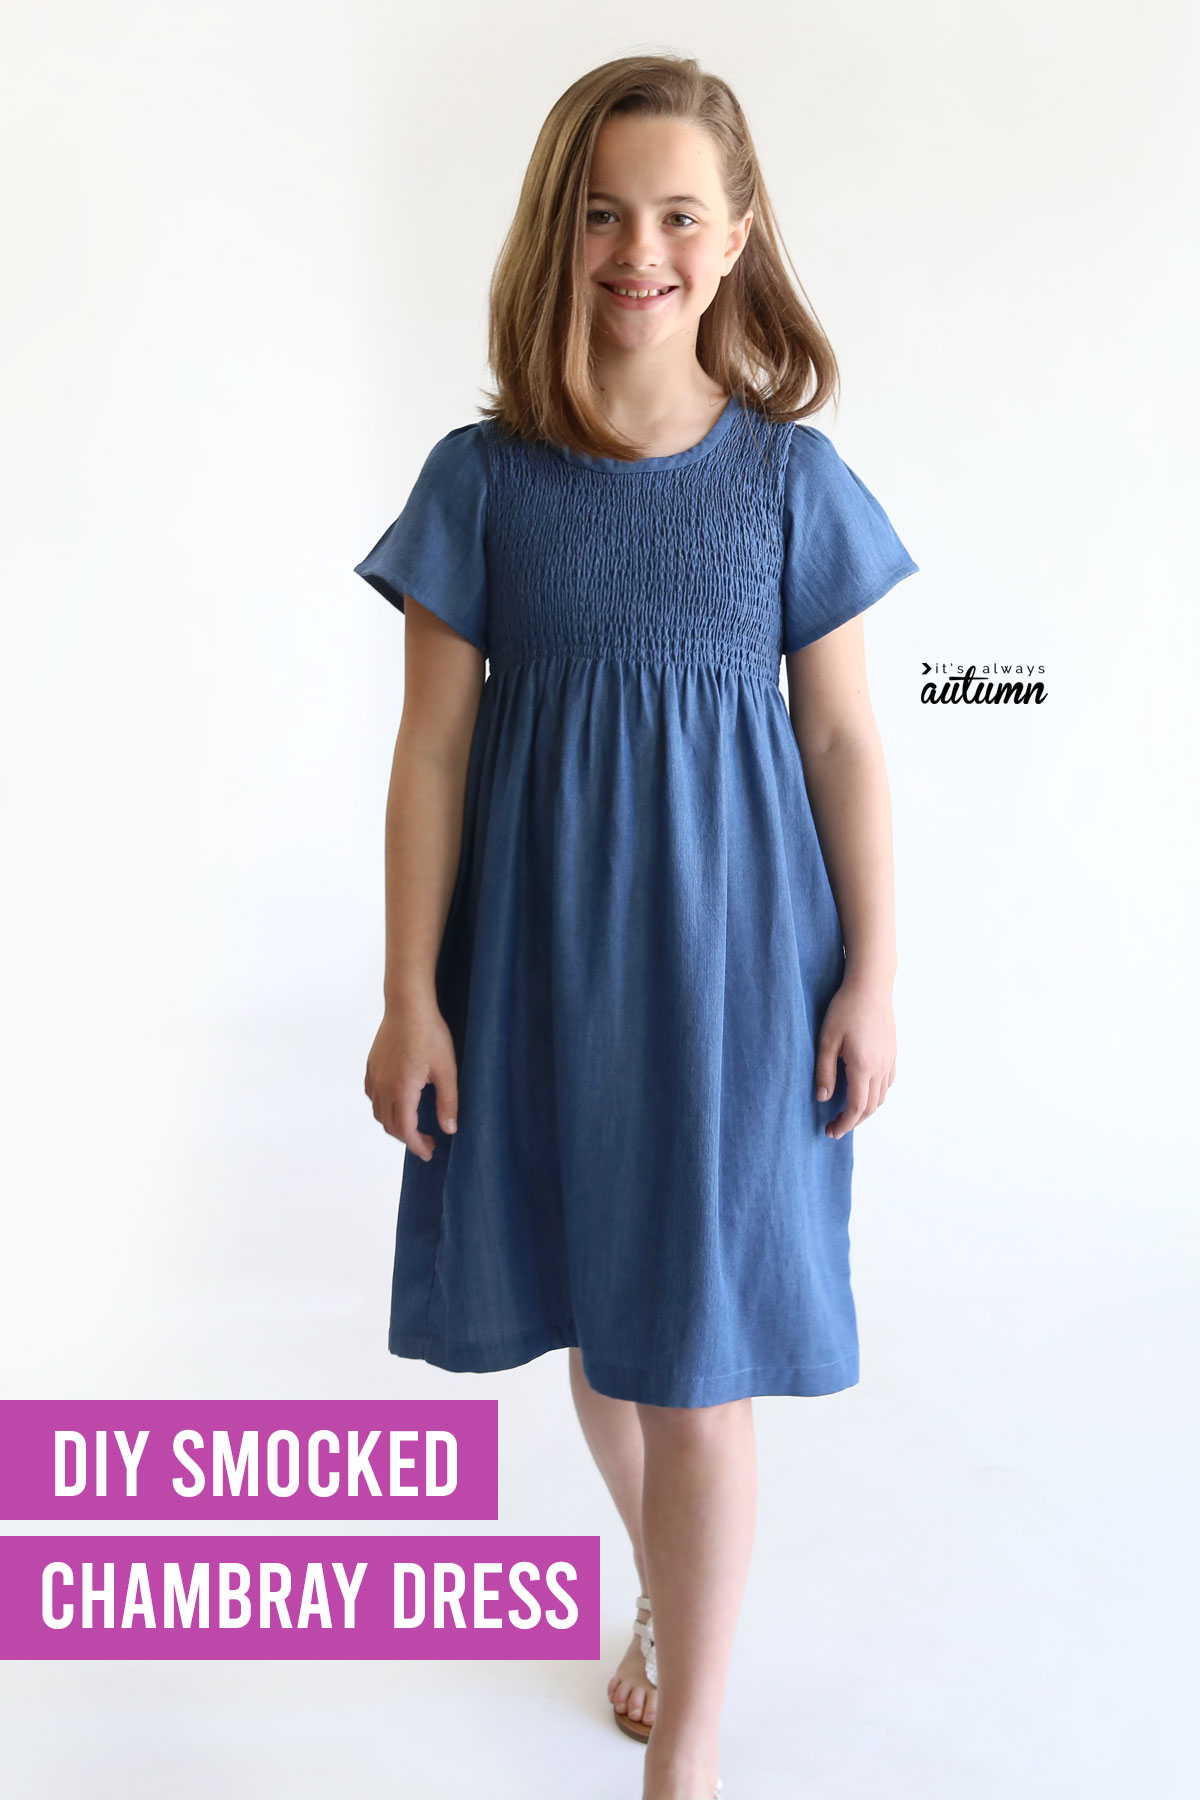
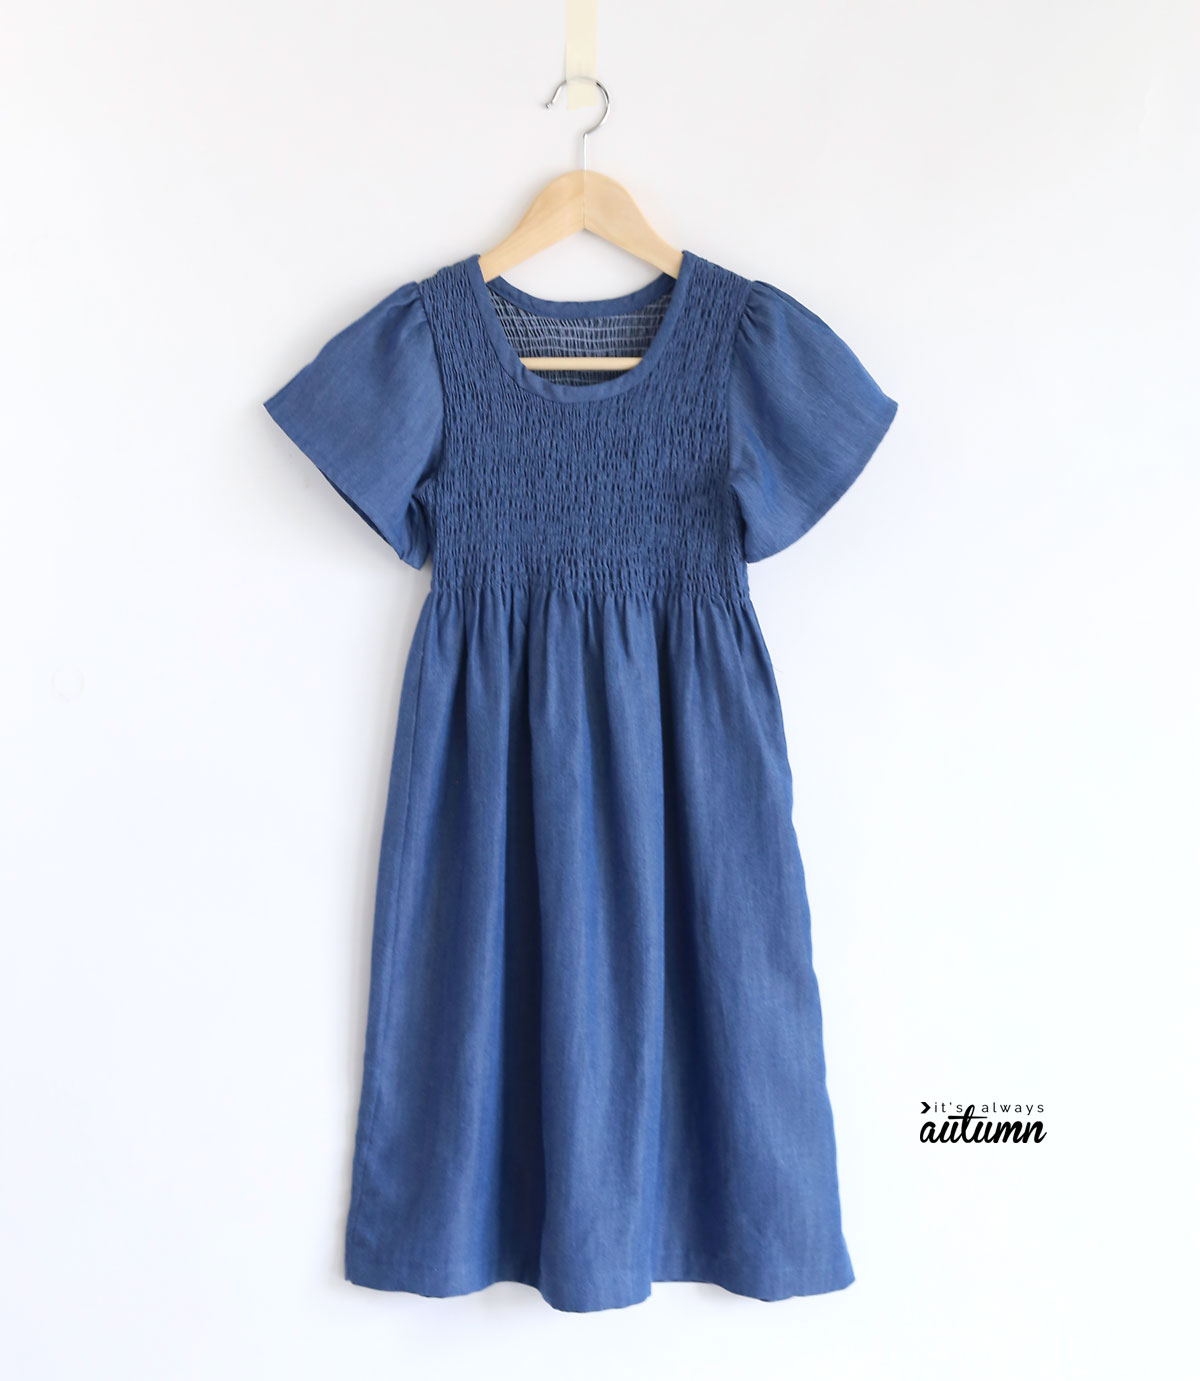
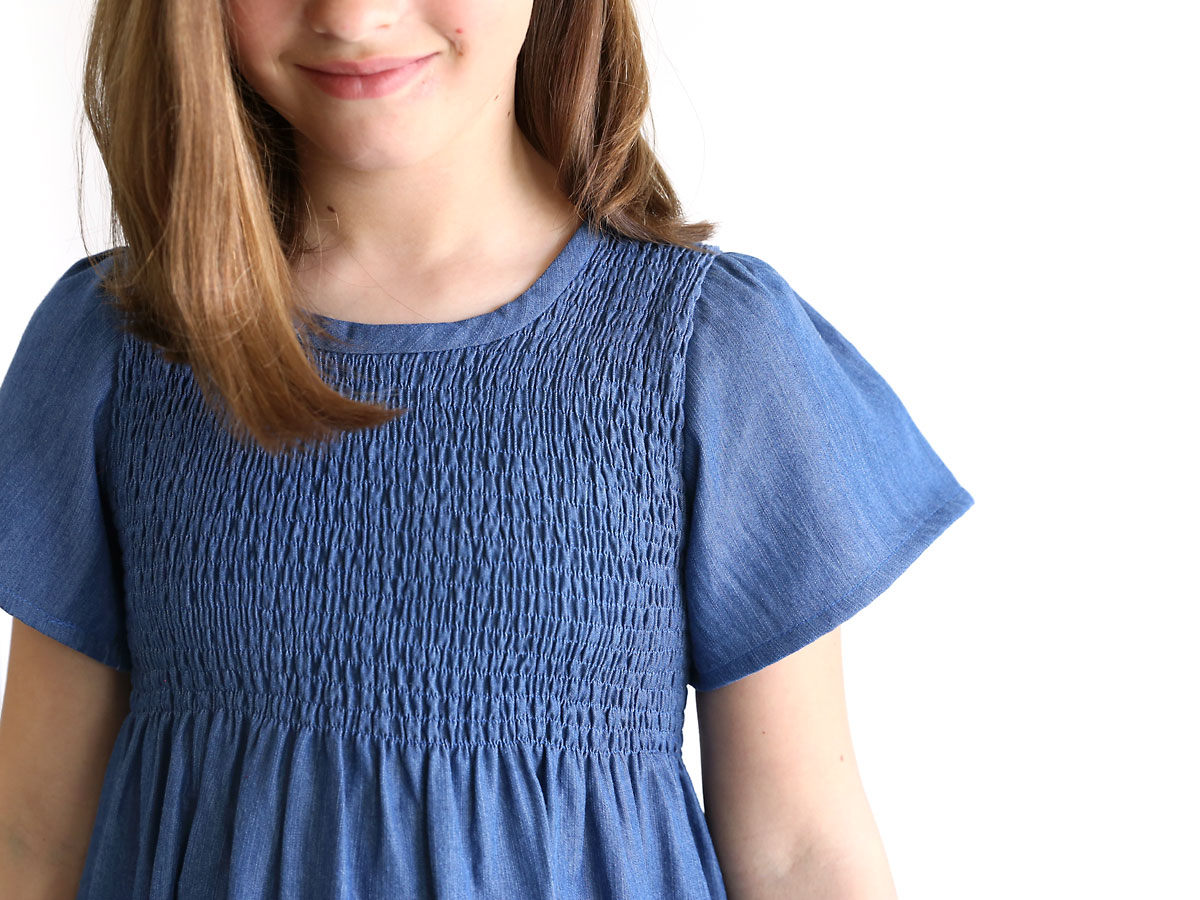
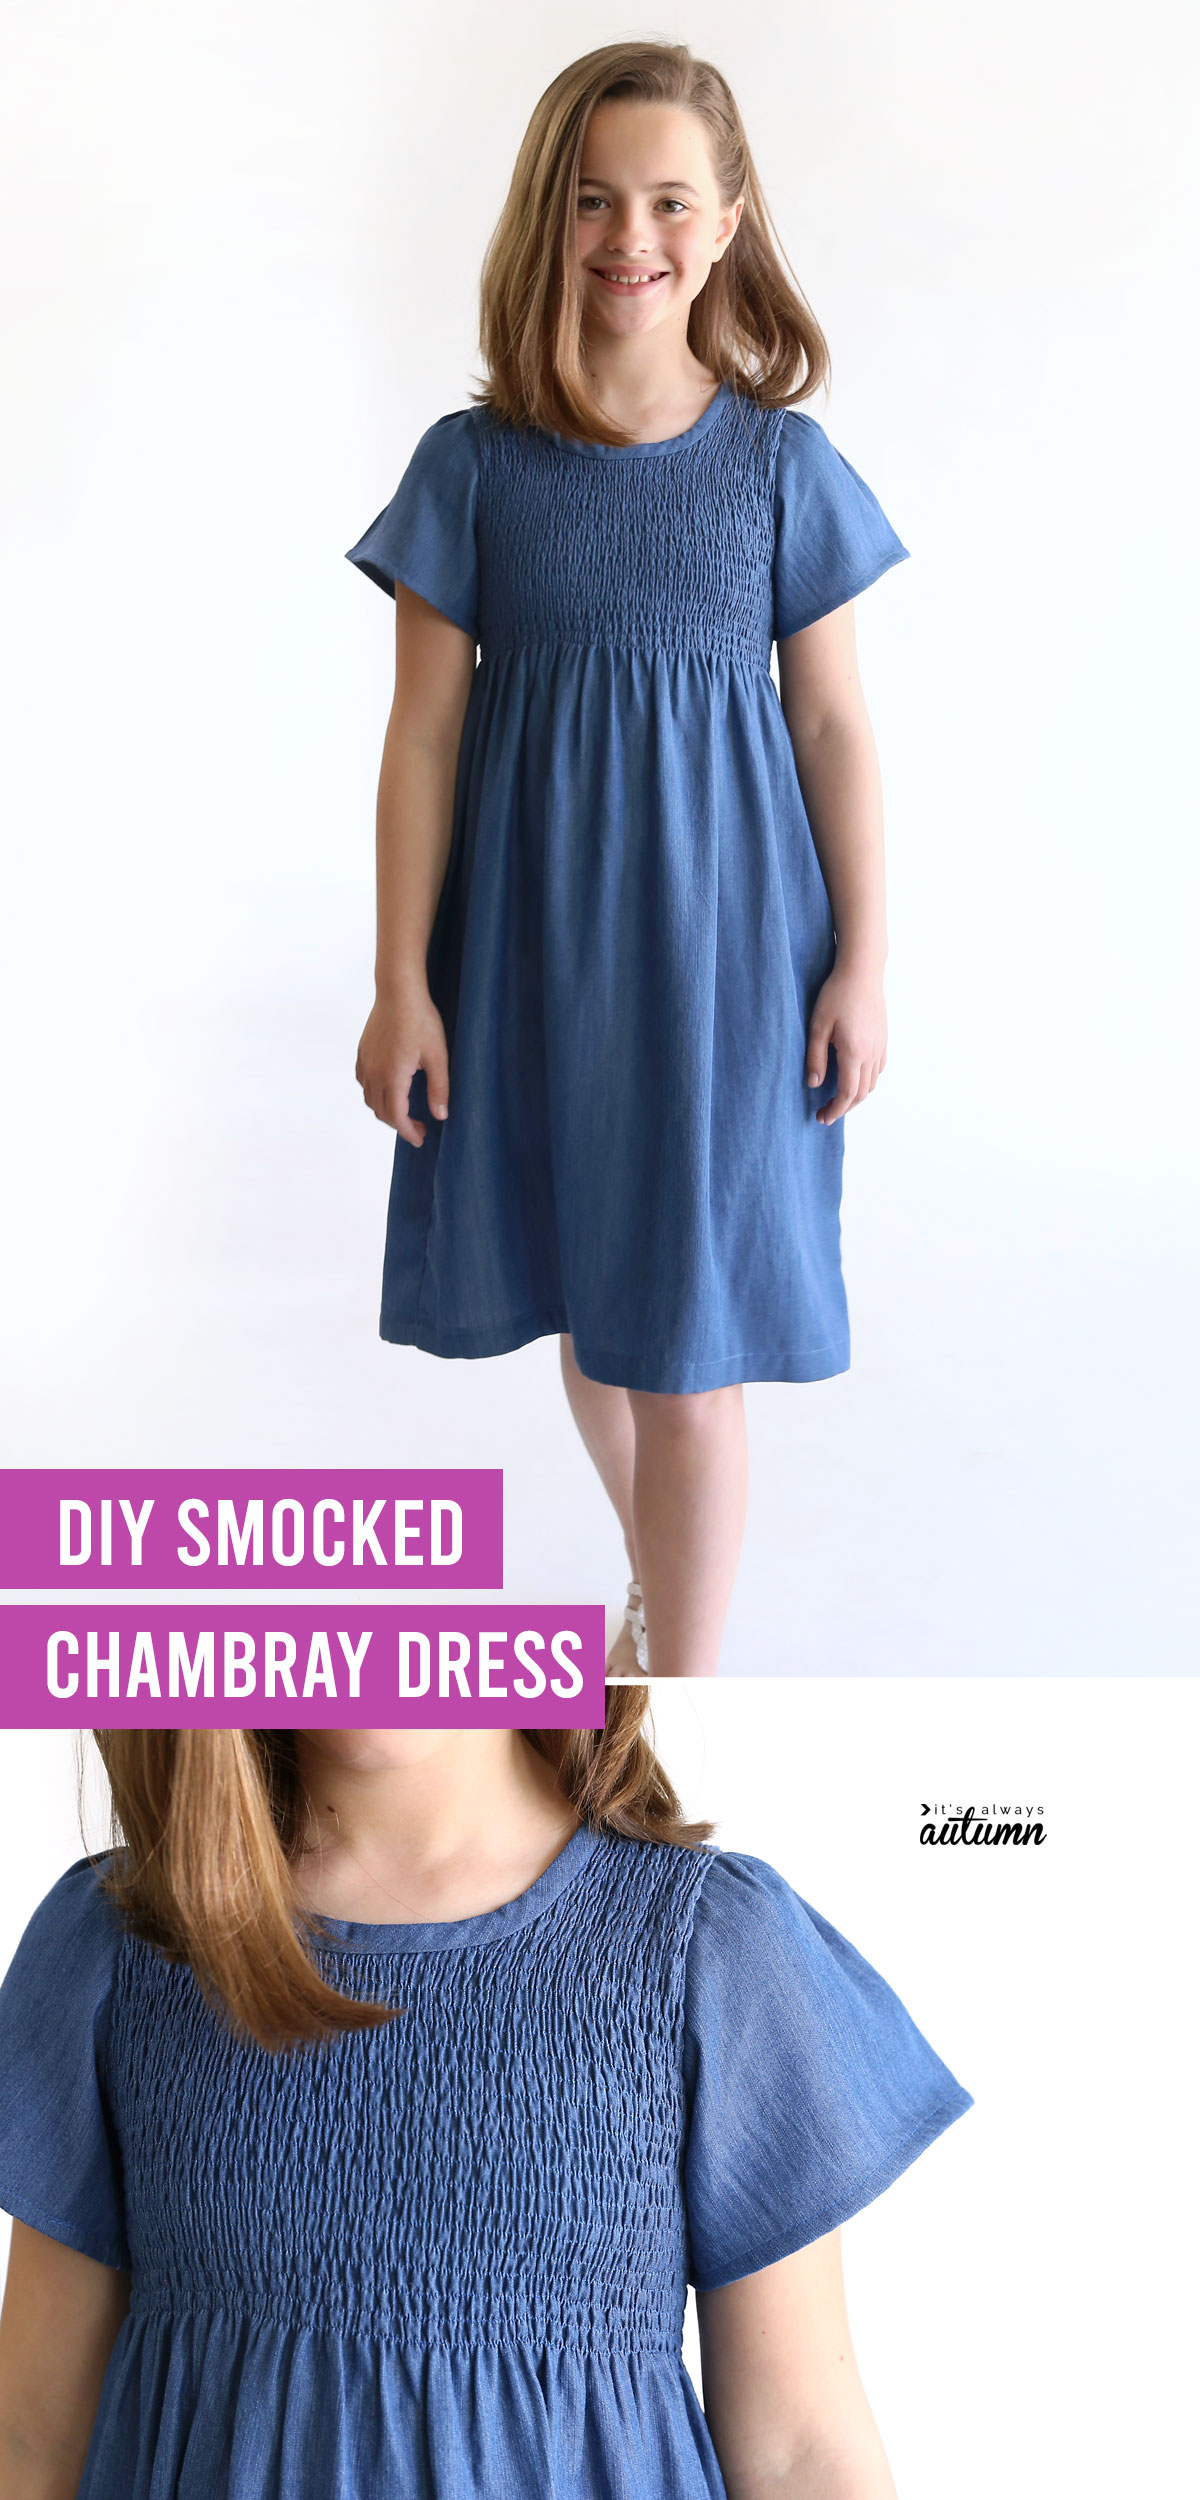
In today’s post: Learn how to make a smocked chambray dress using a t-shirt as a pattern.
I’ve been wanting a casual chambray dress for a long time now, but every time I find one I like it’s a wee bit too short. I finally found one that was the perfect length…and then I washed it. And yep, it’s now too short. Since I can’t quite find what I’m looking for, I figured I could probably make myself one.
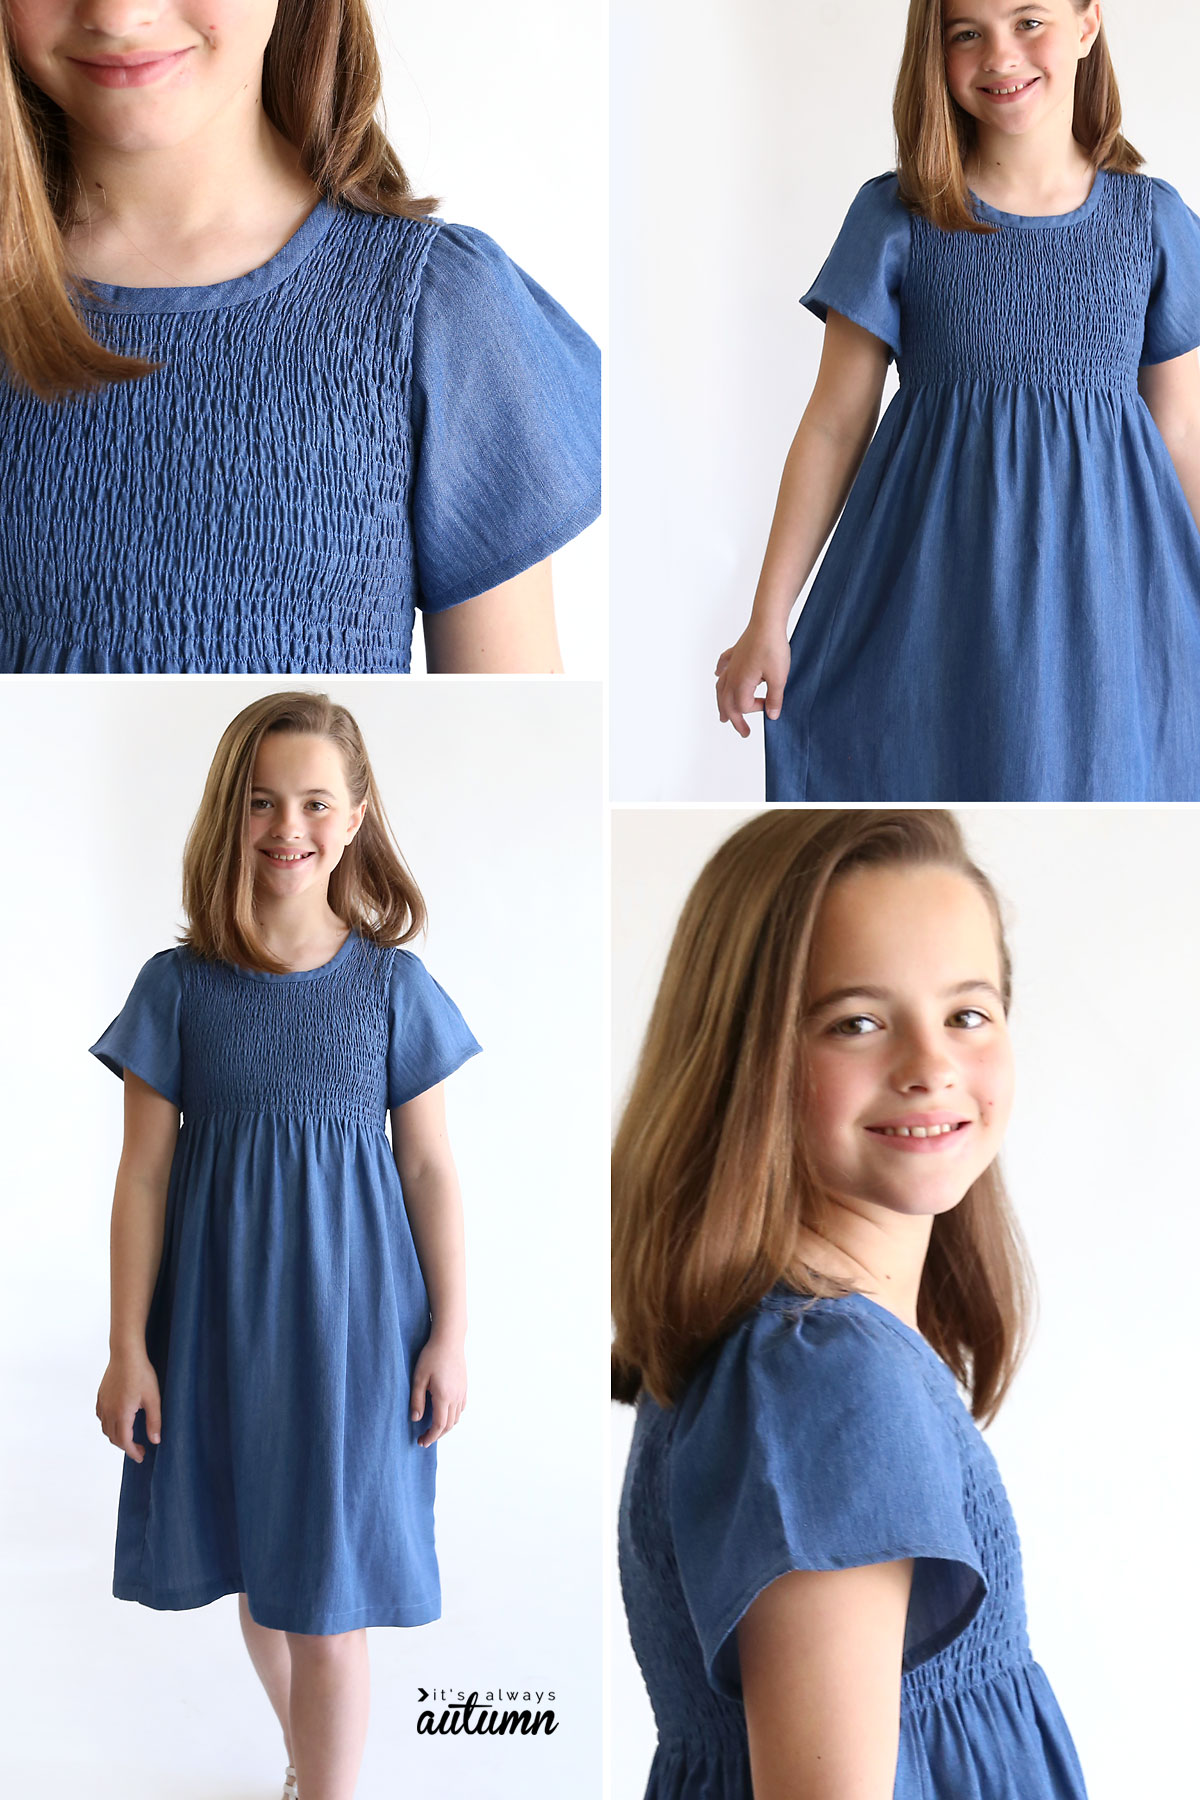
Because everything looks cuter on a little girl, I decided to test out my idea on a dress for my daughter first (who’s not so little anymore!). We both love the finished dress, so you may be seeing one in my size on the blog soon 😉
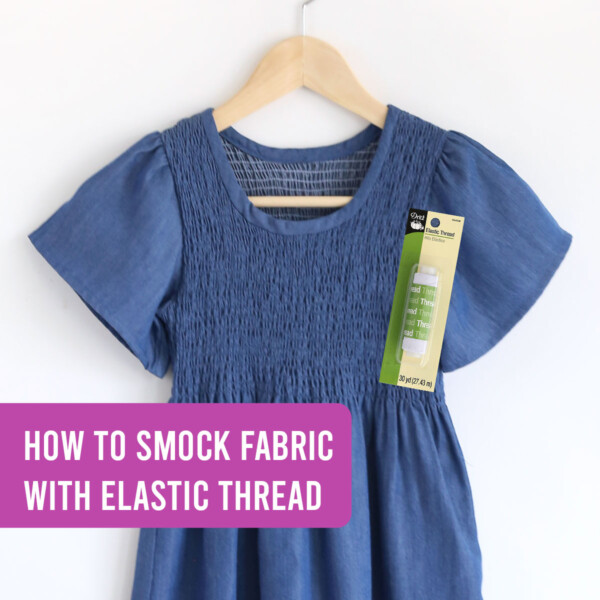
Today I’ll walk you through the process for making this smocked chambray dress. If you’ve never smocked (aka shirred) fabric using elastic thread before, you’ll want to read yesterday’s post: How to Smock Fabric using Elastic Thread.
I didn’t use a pattern for this dress. Because the smocked area is super stretchy, it’s very forgiving and you don’t need to get the fit perfect. So I just used an existing t-shirt to get the right shape for the dress and sleeve pieces. I’ll show you exactly what I did so you can follow along, but you will need some previous sewing experience for this project.
Fabric and Fit
For a smocked dress, you need to choose a lightweight fabric. If you choose to use chambray, be sure it’s soft and lightweight. I found a tencel chambray at Jo-Ann that is just lovely. It gathered up beautifully with the elastic thread and it didn’t shrink as much a cotton chambrays do in the wash! Plus it’s about 55-56 inches wide, which means it’s wide enough to smock and still cut a front and back dress piece out of for most girls’ sizes (and probably womens XS or S). If you use a cotton that is only 45 inches wide, you will need more fabric.
How much fabric you need will depend on how long you want the finished dress to be. You can measure from the top of the shoulder down to wherever you’d like the dress to hit, and then add about 4 inches. That’s how much you need for the dress pieces (which was one yard for my daughter’s dress). You’ll need additional yardage to make sleeves. For my daughter (who is a pretty average height 10 year old) I purchased a yard and a half of fabric and that was plenty.
Tips for Success
As I mentioned above, my chambray was about 55 inches wide. Once you use elastic thread to smock it, you’ll end up with just over half that total width. So you’ll be able to make a dress for most girl’s sizes (and probably smaller women’s sizes). If you want to make a larger size, however, 55 inches isn’t wide enough to cut a dress front and back from after it’s gathered. So when I make this dress for myself, I will have to turn the fabric sideways so I can cut a slightly wider piece. Unless you are a confident sewist who can figure this out, I only recommend following this tutorial for girl’s sizes.
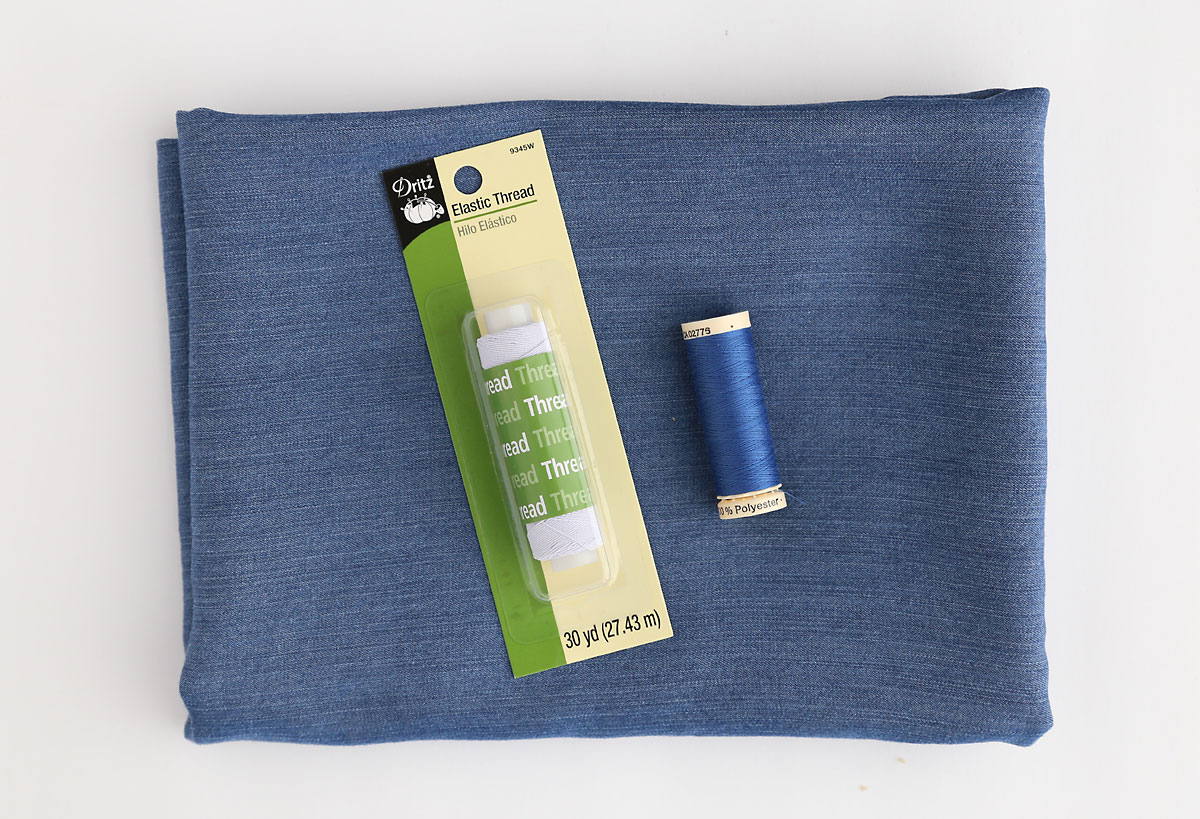
Be sure to wash and dry your fabric before you begin. Remember, you are going to need thread that matches your fabric as well as elastic thread for this dress.
Prep the Smocked Fabric
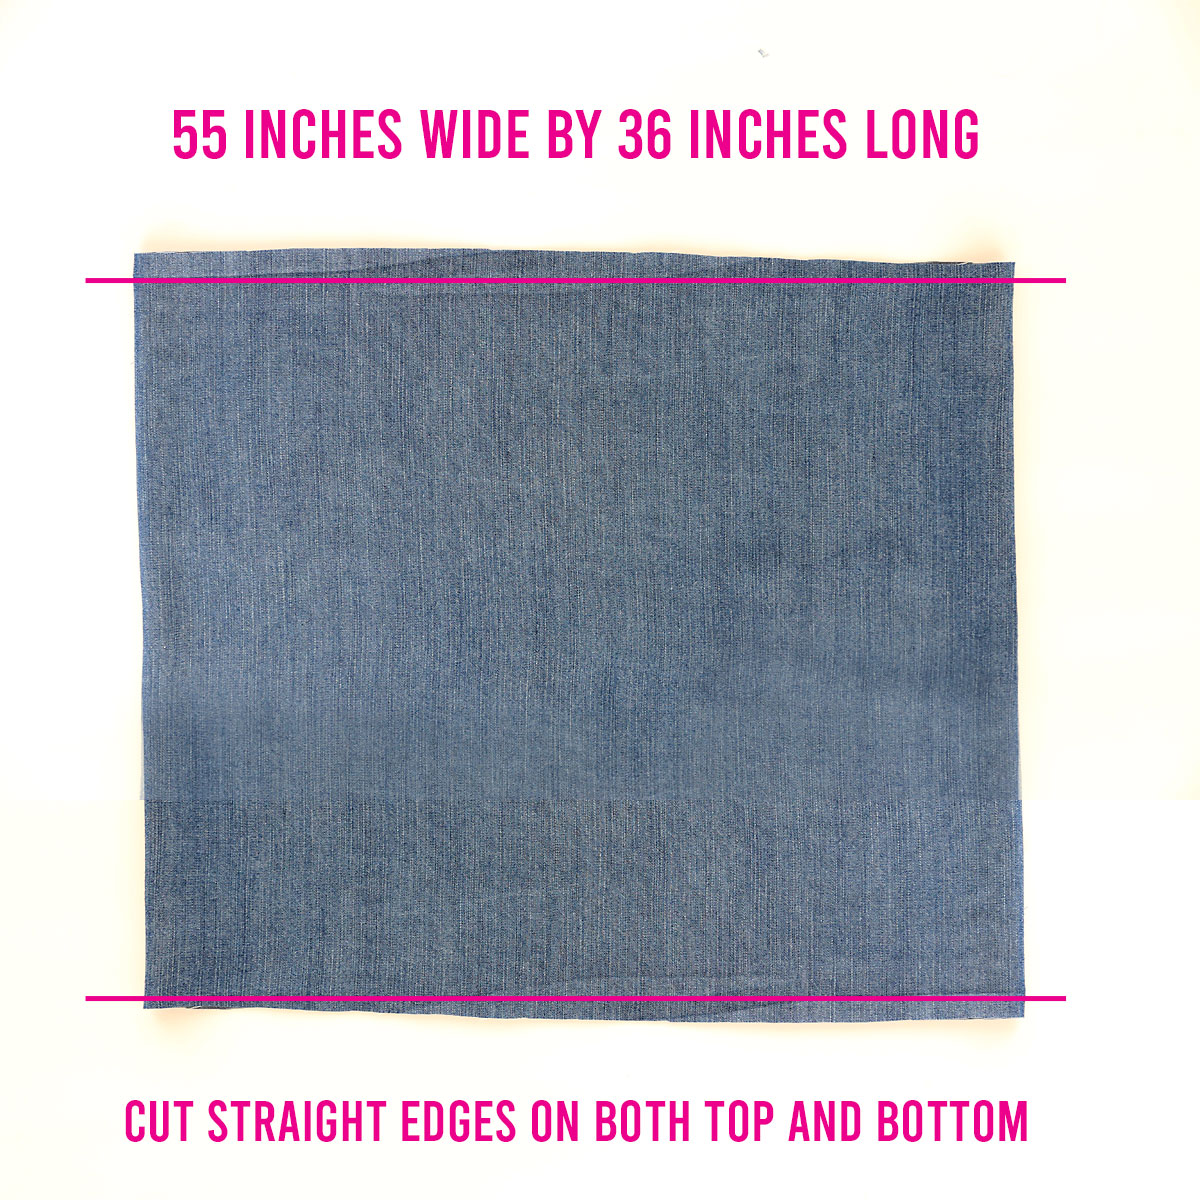
You’ll begin by prepping a rectangle of fabric that will be smocked (aka shirred) across the top. This rectangle should be as long as you want the dress to be (from shoulder to knee for my dress) plus 3-4 inches for hem and seams. The rectangle should be the full width of the fabric. My rectangle ended up being 54 inches wide (full width of fabric after washing/drying) by 36 inches long. Lay out your fabric on a flat surface like a table, and square off the top and bottom of your fabric.
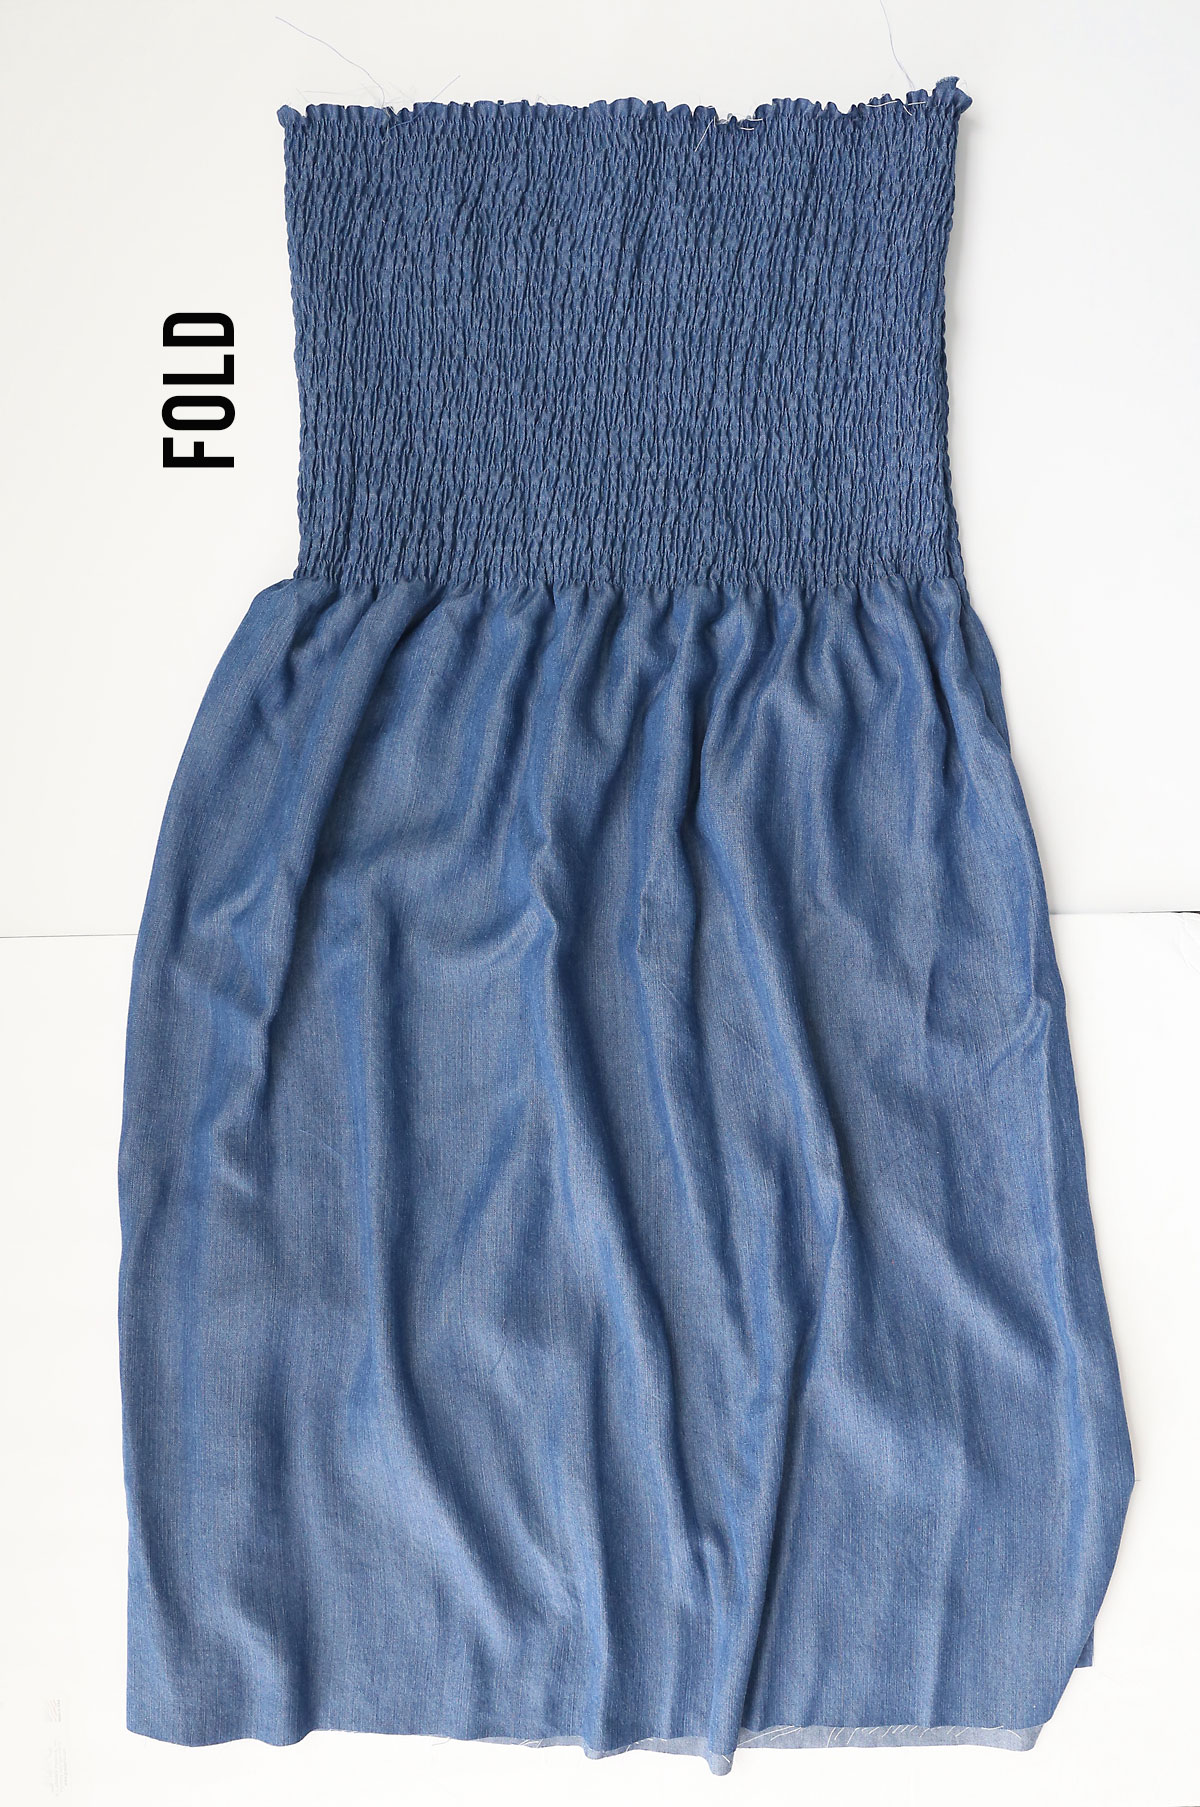
Next, you’ll smock the top portion of the fabric using elastic thread. You want enough smocking to reach from the top of the shoulder to a point a bit highter than the waist. You can approximate this by looking at a t-shirt and measuring from the highest point to a couple inches under the armpit area.
Sew rows all the way across the width of the fabric using elastic thread. Read this tutorial to learn how to smock with elastic thread. I sewed 35 rows, each about 3/8 inch apart. It took me about an hour and a half to do all the smocking. It’s easy, repetitive sewing that you can do while listening to an audiobook or watching a show.
Normally after you sew with elastic thread you iron your fabric to make it shrink up even more. DO NOT DO THIS. If you are using a lightweight fabric, as recommended, it will already be quite gathered, so don’t iron it to make it gather even more at this point.
Cut Dress and Sleeve Pieces
Now you’ll use a t-shirt to cut out your dress pieces. Choose a stretchy t-shirt that fits tight to the body.
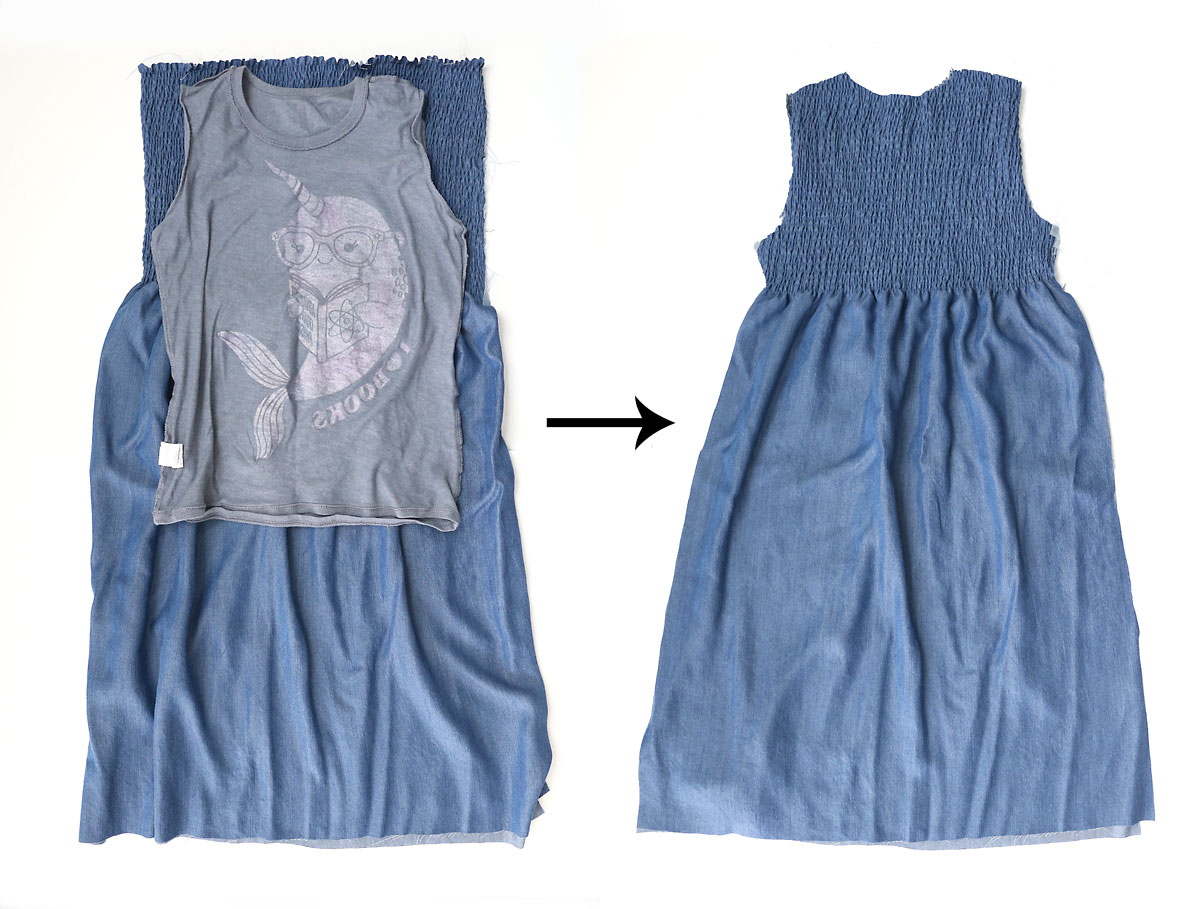
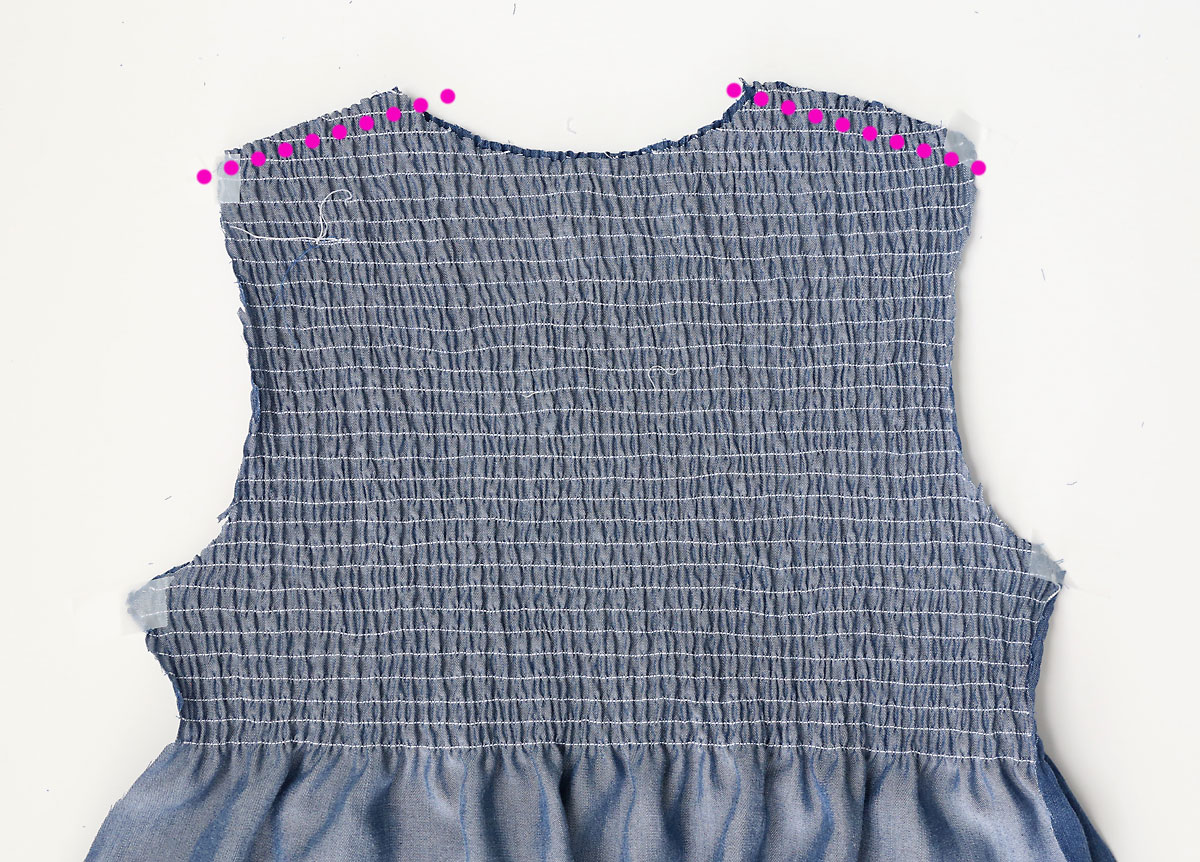
Fold the smocked fabric in half, with the smocking at the top. Turn the t-shirt inside out and lay it over the fabric as shown below. Tuck the sleeves inside the t-shirt so you can see the shape of the shirt. Use the shirt as a pattern and cut around it on the smocked portion of your fabric. Add seam allowance along the shoulders only; do not add seam allowance on the sides or armscye. This is to ensure that the top of the dress fits snugly but is not too tight under the arm.
Once you have cut around the shirt on the smocked part, cut straight down along each side. You now have your dress front and back pieces cut out.
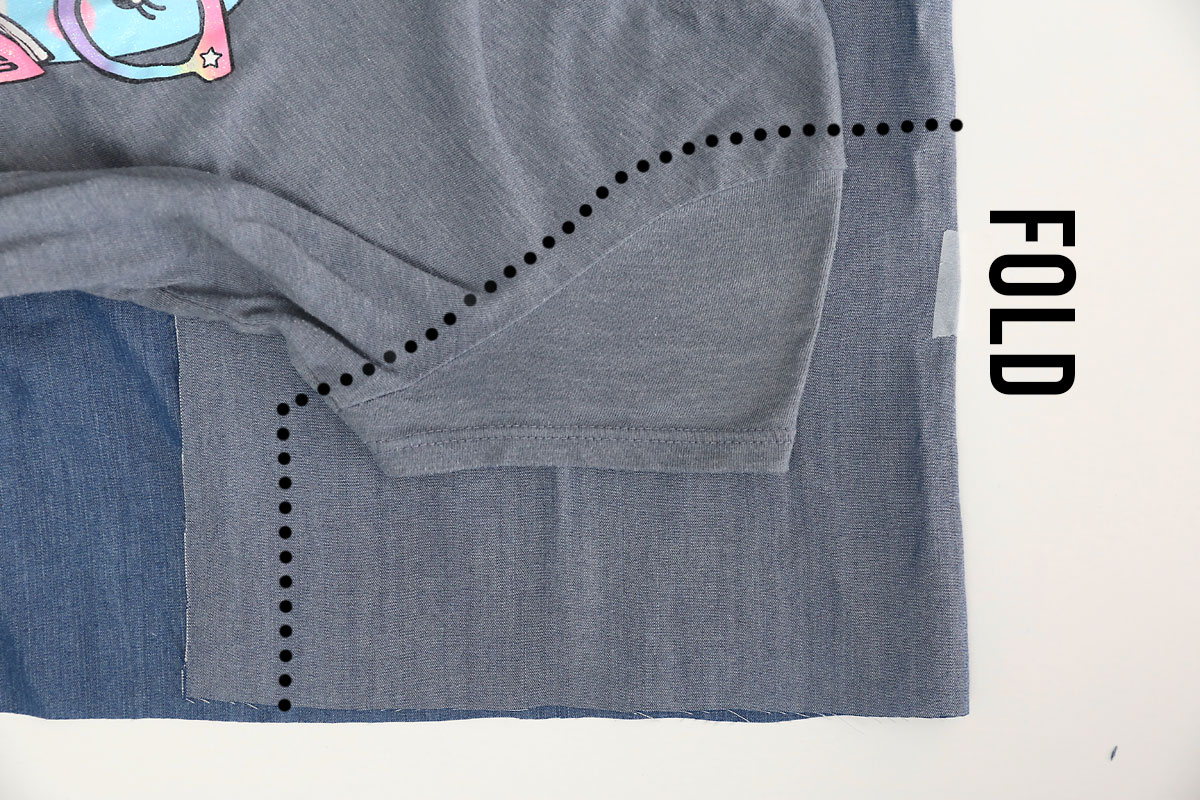
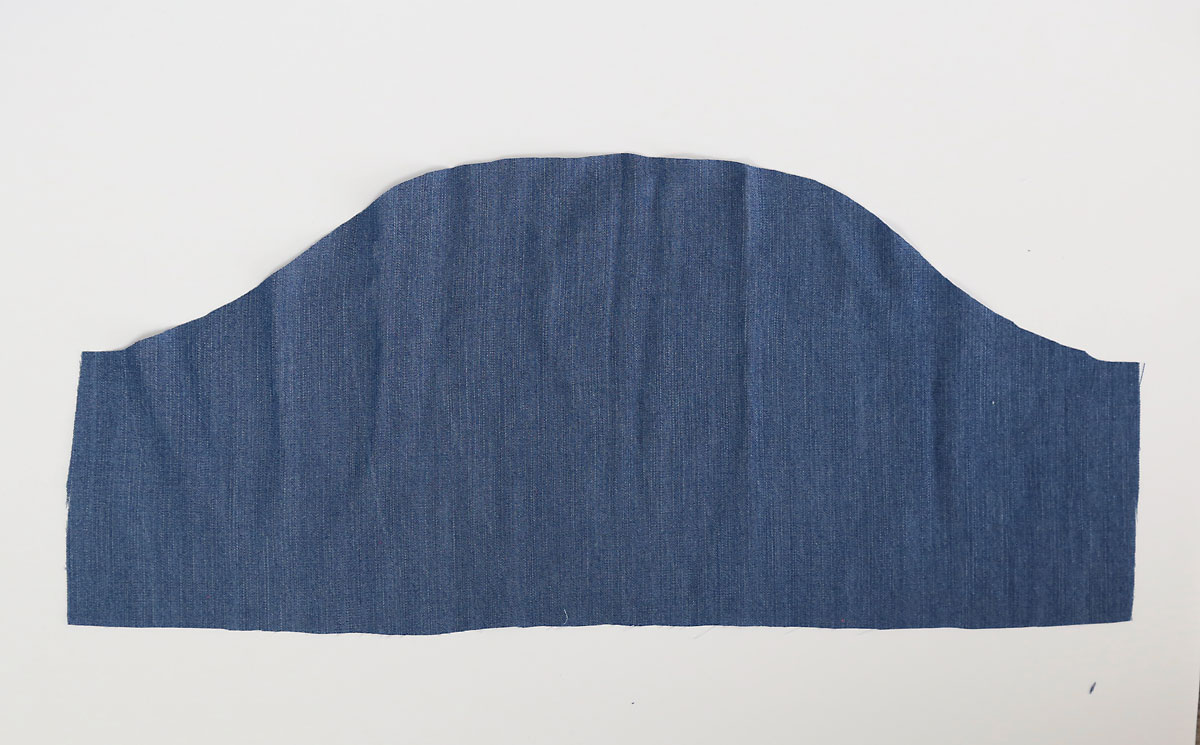
Grab your additional fabric (that has not been smocked) to cut out sleeves. Again, you’ll use the t-shirt to create a sleeve pattern. Place the sleeve of the t-shirt over your fabric as shown below. We are going to create some extra room in the top of the sleeve, so place the edge of the t-shirt sleeve about an inch and a half away from the fold in your fabric. Make sure to flatten out the sleeve so you can see the s-curve where the sleeve attaches to the shirt. Cut around the sleeve, adding half an inch seam allowance. Also add some length to the sleeve if desired.
This is what the sleeve piece looks like cut out and unfolded (be sure to cut 2 sleeves):
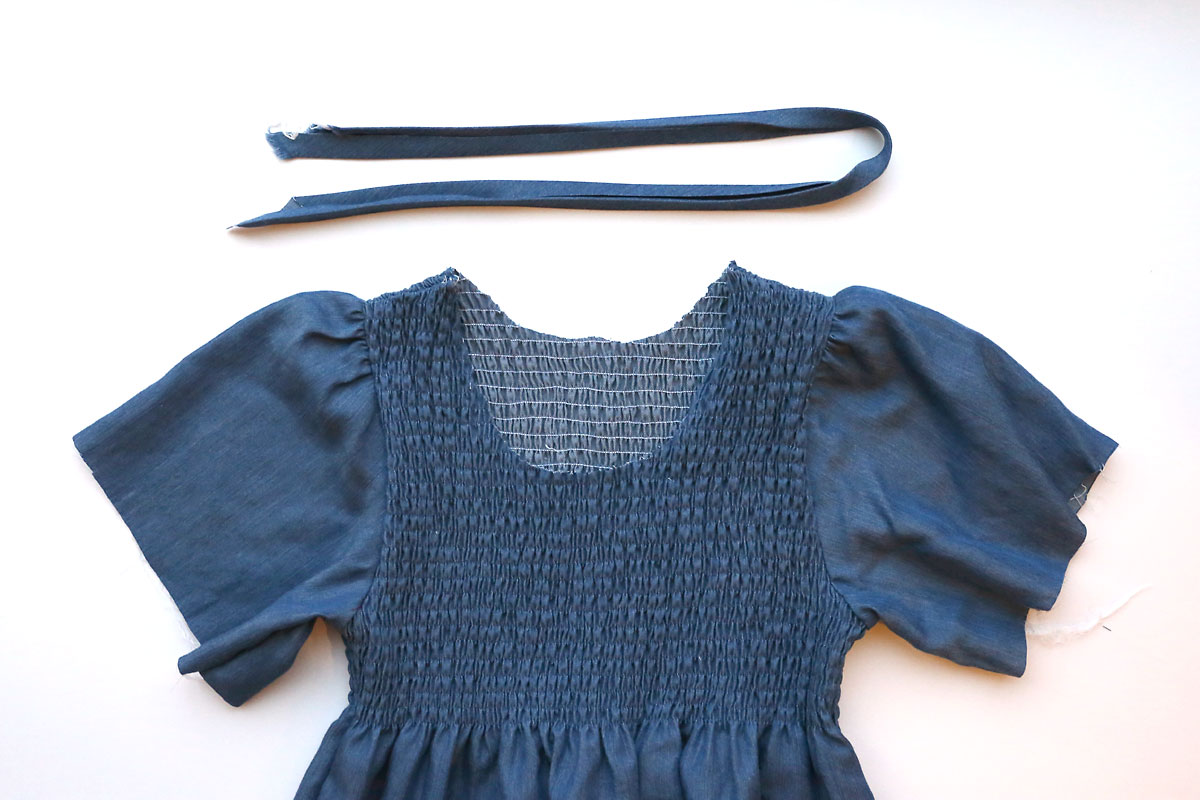
Please note that you will also need a strip of bias binding to finish the neckline. I used a strip that was 2 inches wide and 25 inches long, cut on the bias.
Sew the Dress Together
Now that your main pieces are cut, you can begin to assemble the dress. Lay the two dress pieces right sides together, and sew them together along the shoulder seams.
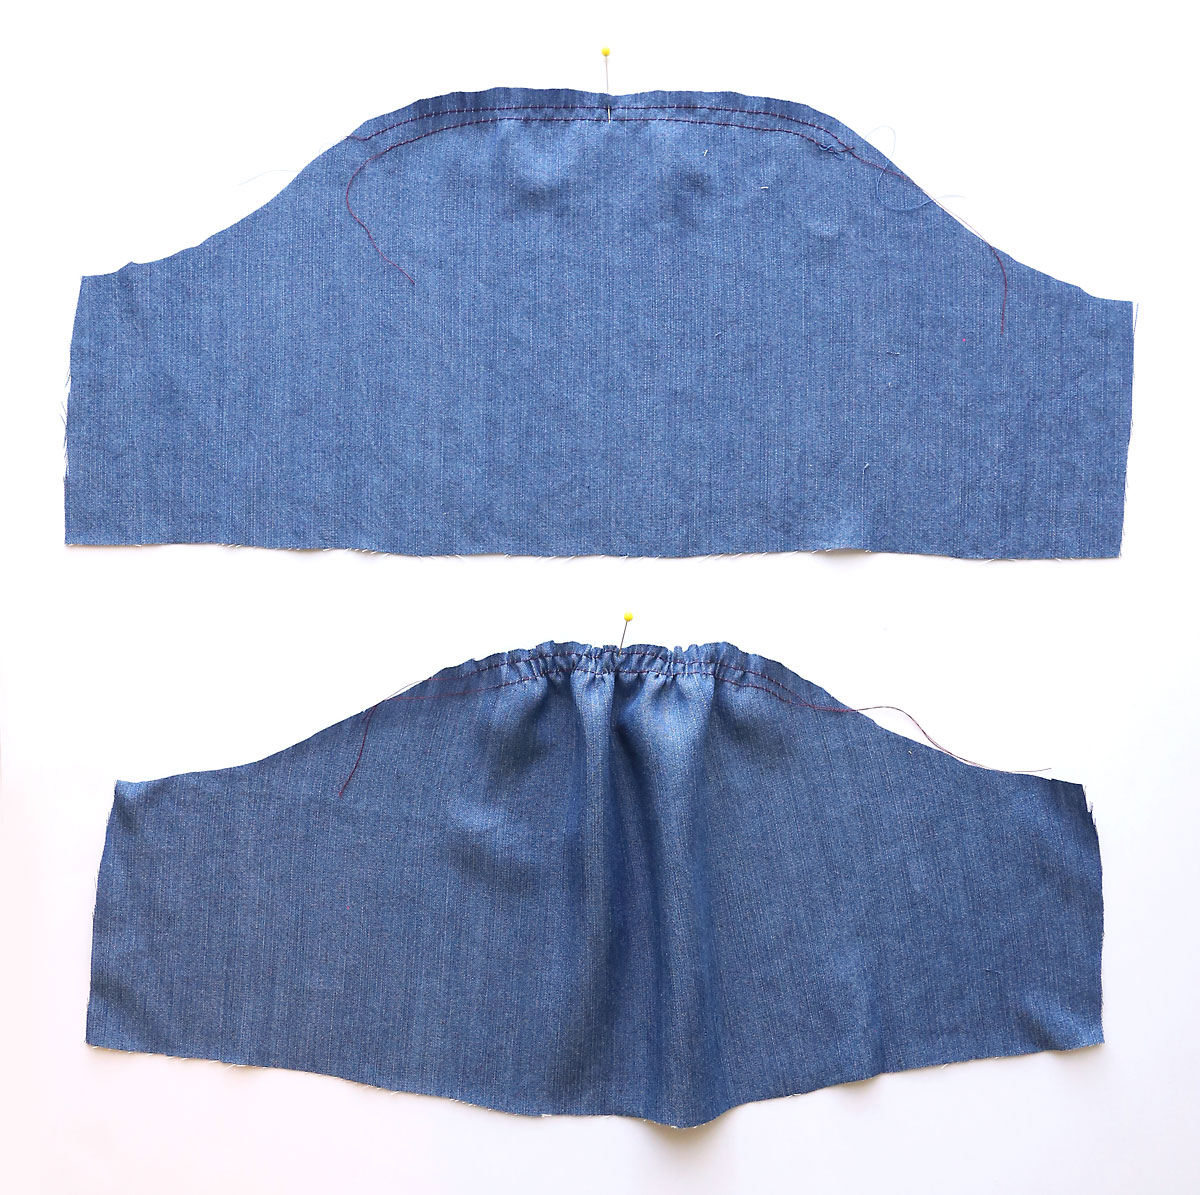
Next we will install the sleeves. Because we added some extra room in the top of the sleeves, we will need to gather them first. Along the top of each sleeve, sew two rows of gathering stitches (long stitch length, low stitch tension). Pull on the bobbin threads to gently gather along the top of the sleeve.
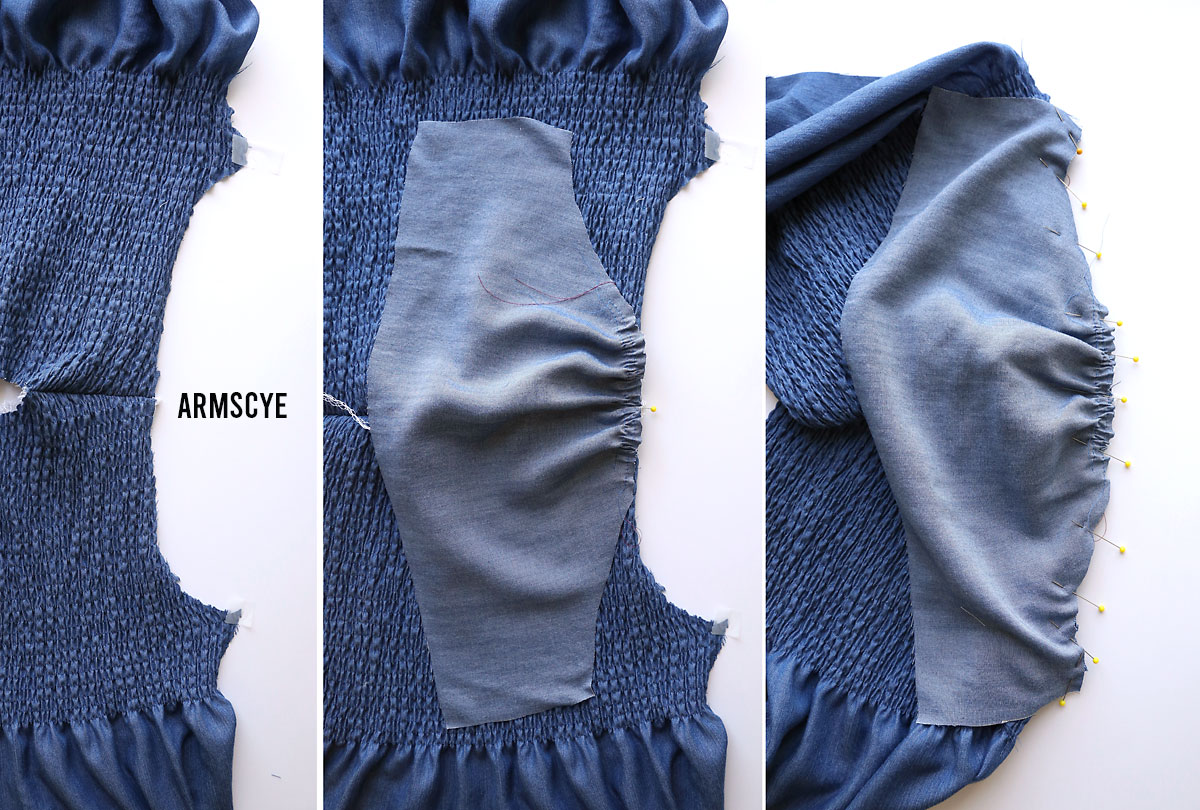
Lay the dress pieces down, opened up the shoulder seams, right side up.
Place one sleeve piece on top of the dress, matching the center of the sleeve curve with the shoulder seam. Pin.
Continue to pin the sleeve into the armscye. You may have to adjust your gathers to make the sleeve fit into the armscye.
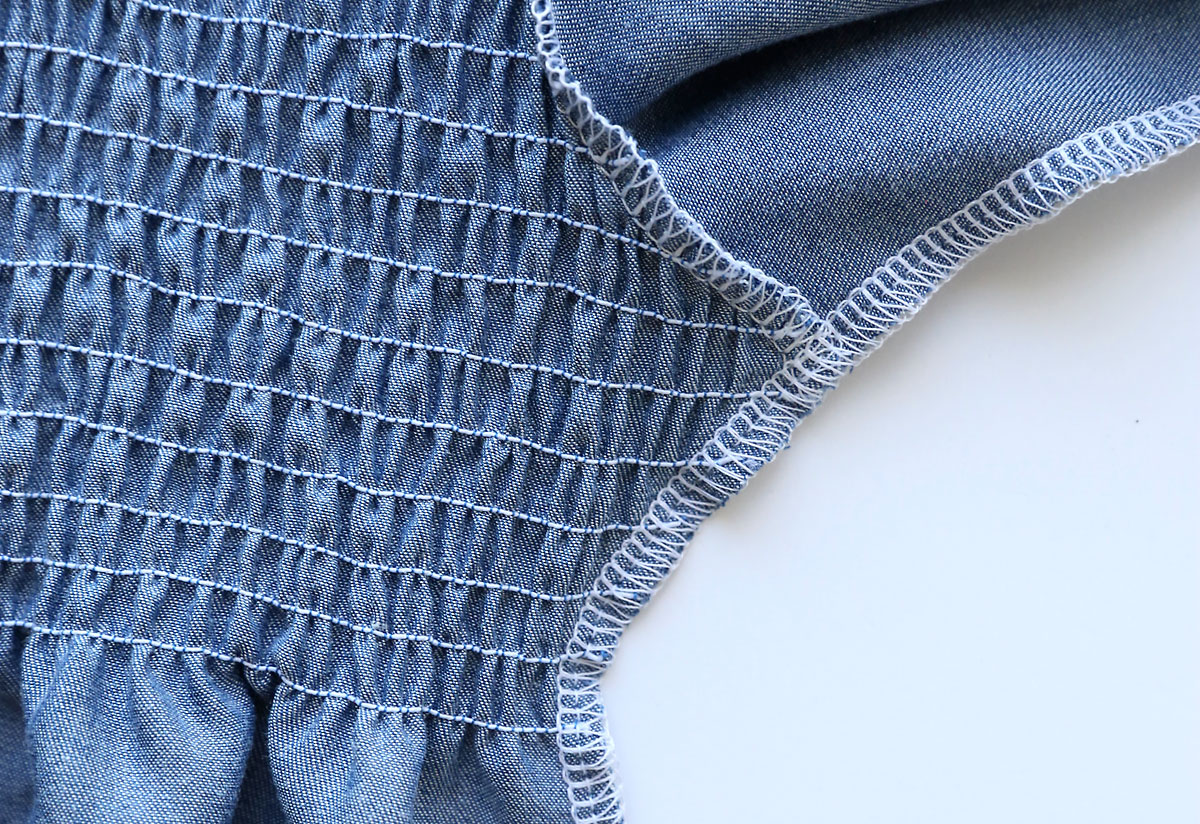
Sew the sleeve to the dress, using a 1/2 inch seam. Be sure that you are catching the ends of your elastic threads all along the cut edge of the dress in your seam. Repeat with the other sleeve.
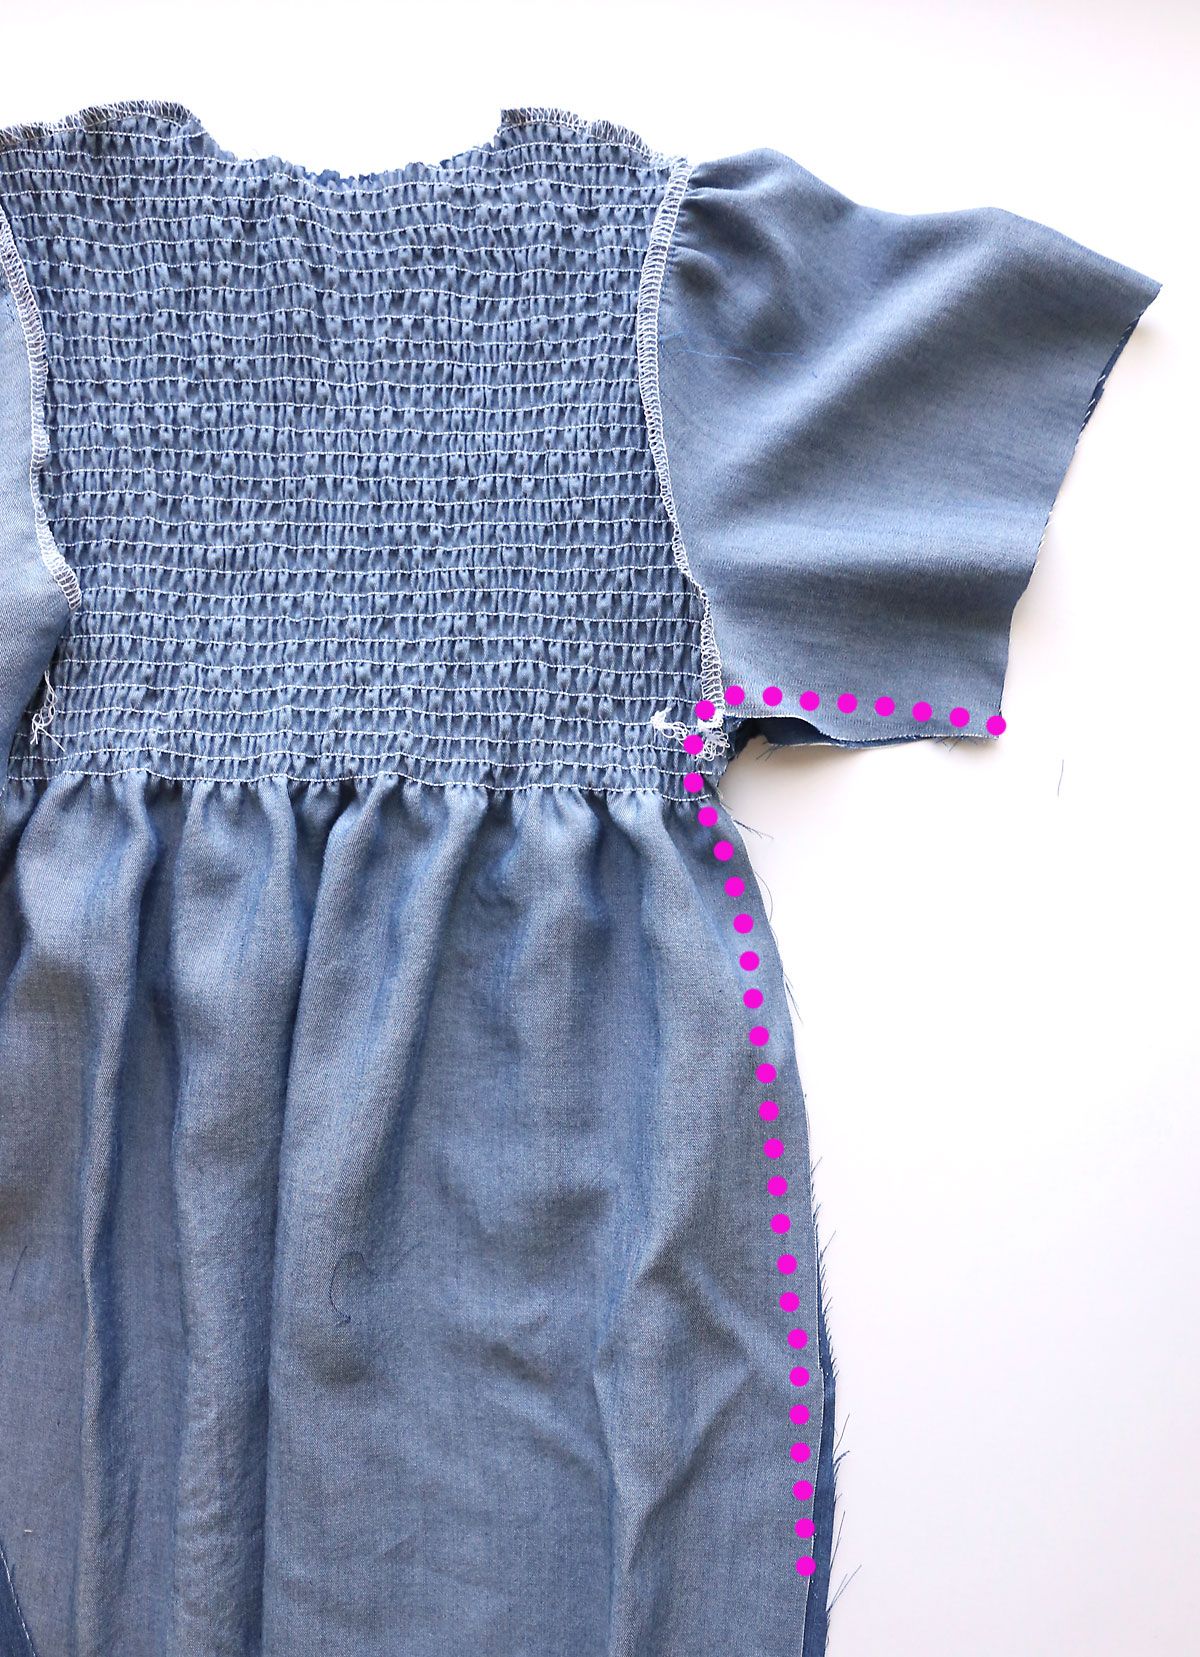
Now that the sleeves are installed, match up the front and back of the dress, right sides together. Sew the side seams. Start at the bottom of the sleeve and sew up, under the arm, and down the side of the dress.
Again, be sure that you are catching the ends of your elastic threads along the cut edge of the dress in your seam.
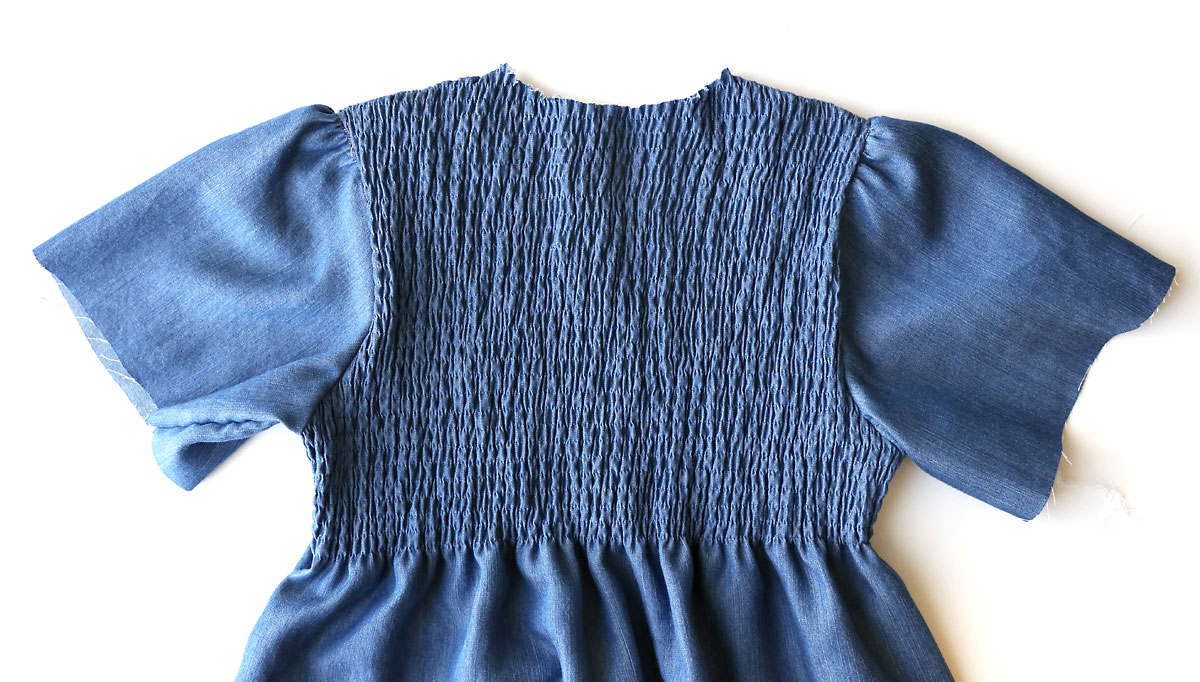
At this point, the basic construction is complete, and this is a good time to steam the smocked area so it will gather up even more.
Finish the Neckline, Sleeves, and Hem
It’s time to finish the neckline. If you do not want to add a closure to the neckline (which I didn’t) you will need to cut the neckline large enough to go over the head without stretching. Try the dress on and figure out how much lower or wider you’ll need to cut the neckline. Remember – just cut a little at a time – you can always cut more away but if you cut too much there’s no way to fix it.
You can finish the neckline with a matching strip of knit fabric, or with bias tape cut from your original fabric. I used double fold bias tape made from my original fabric. If you don’t know how to use bias tape, follow the instructions for the third method explained at this link.
Finally, hem the dress and sleeves to the desired length.


Stacie says
I love this dress, I may need to make one door my grand daughter.
Jacqueline says
How would I go about making a sleeveless version. Could I bind the armholes with bias tape as well?
Autumn says
Yes, that is probably the best way to do it!
Mish says
Hi
This is such a cute pattern! Just a question – when you trace out the bodice pattern to the shirred panel and cut out – does the shirring unravel because you’ve cut it???
Autumn says
No, it won’t immediately unravel when you cut it (it didn’t unravel at all for me). As long as you continue to the next steps and sew the pieces together within the next day or two you should be just fine!
Brigid says
Can you make this dress with regular cotton fabric?
Autumn says
I wouldn’t recommend using quilting cotton, if that’s what you mean, because it won’t drape nicely as it’s too stiff. But a soft cotton fabric should work great!