
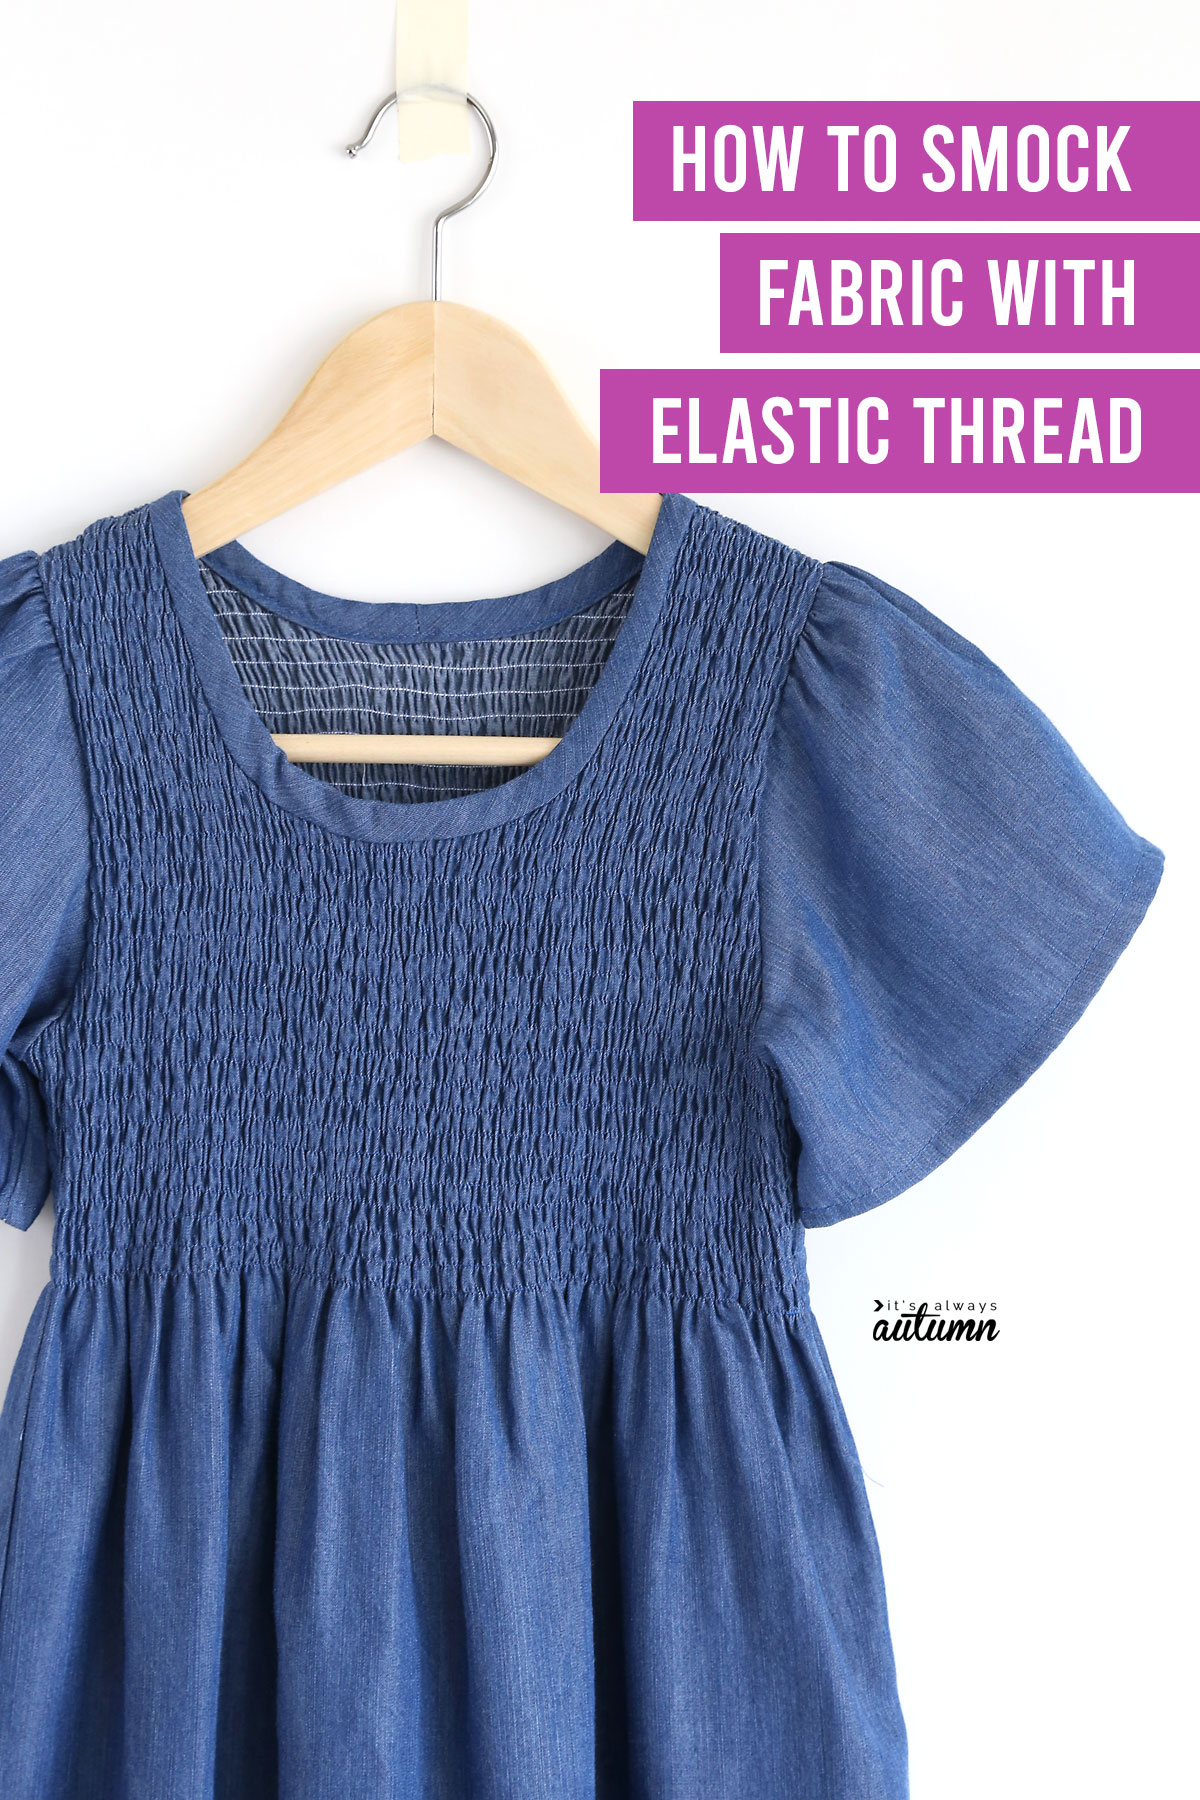
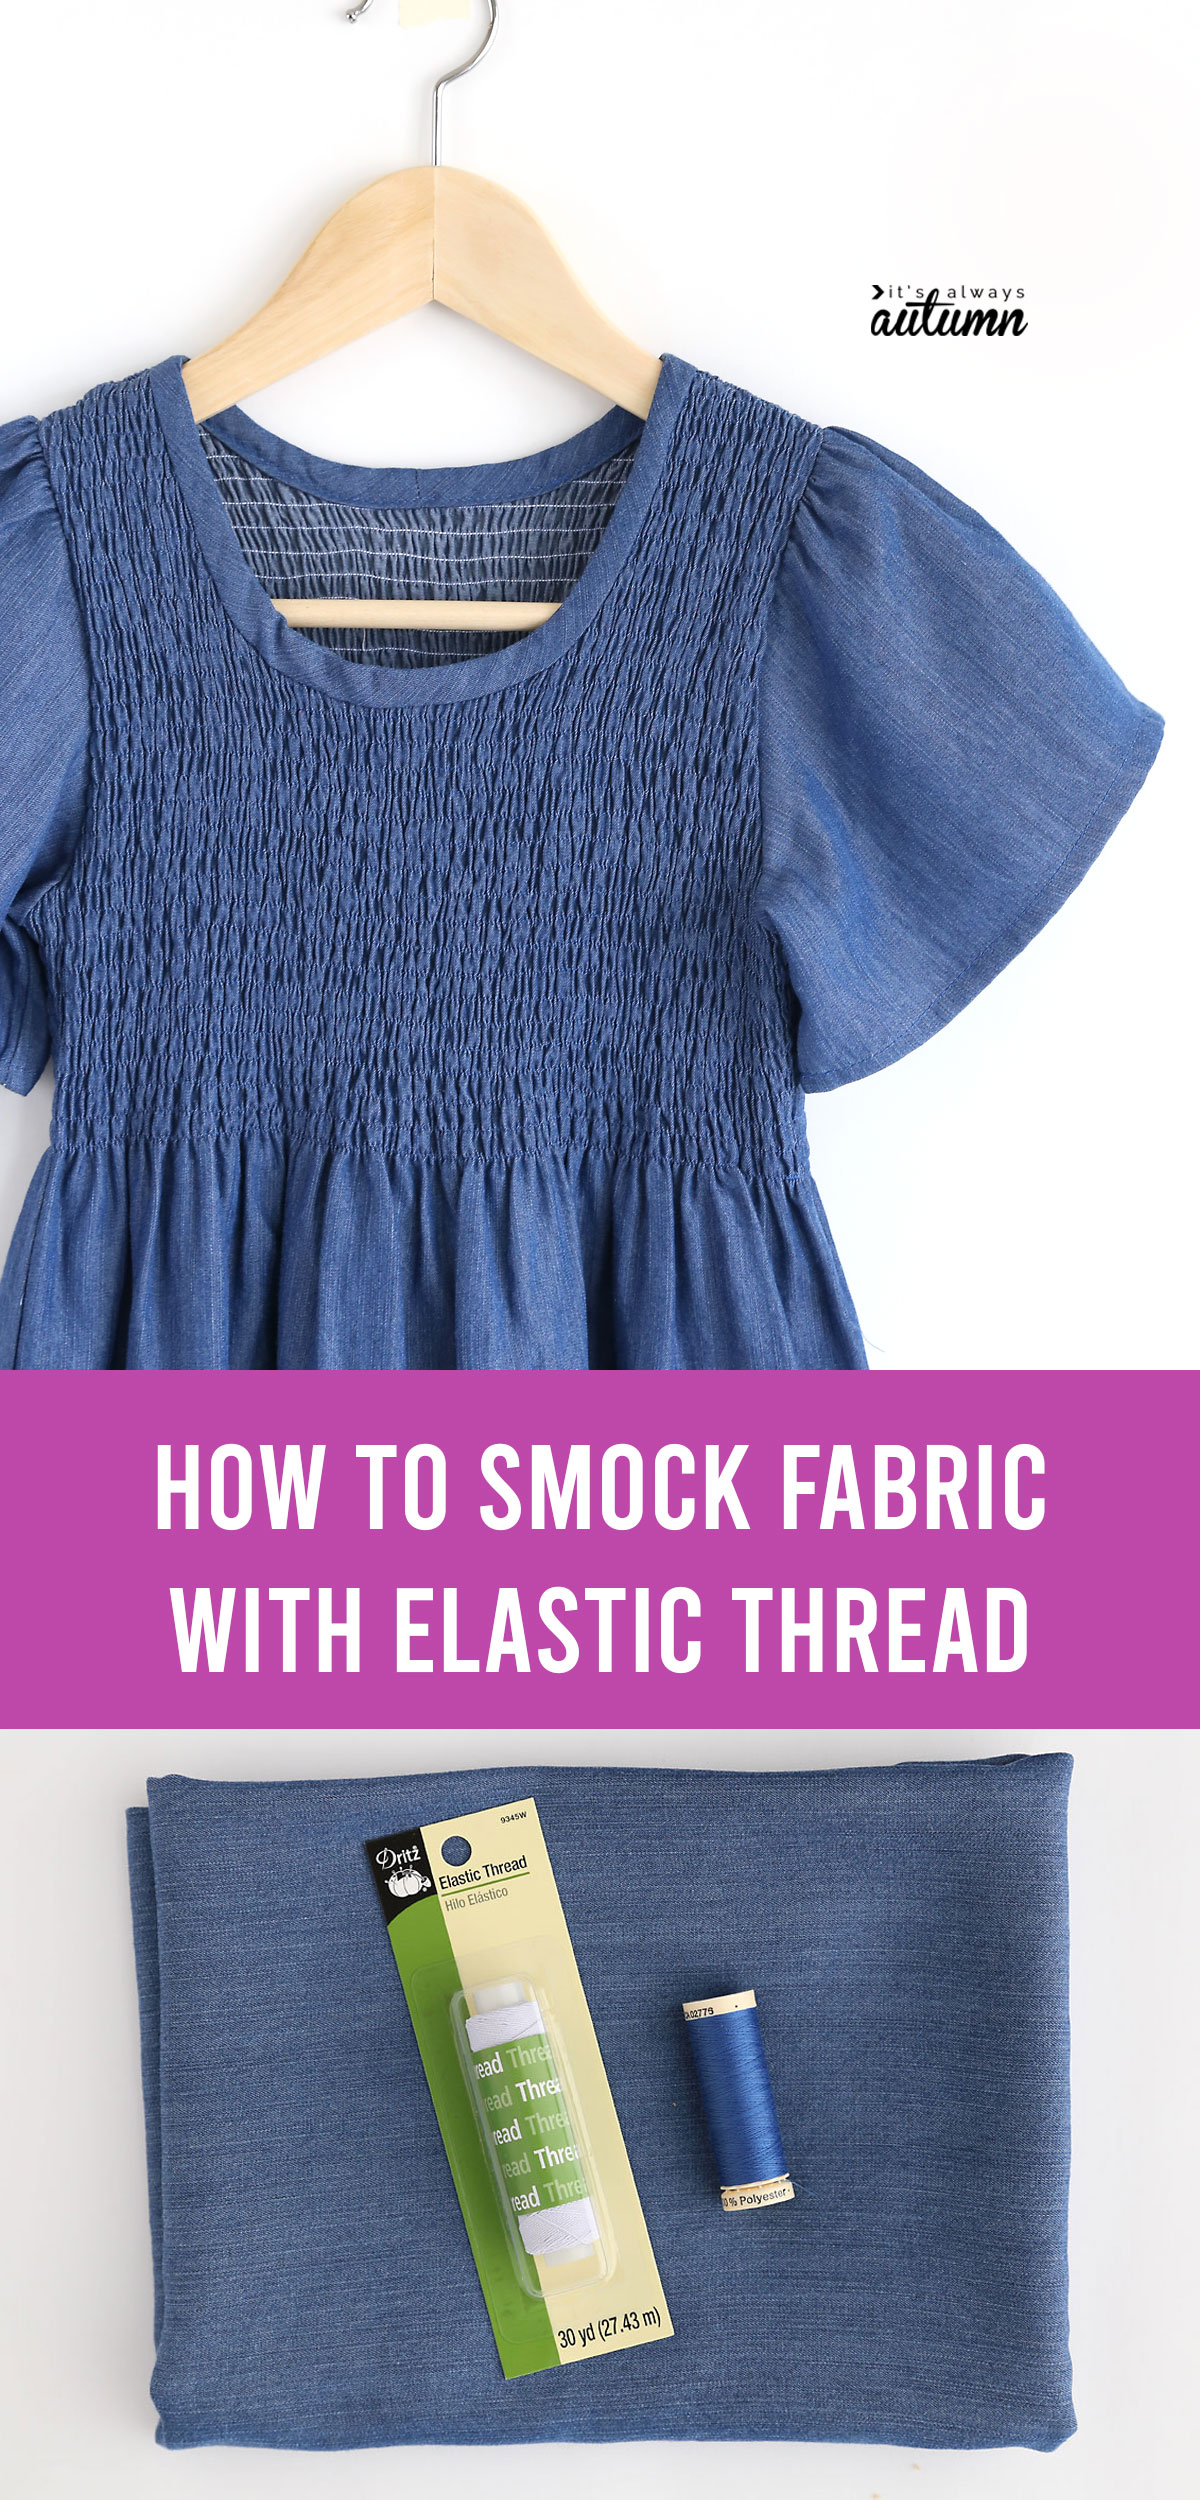
In today’s post: Learn how simple it is to make your own smocked fabric using elastic thread (aka shirred fabric).
It’s (nearly) spring, which is my favorite time to make (and buy) new dresses. As I’ve been browsing online I’ve noticed that dresses and jumpsuits with smocking/shirring along the bodice are super popular this season. You might be asking: what the heck is smocking or shirring? Well, both terms refer to fabric that’s been sewn with multiple horizontal lines of stitching with elastic thread to create tight, stretchy gathers. Smocking, aka shirring, allows an item of clothing to fit close to the body for a flattering look but also be super comfortable because there’s plenty of give. Additionally, the fabric below the smocking naturally billows out, which makes for a really cute dress.
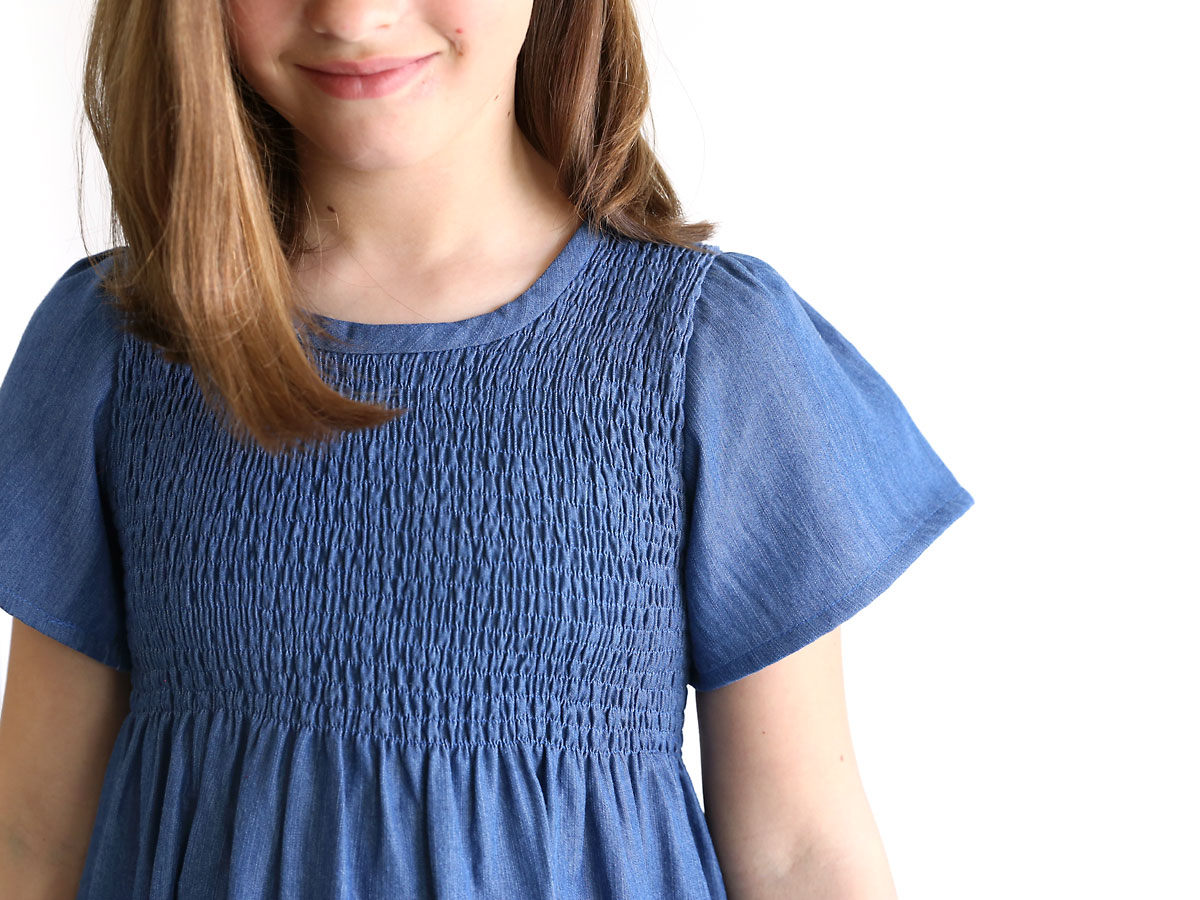
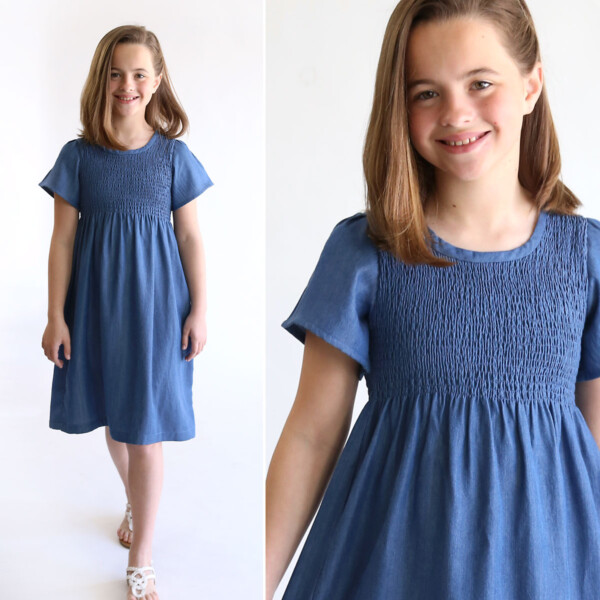
Sometimes you can purchase pre-smocked fabric, but it’s been hard to find for the past few years, and you’re pretty limited when it comes to colors and prints. The good news is that it’s really easy to use elastic thread to smock your own fabric! Tomorrow I’ll be sharing a tutorial for this cute smocked chambray dress I made for my daughter, so I figured I’d put together a quick tutorial on using elastic thread.
Smocking vs Shirring
What we are doing here today is technically called shirring. However, the look it creates is very similar to smocking, which is an embroidery technique that’s been around a long long time. But maybe don’t google “what is smocking” cuz apparently it also refers to something that has nothing to do with sewing… Anyway, shirring is probably the more accurate word to use here, but retailers generally choose smocking or smocked instead. And since that’s the word more people are likely familiar with, that’s the one I’ll use in this post.
Tips for Success
Before we get to the instructions for smocking with elastic thread, there are a few important things to note:
- Smocking with elastic thread works best on lightweight woven fabrics, such as lightweight cottons, lightweight chambrays, rayon challis, etc. The lighter weight the fabric, the more gathered it will end up. Heavier weight fabrics will not gather well using elastic thread.
- A piece of lightweight fabric will end up roughly half the width after shirring than it was before (maybe a little wider).
- As with any sewing project, it’s a good idea to wash and dry your fabric before you begin. Wash and dry it however you plan to wash and dry the finished garment.
Supplies:
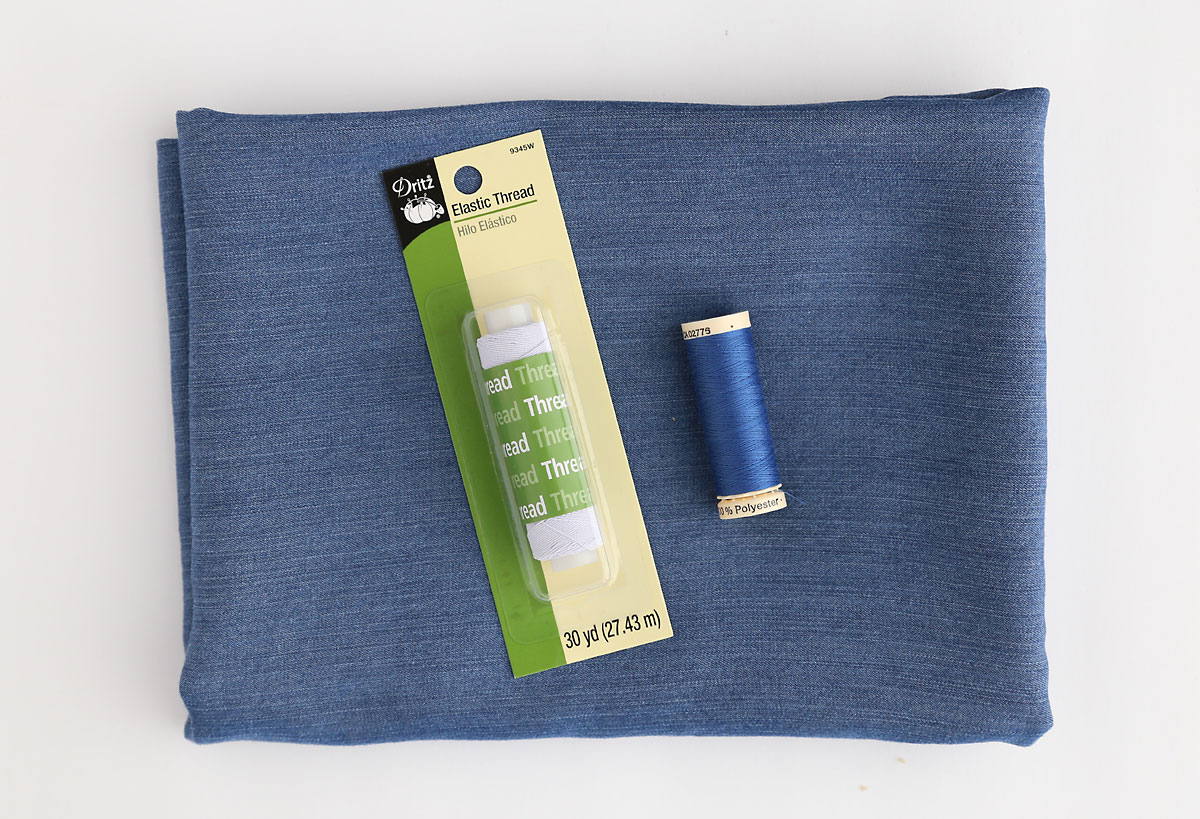
To smock fabric with elastic thread, you will need:
- Lightweight fabric
- Elastic thread
- Normal thread that matches your fabric (get a new spool because you’ll use quite a bit)
- Sewing machine
How to Smock Fabric with elastic thread
How to Smock Fabric with Elastic Thread
Supplies
- Elastic Thread
- Lightweight fabric
- Standard thread that matches your fabric
Want more project ideas? Sign up to get my favorite easy crafts and recipes straight to your inbox!
Instructions
- You will use elastic thread in the bobbin of your sewing machine, but you cannot wind it on your machine. Handwind the elastic thread around a bobbin. Do not stretch the elastic thread as you wind, and move back and forth across the bobbin as you wind the thread on. Don't worry about making it look perfect, just continue winding elastic thread around the bobbin until it is nearly full.

- Place normal thread that matches your fabric in the top of your machine and thread the needle. Place the elastic thread bobbin in your machine.
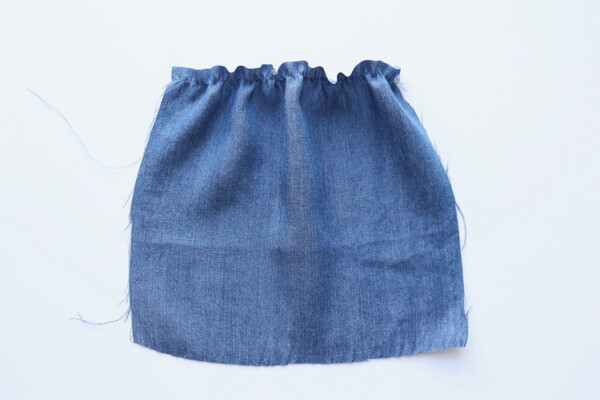
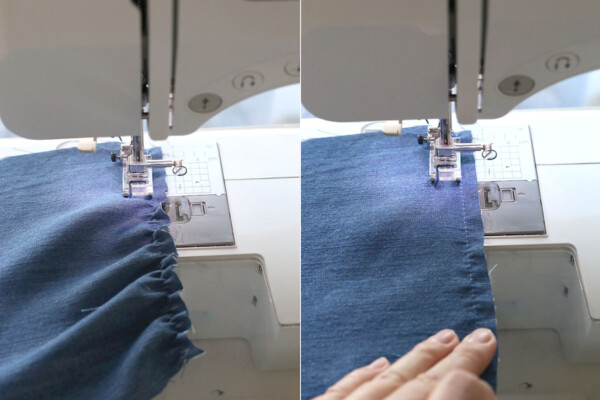
- Prep the top of your fabric by making sure it is cut straight across. Then sew your first line about 3/8 of an inch away from the edge of your fabric. Backstitch at the beginning and end of your line. You should see the fabric begin to gather up right away.
- Stitch another row about 3/8 inch away from the first row. The fabric will be gathered up, so stretch it out flat as you sew.
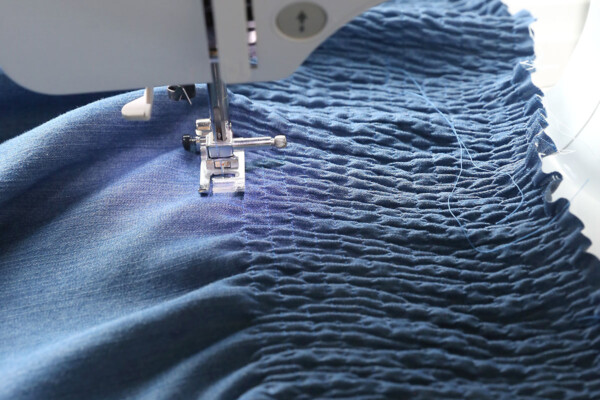
- Continue sewing rows of fabric until you have as much smocked area as you would like.
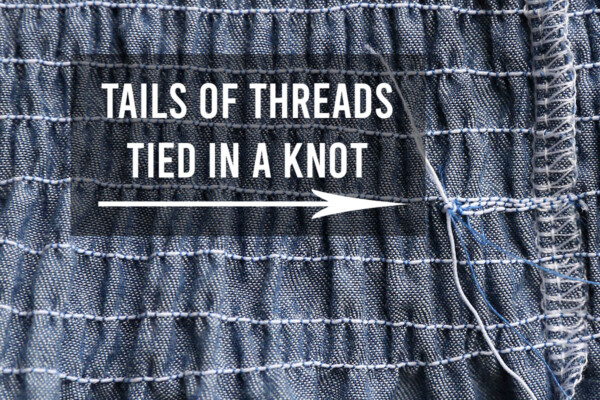
- It's easiest to switch to a new bobbin in between rows. However, if you run out of elastic thread mid row that's ok. Just hand wind a new bobbin and then start by backstitching over the last few stitches you sewed. When you are done sewing, tie the two tails of elastic thread together (on the wrong side of the fabric) and trim any extra thread.
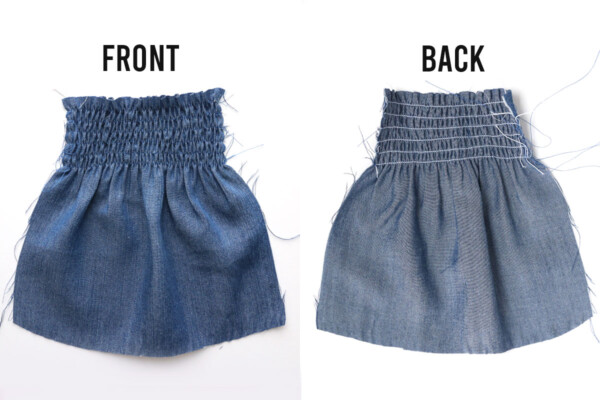
- When you are finished, use your iron to shoot steam at the smocked area, which will cause it to gather up even more. You'll be able to see matching thread on the front of your smocked piece, and rows of the white elastic thread on the back of your piece.


Jessica says
Thank you! You just taught me a great new skill. 😄🙏🏼
Angi McCann says
Wow! This is alot easier than I thought it would be! Can’t wait to make my granddaughters some new outfits! Thanks for the tutorial!
F. Lee says
thank you!
Lily Smith says
When do you play scary the backrooms games ? To relieve tension, try engaging in fun activities. Joining the backroom trend could boost your success. If you’re not already, Backrooms 2 unblocked will convert you.