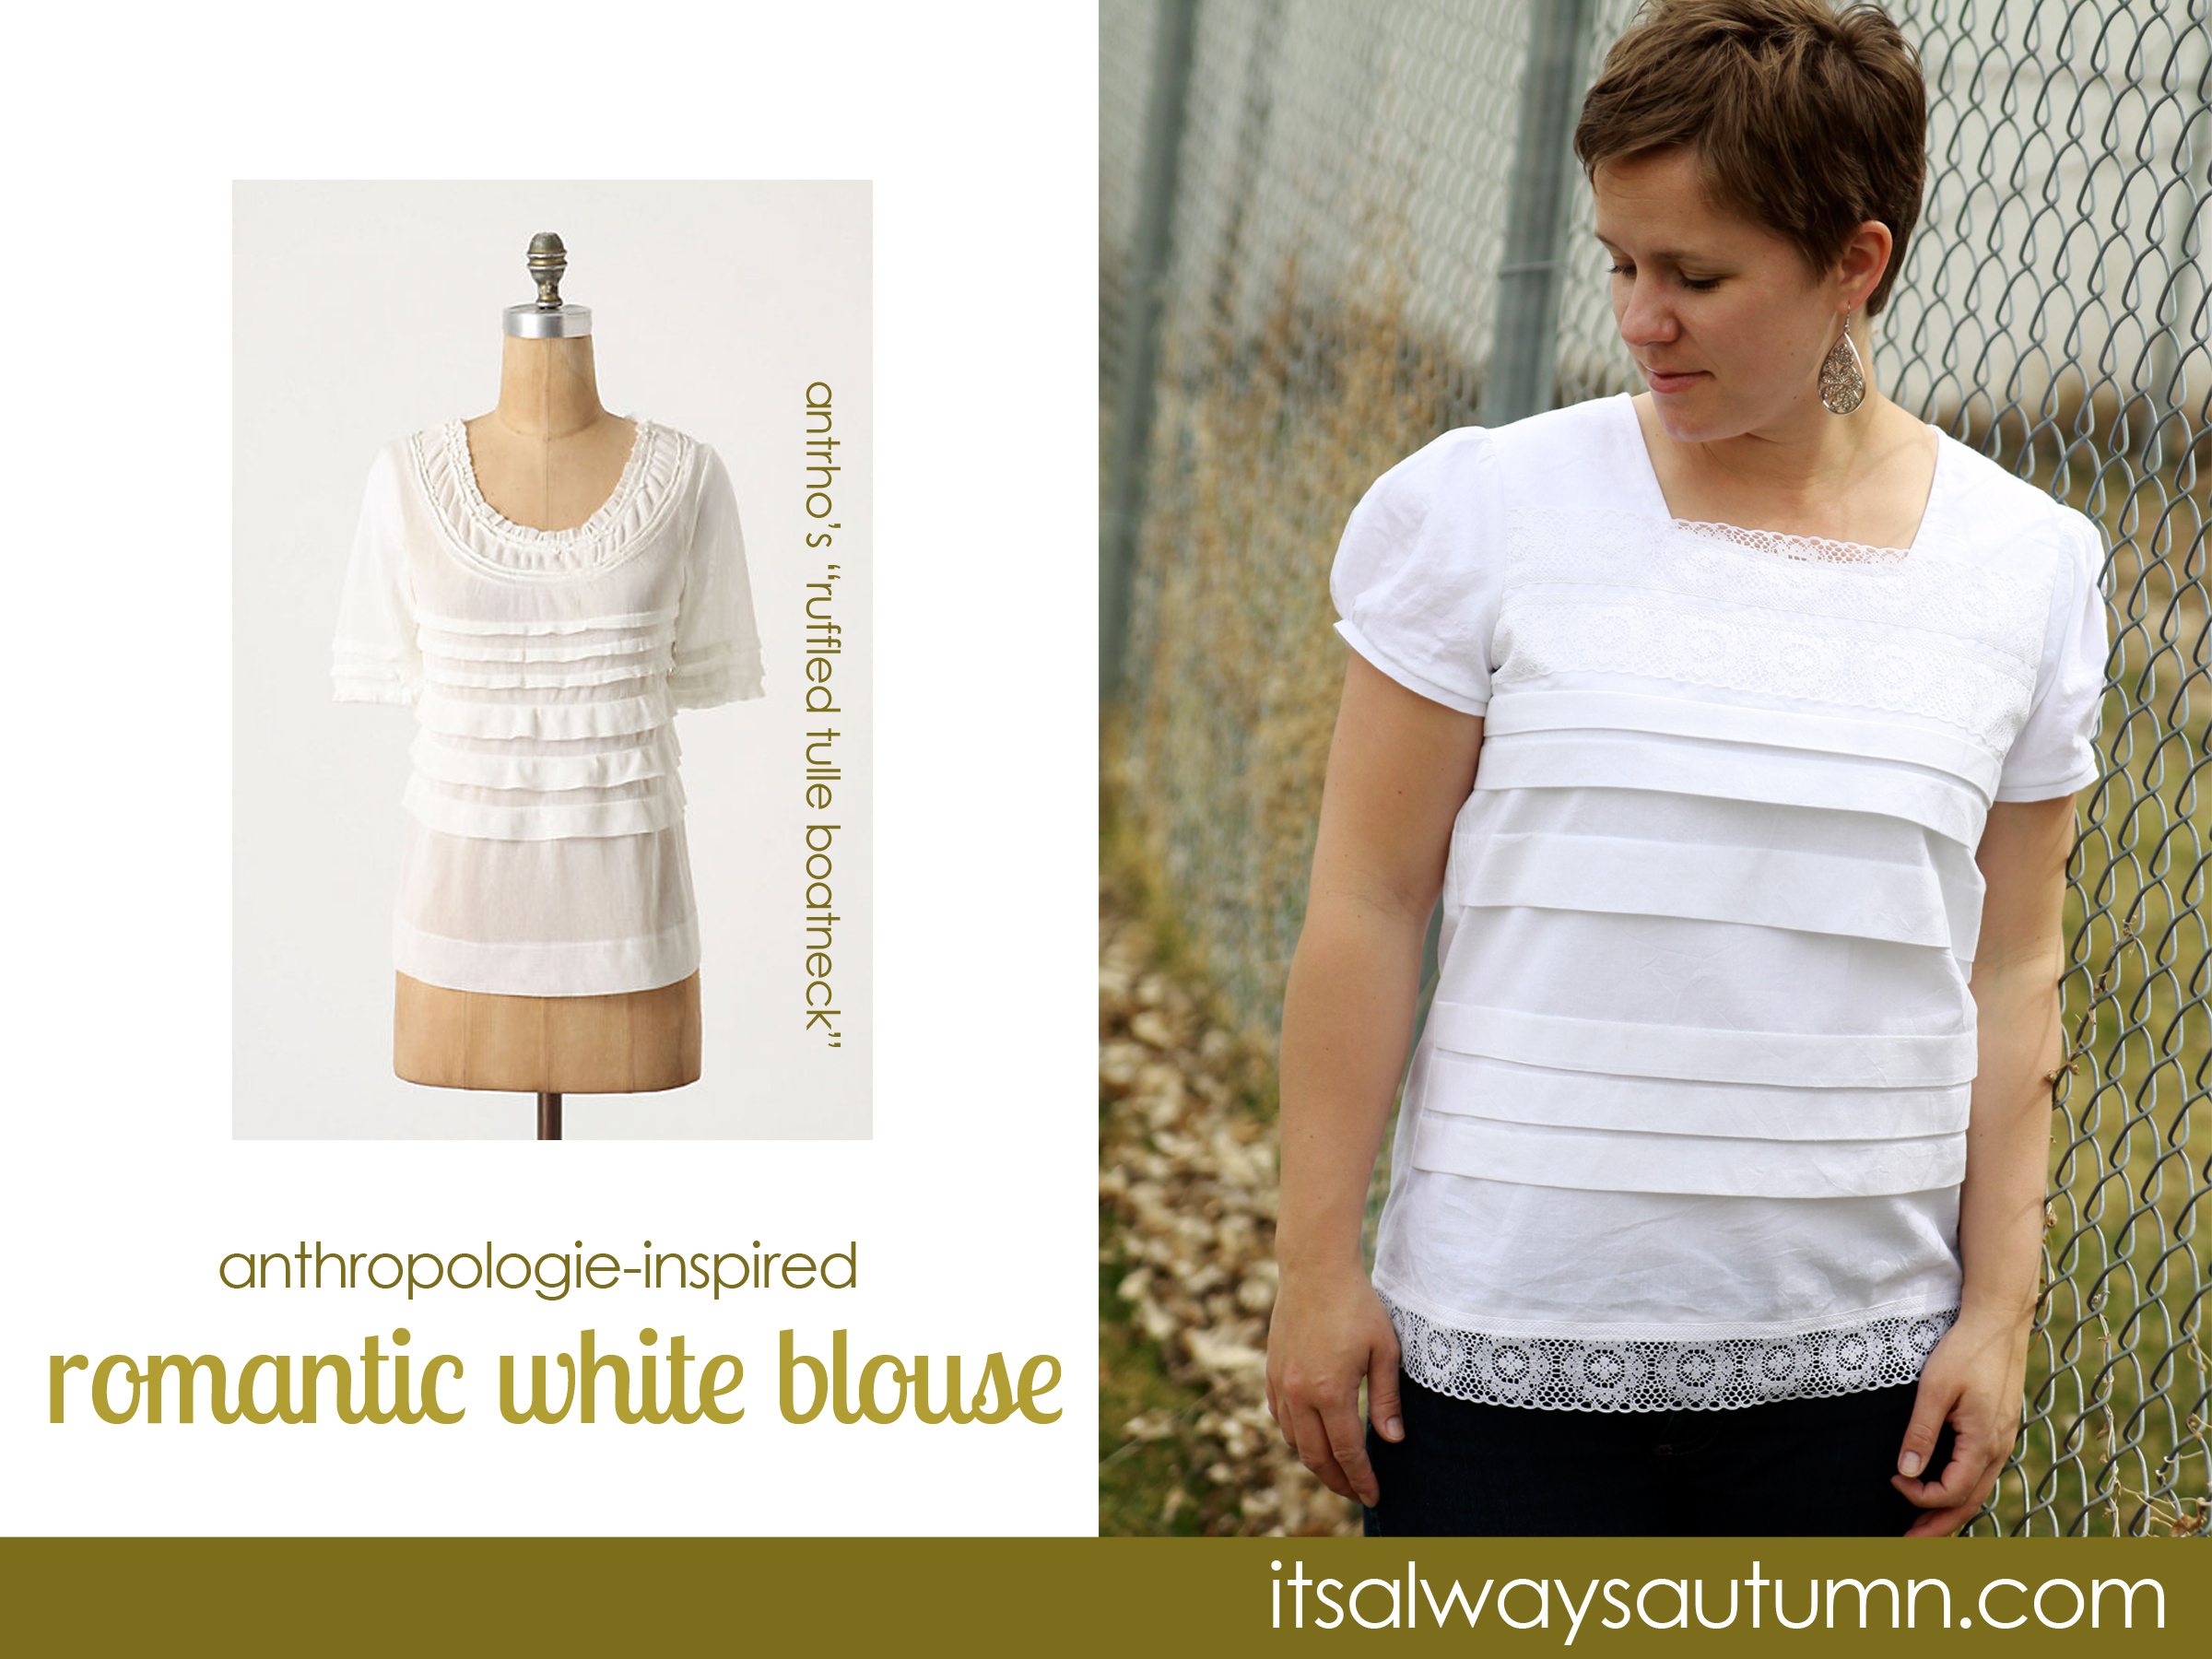
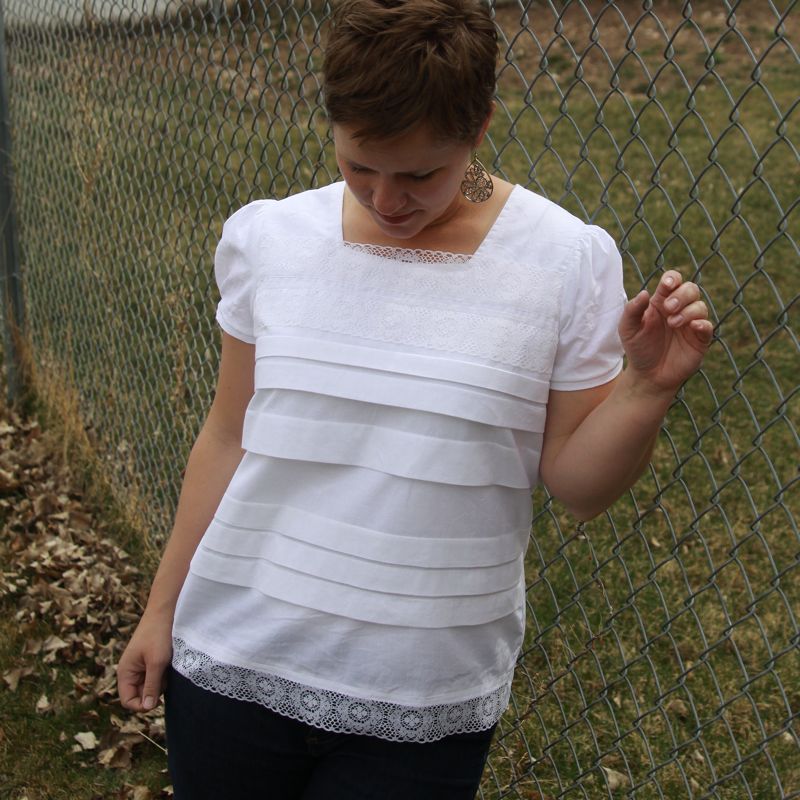
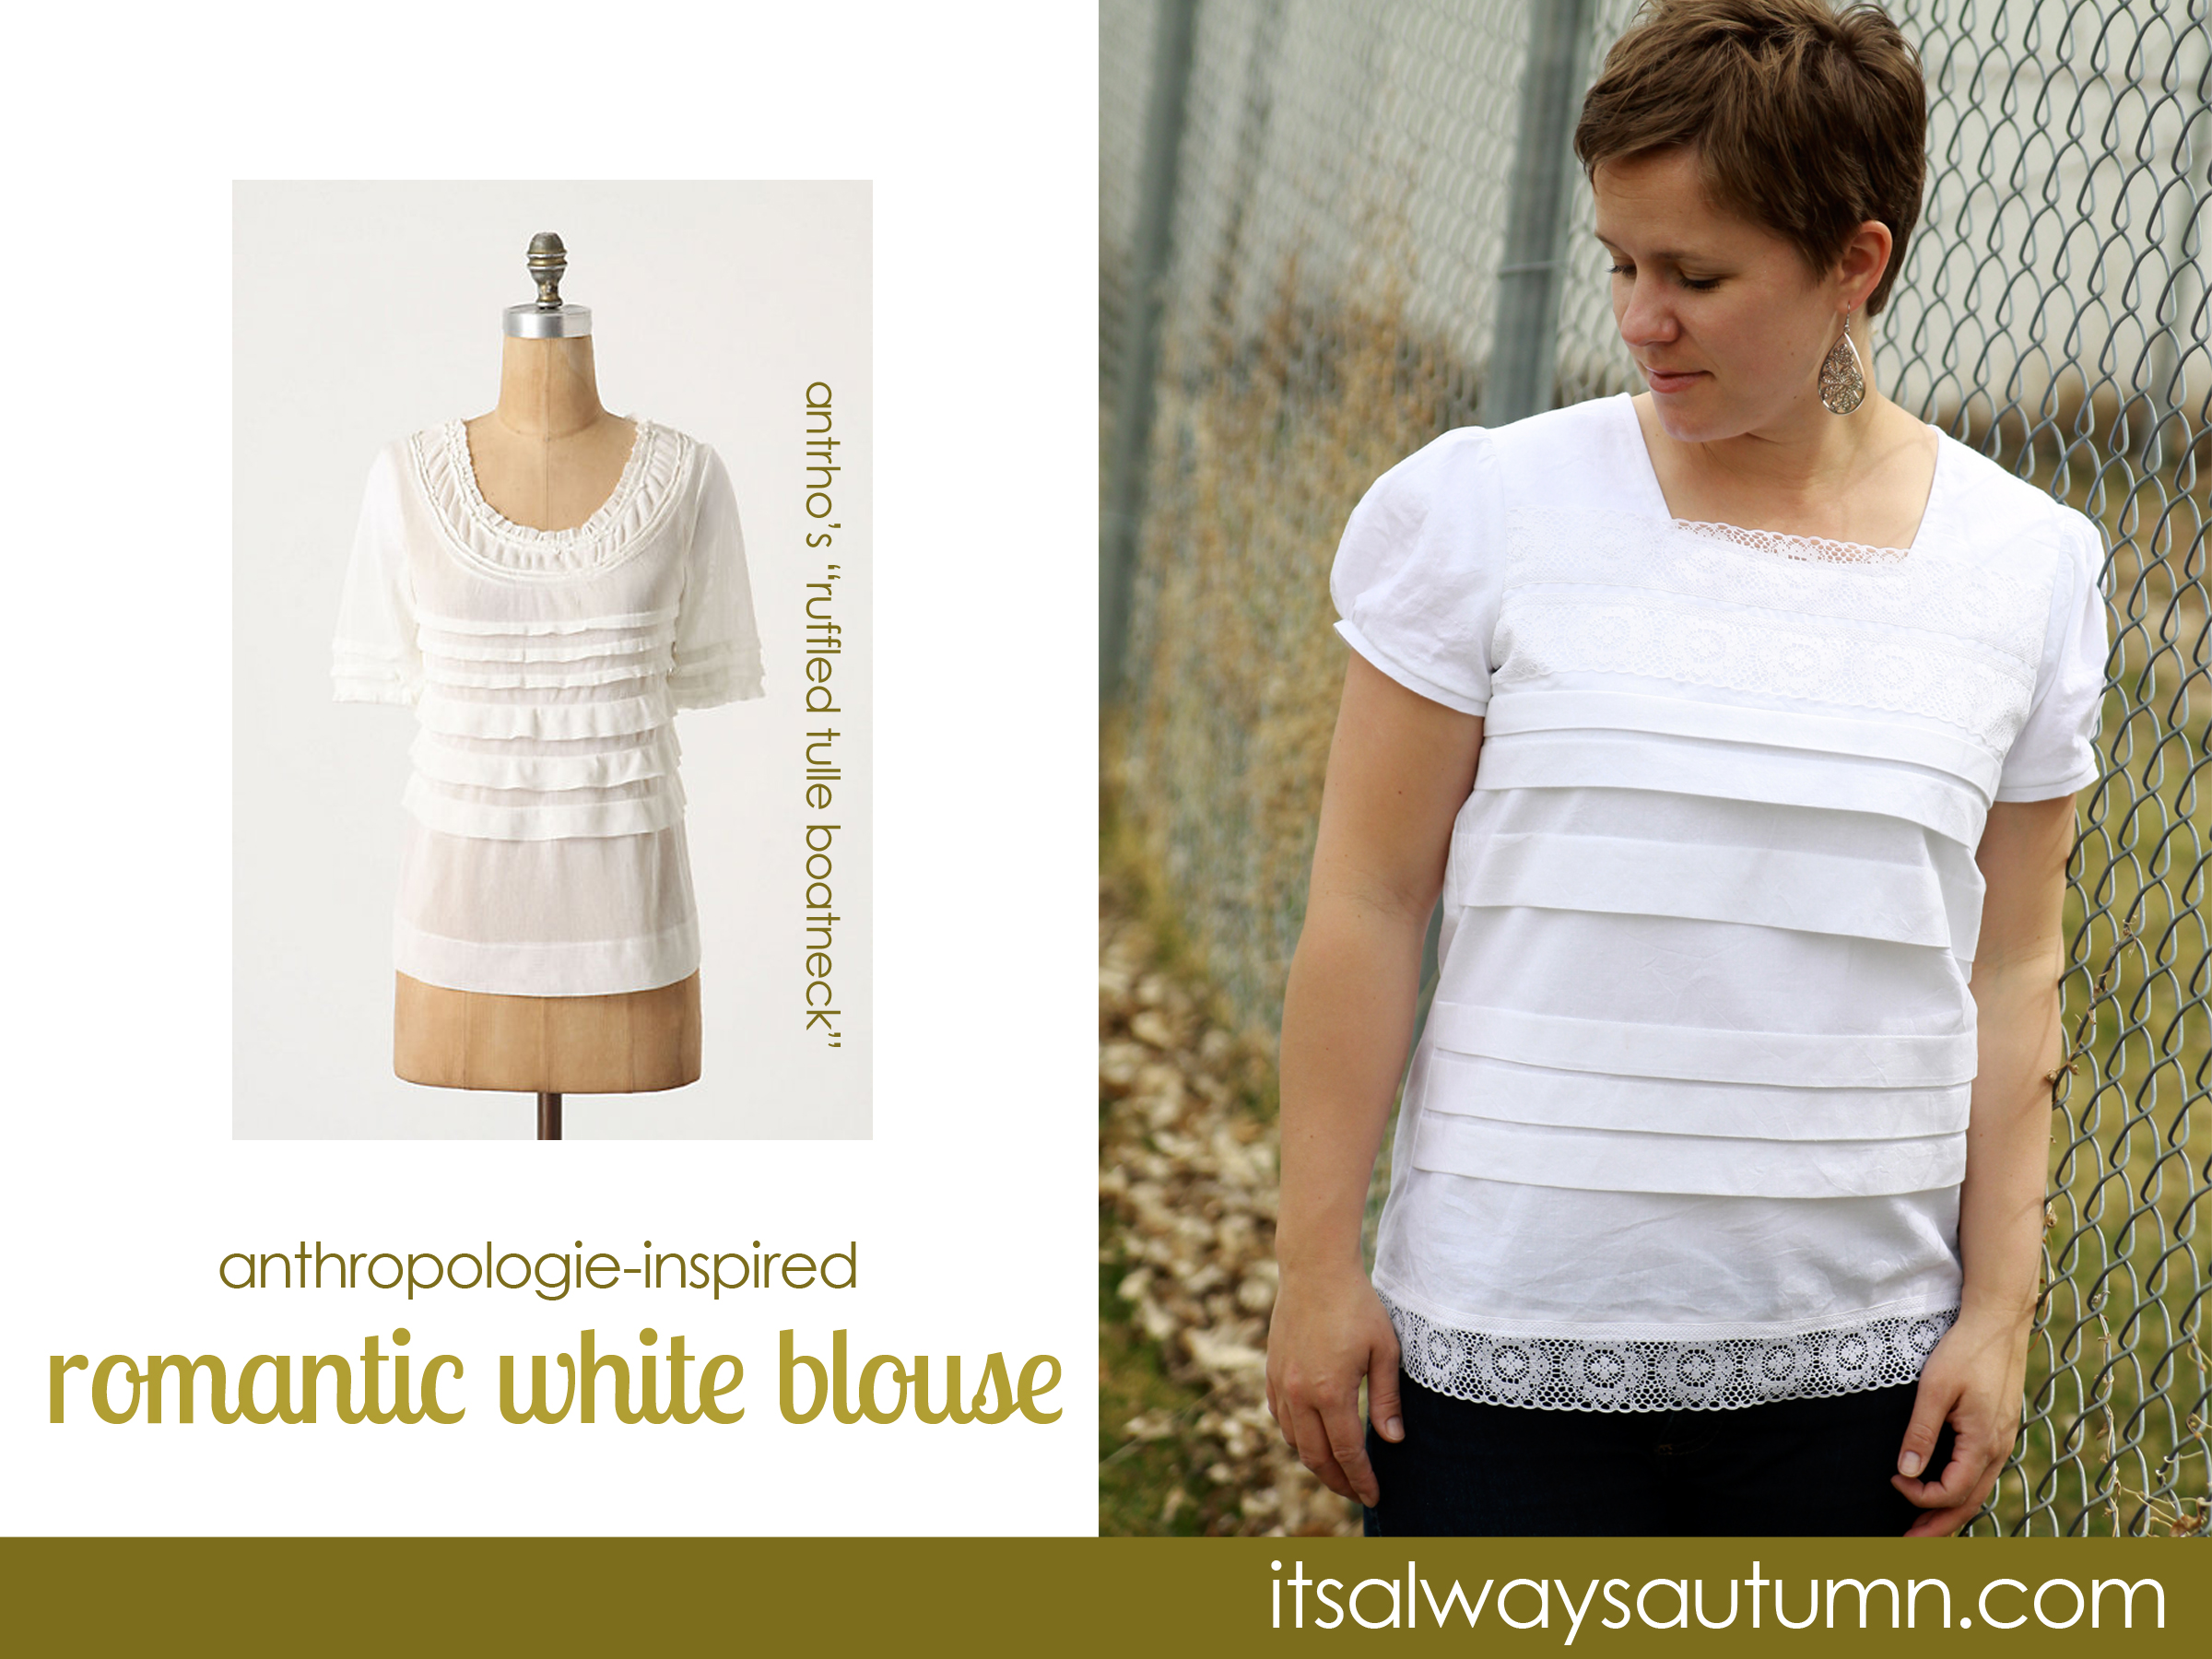
I’ve been wanting a pretty white blouse for a while, but I was having a hard time finding one I liked that would work. I don’t like sheer tops because I hate wearing undershirts, and finding a pretty white blouse that isn’t see through is pretty difficult. I loved the look of this Anthro top, but it looks fairly sheer, and let’s face it, there’s no way in you know where that I’m going to pay Anthro prices. So I set out to make a pretty, feminine, not-see through blouse that was inspired by Anthro’s version, but at a fraction of Anthro’s price. (Total cost for my version was $11 – and it would have been even cheaper if I’d remembered my coupon at Joann’s.)
Want to know how I made it?
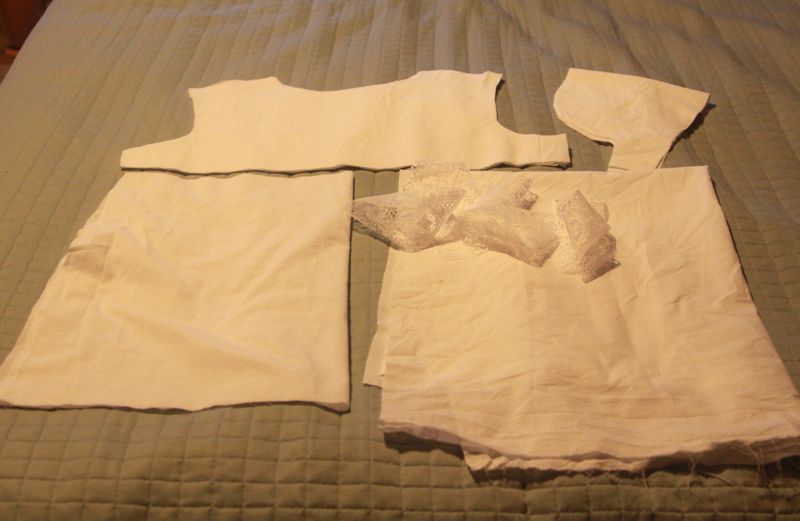
I started with two and half yards of plain white muslin (that I had already washed and pressed – always wash your fabric before you cut it!). I probably could have made do with less, but it’s only $3/yd and I wanted to make sure I had plenty. I used a blouse I have as a guide to cut the bodice but I cut it off right at the bustline, under the armholes. I cut four bodice pieces. I cut two sleeve pieces and one lower back piece that was the same width at the top as the bottom of the bodice, and flared out gently from there. Then I cut a tall rectangle the same width as the lower back piece for the lower front, where the pleats would be.
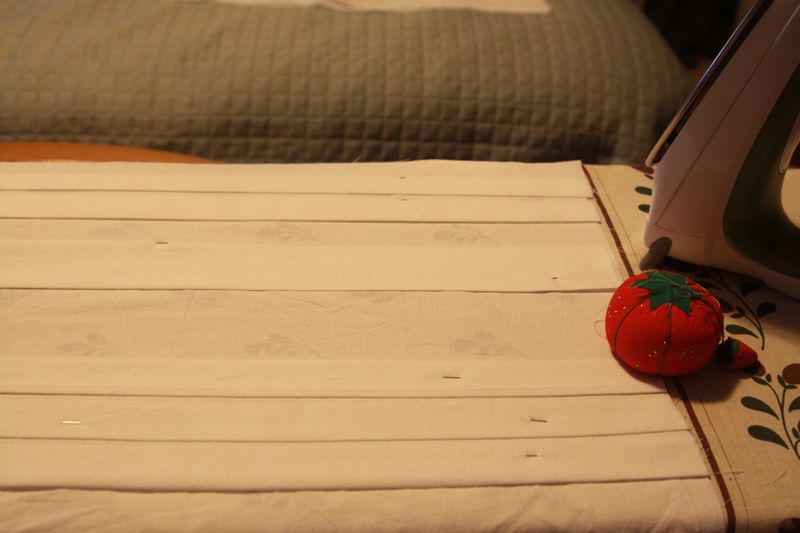
Next I started ironing pleats into the lower front piece. I didn’t measure, but I was fairly careful to keep things even. I just put in as many pleats as I thought would look nice, varying the height of them a bit. I steamed the heck out of them, then sewed a seam across each to secure it.
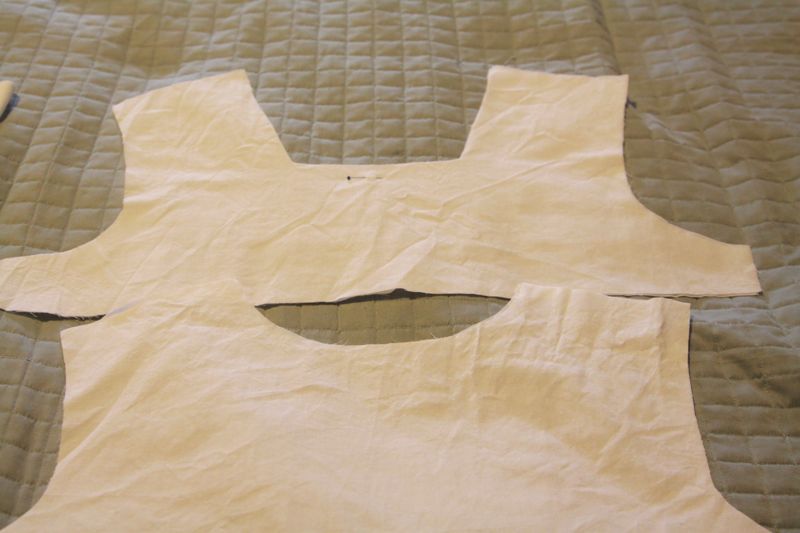
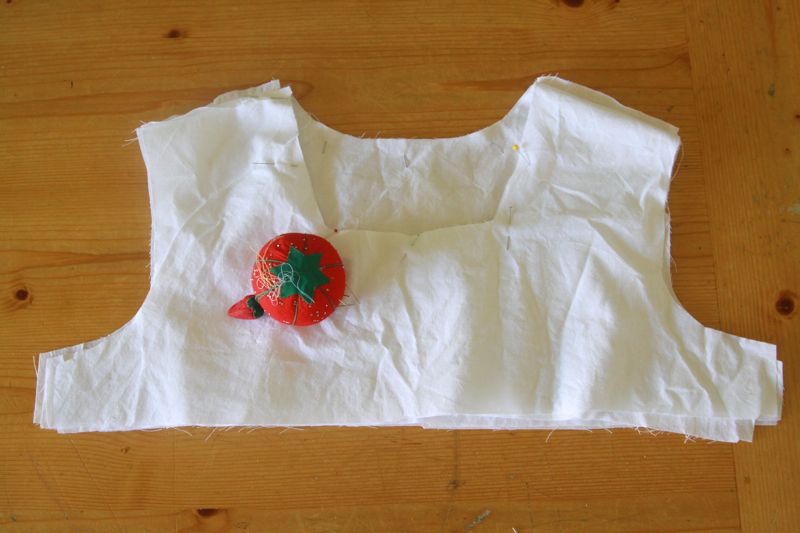
Now it’s back to the bodice pieces. I cut a square neckline out of two of them, (the front pieces). I sewed one front piece to one back piece at the shoulders ONLY, then repeated with the other front and back pieces.
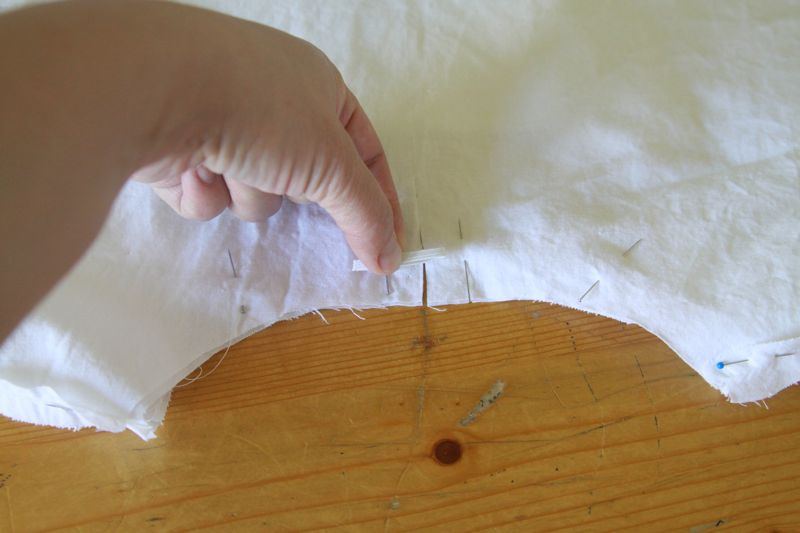
Then I pinned the two front/back pieces together at the neckline, RST.
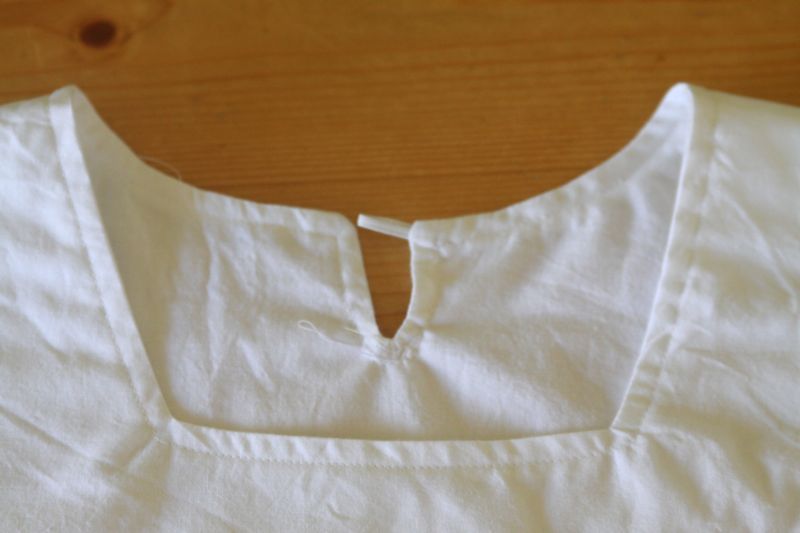
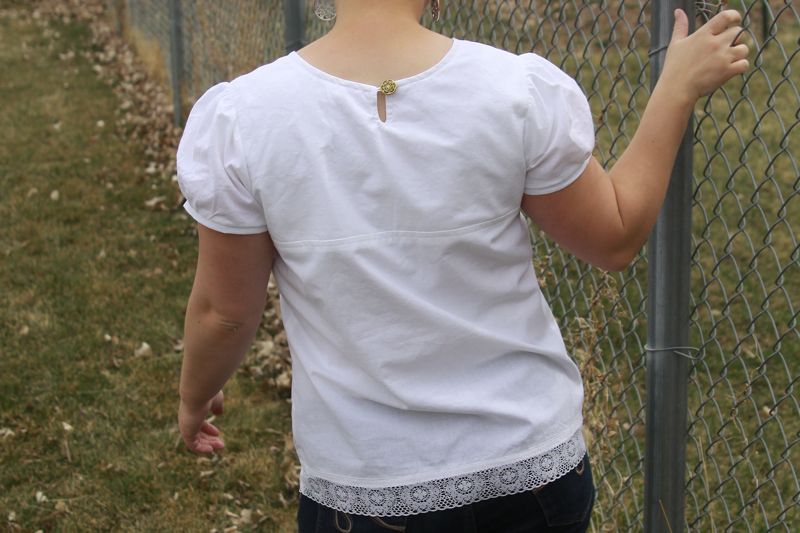
I made a small slit in the back for a little button closure to make sure it would fit over my head easily and add a little interest to the back of the blouse.
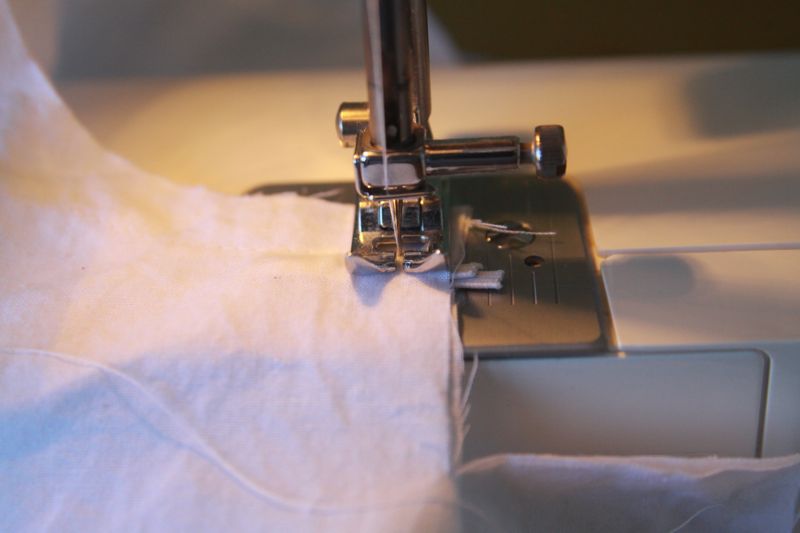
I sewed along the neckline where I had pinned. When I got to the slit in the back, I slipped in a little loop of elastic for the button closure.
I turned the bodice right side out then top stitched around the neckline. Now I had a double-layered bodice that would be non-see-through, and a finished neckline.
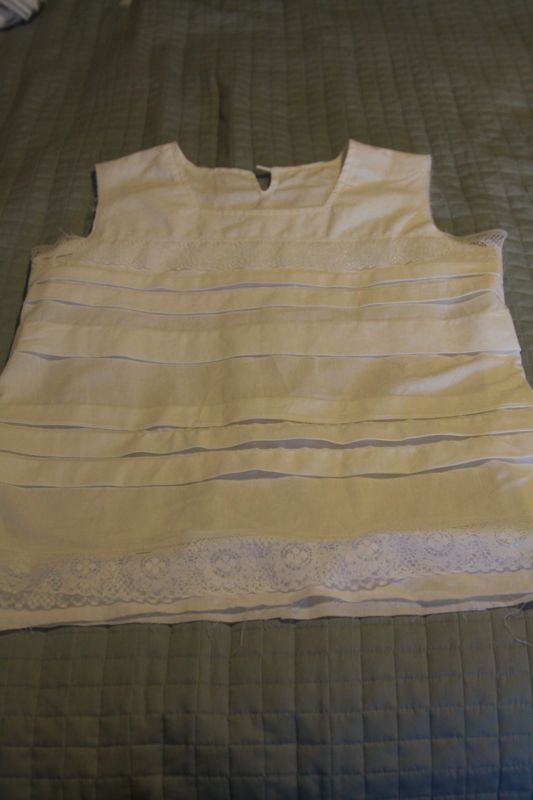
Next I sewed the lower from piece to the bottom of the front bodice, and the lower back piece to the bottom of the back bodice. I pressed the seams down and topstitched (underneath to top pleat in the front).
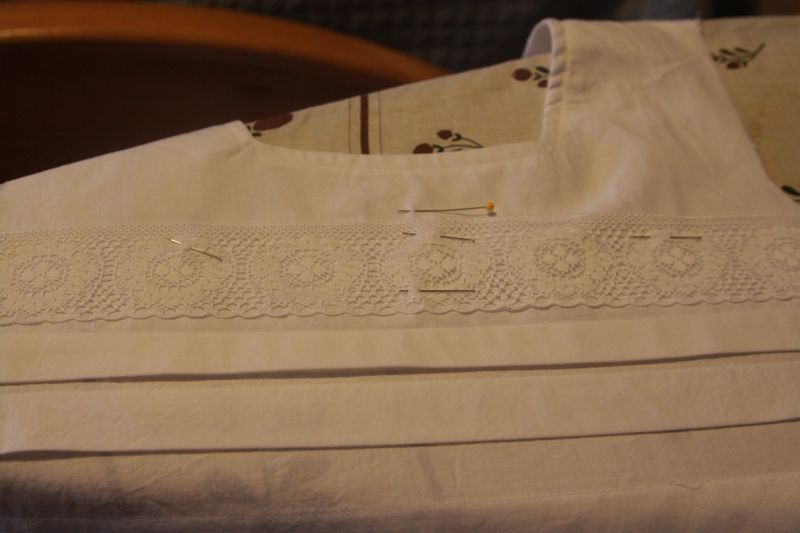
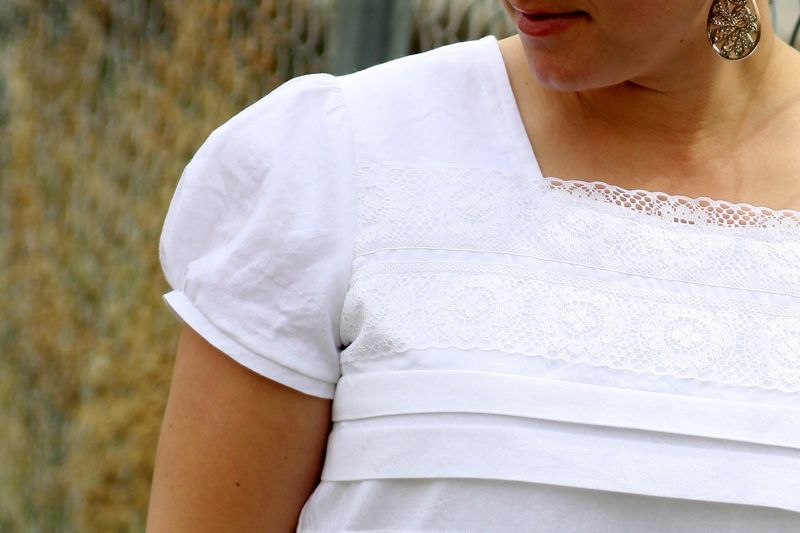
Then it was time to add some lace. This picture shows the first row of lace, right above the seam at the bustline which connected the bodice to the pleated lower front. I just pinned it where I wanted it then sewed it on with a couple rows of stitches at the top of the lace. I added another row above this, with the lace inverted so the flat edge was down and the lacey edge was up.
At this point I finally sewed the side seams together and tried it on. I took in a little from each side to give the blouse a bit of shape, but since muslin isn’t stretchy it’s not at all form fitted. I like that, though – now I don’t have to worry about whether my muffin top shows when I wear it 🙂
When the fit was right, I hemmed it by serging to finish the bottom edge, then turned it up half and inch and ironing. I slid another row of lace in as I sewed the hem seam.
The last step was adding sleeves. I didn’t take detailed pictures of this part. If you are new to making up your own patterns sleeves can be tricky, so I’d recommend using a pattern piece from some other blouse pattern as a guide. I knew I wanted a full sleeve that would have some gathers at the top to make it look romantic, but I wasn’t interested in Anne of Green Gables poufy sleeves. The trick to full sleeves that don’t pouf up at your shoulder is to make you sleeve curve wider than usual, not taller, and then to press the gathers down once you’ve set in your sleeve.
I also added gathers around the bottom of each sleeve, finishing them off with a folded strip of muslin. The final touch was a vintage button at the back neckline.
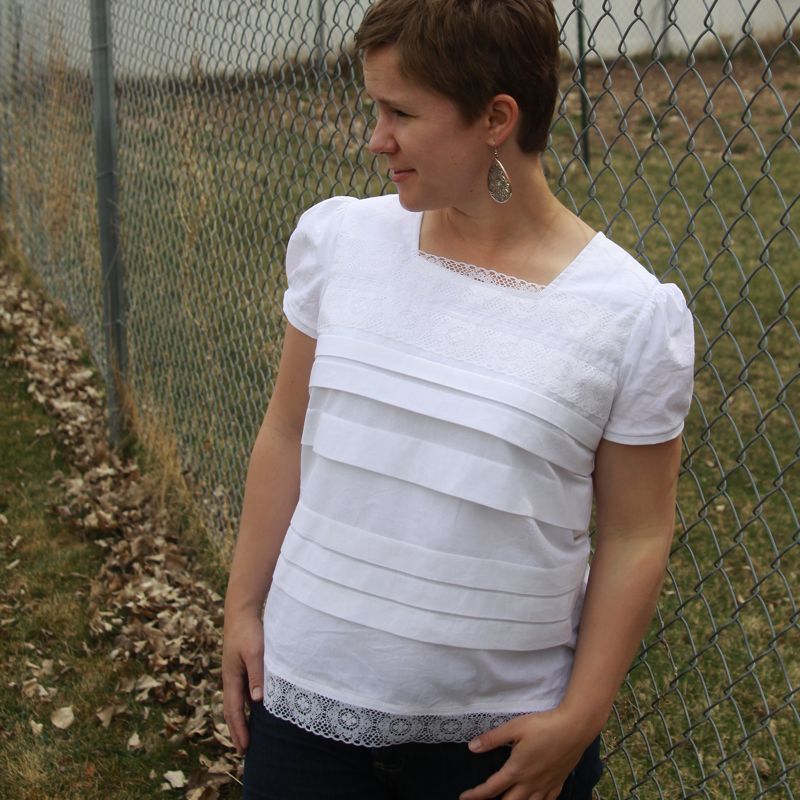
I really like how it turned out. It’s very light and comfortable, and I love that I don’t have to wear an undershirt with it.
It will be super cool and breathable during the hot summer months.
I know it’s not quite Anthropologie, but for eleven bucks I think Autumnologie will do 🙂
linked up at Somewhat Simple


Christina says
Briliant and very pretty. This will be my next project for me, I have TONS of muslin. Great Tut, thanks
Lizzie says
If I had to choose between the two , it would be yours. Its a great dupe on the Anthro one . Whats in a label anyway! 🙂
Natasha Boggan says
I love this shirt! I like how it has your own little flair to it, and actually looks better than the original, simply because it doesn’t have that added “ouch” price tag!
Emily says
so loving this, totally want to try this! Thanks for the tutorial!