
In today’s post: Get the free sewing pattern and tutorial for a stuffed animal sleeping bag and make an adorable gift!
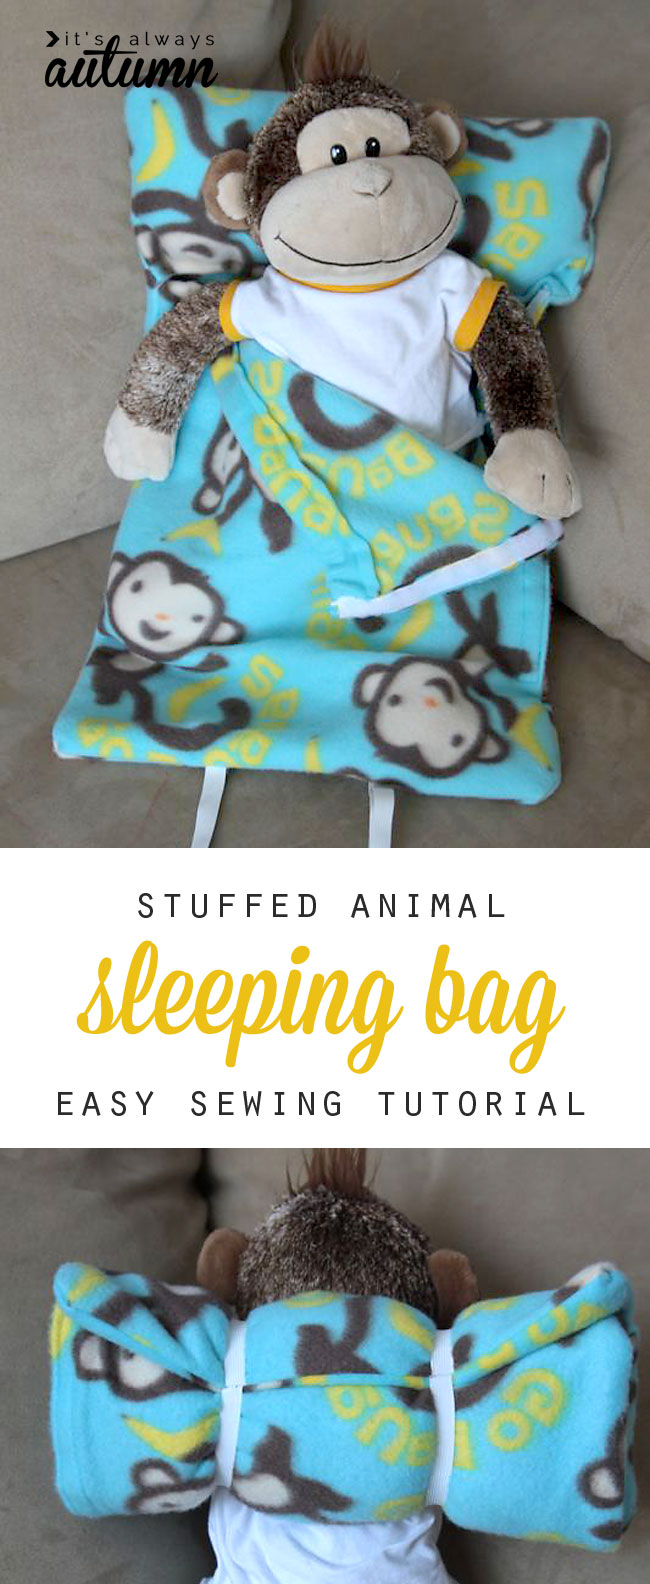
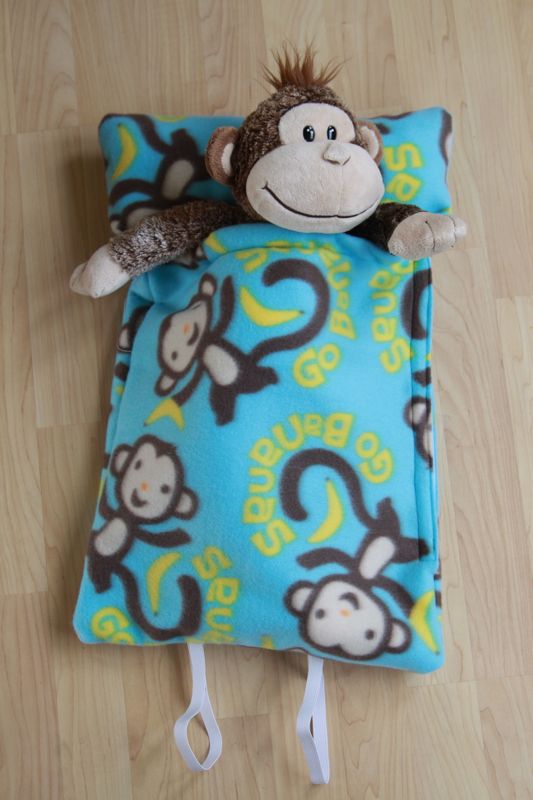
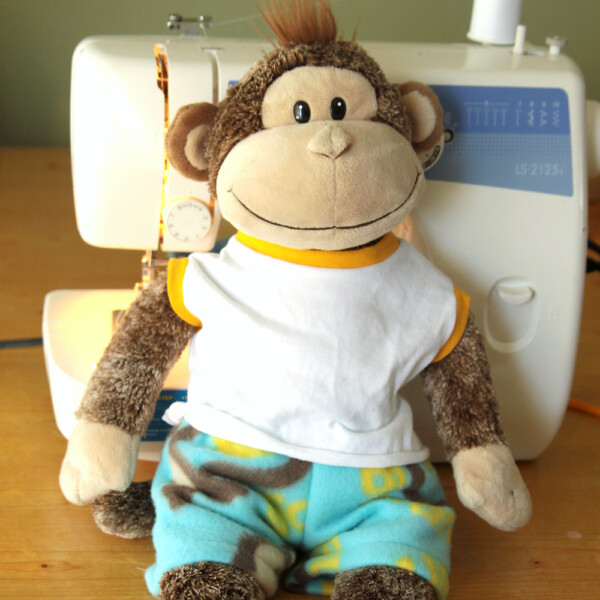
My son has a monkey named Jim from Build-a-Bear Workshop, and he wants Jim to have every single accessory that store carries. Since that’s obviously out of the question, I decided to make Jim a sleeping bag complete with a built in pillow that he can snuggle into at night. The sleeping bag rolls up into elastic loops that fit on his shoulders during the day. (While I was at it I made Jim a new pair of PJs to match the sleeping bag: teddy bear pajamas pattern.)
The sleeping bag is very easy–all you have to do is sew a few straight lines. Plus it’s pretty inexpensive to make since it only takes 1/2 yard of fleece. If you buy fleece on sale and have some polyfil on hand, you can expect to spend about $5 on each stuffed animal sleeping bag (gift idea anyone?). It’s the right size for all the standard size/shape Build a Bear animals (on any other 18 inch stuffed animal).

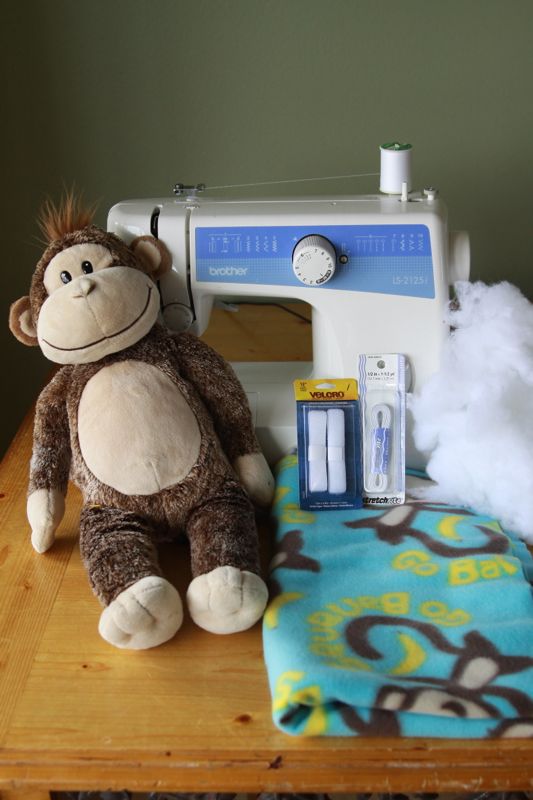
Supplies for a stuffed animal sleeping bag
You will need:
1/2 yard of fleece (Joann’s has fleece half off just about every other week)
12 inches of sew on velcro
1 yard of 1/2 inch elastic
a few handfuls of polyfil (or any stuffing-type material)
sewing machine and thread (just about any color will work as the thread doesn’t show much on fleece)
How to make a stuffed animal sleeping bag
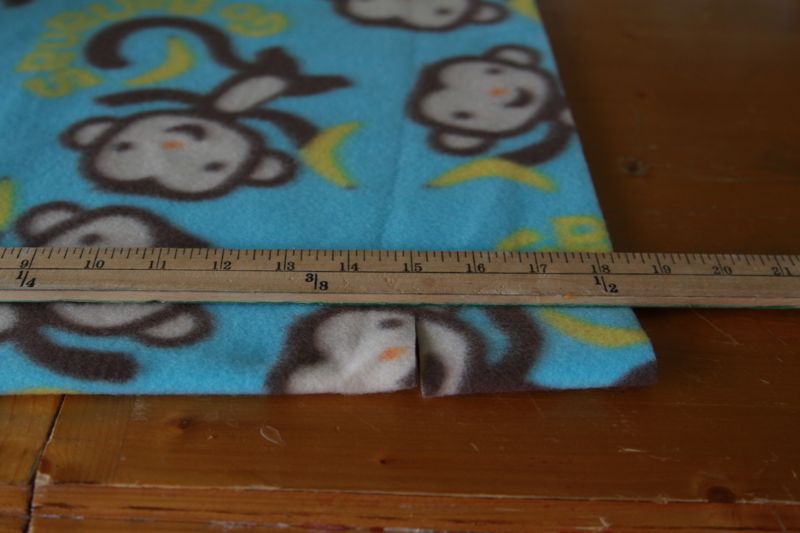
Lay out your fleece on a flat surface. It will be 18 inches wide and around 60 inches long. Cut three inches off of the width, leaving you with a 15 inch wide and 60 inch long piece.
Set aside the 3 inch strip (you won’t be using it). Cut the remaining fabric into four pieces as shown here:
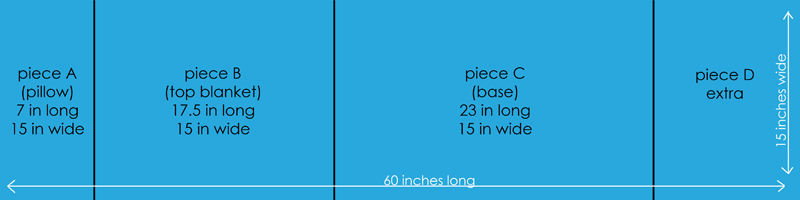
Set aside piece D (you won’t be using it).
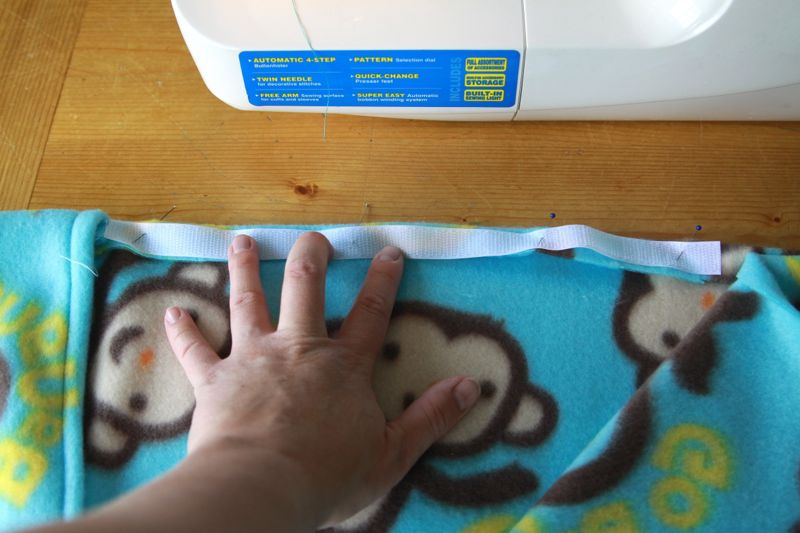
Grab piece A and sew a 1/2 inch hem along one of the 15 inch sides (if your fleece has a right and wrong side be sure the hem is folded onto the wrong side of the fabric). With fleece I don’t worry too much about pinning or pressing beforehand. For a 1/2 hem I simply fold the edge under my presser foot as I sew, using the presser foot as a guide, like this:

Set piece A aside for now.
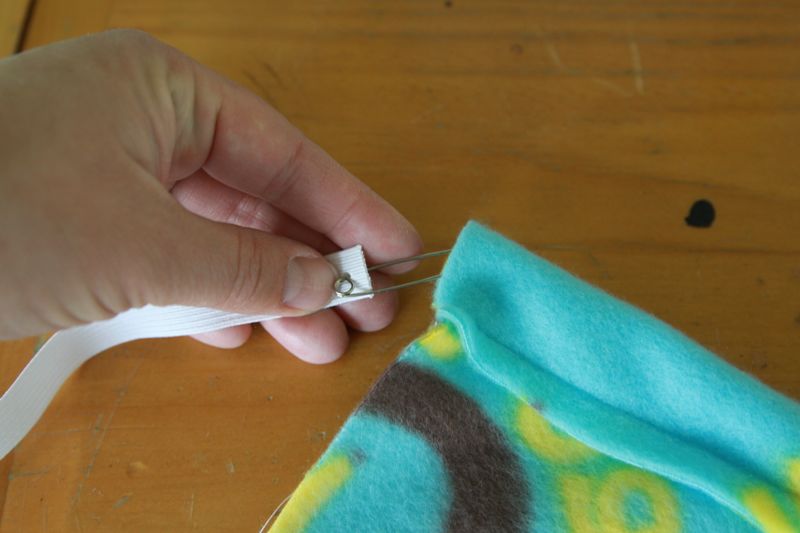
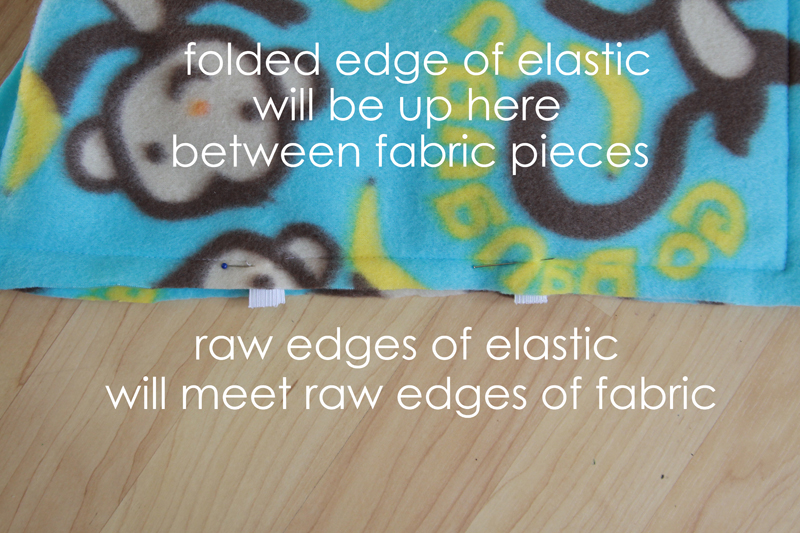
Take piece B and hem one of the 15 inch sides as well, this time turning it up a full inch instead of just 1/2 an inch. This hem will act as a casing for your elastic. Cut a 13 inch length of elastic and use a safety pin to help thread it through the hem/casing, like so:
When the elastic is all the way through the casing, sew a vertical line through the elastic and casing at each end to secure the elastic, like this:
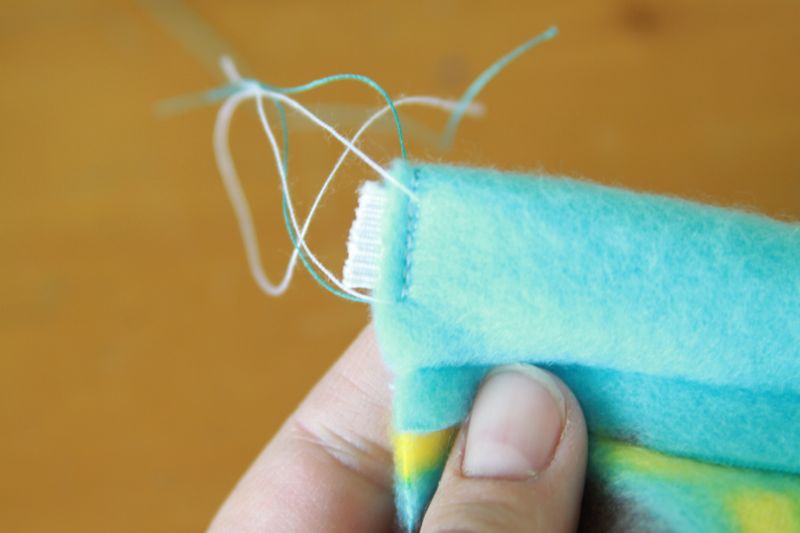
Adding elastic here will make sure the top edge of the sleeping bag stays nice and snug across your stuffed animal’s chest.
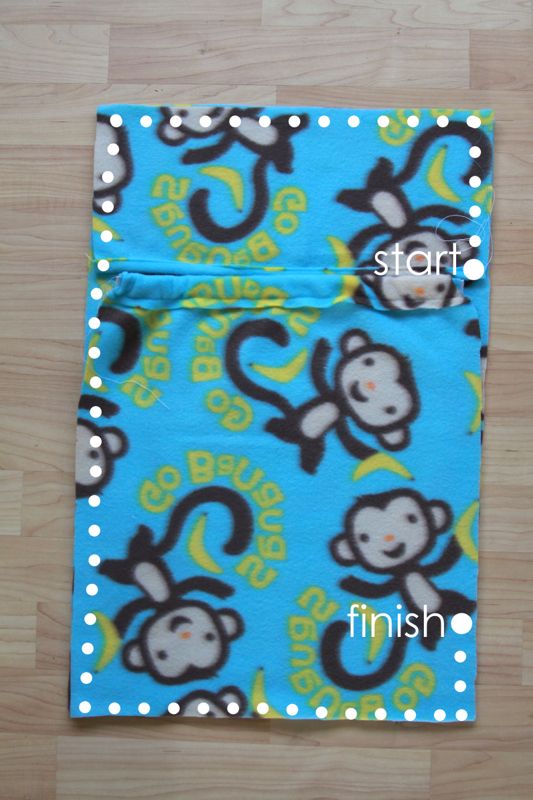
Now you want to lay out your three pieces together. Put piece C down first, right side up. Place piece A and B right sides down on top of piece C, as shown here:
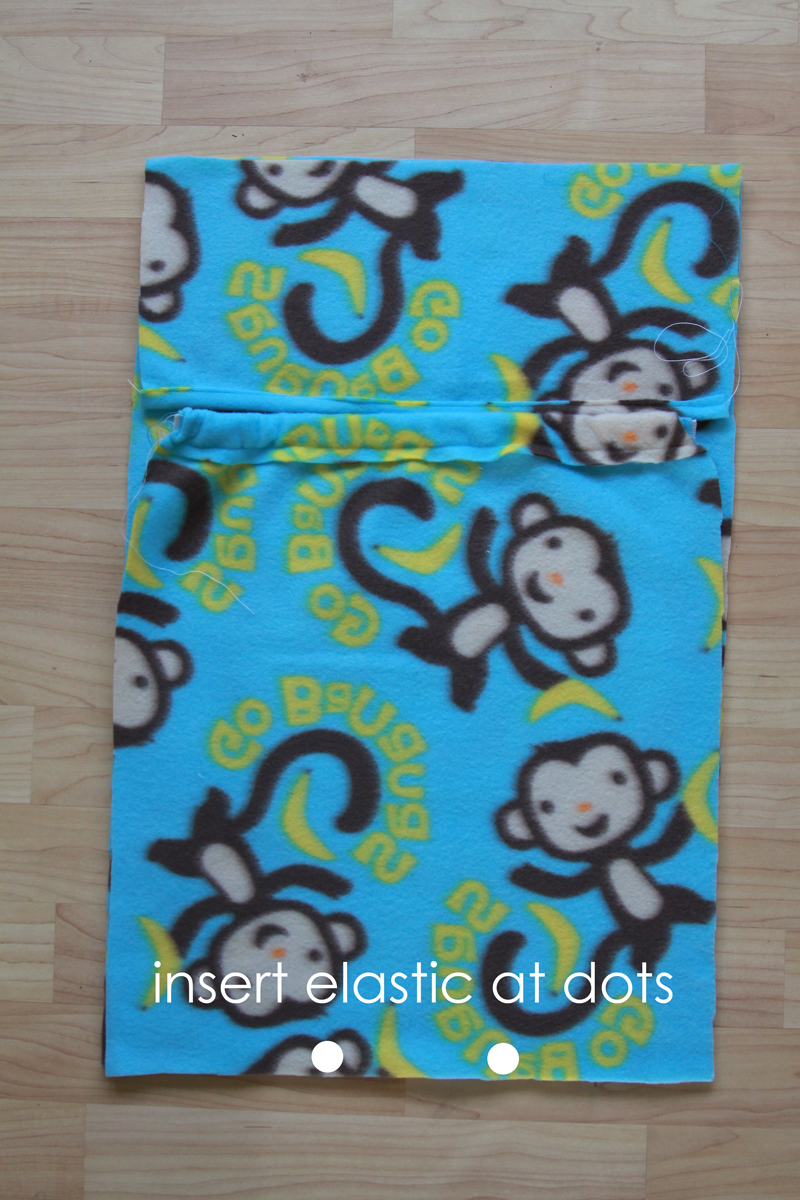
Pin around all the edges. Now cut your remaining elastic into two pieces. Fold each piece in half and slide them in between piece B and piece C on the bottom edge, each one about 3 inches right or left of the center.
Sew along the dotted lines as shown, using a half inch seam allowance, backstitching at the beginning and end of the seam.
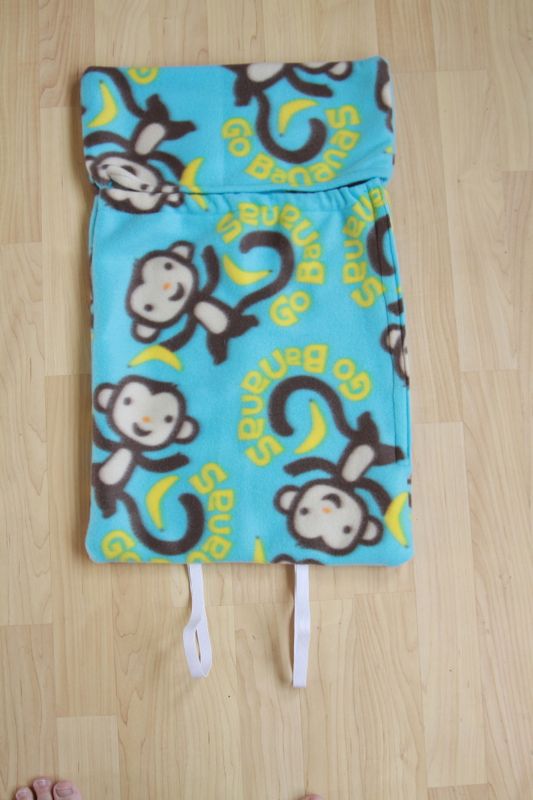
Now, turn the sleeping bag right side out. Open up the right hand side, where you didn’t sew. On the bottom, fold up the edge 1/2 inch and pin one half of your sew-on velcro on top of it as shown below. Attach the velcro by sewing around all four edges, very close to the edge. Repeat with the other half of the velcro on the top edge of the open side.
Your stuffed animal sleeping bag should now look like this:
All that’s left is to sew along the bottom of the pillow (sewing through piece A and piece C right along the hemline of piece A), leaving about 4 inches open. Stuff the pillow with polyfil or some other stuffing material, then sew the opening closed.
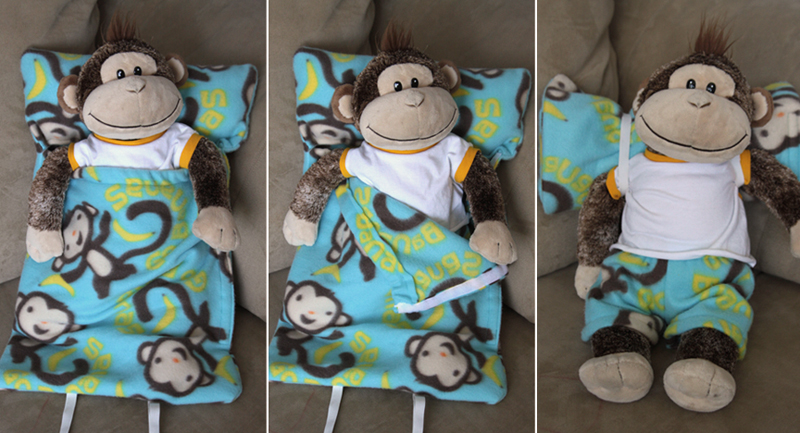
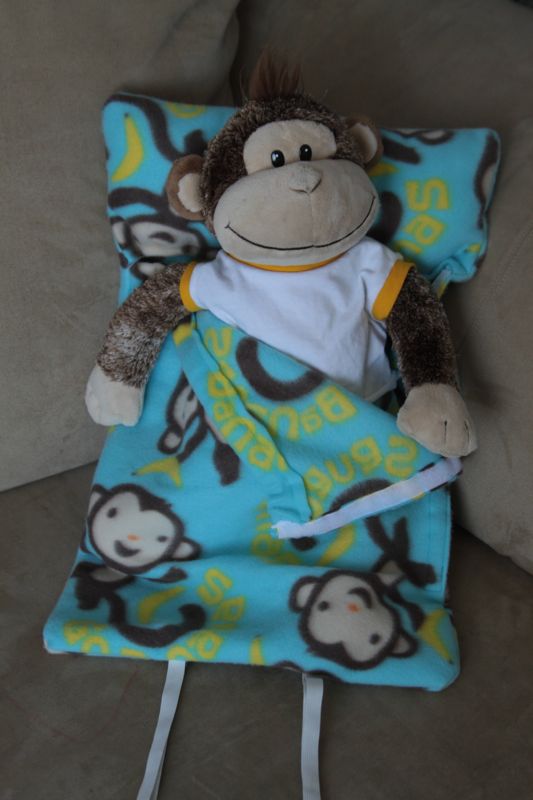
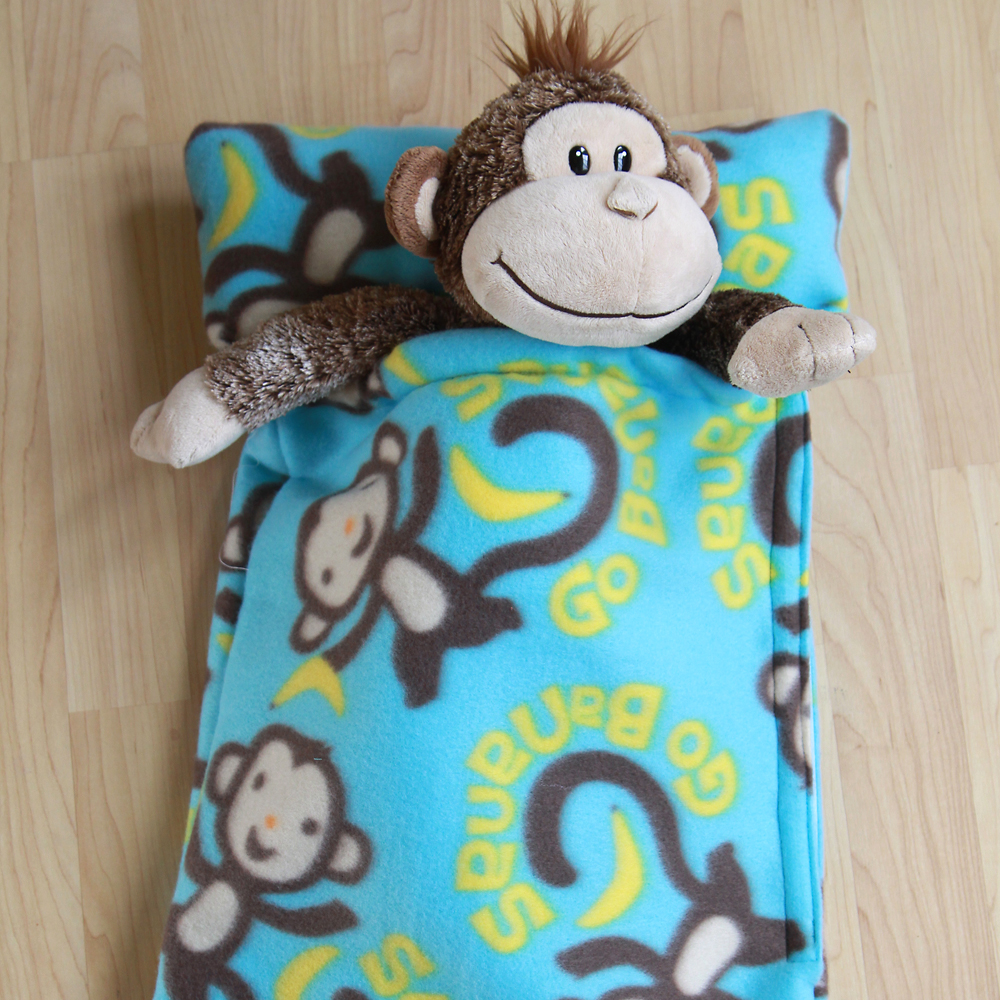
Here’s Jim, all tucked into his brand new stuffed animal sleeping bag:
The side velcro makes it easy for little ones to open and close the sleeping bag:
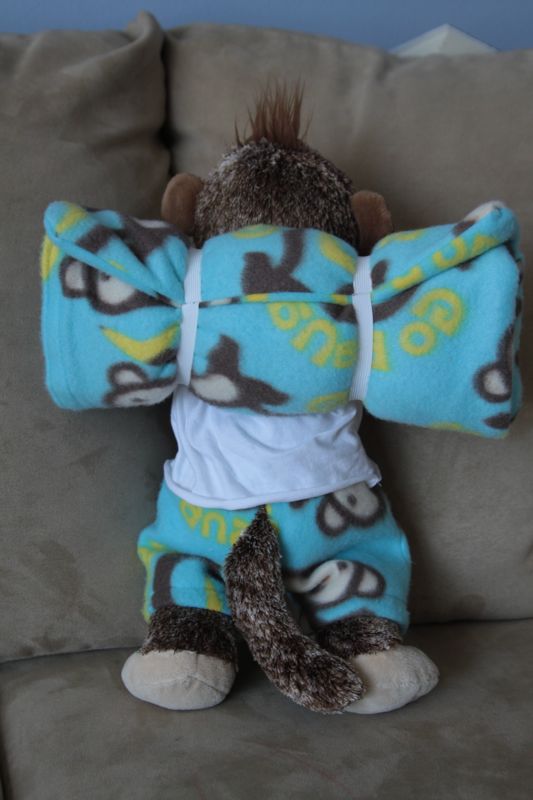
And when Jim’s not sleeping in it, we just roll it up, secure with the elastic loops, and slide the loops over his arms.
It’s that simple! Remember, click here for a free pattern for stuffed animal pajamas. Thanks!
More stuffed animal patterns:

Beni says
Do you have an instagram account? I would love to give credit when I post pictures with the things I’ve made
Autumn says
yep, itsalwaysautumnblog
Thanks!
Jane says
Made the sleeping bag for my two and a half year old granddaughter’s Jellycat chimpanzee. It looks amazing! Her chimp is shorter, about 14”, so I shortened the bag by two inches. Not sure that it actually needed the elastic across the chest or the Velcro since the animal could easily slip inside without it, but looks great made exactly per directions. Thanks so much! Will try to tackle the pajamas and robe, although the chimp has very different proportions than the monkey. Hope they turn out as well.
Lenae says
I would like to know where the link to the pattern is and how to use it. (\_/)
( ‘ .’ )
/><\
\_ _/
o
Autumn says
Hi Lenae, this post does not have a printable pattern. However, if you read through the post it will tell you exactly how to make the sleeping bag. Thx!
Sam says
Thank you for the pattern and the tutorial. My little ones are very happy with it. 🙂