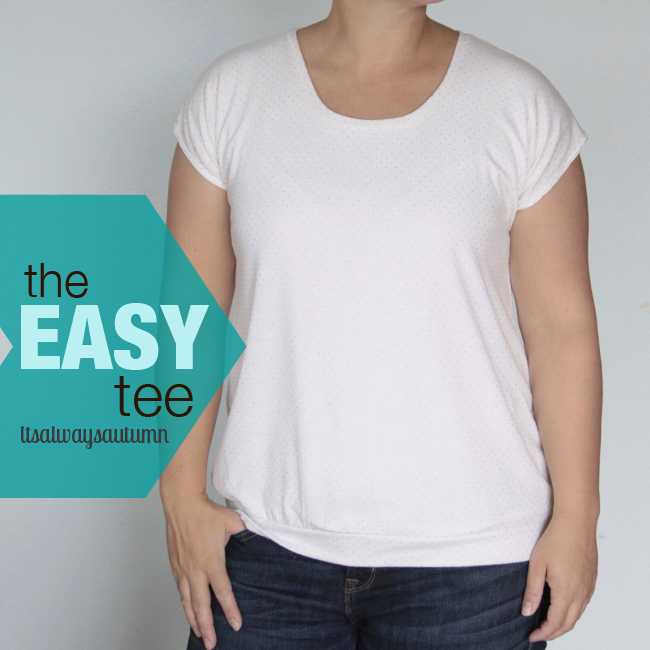
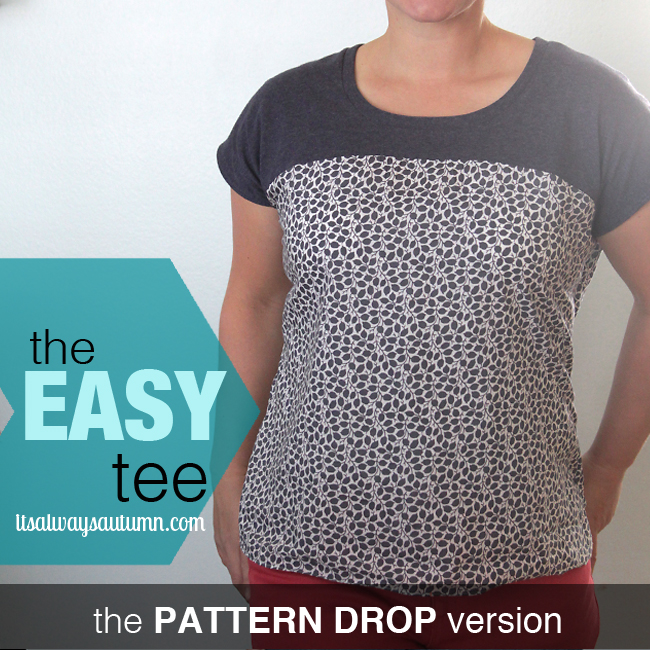
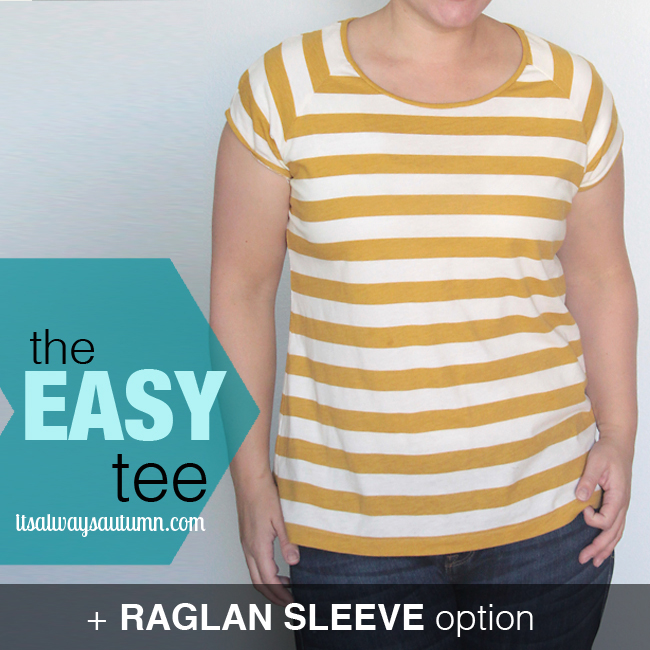
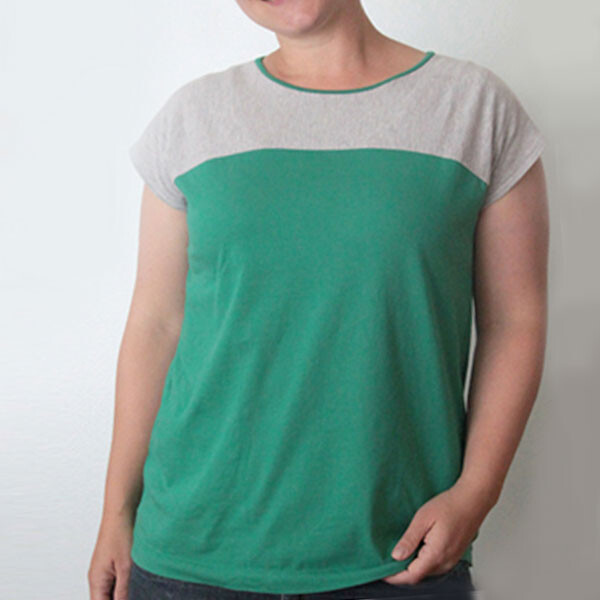
Hi guys! I told you a few weeks ago when I shared the original easy tee tutorial that if it looked like there was interest in a downloadable pattern I’d put one together – a couple of you asked for it, so here it is! I have a printable PDF pattern for this super easy tee shirt ready for you to download. Please be aware it is size L and has only been tested by me (and it’s free!) so take it for what it’s worth. If you wear a different size, see the original tutorial for info on how to draft your own simple pattern.
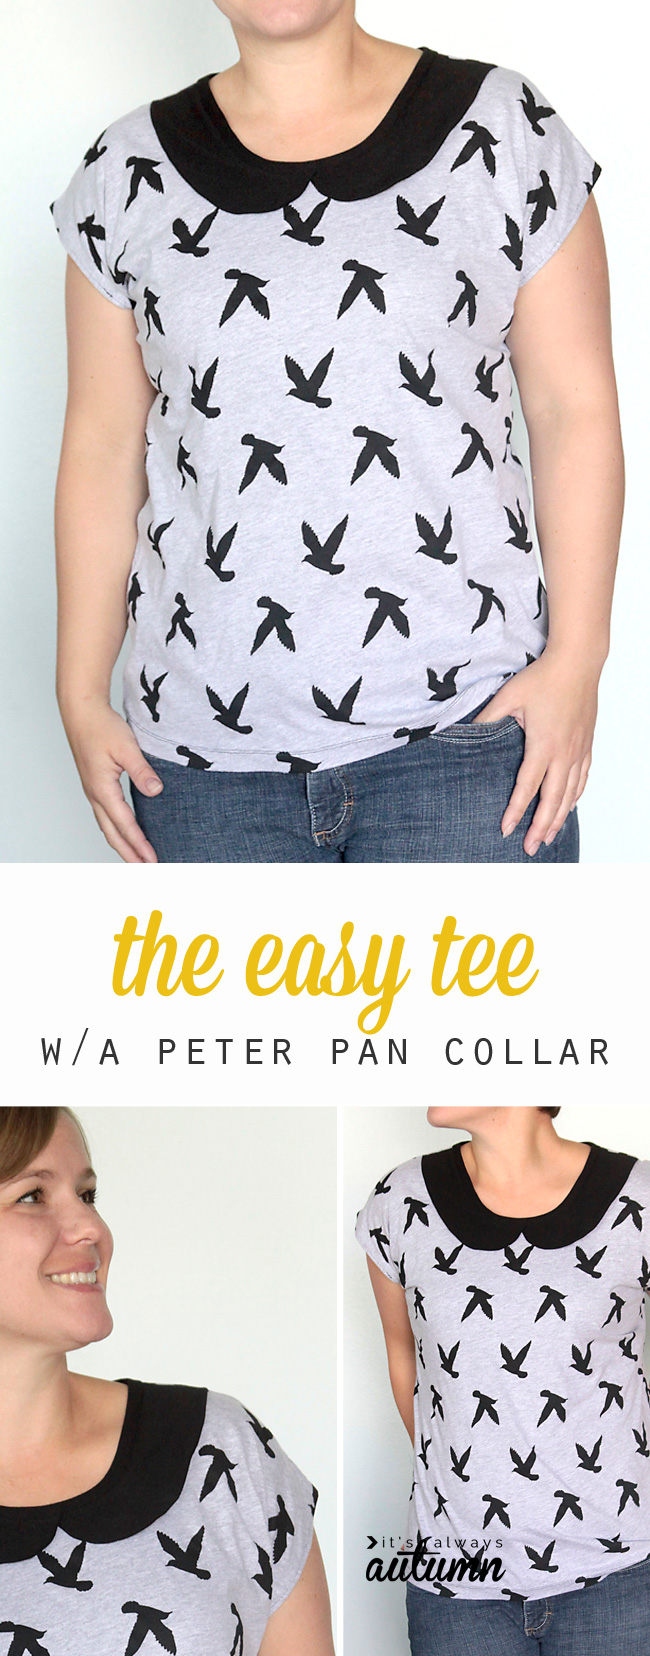
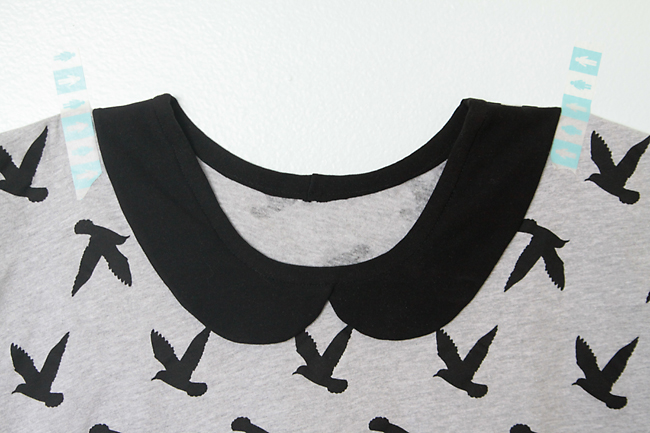
Since this is the easiest t-shirt EVER, I’ve started working on some simple variations so I’ll be able to make a whole bunch of comfy tees but they won’t all look exactly alike. In today’s post I’ll show you how to add a cute peter pan collar to the front of your tee. And I have lots more variations coming up soon, so keep checking back for more tee tutorials!
Keep reading for the free downloadable pattern, instructions for drafting your own collar pattern, instructions for adding a collar to the easy tee, and a different hem option than last time.
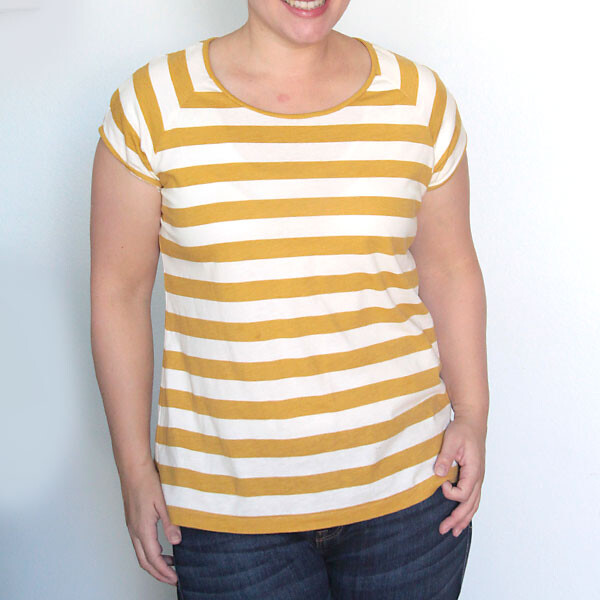
The reason this top is so easy to sew is that it’s pretty much a big square sewn together at the shoulders and down the sides. I think it looks pretty cute on, and it’s roomy enough that I don’t feel like I have to suck my stomach in the entire time I’m wearing it – win win.
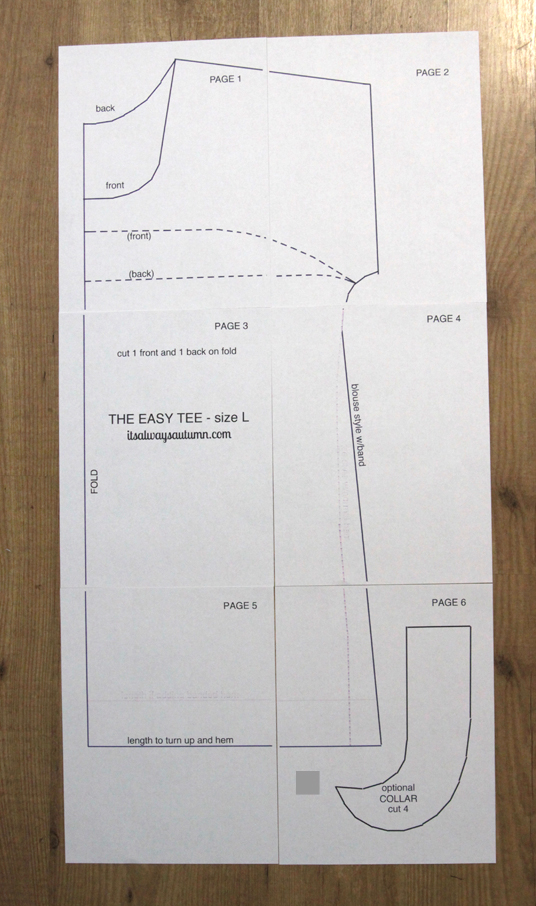
Click here to download your pattern and see the original post for basic instructions. The pattern prints on six pieces of paper. Make sure the gray square on page 6 prints out at exactly 1 inch by 1 inch, then tape your pages together like this (don’t trim the pages at all, just butt them up together):
There are a few different cut lines on this pattern. First, you’ll see that there are two necklines – a higher one for the back and a lower one for the slight scoop neck on the front. You might want to print the pattern out twice so you have one for the front and one for the back. The long straight line should be placed on a fold for both the front and the back (and the fabric stretch should go side to side).
You’ll also see some dotted lines across the chest. Ignore those for now – we’ll talk about them in the next tutorial.
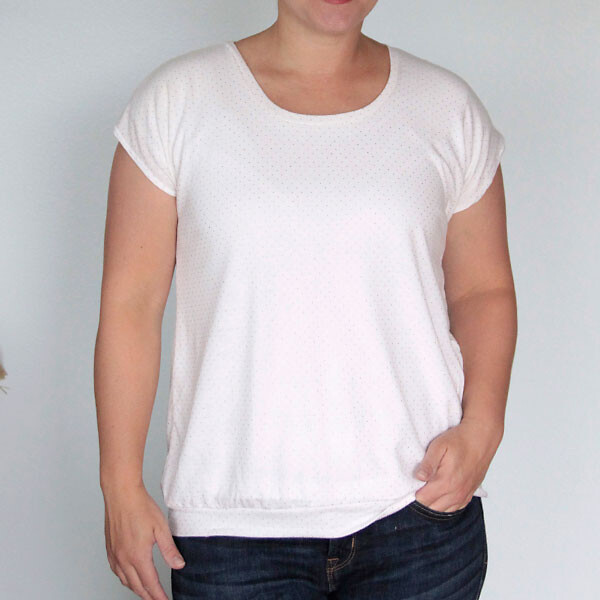
There are also two options for cutting the side seams – there is a wider one if you’d like a blouse-type fit along with a hem band, like I showed in the original tutorial. There is also a slightly slimmer line to cut on if you plan to turn up the bottom and hem. Either way this is meant to be a roomier tee than the fitted varieties you’ll find at the store (but you can always take the sides in if you’d like).
Lastly, there are two length options. Pick the shorter length if you’re adding a hem band and the longer length if not. I’d recommend placing a tee you like on the pattern and checking the length – I find it plenty long but I’m short (5’3″) so if you’re tall you may want to cut it a little long just in case.
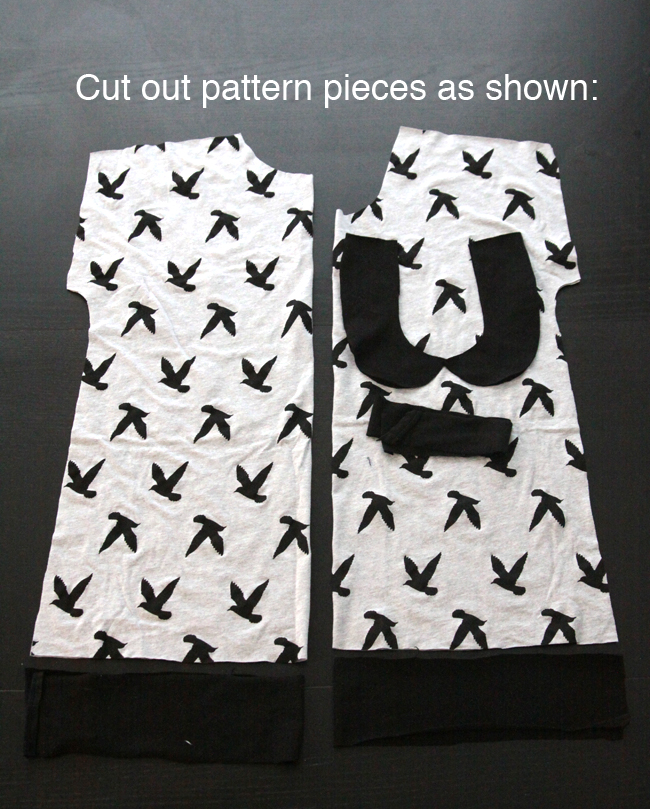
Remember you’ll also need to cut hem band pieces (if using) and a neck ribbing piece, as described in the original tutorial. My neck ribbing piece for today’s tee is 1.5 inches tall and 23 inches long (along the stretch).
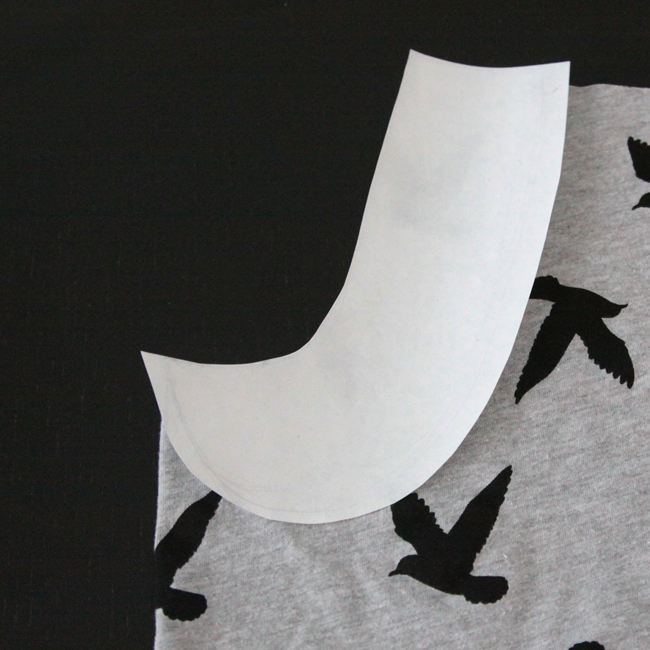
If you’d like to add the collar detail to a different tee pattern, simply cut one like you see below. Follow the neckline and make sure the collar pattern extends about 3/8 inch past the center of the shirt.
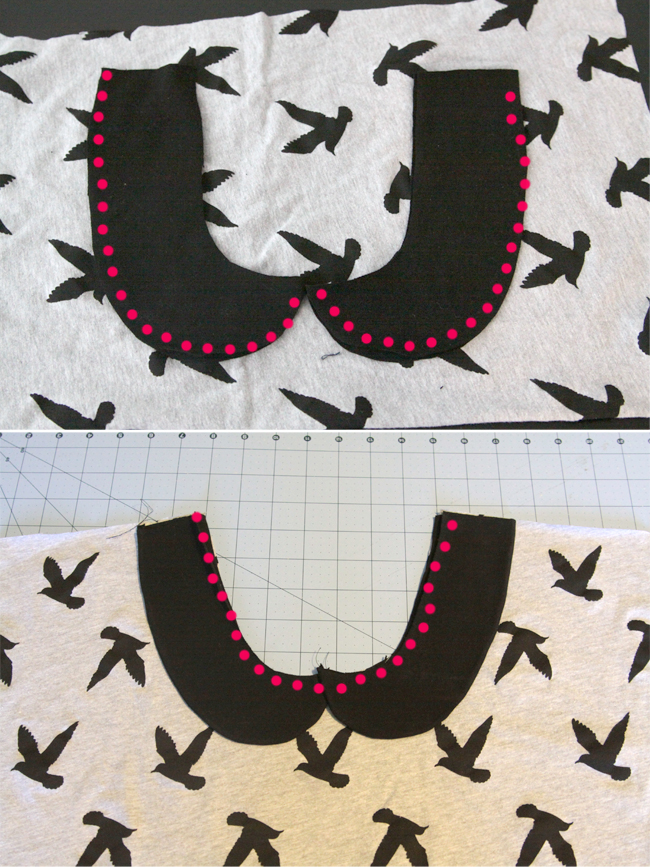
Cut 4 collar pieces. Lay two on top of each other, right sides together, and sew along the bottom curved edge, as shown on the first photo below. Use 3/8in seam allowance. Trim seam allowance close to your seam, turn inside out, and press well. Repeat with the other two collar pieces. Lay the collar pieces on your shirt front and baste together along the neckline, as shown in the second photo below.
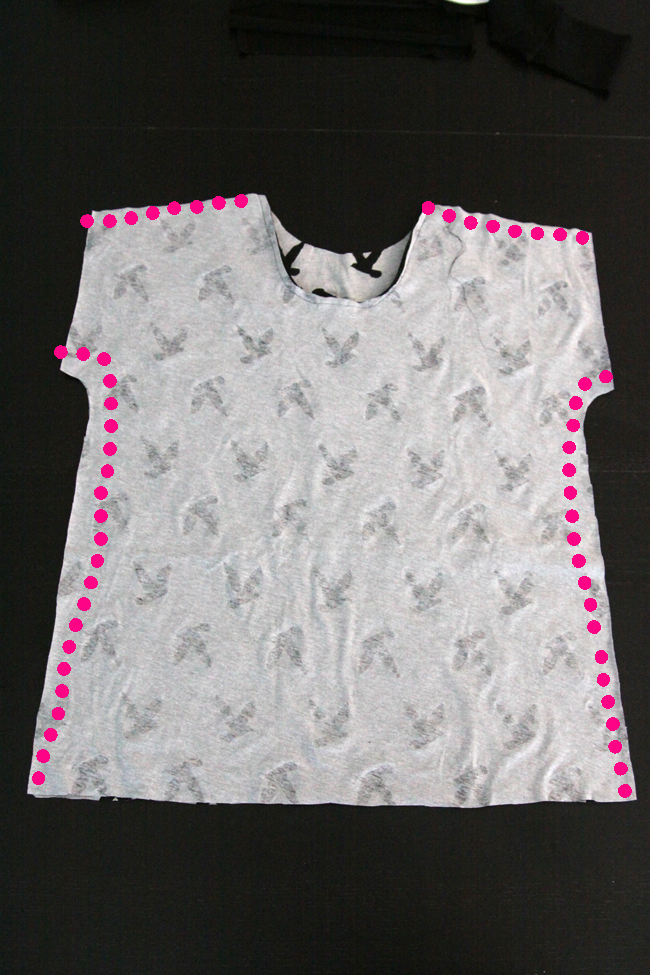
Next you’ll place the front and back shirt pieces right sides together and sew the shoulder seams and side seams. Please see the original tutorial for info on adding stretch to some seams and strengthening others.
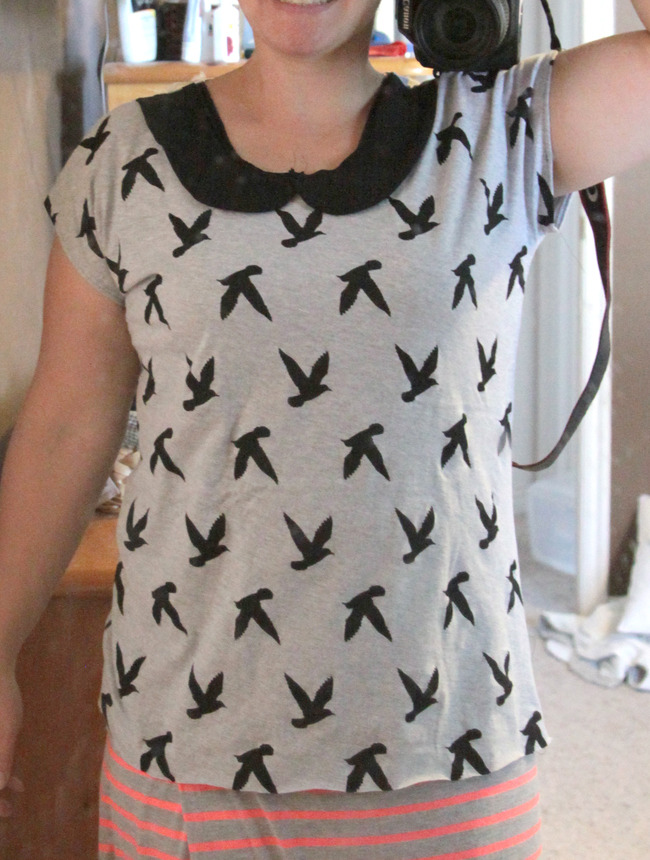
Turn right side out and press. Hem the sleeves as described in the original tute. Note: I used a straight stitch instead of a zigzag to hem the sleeves of this tee and it was a bit easier. I just gave the fabric a gently stretch as I sewed to give some ease to the seam, then used a steamy iron to shrink the fabric back to normal. Here’s what the shirt looks like at this point:
Yup, I should clean my mirror 🙂
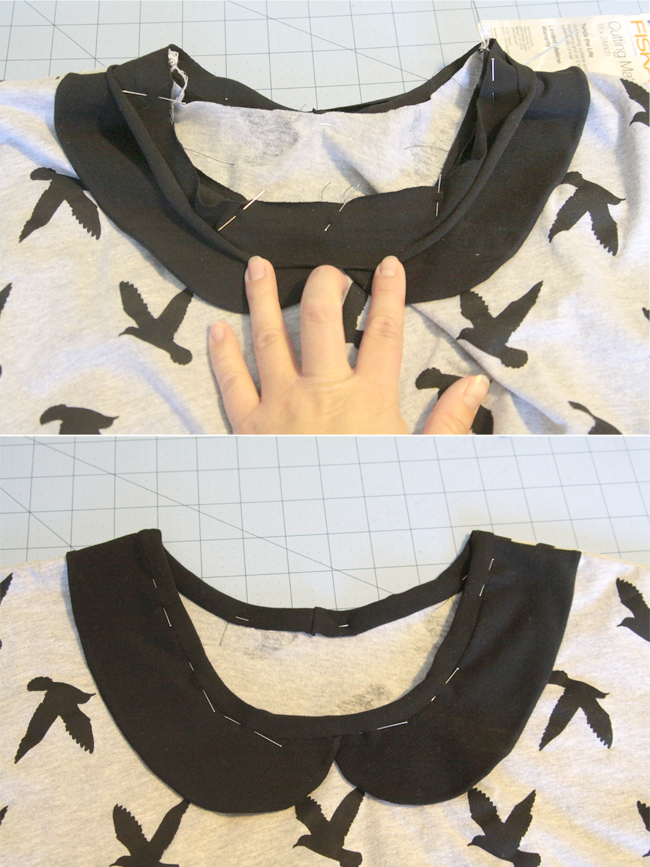
Now we need to finish the neckline. I did this neckline a little differently than the original because of the extra bulk the collar adds to the neckline. (I call the long rectangle of fabric that we use to finish the neckline “ribbing”). Instead of folding the ribbing in half and adding like a normal t-shirt, I used it more like bias tape. I sewed the two short ends together to make a circle of fabric, then pinned it around the shirt’s neckline, right sides together, as you can see in the first photo below. Just like last time I stretched the ribbing slightly to fit around the neckline, but the ribbing IS NOT FOLDED in half.
Sew using exactly 3/8 inch seam allowance (the more even your seam allowance is the nicer the neckline’s going to look). Once it’s sewn, you can fold the ribbing up over the seam allowance and then back down to the inside of the neckline. It will look like the second photo above. Pin well, then sew “in the ditch” right in between the ribbing and shirt with matching thread. If you get your stitches “in the ditch” they’ll be invisible, and you’ll be left with a very professional looking finish:
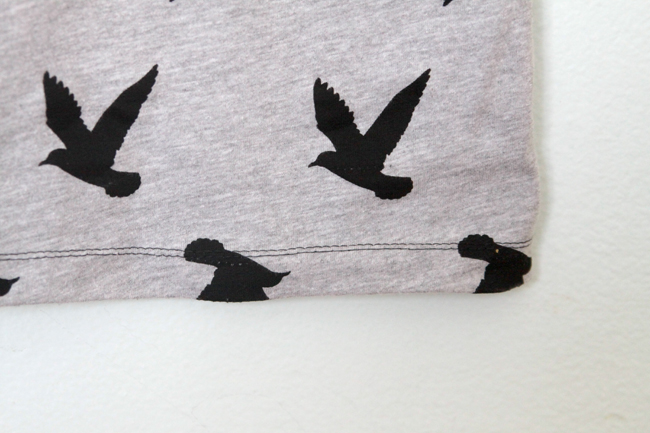
Now you need a hem. I had originally planned to use a contrast hem band, but decided I didn’t like how it looked. So I picked it out. Then I folded up and hemmed with a straight stitch, but I was worried the stitch would snap when the area stretched as I put the shirt on and off, so I picked it out again. I finally broke down and dug out a double needle. I just folded the bottom up once about and inch and sewed all the way around with the double needle, which gave me the most professional looking hem. (There are lots of great tutorials out there for working with a double needle and it’s crazy easy, so give it a try sometime!)
If I’d just used a double needle to start with, I’d have finished the whole shirt in less than an hour, including stopping to take photos, so it’s still a very easy sew.
Remember, I have more variations coming up, so follow It’s Always Autumn so you won’t miss any:
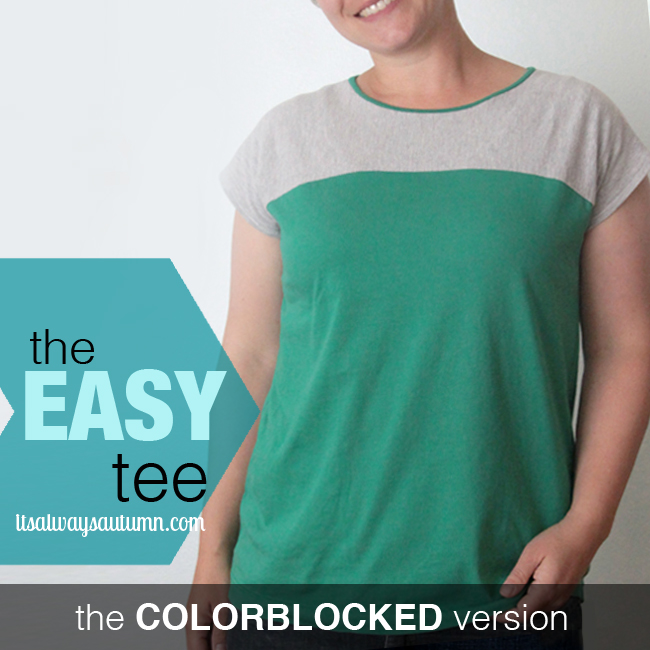
Find the other Easy Tee posts here:
LINKING Monday: Skip to My Lou | Brassy Apple | Craft-o-Maniac Tuesday: Tip Junkie | Sugar Bee Crafts | Not JUST a Housewife | Homework Today’s Assignment: Be Inspired | Shwin and Shwin | Today’s Creative Blog | Naptime Creations | Chef in Training | The Winthrop Chronicles | Lil Luna Wednesday: Handy Man, Crafty Woman | Southern Lovely | Sew Much Ado | SNAP | Someday Crafts | The NY Melrose Family | Printabelle | Simply Kierste Thursday: Somewhat Simple | House of Hepworths | Momnivore’s Dilemma | The Shabby Creek Cottage | Yesterday on Tuesday | The 36th Avenue Friday: Chic on a Shoestring Decorating | The Shabby Nest | Stuff and Nonsense | It’s a Hodgepodge Life | At The Picket Fence | 504 Main | Whipperberry | Naptime Crafters Weekend: Tatertots and Jello | Little Inspiration | I Heart Naptime




Ellisen says
Thank you for sharing the Easy Tee with us. Will use cotton double gauze for light summer wear!